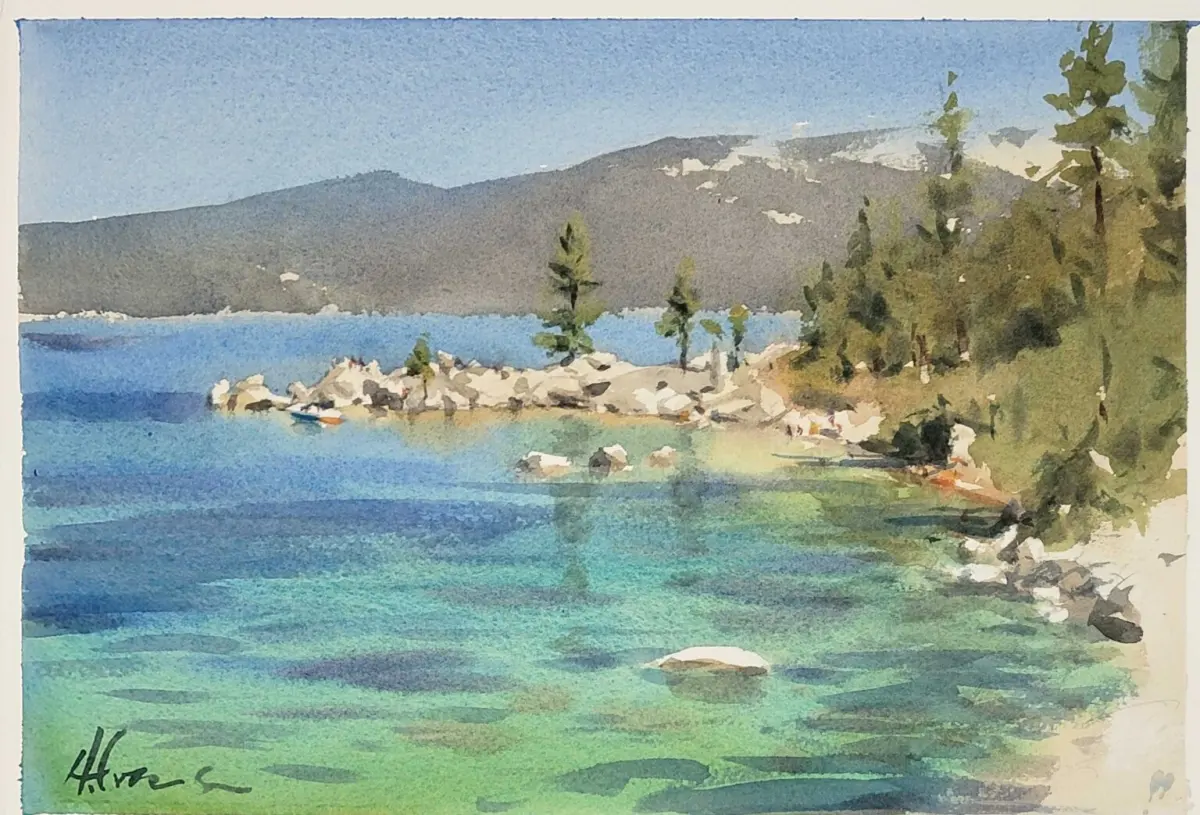
How do you paint a forest with watercolor?
Short answer
Painting a forest with watercolor involves layering transparent washes to build depth, starting with the background and moving toward the foreground. Use wet-on-wet techniques for soft, distant trees and wet-on-dry for crisp, detailed trunks. Focus on varying greens and browns to create atmospheric perspective and realistic light play throughout the scene.

On this page
How to choose the right watercolor supplies
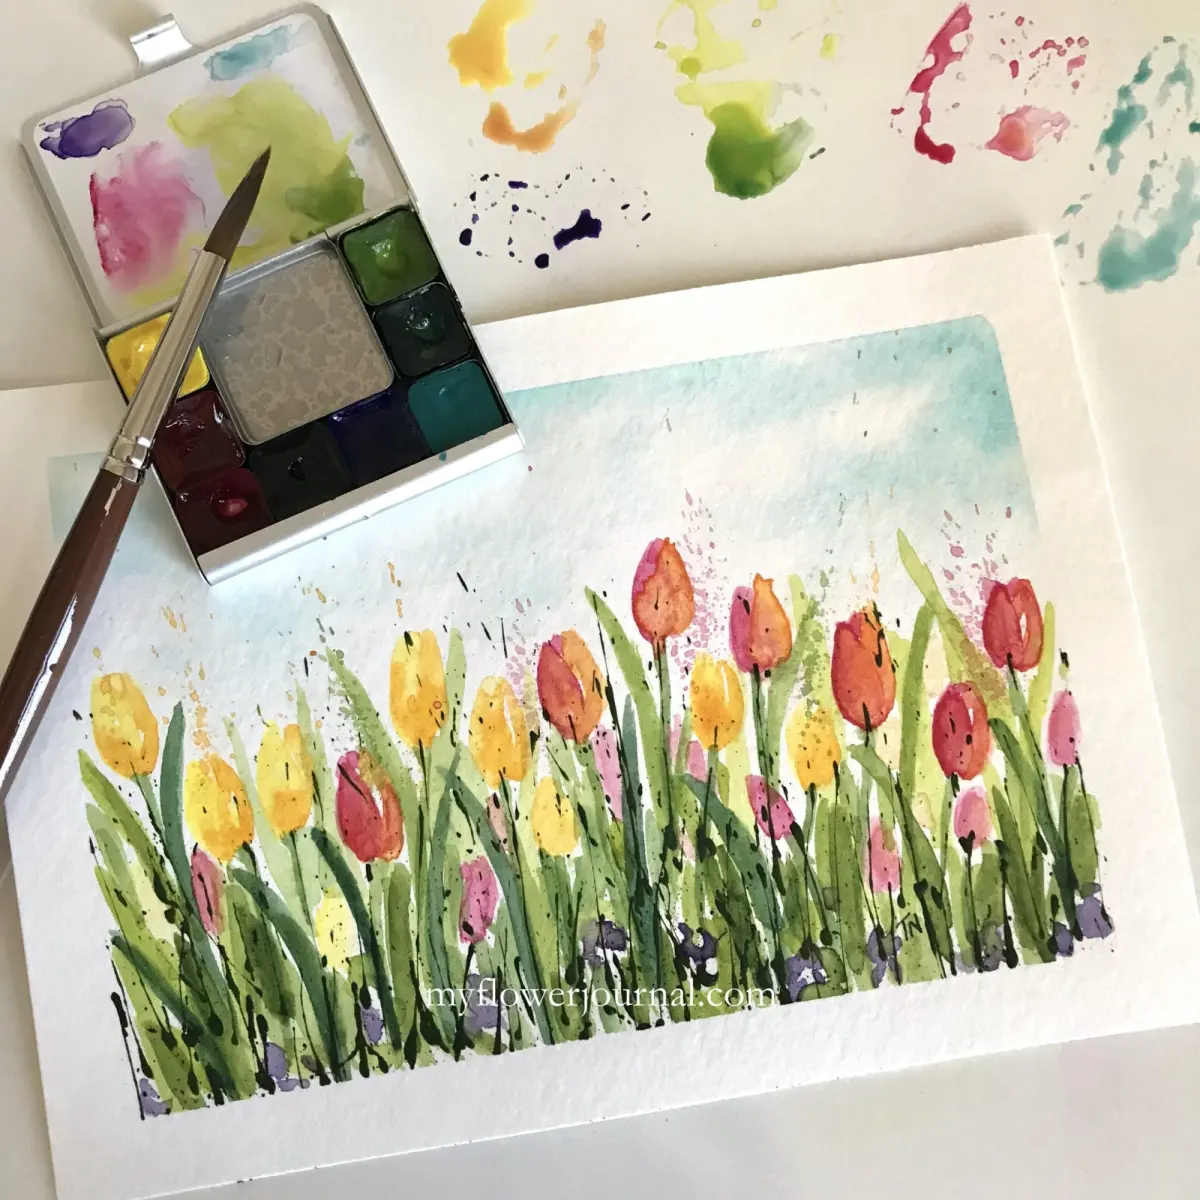
Selecting quality materials is the first step toward achieving professional results in forest landscapes. For beginners, a cold-press watercolor paper with a weight of 140 pounds (300 grams per square meter) is ideal because it absorbs water without warping excessively. You should use professional-grade paints, which contain more pigment, allowing for richer color mixing and smoother gradients when diluted with water.
Brushes are equally important for creating the varied textures found in a forest. A large round brush, such as a size 10 or 12, is essential for laying down broad washes for the sky and foliage. A smaller size 4 round brush with a fine point is necessary for painting delicate branches and tree trunks. Consider these essential items for your kit:
- Cold-press watercolor paper (140 lb)
- Synthetic or sable round brushes (sizes 4, 8, and 12)
- A palette for mixing consistent color ratios
- Masking fluid to preserve highlights on tree trunks
- Two jars of water: one for rinsing dirty brushes and one for clean water
How to mix natural forest colors
The secret to a believable forest is moving beyond the standard green found in a tube. Forests are rarely a single shade; they contain complex mixtures of yellows, blues, and earth tones. To create a realistic palette, experiment with mixing different blue pigments, like ultramarine or cerulean, with various yellows, such as cadmium yellow or raw sienna. Adding a touch of burnt umber or sepia will instantly desaturate your greens, making them look more natural and less artificial.
When mixing, always test your colors on a scrap piece of paper before applying them to your main painting. Watercolors dry lighter than they appear when wet, so err on the side of a slightly darker mixture. To create depth, use cooler, paler greens for distant trees and warmer, more intense greens for the foreground. By maintaining a variety of temperatures and values, you ensure that your forest does not look flat or one-dimensional.
How to paint layers for depth
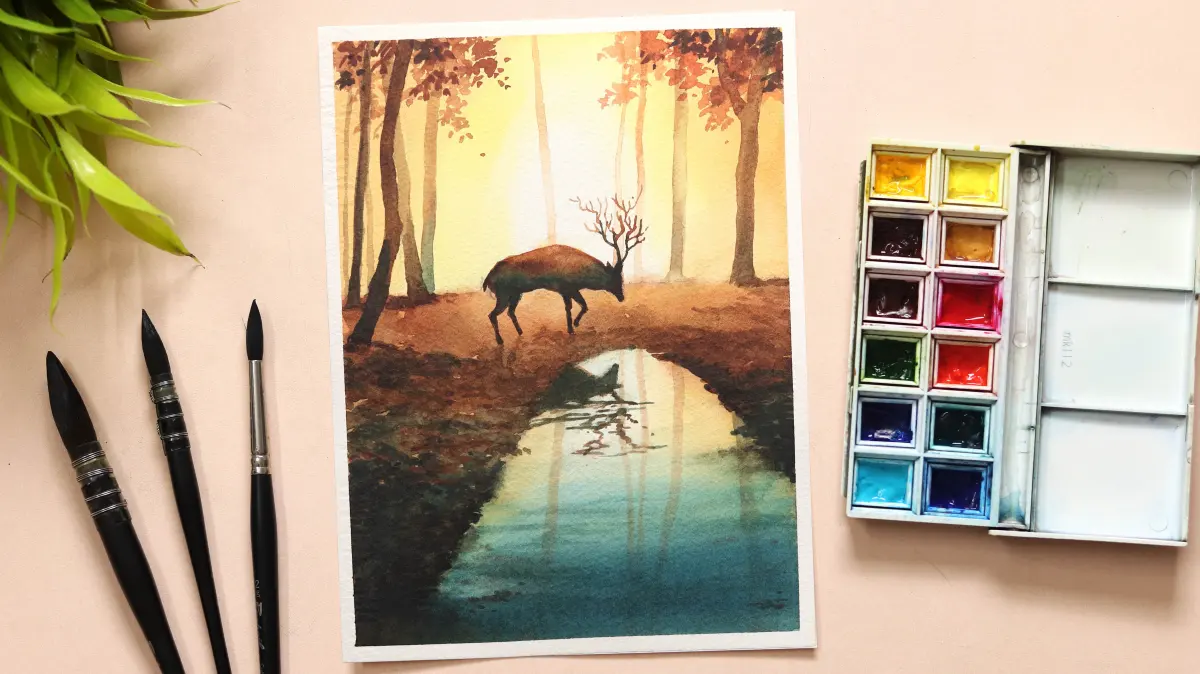
Creating a sense of distance is achieved through the principle of atmospheric perspective. Start by painting the furthest trees first using a very pale, cool green wash. As you move toward the foreground, increase the pigment concentration and use warmer colors. This progression mimics how the atmosphere scatters light, making distant objects appear lighter and bluer while foreground objects remain sharp and saturated.
Follow these steps to build your layers effectively:
- Sketch the basic placement of your tree trunks and main foliage masses lightly with a pencil.
- Apply a light wash for the background, allowing it to dry completely before adding the next layer.
- Paint the mid-ground trees with slightly more pigment, using a wet-on-dry technique to keep edges distinct.
- Add the foreground trees last, using dark, rich colors and adding fine details like bark texture or leaves.
- Use a dry brush technique to suggest rough textures on tree trunks or mossy ground cover.
How to add texture and detail
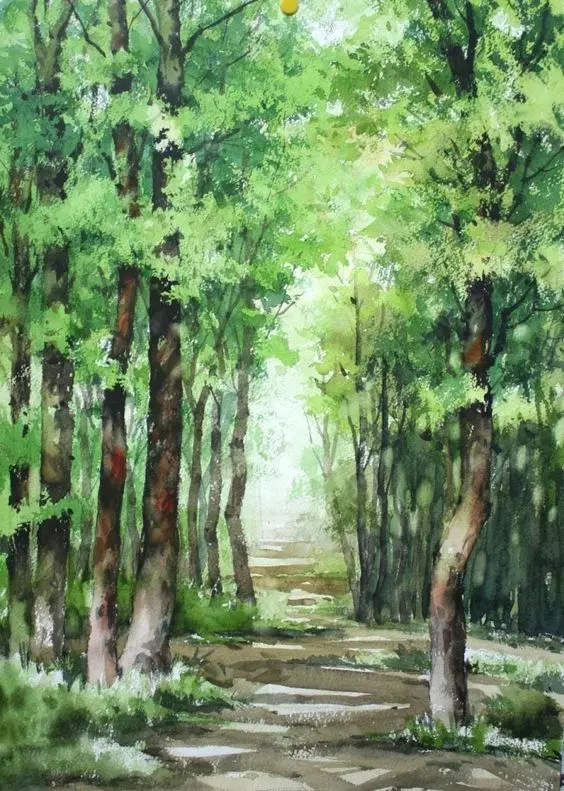
Details define the character of a forest, but they should be applied judiciously to avoid cluttering the composition. To paint convincing foliage, use a stippling motion with a round brush, dabbing the paper to create the appearance of leaves rather than painting individual shapes. For tree trunks, focus on the verticality of the lines and leave small gaps for light to pass through. If you want to add texture to bark, try using a dry brush with very little water to drag pigment across the paper's tooth.
Another effective technique involves using salt or a spray bottle while the paint is still damp. Sprinkling a small amount of table salt onto a wet wash creates star-like patterns that resemble dappled sunlight filtering through a canopy. Alternatively, flicking clean water onto a drying wash creates "blooms" or backruns, which can simulate the soft, organic look of moss or distant shrubs. Always allow these effects to dry fully before adding further layers over the top.
Common mistakes when painting forests
One of the most frequent errors is overworking the paper, which leads to muddy colors and damaged fibers. If you continue to brush over an area that is beginning to dry, you will lift the pigment and create unsightly streaks. Another common mistake is using the same shade of green for the entire painting. This lack of variety makes the forest look like a solid wall of color rather than a complex, living ecosystem.
Avoid these pitfalls to improve your technique:
- Do not ignore the white space; leaving small gaps between trees helps define the light.
- Avoid using black paint to darken your greens, as it creates a dull, lifeless tone; use complementary colors like purple or red instead.
- Do not rush the drying process between layers, as this causes colors to bleed into each other unintentionally.
- Avoid making all tree trunks perfectly straight; real trees have curves, knots, and slight leans that add character to your forest.
Key facts
- Use a "wet-on-wet" technique for distant trees to create soft, blurred edges that suggest depth.
- Establish a clear light source early to determine where shadows fall on tree trunks and the forest floor.
- Vary your green pigments by mixing blue and yellow rather than using a single tube color to mimic natural foliage diversity.
- Utilize a rigger or liner brush for fine branches, as its long bristles hold more paint and allow for fluid, organic lines.
- Apply masking fluid to preserve white highlights on birch bark or sun-drenched leaves before painting the background.
- Build depth by painting background layers with lighter, cooler colors and foreground elements with darker, warmer tones.
The bottom line
Painting a forest requires balancing atmospheric depth with specific organic details. By layering washes from light to dark and utilizing varied brushwork for foliage, you can capture the complexity of a woodland environment. Focus on maintaining clean colors and using light to guide the viewer’s eye through the scene. With practice, you will master the delicate interplay between soft, distant shadows and sharp, vibrant foreground textures.
People also ask
How do I make trees look three-dimensional?
Focus on the transition between light and shadow on the trunk. Apply a darker pigment to one side of the cylinder-shaped trunk while leaving the other side lighter to simulate volume.
What is the best way to paint realistic leaves?
Avoid painting every individual leaf. Use small, rhythmic dabs of pigment with a round brush to suggest clusters of foliage, focusing on the overall shape of the canopy.
How can I prevent my forest scene from looking muddy?
Limit your palette to three or four primary colors and allow each layer to dry completely before adding new ones. Overworking wet paint often results in dull, brown tones.
Should I paint the background or foreground first?
Start with the background using diluted washes. Working from the back to the front helps establish atmospheric perspective and makes it easier to layer darker foreground details on top.
Which watercolor paper is best for forest landscapes?
Cold-press paper with a 140-pound (300 gsm) weight is ideal. Its slight texture helps capture the organic, grainy quality of bark and forest moss.
How do I create the effect of light filtering through trees?
Use a "lifting" technique by gently wiping away wet paint with a clean, damp brush or paper towel. This creates soft, glowing shafts of light known as god rays.
This answer was created with the help of AI research tools and reference sources. Spotted an error? Let us know — we correct mistakes quickly. See our editorial policy.