How do you paint a cat in watercolor?
Short answer
Painting a cat in watercolor requires layering transparent pigments to capture the texture of fur and the animal's unique anatomy. Begin by sketching the feline’s structure, then apply light washes for the base coat. Build depth through successive layers of color, focusing on eye detail and directional brushstrokes to suggest soft fur.
On this page
How to prepare watercolor supplies for painting cats
Selecting the right materials is the foundation of a successful watercolor portrait. For fur textures, use cold-press watercolor paper with a weight of at least 140 pounds, as it absorbs water well without warping. You will need a selection of round brushes, specifically sizes 2, 6, and 10, which allow for both broad washes and fine, whisker-like details. Synthetic sable brushes are often preferred because they maintain a sharp point while holding enough pigment to cover larger areas of the cat's body.
When choosing your palette, focus on earth tones like Burnt Sienna, Raw Umber, and Payne’s Gray, which are essential for realistic fur colors. Keep two containers of water nearby: one for rinsing dirty brushes and another for clean water to mix fresh colors. A ceramic palette is ideal for mixing, as it prevents the paint from beading up. Before starting, ensure your workspace is well-lit so you can accurately observe the subtle color shifts in your reference photo.
How to sketch a cat for watercolor
Before applying any paint, create a light pencil sketch on your watercolor paper. Focus on the geometry of the feline, breaking the head into a circle and the body into larger oval shapes. Use a hard lead pencil, such as an H or 2H, and draw with a very light touch to ensure the lines do not show through the transparent watercolor layers. Pay close attention to the placement of the eyes, ears, and nose, as these features define the cat's personality and expression.
- Draw the basic silhouette, focusing on the curve of the back and the position of the tail.
- Mark the eye line, noting that a cat’s eyes are typically set wide apart and slightly tilted.
- Lightly sketch the direction of the fur growth, using small arrows to remind yourself which way to stroke the brush later.
- Erase any heavy lines with a kneaded eraser until they are barely visible, leaving only a faint guide for your painting process.
How to layer watercolor fur textures
The key to painting realistic fur is working from light to dark. Start by applying a thin, watery wash of your lightest color across the cat's body, avoiding the eyes and the highlight areas on the nose. Once this base is dry, use a smaller brush to add mid-tone colors, applying the paint in short, flicking motions that follow the direction of the hair. By layering these strokes, you create the illusion of depth and density, which is essential for capturing the soft appearance of a cat.
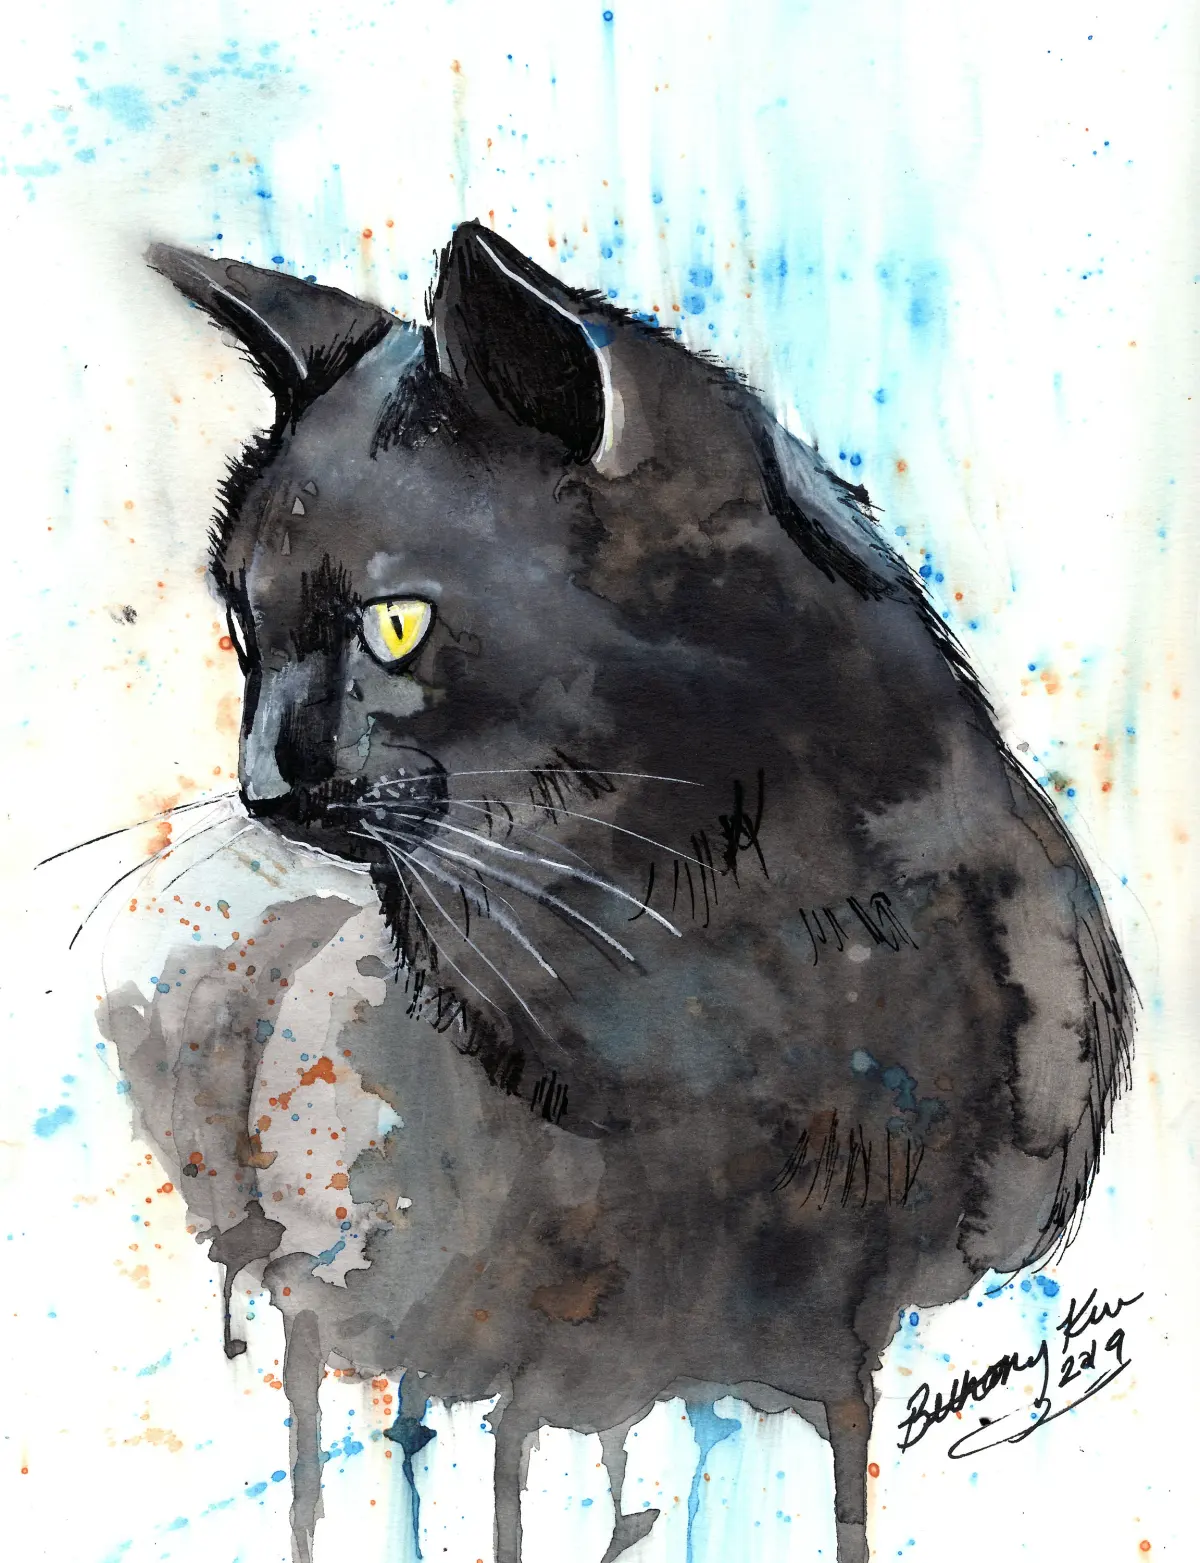
To achieve a natural look, vary the intensity of your pigment as you move across the body. Keep the edges of the cat soft in some areas by dampening the paper with clean water before applying paint, a technique known as wet-on-wet. In other areas, such as the ears or paws, use a dry brush technique to create sharp, crisp edges. This contrast between soft, blended areas and sharp, detailed strokes will give your painting a professional, three-dimensional quality.
Best tips for painting cat eyes and whiskers
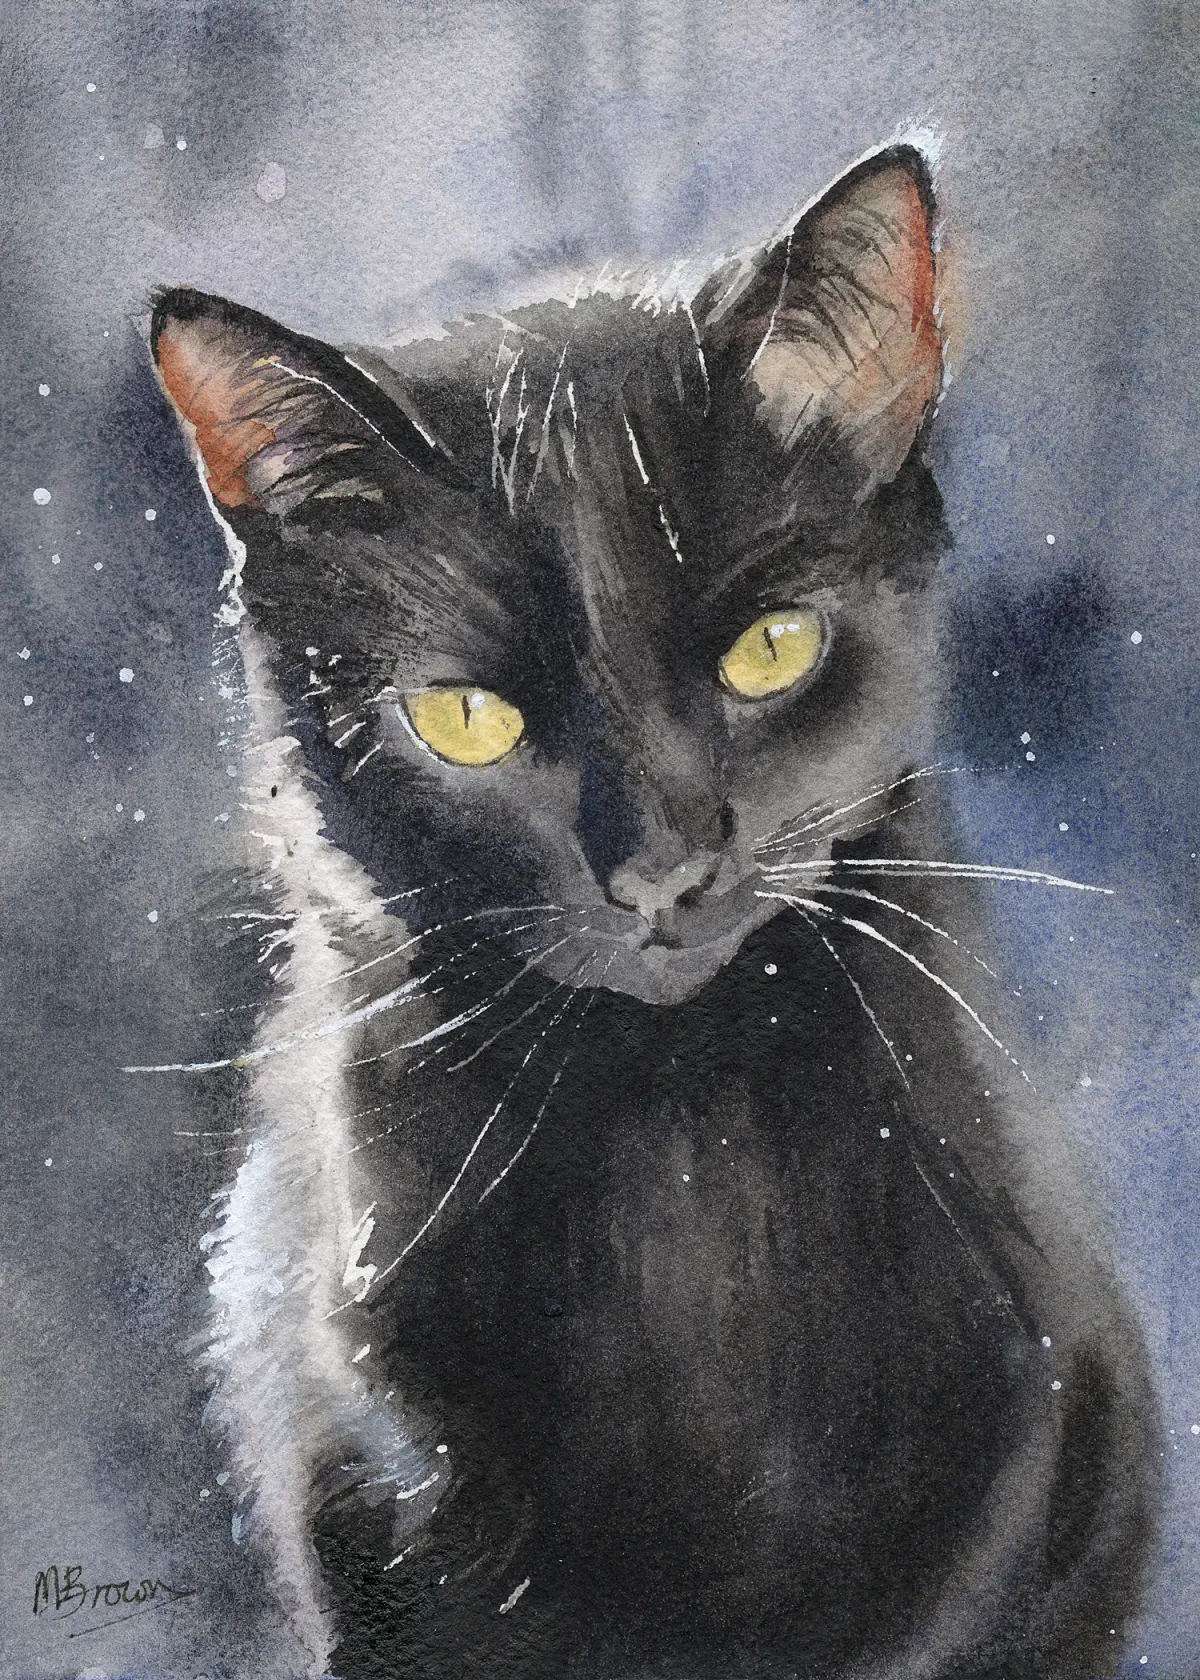
The eyes are the focal point of any animal portrait and require the most precision. Start by painting the iris with a light wash, then drop in darker pigments toward the top to represent the shadow cast by the eyelid. Leave a small, white paper gap to serve as the highlight, which provides the "spark" of life. Once the iris is dry, use a very fine liner brush to paint the pupil with a rich, dark mixture of black or deep blue, ensuring the edges are clean and sharp.
Whiskers should be added last to avoid accidentally painting over them. You can achieve thin, white whiskers by using a masking fluid before you start painting, which preserves the white of the paper. Alternatively, use a sharp craft knife to gently scratch away the dried pigment to reveal the white paper underneath, or use a small amount of opaque white gouache for a final highlight. Both methods require a steady hand and a confident, single-stroke application to look authentic.
Common mistakes when painting cats in watercolor
One of the most frequent errors is overworking the paper, which causes the fibers to pill and the colors to turn muddy. Watercolor relies on transparency, so avoid layering too many dark colors on top of each other. If you make a mistake, resist the urge to scrub the area; instead, lift the paint gently with a damp paper towel or wait for it to dry completely before attempting to glaze a new color over the top. Another common pitfall is ignoring the light source.
- Painting the cat in a flat, uniform color without considering shadows under the chin or near the legs.
- Using brushes that are too large for the fine details of the face, leading to messy, indistinct features.
- Failing to let each layer dry fully, which causes colors to bleed into unwanted areas.
- Forgetting to leave white highlights in the eyes, which makes the cat appear lifeless or dull.
- Over-detailing every single hair, which results in a stiff, unnatural appearance rather than a soft, furry texture.
Key facts
- Use cold-press watercolor paper with a weight of at least 300 grams per square meter to prevent warping when wet.
- Start by sketching the cat’s outline with a light HB pencil, focusing on the basic geometric shapes of the head and body.
- Apply a light "underpainting" wash of color to establish the cat’s base coat before adding darker fur details.
- Use a small, round synthetic brush with a sharp point to create thin, flicking strokes that mimic the appearance of individual hairs.
- Leave small areas of the white paper untouched to represent the natural highlights in the cat’s eyes and whiskers.
- Allow each layer of paint to dry completely before applying the next to ensure clean edges and prevent colors from muddying.
The bottom line
Painting a cat in watercolor requires a balance between patience and fluid brushwork. By focusing on the underlying structure and layering colors from light to dark, you can capture the soft texture of fur and the intensity of the animal's gaze. Remember to preserve your highlights and allow for drying time, as these small technical habits are essential for creating a professional, lifelike feline portrait.
People also ask
What kind of brushes are best for painting fur?
Round brushes with a fine point are ideal because they allow for both broad washes and precise, thin lines. Synthetic sable or high-quality nylon brushes provide the necessary "snap" or spring to flick the brush for hair-like textures.
How do I make the cat's eyes look realistic?
Paint the iris with a vibrant base color and add a darker crescent shape along the top to represent the pupil. Always leave a small, crisp white spot of paper visible to act as a reflection, which gives the eye depth and life.
Should I paint the background before or after the cat?
It is generally safer to paint the cat first to maintain control over the animal's silhouette. If you paint the background first, you risk bleeding colors into the cat’s fur or losing the sharp edges of the ears and tail.
How do I fix a mistake if the paint is too dark?
While the paint is still wet, you can lift color by dabbing the area with a clean, damp paper towel or a thirsty brush. If the paint has already dried, you can gently scrub the area with a damp brush, though this may damage the paper's texture.
Why does my watercolor painting look flat?
A flat appearance often results from using only one layer of paint or failing to vary the color intensity. Build volume by adding shadows under the chin, legs, and tail using a slightly darker, cooler version of your base color.
How do I paint white whiskers?
Avoid painting whiskers with white paint, as it often looks chalky or opaque. Instead, use a craft knife to carefully scratch thin lines into the paper before painting, or use masking fluid to preserve the white paper beneath.
This answer was created with the help of AI research tools and reference sources. Spotted an error? Let us know — we correct mistakes quickly. See our editorial policy.