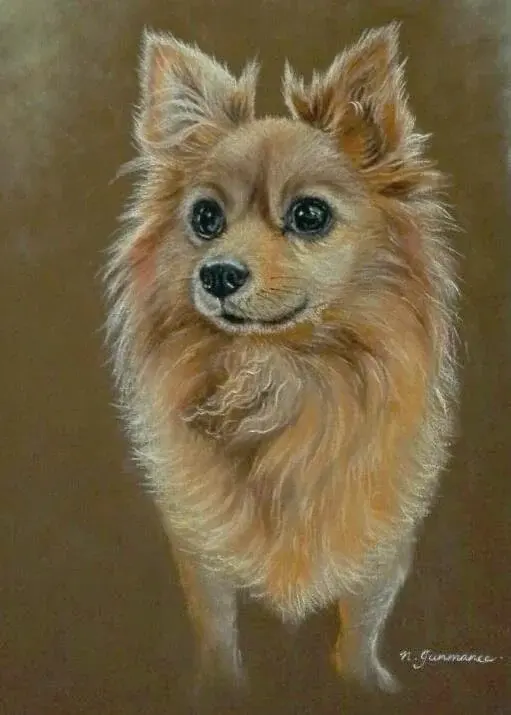
How do you paint a dog with watercolor?
Short answer
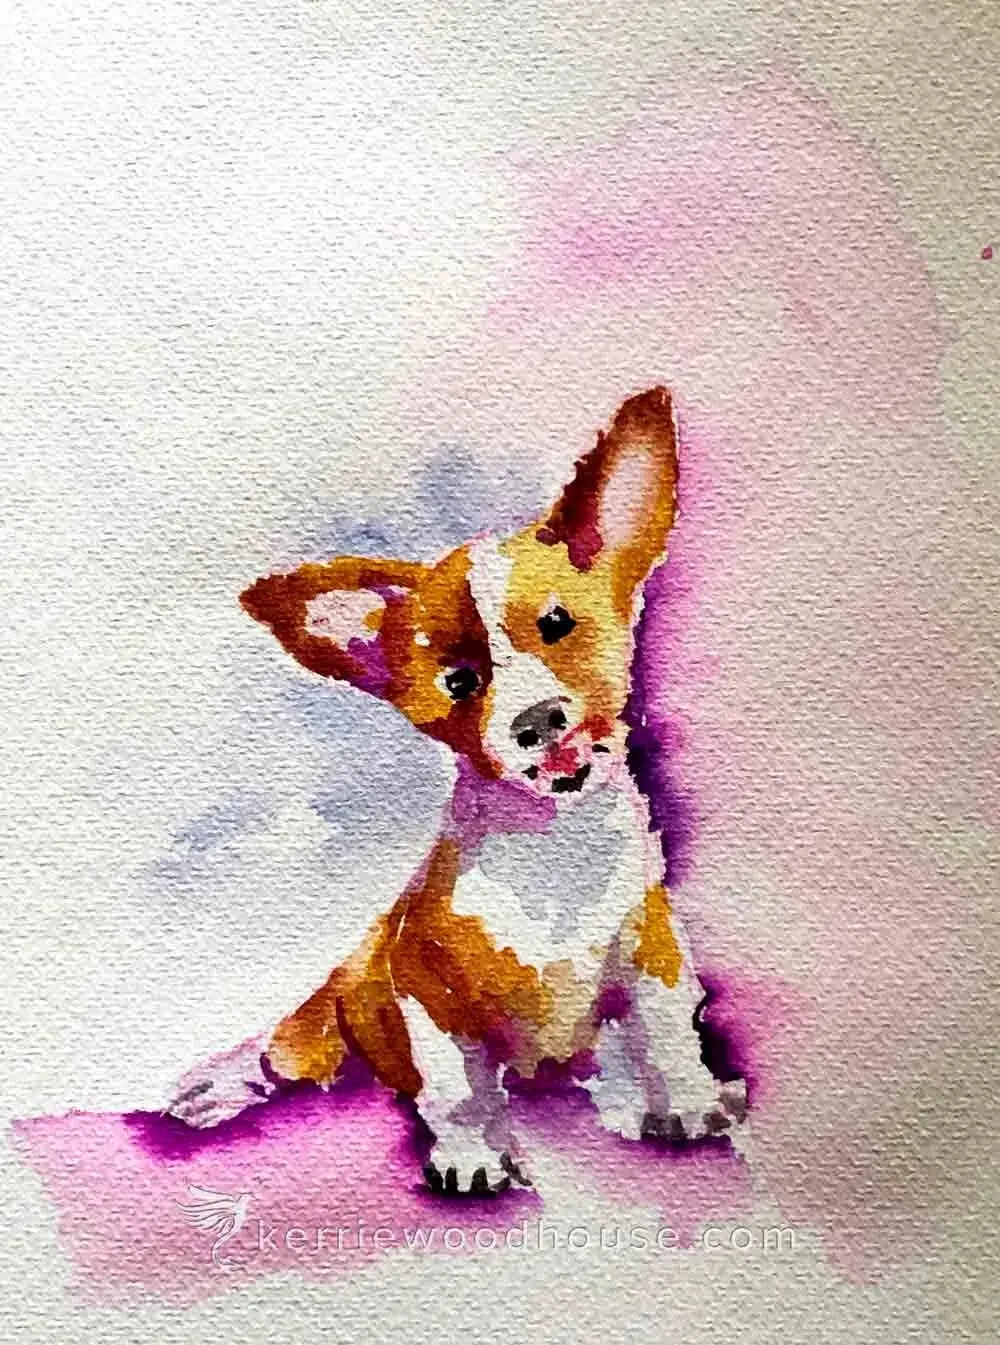
Painting a dog with watercolors involves layering transparent pigments to build depth and texture. Begin by sketching the subject’s proportions, then apply light washes for the base coat. Gradually introduce darker tones to define fur patterns and facial features, using fine brushes to add realistic details like whiskers and eye highlights.
On this page
What supplies do I need to paint a dog?
To achieve professional results, you should use high-quality materials that handle water well. Start with 140-pound (300 gsm) cold-press watercolor paper, which provides enough texture to capture the look of fur. You will need a set of professional-grade watercolor paints, focusing on earth tones like burnt sienna, raw umber, and payne’s gray for realistic animal coats.
Brushes are equally important for detailing. Invest in a round size 8 brush for large washes and a size 2 or 0 round brush for fine details like eyes and individual hairs. You should also keep two jars of water—one for rinsing dirty brushes and one for clean water—and a roll of paper towels to control moisture levels.
- 140lb cold-press watercolor paper
- Professional-grade tube or pan paints
- Round brushes (sizes 0, 2, and 8)
- Two water containers
- Masking tape for securing edges
- A graphite pencil and kneaded eraser
How do I sketch the dog before painting?
Accurate anatomy is the foundation of a successful portrait. Begin by observing the dog’s head shape and the placement of the eyes, which typically sit halfway down the skull. Use light, gestural lines to map out the snout and ears, checking the proportions against your reference photo frequently. Avoid pressing hard with your pencil, as dark graphite marks can show through light watercolor washes.
Once the basic outline is established, focus on the direction of the fur growth. Lightly sketch flow lines that indicate where the coat changes direction, such as around the muzzle or down the back. These lines will serve as a roadmap when you begin layering your paint. Use a kneaded eraser to lift away any overly dark graphite lines before you start applying water to the paper.
- Lightly draw the head shape and muzzle.
- Mark the eye positions relative to the nose.
- Map out the ears and neck structure.
- Draw directional arrows for fur growth.
- Gently erase heavy lines to leave a faint guide.
How do I layer watercolor for fur texture?
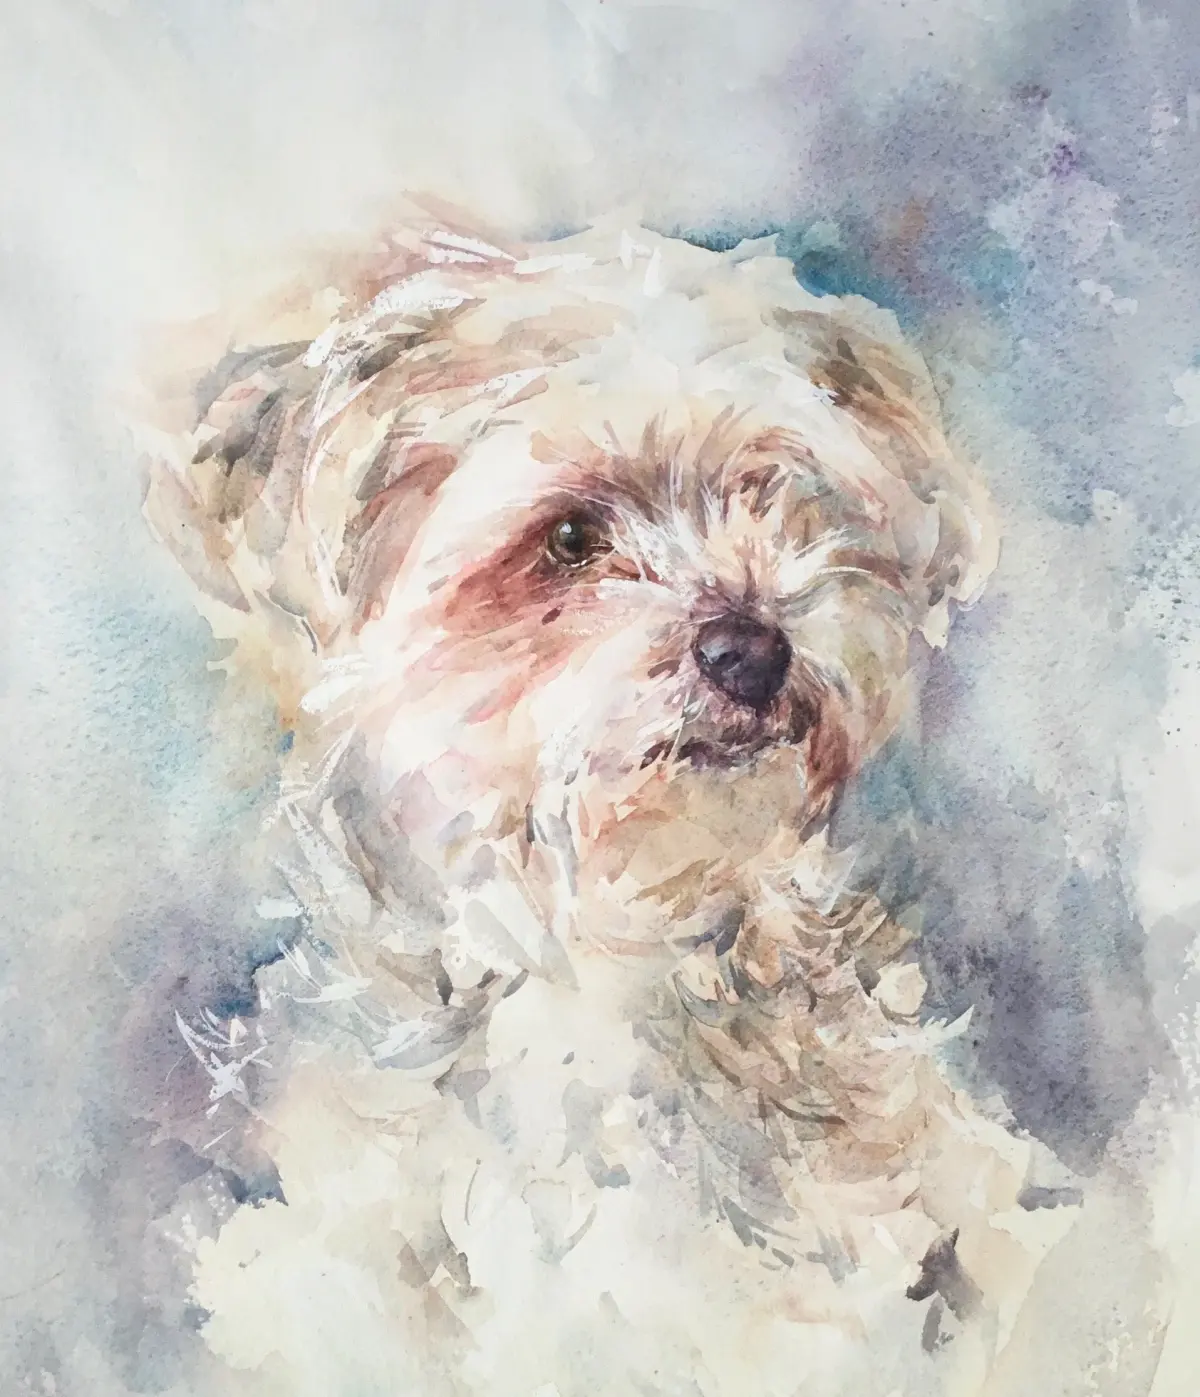
Watercolor is a transparent medium, so you must work from the lightest colors to the darkest. Start with a very pale wash of color to establish the base tone of the dog’s coat, leaving the paper white in areas where you want bright highlights, such as the glint in the eyes. Allow this first layer to dry completely before adding subsequent washes.
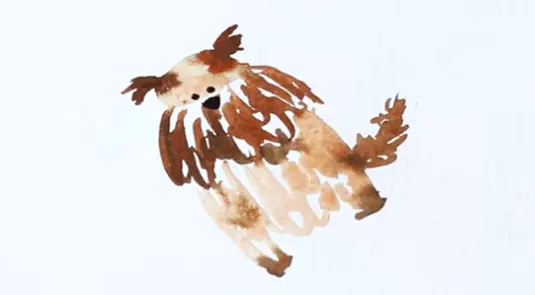
As you build depth, use a "wet-on-dry" technique to create individual fur strokes. Load your small brush with a slightly thicker pigment and paint short, flicking motions that follow the direction of the fur growth you mapped earlier. By layering these strokes, you create the illusion of density and volume. Always ensure each layer is dry before adding the next to avoid creating muddy, unwanted textures on the paper surface.
How to paint realistic dog eyes and nose?
The eyes and nose are the focal points of any pet portrait. To paint a realistic eye, start with a light wash of color for the iris, then add a darker ring around the edge. Leave a small, unpainted white circle for the light reflection, which gives the eye a lifelike, wet appearance. Use a very fine brush to define the pupil with a deep, concentrated pigment.
The nose requires a similar approach but with more attention to texture. Most dog noses have a pebbled surface, which you can represent by using a "stippling" technique. Apply small, irregular dots of paint to create a sense of depth and shadow. Keep the top of the nose lighter to suggest a highlight, which adds three-dimensional form. Focus on these small details only after the surrounding fur is mostly finished to ensure the proportions remain balanced.
Common mistakes when painting dogs with watercolor?
One of the most frequent errors is overworking the paper. Watercolor requires confidence; if you brush over the same area too many times while it is damp, the paper fibers will pill and the colors will turn muddy. To avoid this, plan your color transitions carefully and resist the urge to fix minor imperfections until the entire painting is completely dry.
Another common mistake is using too much water, which causes the pigment to bloom or lose control. Always test your brush on a scrap piece of paper before touching the final portrait. Additionally, beginners often forget to account for the drying shift, where colors appear lighter once the water evaporates. Compensate for this by mixing your pigments slightly darker than you think they need to be. By practicing patience and maintaining a clean workspace, you will produce a vibrant, lifelike portrait.
Key facts
- Use high-quality cold-press watercolor paper with a weight of at least 140lb (300gsm) to prevent buckling.
- Start with a light graphite sketch, focusing on the dog's eye placement and muzzle shape before applying paint.
- Apply colors from lightest to darkest, preserving the white of the paper for the brightest highlights.
- Use a small, round synthetic brush, such as a size 2 or 4, for fine details like whiskers and fur texture.
- Employ the "wet-on-wet" technique for soft backgrounds and "wet-on-dry" for sharp edges and defined fur patterns.
- Keep two jars of water nearby: one for rinsing dirty brushes and one for clean water to mix fresh colors.
The bottom line
Painting a dog in watercolor requires patience and a systematic approach. By starting with a precise sketch and layering your colors from light to dark, you maintain control over the final image. Focus on capturing the eyes first to establish a focal point, then build texture through intentional, directional brushstrokes. With quality materials and careful observation, you can create a vibrant, lifelike portrait of your pet.
People also ask
How do I capture the texture of dog fur?
Use short, flicking brush strokes in the direction of hair growth while the paint is slightly damp. Avoid over-blending, as letting individual strokes remain visible creates a more realistic, fluffy appearance.
What is the best way to paint realistic eyes?
Leave a tiny, sharp white dot of unpainted paper in the pupil to represent the light reflection. This simple technique instantly brings life and depth to the animal's expression.
Should I use masking fluid for the whiskers?
Masking fluid is excellent for preserving thin, white lines like whiskers or bright fur highlights. Apply it carefully with a toothpick or a dedicated old brush, then peel it away once the surrounding paint is bone-dry.
Why does my watercolor painting look muddy?
Muddy colors often result from overworking the paper or mixing too many pigments together at once. Limit your palette to three or four primary colors and allow each layer to dry completely before adding the next.
How do I fix a mistake if I paint the wrong color?
While the paint is still wet, you can lift it by dabbing the area with a clean, damp paper towel or a dry brush. If the paint has already dried, it is very difficult to remove, so it is often better to incorporate the error into a darker shadow.
How long should I let the painting dry?
Allow at least 20 to 30 minutes for a layer to dry naturally before adding fine details. Using a hairdryer on a low, cool setting can speed up the process, but be careful not to blow the paint into unwanted areas.
This answer was created with the help of AI research tools and reference sources. Spotted an error? Let us know — we correct mistakes quickly. See our editorial policy.