How do you draw a realistic dog?
Short answer
Drawing a realistic dog requires breaking complex anatomy into simple geometric shapes, such as spheres and cylinders. By establishing accurate proportions first, you build a foundation for detailed fur texture and lighting. Focus on the eyes and nose, as these features define the dog’s personality and provide the essential focal points.
On this page
How to sketch basic dog anatomy
To draw a realistic dog, you must first understand its skeletal structure. Start by sketching a large circle for the rib cage and a smaller, slightly oval circle for the head. Connect these with two curved lines to represent the neck and spine, ensuring the back remains relatively level. The hindquarters are defined by a larger, rounded shape that sits lower than the front shoulders.
Once the primary masses are established, add cylinders for the legs and joints. Place small circles at the elbows and knees to map out where the limbs bend. This structural approach prevents the common mistake of drawing legs that appear disconnected or incorrectly angled. Keep your initial lines light, as these are merely guides that will be erased or covered as you refine the animal's form.
How to capture accurate dog proportions
Proportions are the most critical element in achieving realism. In most dog breeds, the length of the head is roughly one-third of the total body length from the nose to the base of the tail. Use your pencil as a measuring tool to compare the distance between the eyes against the length of the snout. This ensures that the facial features do not appear cramped or distorted.
- Measure the distance from the top of the head to the bottom of the jaw.
- Mark the placement of the eyes halfway between the top of the skull and the nose.
- Align the ears so they sit slightly above the eye line, depending on the specific breed.
- Check that the chest depth is proportional to the length of the front legs.
Best shading techniques for realistic fur
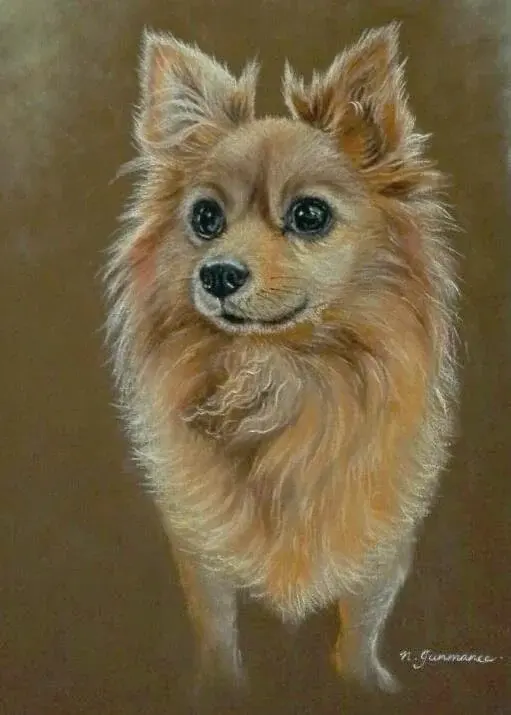
Fur is not a solid mass of color but a collection of individual strands that follow the contours of the dog’s muscles. Use short, flicking pencil strokes to mimic the direction of hair growth, starting from the roots and moving toward the tips. Always layer your shading, beginning with a light base tone and gradually building up darker values in shadowed areas, such as under the belly or behind the ears.
To achieve a professional look, vary the pressure of your pencil to create depth. Use a sharp lead for fine hairs around the muzzle and eyes, and a softer graphite for the thicker coat on the back. Remember that fur reflects light, so leave small, unshaded patches to represent highlights. This contrast between light and shadow is what gives the coat its three-dimensional quality and realistic sheen.
Common mistakes when drawing dog faces
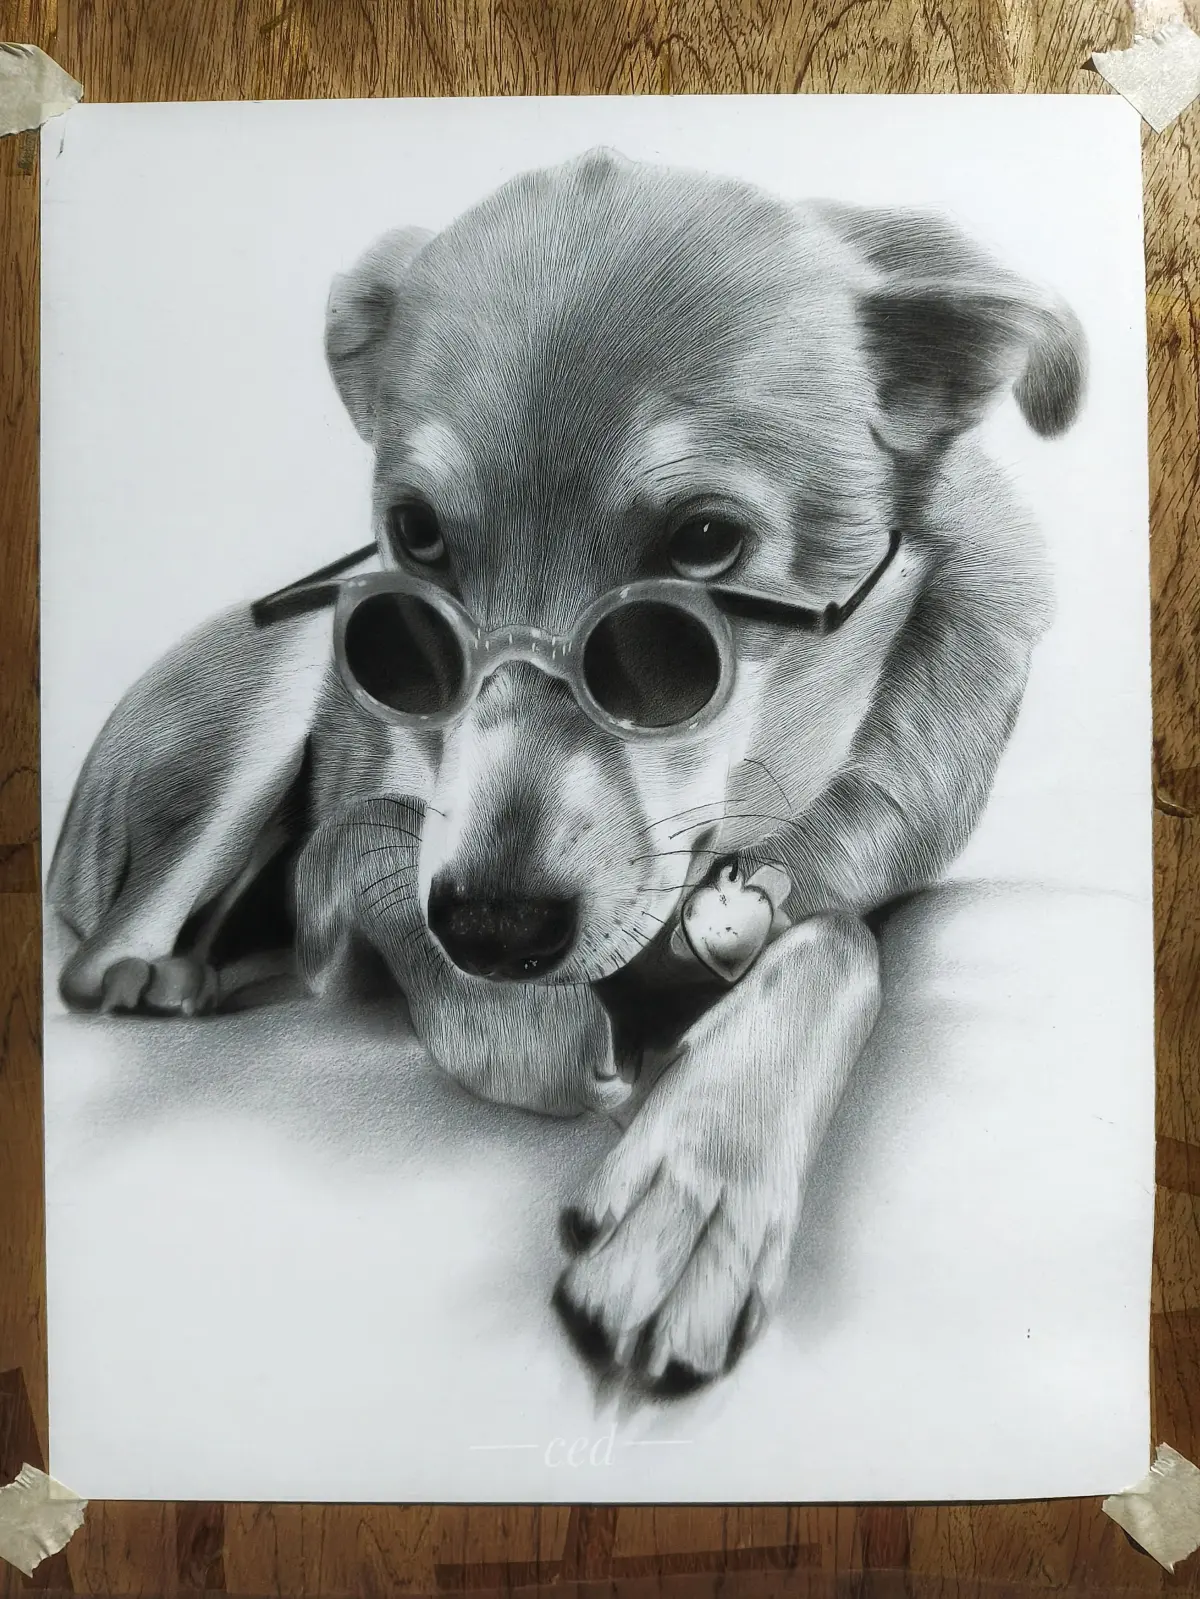
Many beginners struggle with the eyes, often drawing them as flat circles. A realistic dog eye is a sphere set into a socket, which requires careful shading of the eyelids and the surrounding fur. Always include a bright white highlight, known as a catchlight, to bring life to the expression. Without this reflection, the eyes will appear dull and lifeless, regardless of how well the rest of the drawing is executed.
Another frequent error is neglecting the nose. A dog’s nose is not a smooth surface; it is textured with tiny bumps and often has a distinct central line. Avoid drawing a solid black shape. Instead, use a cross-hatching technique to create a mottled, porous appearance. Ensure the nostrils are shaded deeply to provide a sense of depth, which helps the snout look like it is projecting forward rather than sitting flat on the page.
How to add final details and texture
The final stage of drawing involves refining the edges and adding environmental context. Use an eraser to pull out highlights along the dog's spine and the top of the head where light hits most intensely. Check your overall composition to ensure the dog’s posture looks natural and balanced. If the drawing feels static, add subtle shadows on the ground beneath the paws to anchor the animal in a physical space.
- Use a kneaded eraser to lift graphite for soft, blended highlights.
- Apply a darker pencil grade, such as 4B or 6B, to deepen the darkest shadows.
- Add whiskers using a sharp, light stroke that flickers outward from the muzzle.
- Review your work from a distance to spot any anatomical imbalances that are not visible up close.
By following these steps and focusing on the interplay of light and structure, you will create a convincing portrait that captures the true essence of the animal.
Key facts
- Use basic geometric shapes like circles and ovals to map out the skull, ribcage, and hips before adding details.
- Focus on the "stop," the transition point between the forehead and the muzzle, to capture the specific breed's profile.
- Draw fur in the direction of growth rather than using individual lines, which creates a more natural, textured appearance.
- Observe the eyes as spheres set into the skull, ensuring the highlights are placed consistently to give the dog a lifelike gaze.
- Use a variety of pencil grades, such as 2H for light initial sketches and 4B or 6B for deep shadows.
- Pay close attention to the joints and paws, as these are often the most complex parts of the dog's anatomy.
The bottom line
Drawing a realistic dog requires moving beyond simple outlines to understand the underlying skeletal structure and fur texture. By mapping out the body with geometric shapes and observing how light interacts with the animal’s coat, you can create a lifelike portrait. Focus on proportions and directional strokes, and remember that patience in the initial sketching phase is the most important step toward achieving a professional result.
People also ask
How do I make the fur look realistic?
Instead of drawing every hair, focus on the direction of the coat and group strands into clusters. Use short, flicking strokes to mimic the texture and vary the pressure to show depth and light.
What is the most common mistake when drawing dogs?
Beginners often make the muzzle too short or the eyes too human-like. Always check the distance between the eyes and the length of the snout relative to the rest of the head.
Should I start with the outline or the shading?
Always establish the proportions with a light outline first. Shading should only be added once you are confident that the placement of features like the nose and ears is accurate.
How do I draw a dog's nose correctly?
A dog's nose is essentially a rounded triangle with two nostrils. Use soft, dark shading to create the leather-like texture and leave a small white spot for a highlight to make it look wet.
How do I capture the correct proportions of different breeds?
Study the skeletal structure of the specific breed you are drawing. A Greyhound has a much longer, leaner frame than a Bulldog, so adjust your initial geometric shapes accordingly.
What tools are best for beginners?
A set of graphite pencils, a kneaded eraser for lifting highlights, and a smooth-surface drawing paper are ideal. These tools allow for precise control and easy blending of tones.
This answer was created with the help of AI research tools and reference sources. Spotted an error? Let us know — we correct mistakes quickly. See our editorial policy.