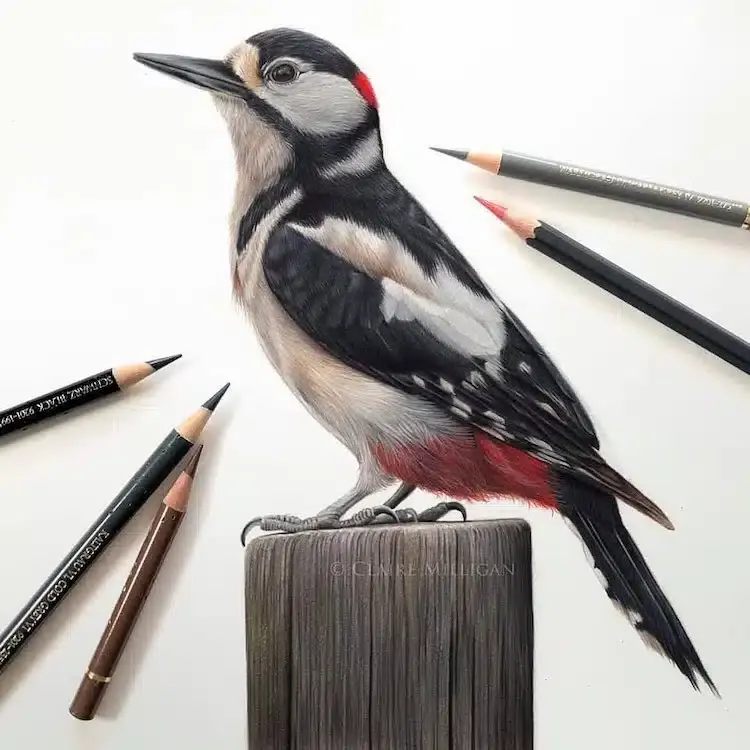
How do you paint a bird with watercolor?
Short answer
Painting a bird with watercolor requires layering transparent pigments from light to dark. Begin by sketching the bird's anatomy, then apply light washes for the base colors. Build depth by adding intricate details like feathers and eyes in darker tones. Master control of water-to-pigment ratios to achieve realistic textures and vibrant plumage.
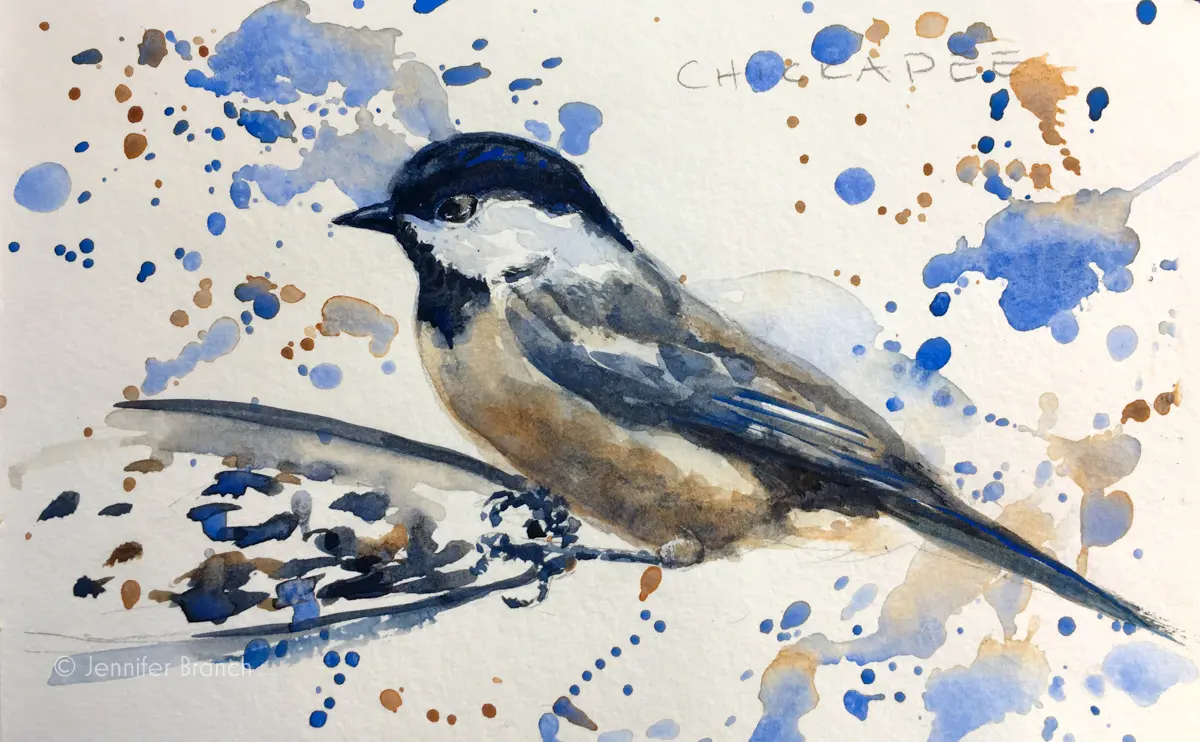
On this page
What supplies do I need for watercolor birds?
To paint birds effectively, you need high-quality materials that allow for precision and fluid blending. Start with cold-press watercolor paper, which has a slight texture that helps hold pigment in place. A weight of 140lb (300gsm) is the industry standard to prevent buckling when you apply multiple layers of water.
For brushes, invest in a small selection of round brushes with fine points, specifically sizes 0, 2, and 6. These allow you to transition from broad washes for the bird's body to delicate strokes for individual feathers. Use professional-grade tube or pan watercolors, as they offer better lightfastness and pigment density than student-grade alternatives.
- A palette for mixing colors.
- Two jars of water: one for rinsing brushes and one for clean water.
- Paper towels or a clean cloth to control the moisture on your brush.
- A kneaded eraser to lighten your pencil sketch without damaging the paper surface.
How do I sketch a bird for painting?
Accuracy in your initial sketch is vital because watercolor is translucent and cannot easily hide mistakes. Observe the bird's skeletal structure, focusing on the oval shape of the body and the smaller circle for the head. Use light pencil marks, as dark graphite can smear or show through the lighter paint layers.
Focus on the "line of action" that runs through the spine to give the bird a sense of movement. Ensure the beak, eye, and feet are positioned correctly relative to the body before adding any pigment. A well-proportioned sketch acts as a map, allowing you to focus entirely on color application and blending techniques once you begin painting.
- Draw a large oval for the torso and a smaller circle for the head.
- Connect them with a gentle curve to represent the neck.
- Sketch the beak and eye placement, noting the bird's specific proportions.
- Lightly erase heavy lines until they are just visible to your eye.
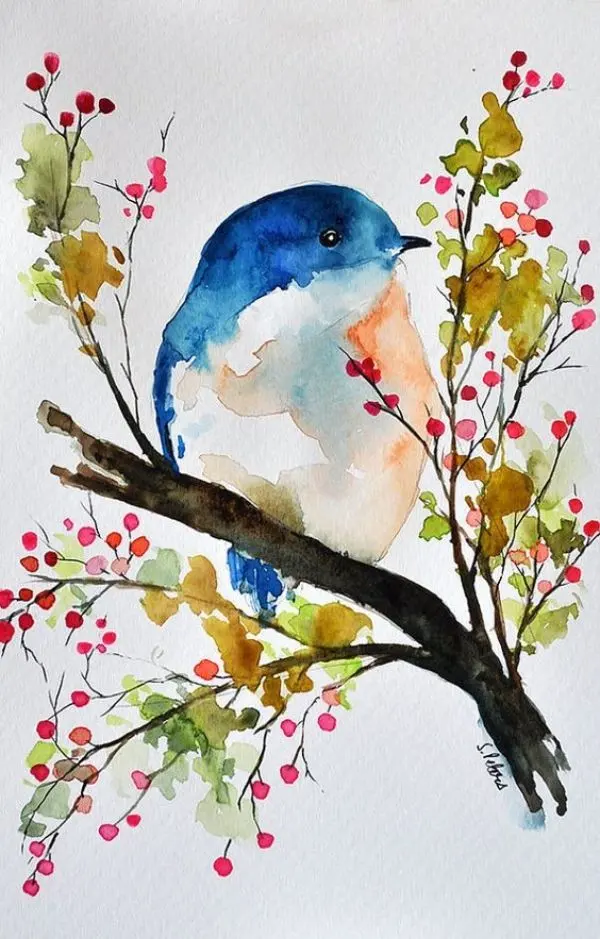
How to layer watercolor for feathers?
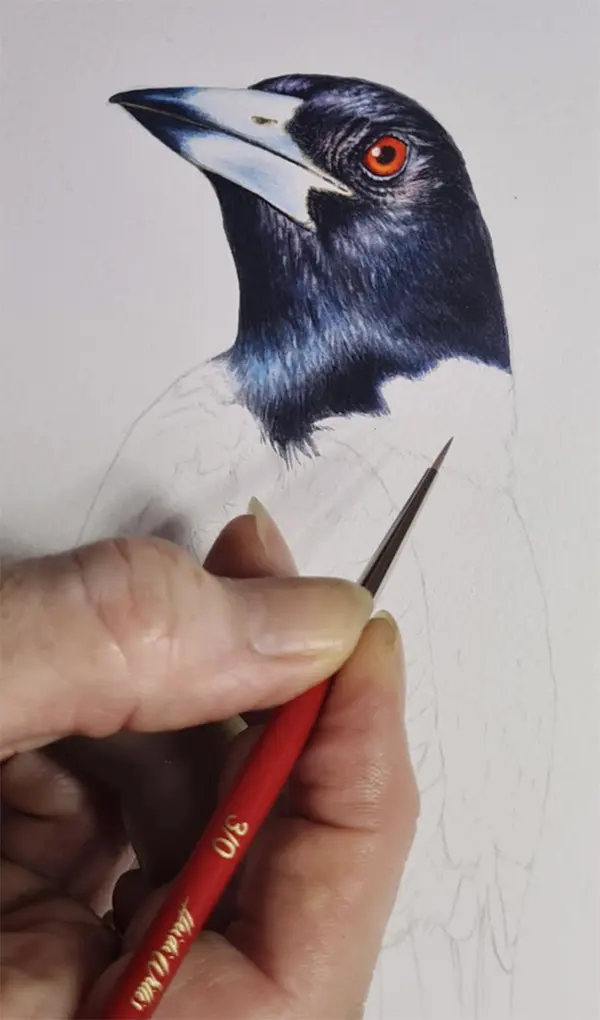
Layering is the secret to creating the illusion of depth and soft plumage. Start by applying a very light wash of color to the entire bird, leaving the brightest highlights—such as the white of the eye or the belly—completely unpainted. This "negative space" is essential for capturing the reflective quality of feathers.
Once the first layer is dry, move to mid-tones to define the bird's form and shadow areas. Use a "wet-on-dry" technique, where you apply paint to a dry surface, to create crisp edges for the wings and tail. Finally, use a darker, thicker pigment for the smallest details, such as the pupils, beak markings, and the darkest shadows under the wings.
- Always move from light to dark colors to maintain luminosity.
- Use a "wet-on-wet" technique for soft, blended areas like the breast.
- Allow each layer to dry completely before adding the next to avoid muddy colors.
- Use a dry brush with minimal paint to suggest the texture of individual feathers.
Best techniques for bird eyes and beaks?
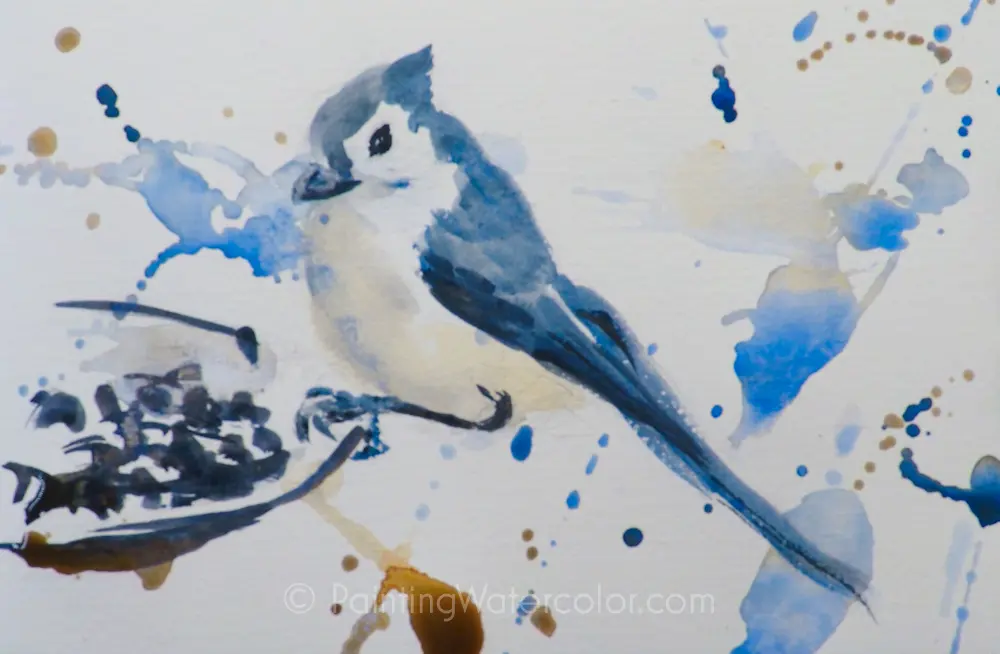
The eye and beak are the focal points of any bird painting and require the most attention to detail. For the eye, apply a base color, then add a tiny, sharp dot of white gouache or leave a small piece of paper unpainted to represent the light reflection. This "glint" brings the bird to life and creates a sense of intelligence.
When painting the beak, consider the light source to determine where shadows fall. Use a darker tone on the underside of the beak to provide a three-dimensional effect. Keep your brush strokes steady and deliberate, as the beak's shape defines the bird's species and expression. If the beak looks flat, add a thin, dark line along the seam where the upper and lower mandibles meet.
- Use your smallest brush (size 0) for the eye reflection.
- Keep the beak colors slightly muted to look natural.
- Ensure the beak's highlight matches the light source of the entire painting.
Common mistakes when painting birds?
One of the most frequent errors is using too much water, which causes the paint to pool and lose control. This often results in "cauliflower" blooms, where water pushes pigment to the edges of the stroke. Keep your brush damp but not dripping, and always test your pigment saturation on a scrap piece of paper first.
Another common mistake is overworking the paper, which can damage the fibers and make the colors look dull or muddy. If you find yourself scrubbing the paper, stop and let it dry completely before attempting to fix the area. Remember that watercolor is meant to be spontaneous; trying to achieve perfection in every single feather often leads to a stiff, unnatural appearance. Embrace the fluid nature of the medium and allow for slight variations in tone to create a more organic, lifelike result.
Key facts
- Use high-quality cold-press watercolor paper, as it holds water better than smooth hot-press paper and prevents buckling.
- Start by sketching the bird lightly with a hard pencil, such as a 2H, to avoid leaving heavy graphite marks that are difficult to erase.
- Apply light washes first to establish the base color, then build up darker values in layers to create depth and shadow.
- Use a small, round synthetic brush, size 2 or 4, to add fine details like feathers and the eye after the main body is dry.
- Leave small areas of the white paper untouched to serve as natural highlights, especially on the beak and eyes.
- Test your color mixtures on a scrap piece of paper before applying them to the painting to ensure the hue is correct.
The bottom line
Painting birds with watercolor requires a balance of patience and observation. By working in thin, transparent layers and preserving white space for highlights, you can capture the delicate texture of feathers and the vibrancy of avian life. Always allow your layers to dry thoroughly to maintain clean edges, and focus on the bird's anatomy to ensure your final painting looks natural, accurate, and full of character.
People also ask
How do you paint realistic bird feathers?
Use a "dry brush" technique by removing excess water from your brush and dragging it lightly across the paper to create texture. Focus on the direction of the feathers, following the bird's anatomy rather than painting individual lines everywhere.
What is the best way to paint a bird's eye?
Paint the eye as a dark, solid circle, leaving a tiny dot of white paper visible for a reflection. This highlight gives the eye a lifelike, glossy appearance that brings the entire portrait to life.
How do you prevent colors from bleeding into each other?
Wait for each layer of paint to dry completely before adding adjacent colors. If you want a soft transition, use the "wet-on-wet" technique, but keep the edges controlled by limiting the amount of water on your brush.
Should I paint the background before or after the bird?
It is generally safer to paint the bird first to avoid accidentally getting background colors on your subject. Once the bird is finished, you can carefully paint around the edges or leave the background white for a clean, minimalist look.
How do you fix a mistake while painting?
If the paint is still wet, use a clean, damp brush or a paper towel to lift the pigment off the paper. If the paint has dried, you can sometimes gently scrub the area with a wet brush, but be careful not to damage the paper fibers.
What brushes are essential for bird painting?
You need a medium-sized round brush for washes and a small detail brush for fine lines. Natural hair brushes like sable hold more water, but high-quality synthetic brushes are excellent for maintaining a sharp point during detailed work.
This answer was created with the help of AI research tools and reference sources. Spotted an error? Let us know — we correct mistakes quickly. See our editorial policy.