How do you draw manga panels?
Short answer
Drawing manga panels requires planning page layouts to guide the reader’s eye effectively. You must balance large, impactful panels for key moments with smaller panels for dialogue and pacing. Use a ruler and ink pens to create clean borders, ensuring the flow follows the traditional right-to-left reading order used in Japanese manga.
On this page
How to structure manga page layouts
The structure of a manga page is governed by the "koma," or panel. Professionals typically begin by sketching a rough storyboard, known as a name, to determine the size and placement of panels before committing to final ink. The goal is to create a rhythm that dictates how fast or slow a reader moves through the story. Large, borderless panels are often used for cinematic establishing shots or high-tension action, while smaller, uniform panels are best suited for rapid dialogue or subtle character reactions.
When designing your layout, consider the "gutter," which is the white space between panels. A consistent gutter width keeps the page organized, but breaking the gutter—where an image spills out of the panel—can create a dynamic effect that emphasizes movement or intensity. Always keep the reading flow in mind; in traditional manga, the eye travels from the top-right corner to the bottom-left. If your panel arrangement is confusing, the reader will lose their place and the narrative impact will be diminished.
Best tools for manga paneling for beginners
You do not need expensive equipment to start drawing professional-looking panels. Most artists utilize a few basic drafting tools to ensure their lines are crisp and their measurements are accurate. A high-quality metal ruler is essential for creating straight borders, while a technical pen with varying nib sizes allows for both thick, bold outlines and thin, detailed interior work. Beginners should also invest in a non-photo blue pencil for sketching, as these lines are easily ignored by scanners or can be removed digitally later.
- Metal ruler (at least 30cm) for precise, straight edges.
- Technical pens (0.1mm, 0.3mm, and 0.5mm) for line weight variation.
- Non-photo blue pencil for initial layout sketches.
- Eraser with a fine edge for cleaning up overlapping lines.
- Bristol board or heavy-weight smooth paper to prevent ink bleeding.
Using these tools helps maintain a clean aesthetic. Always ensure your ruler is wiped clean of ink before moving it across the page to prevent smearing.
Why panel pacing matters in manga
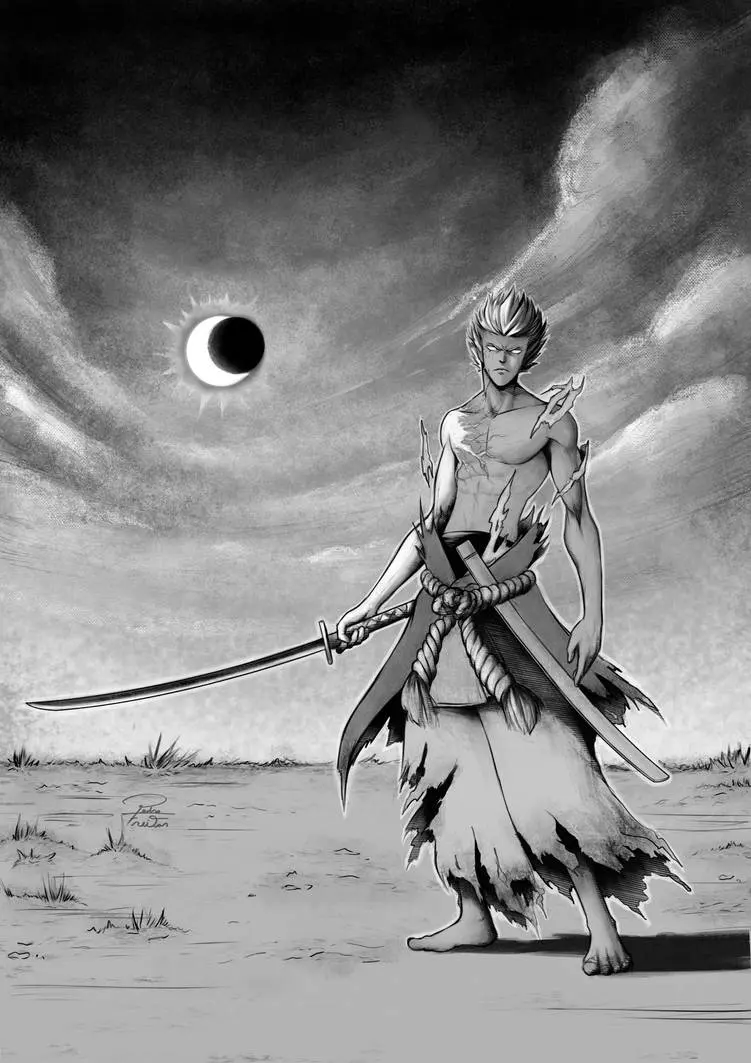
Pacing is the heartbeat of a manga chapter. By manipulating the size and shape of your panels, you control the passage of time. A sequence of many small panels creates a feeling of urgency or a rapid exchange of dialogue, forcing the reader to scan quickly. Conversely, a single large panel covering half a page forces the reader to pause, allowing them to absorb the gravity of a reveal or the beauty of an environment. This technique is known as "decompression" when used to slow down a scene.
Effective pacing also relies on the placement of speech bubbles. If bubbles are cluttered or poorly positioned, they block the artwork and disrupt the flow of the reader’s eye. Aim to place text in a way that leads the reader naturally to the next panel. If a scene feels sluggish, try removing a panel or increasing the size of the focal image. If a scene feels rushed, add a "reaction" panel that captures a character’s expression, providing a moment of silence that lets the previous action sink in for the audience.
Common mistakes when drawing manga panels
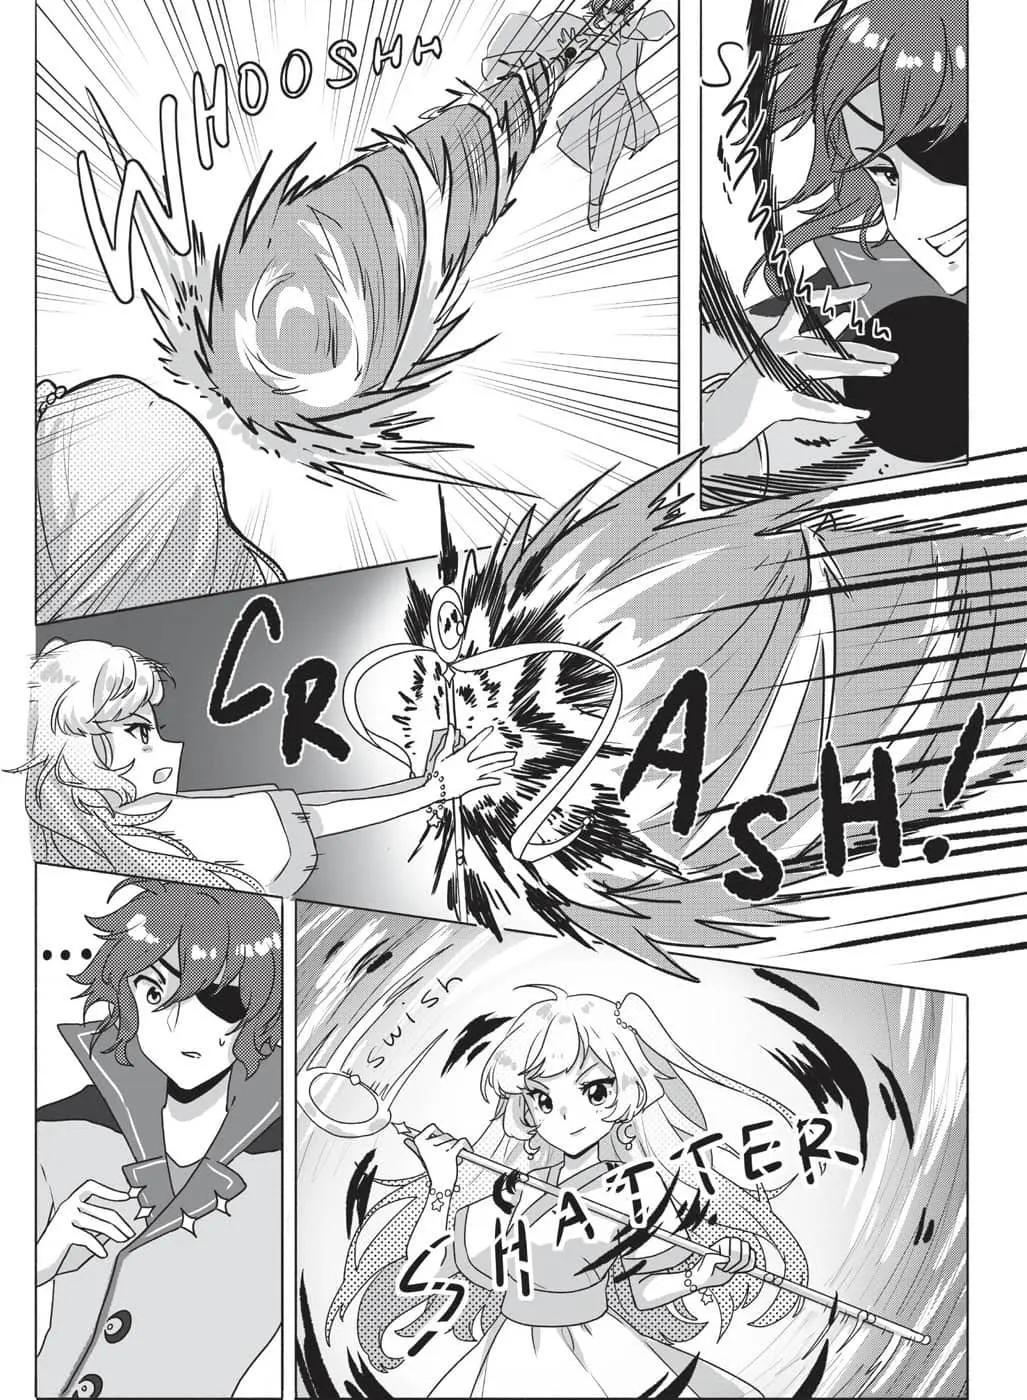
One of the most frequent errors beginners make is creating panels that are too uniform. When every panel on a page is the same size, the story feels monotonous and lacks visual hierarchy. You must vary the panel sizes to highlight which moments are the most important. Another common mistake is failing to account for the "bleed," which is the area that gets trimmed during the printing process. If you draw important details—like speech bubbles or character faces—too close to the edge of the paper, they may be cut off in the final product.
- Placing action sequences in panels that are too small to see clearly.
- Ignoring the "safe area" near the edges of the page, leading to cropped art.
- Allowing speech bubbles to cover essential character expressions or background details.
- Creating a "staircase" effect with panels that makes the reading order ambiguous.
- Using inconsistent line weights that make the page look messy or amateurish.
Always double-check your margins before inking to ensure your composition remains intact regardless of the final printing format.
How to use dynamic panel angles
Static, eye-level panels can quickly become boring. To make your manga feel professional and cinematic, incorporate dynamic angles such as bird’s-eye views or worm’s-eye views. A low-angle shot makes a character appear powerful and imposing, while a high-angle shot can make them look vulnerable or small. Tilting your panels, known as a "Dutch angle," can introduce a sense of unease, chaos, or high-speed motion. Use these techniques sparingly, however, as overusing them can make the page feel dizzying and difficult to follow.
When experimenting with angles, ensure the perspective remains grounded. Even in a tilted panel, the horizon line should be consistent with the action taking place. If you draw a character running, slanting the panel in the direction of their movement can visually amplify their speed. By combining traditional grid layouts with occasional, intentional perspective shifts, you create a visual language that keeps the reader engaged and highlights the emotional stakes of each scene. Mastering these spatial relationships is the final step in transitioning from a simple illustrator to a skilled manga storyteller.
Key facts
- Use a standard page size of B4 for professional manga or A4 for doujinshi, ensuring a 20mm margin on all sides.
- Establish a "koma-wari" (panel layout) that prioritizes the flow of action, typically moving from the top-right to the bottom-left.
- Vary panel sizes to control pacing; large panels emphasize dramatic moments, while small, numerous panels increase tension.
- Use a ruler for straight lines and keep gutters—the white space between panels—consistent to maintain visual clarity.
- Place speech bubbles before drawing background details to ensure the text remains legible and unobstructed.
- Break the "frame" of a panel with character limbs or objects to create a sense of depth and dynamic movement.
The bottom line
Drawing manga panels is a deliberate exercise in pacing and visual storytelling. By mastering the right-to-left layout and balancing panel sizes, you dictate how quickly a reader experiences your narrative. Focus on consistent gutter spacing and clear text placement to keep the reader engaged. With practice, these structural elements become second nature, allowing your artistic vision to guide the reader seamlessly through every dynamic scene you create.
People also ask
What is the standard order for reading manga panels?
Manga is read from the top-right corner of the page to the bottom-left. Readers follow the panels horizontally across the page before moving down to the next tier.
Should I draw the panels before or after the characters?
Most artists draw the panel borders first to define the composition space. This helps establish the boundaries of the scene and prevents characters from being drawn too large or too small.
How thick should the lines of my panel borders be?
Panel borders are typically drawn with a steady, uniform line weight. A common practice is using a 0.5mm to 0.8mm pen to ensure the frames stand out from the finer details inside.
What is a "bleed" in manga paneling?
A bleed occurs when an image extends all the way to the edge of the paper, past the trim line. This technique is used for high-impact scenes or dramatic landscape shots.
How do I handle dialogue that spans across multiple panels?
Dialogue should follow the natural reading order of the panels. If a sentence is split, ensure the break occurs at a logical pause so the reader does not lose the narrative flow.
Why do some panels have no borders?
Borderless panels are used to emphasize a character's internal state or a dreamlike atmosphere. Removing the frame allows the artwork to blend into the white space of the page.
This answer was created with the help of AI research tools and reference sources. Spotted an error? Let us know — we correct mistakes quickly. See our editorial policy.