How do you draw an umbrella?
Short answer
Drawing an umbrella involves constructing a central vertical line, creating a curved canopy shape, and adding structural ribs. By breaking the object into basic geometric forms like semicircles and cylinders, you can achieve a realistic perspective. Focus on the symmetry of the panels and the thickness of the handle to ensure balance.
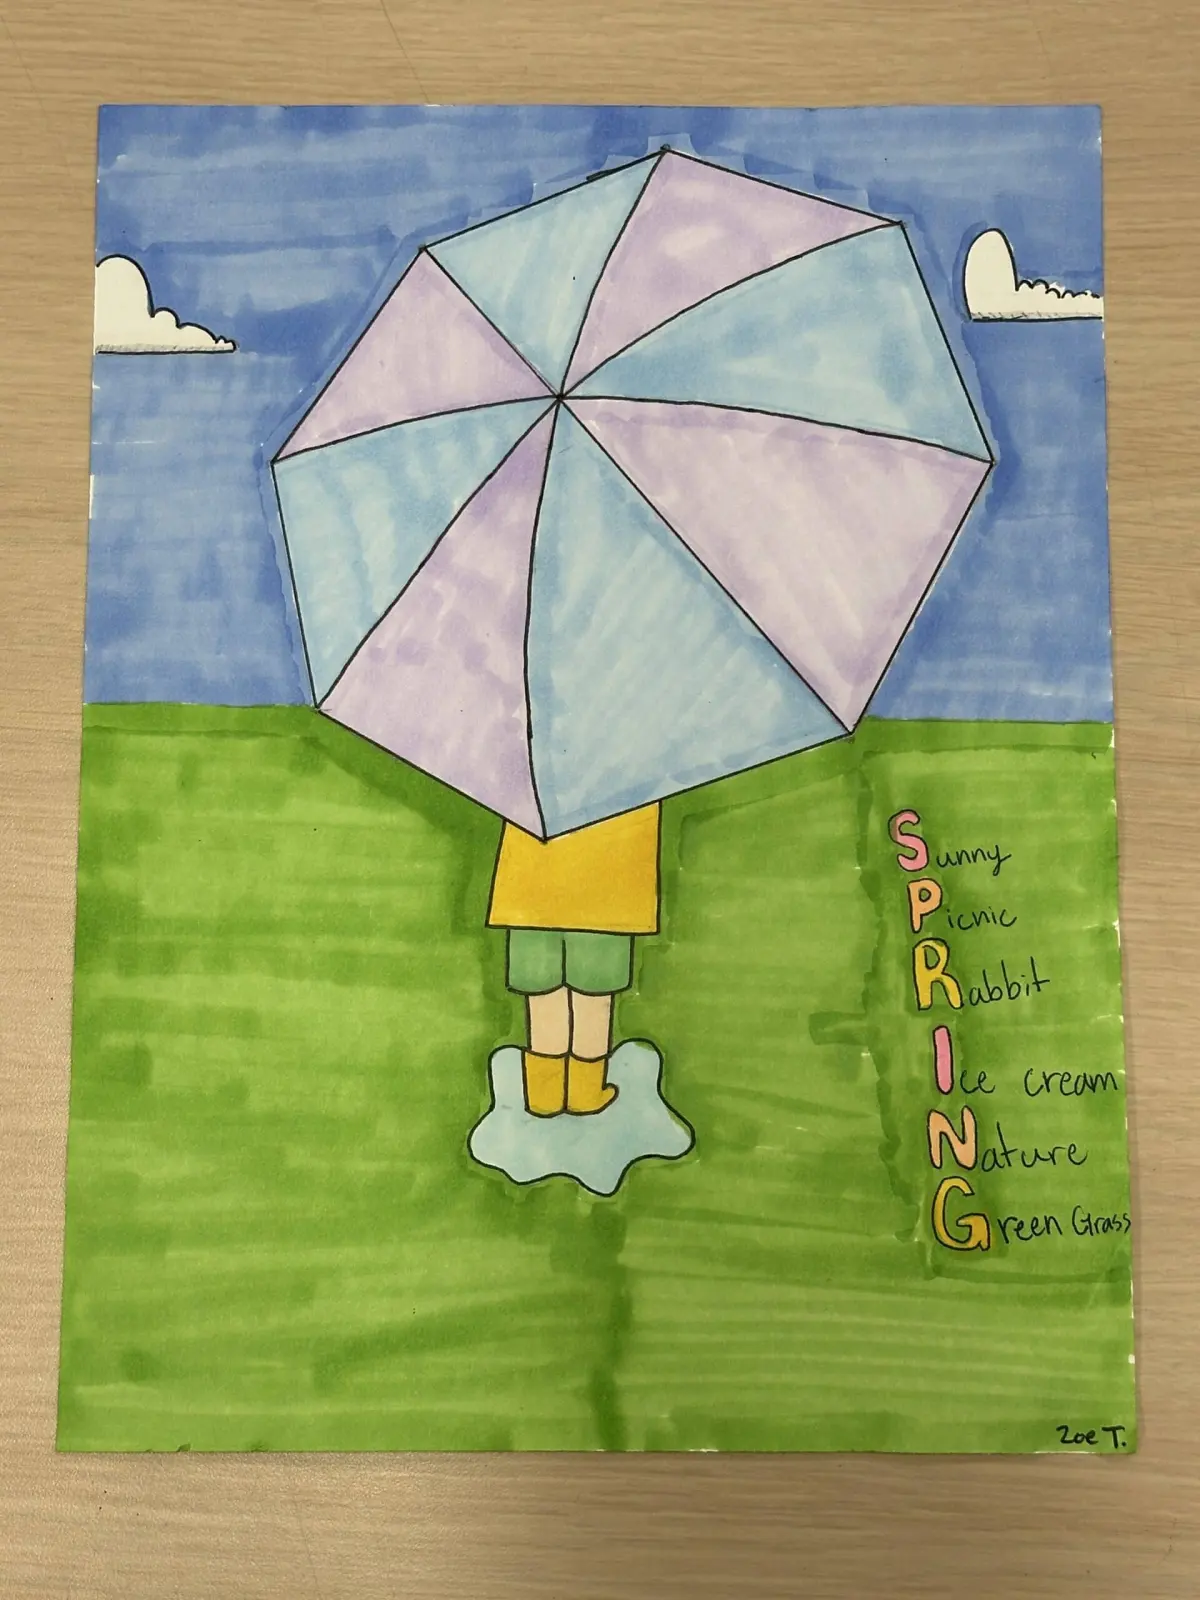
On this page
How to draw an umbrella step by step
To begin your drawing, start by sketching a light vertical line to serve as the shaft of the umbrella. At the top of this line, draw a wide, shallow arc that resembles a rainbow. This arc defines the outer edge of the canopy. Next, draw a series of smaller, scalloped curves connecting the ends of the main arc to the center point, creating the individual panels of the fabric.
Once the canopy shape is established, add the structural details that give the umbrella its form. Draw a small circle or point at the very top for the ferrule, and extend straight lines from this point to each of the scalloped corners to represent the ribs. Finally, draw the handle at the bottom of the shaft, typically in a "U" or "J" shape. Use these steps to maintain proportion:
- Sketch the vertical center axis first to keep the umbrella straight.
- Divide the canopy into six or eight equal segments for symmetry.
- Add thickness to the ribs to show they are supporting the fabric.
- Define the handle with a consistent width for a realistic grip.
Best tools for drawing umbrellas
For beginners, a standard HB graphite pencil is the most versatile tool for sketching the initial framework. Because umbrellas require smooth, sweeping curves, a pencil allows you to make light, erasable marks before committing to permanent lines. You can use a kneaded eraser to lift away excess graphite, which helps keep the drawing clean while you refine the canopy’s curvature.
If you want to add depth or professional flair, consider using fine-liner pens or ink markers. These tools are excellent for defining the final silhouette once your pencil sketch is complete. For shading, a 2B or 4B pencil provides the softness needed to create shadows under the canopy, which adds a three-dimensional quality to the object. When selecting paper, choose a smooth-surfaced sketchbook to ensure your curves remain fluid rather than jagged. Avoid textured paper, as it can interfere with the precision of the thin lines required for the ribs.
Why umbrellas look distorted in drawings
The most common reason an umbrella appears distorted is a failure to account for perspective. If you draw the canopy as a flat semicircle, it will look two-dimensional and unnatural. To fix this, visualize the umbrella as a dome. The panels closest to the viewer should appear wider, while those receding into the distance should be narrower. This technique, known as foreshortening, is essential for creating a sense of volume.
Another issue is the improper alignment of the handle with the central shaft. If the handle is shifted too far to the left or right, the umbrella will appear to be falling over. Always ensure the shaft runs directly through the center of the canopy and connects symmetrically to the handle. If you are drawing an open umbrella, remember that the ribs create a slight tension in the fabric, meaning the panels should dip slightly between the support points rather than forming a perfectly smooth, taut surface.
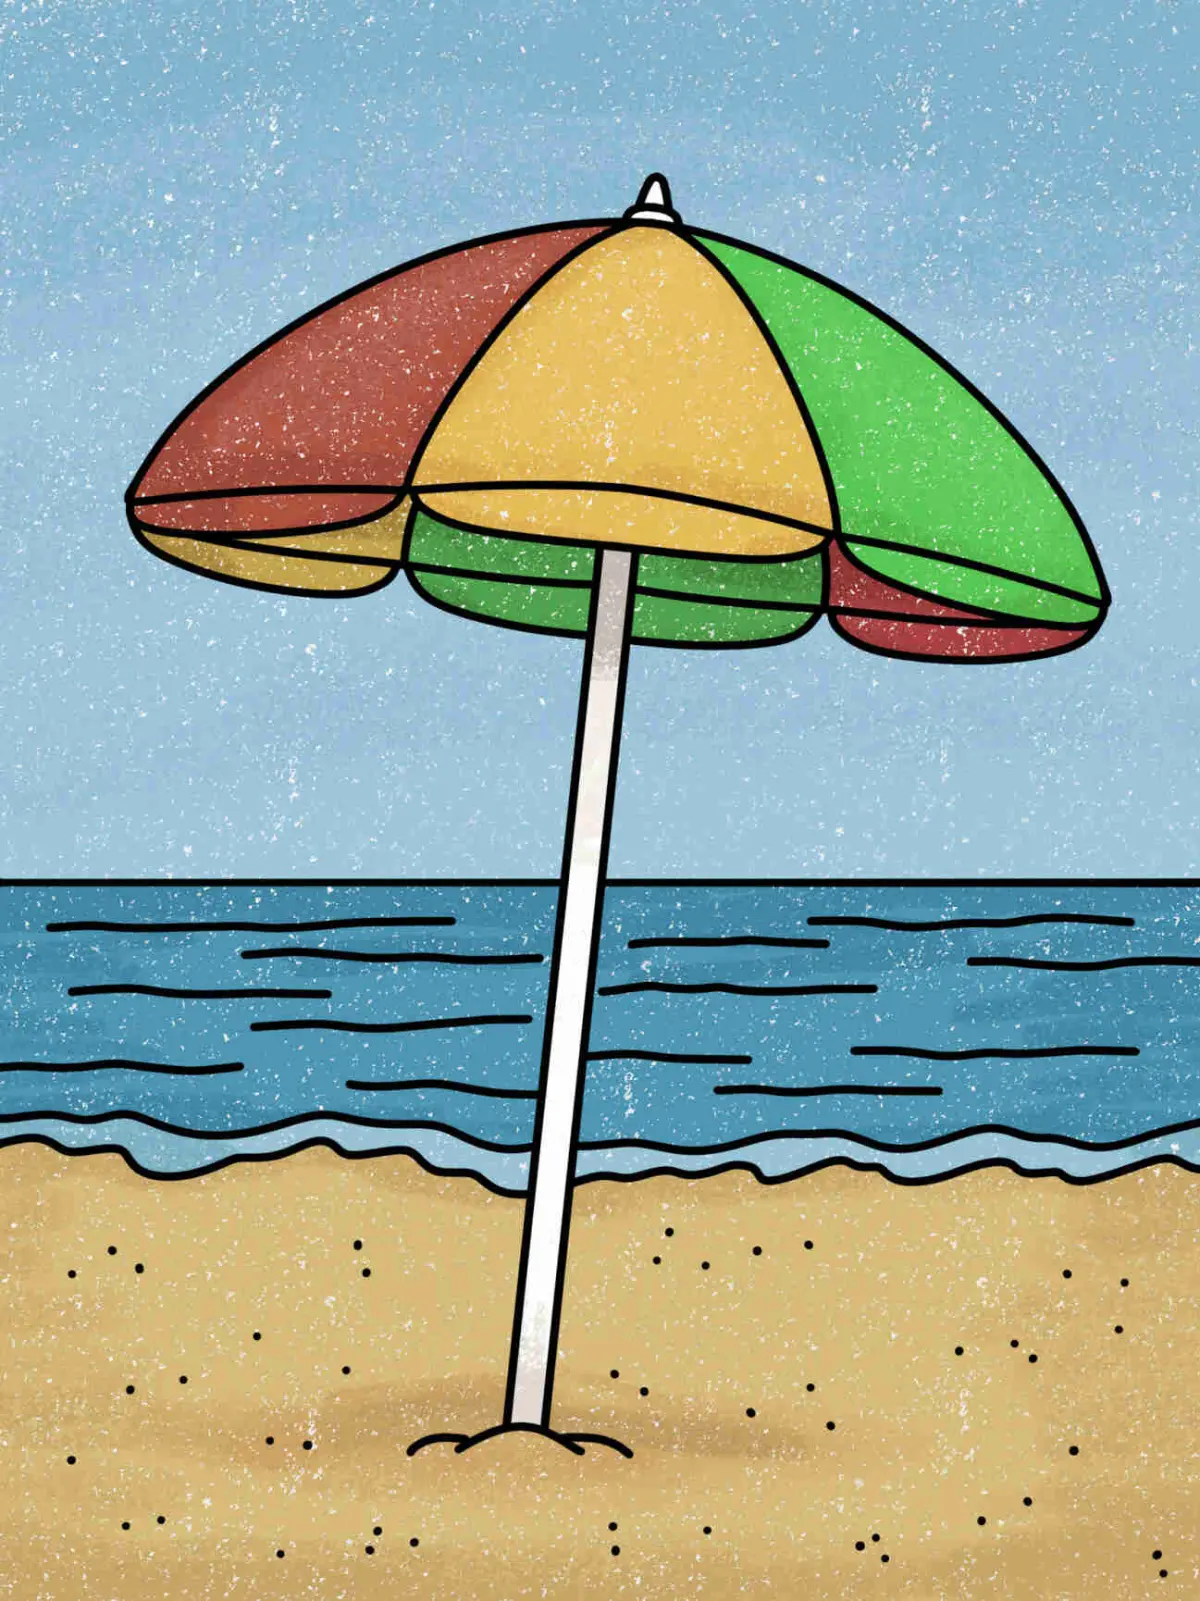
Common mistakes when drawing umbrellas
A frequent error is drawing the canopy panels as perfectly straight lines. In reality, the fabric of an umbrella is flexible and stretches over the metal frame, creating subtle curves between each rib. If you draw the edges of the panels as straight lines, the umbrella will look like a rigid geometric cone rather than a functional object. Always use soft, rounded lines for the outer perimeter of the canopy.
Another mistake is neglecting the thickness of the materials. The shaft, ribs, and handle all have physical volume. Beginners often draw these as single, thin lines, which makes the umbrella look fragile or like a wireframe. To improve your drawing, double your lines for the shaft and ribs to show they have width. Additionally, pay attention to the scale of the handle; if it is too small relative to the canopy, the umbrella will look out of balance. Always check your proportions against the size of the canopy before finalizing your ink work.
How to add shading and texture
Adding shadows is the final step to making your umbrella look realistic. Identify where your light source is coming from—for example, if the light is coming from the top right, the left side of the canopy and the underside of the umbrella should be darker. Use cross-hatching or smooth blending techniques to create a gradient from the light side to the shadow side. This simple shading technique immediately gives the drawing a sense of weight and space.
To add texture, consider the material of the umbrella. If it is a standard nylon fabric, keep the surface relatively smooth with subtle shading. If you are drawing a vintage-style umbrella with a wooden handle, add small, irregular lines to mimic the grain of the wood. You can also add highlights by leaving small areas of the paper white, especially along the top curve where the light hits the fabric most directly. By focusing on these small details, you transform a simple line drawing into a sophisticated illustration that captures the true essence of the object.
Key facts
- Start by drawing a horizontal line with a slight downward curve to form the base of the umbrella canopy.
- Sketch an inverted "U" shape or a series of scallops connecting the ends of the curve to define the fabric panels.
- Place a small dot at the center of the top curve to serve as the anchor point for the ribs.
- Draw a vertical line extending downward from the center dot to create the central shaft, ending in a "J" hook for the handle.
- Add triangular or wedge-shaped sections radiating from the center to the outer edge to represent the individual panels.
- Avoid making the canopy perfectly flat; adding a slight dome shape provides the necessary perspective and volume.
The bottom line
Drawing an umbrella is a foundational exercise in perspective and structural geometry. By starting with a simple curved arc and building the internal rib structure, you create a believable three-dimensional object. Remember to emphasize the dome shape of the canopy and the distinct curve of the handle. With consistent practice of these basic shapes, you can easily master the proportions required to illustrate this iconic accessory.
People also ask
What is the most common mistake when drawing an umbrella?
The most frequent error is drawing the canopy as a flat line rather than a curved dome. This makes the object look two-dimensional and unrealistic.
How do I make the umbrella look like it is open?
Ensure the bottom edge of the canopy has a noticeable curve or scalloped edge. Connecting these points to the top center with straight lines creates the illusion of tension in the fabric.
Should I use a ruler for the handle?
While a ruler helps with the straight shaft, the handle should be drawn freehand. A "J" shape or a curved loop looks more natural than a rigid geometric angle.
How do I add shading to an umbrella?
Focus shading on the underside of the canopy and along the edges of the panels. This depth helps define the shape and indicates where the light source is hitting the fabric.
Can I draw an umbrella in a closed position?
Yes, a closed umbrella is essentially a long, thin cylinder with a slight taper toward the bottom. Add small horizontal lines to represent the fabric wrapped tightly around the ribs.
What is the purpose of the small tip at the top of the umbrella?
The tip, or ferrule, is a functional component that secures the ribs. Including this small detail adds a professional and realistic touch to your drawing.
This answer was created with the help of AI research tools and reference sources. Spotted an error? Let us know — we correct mistakes quickly. See our editorial policy.