How do you draw an orchid for beginners?
Short answer
Drawing an orchid involves breaking the complex, asymmetrical bloom into simple geometric shapes like circles and triangles. Start by sketching the central column and the three primary petals, then layer the side petals and the distinctive labellum. Focus on capturing the organic, flowing lines rather than achieving perfect symmetry.
On this page
How to structure an orchid drawing
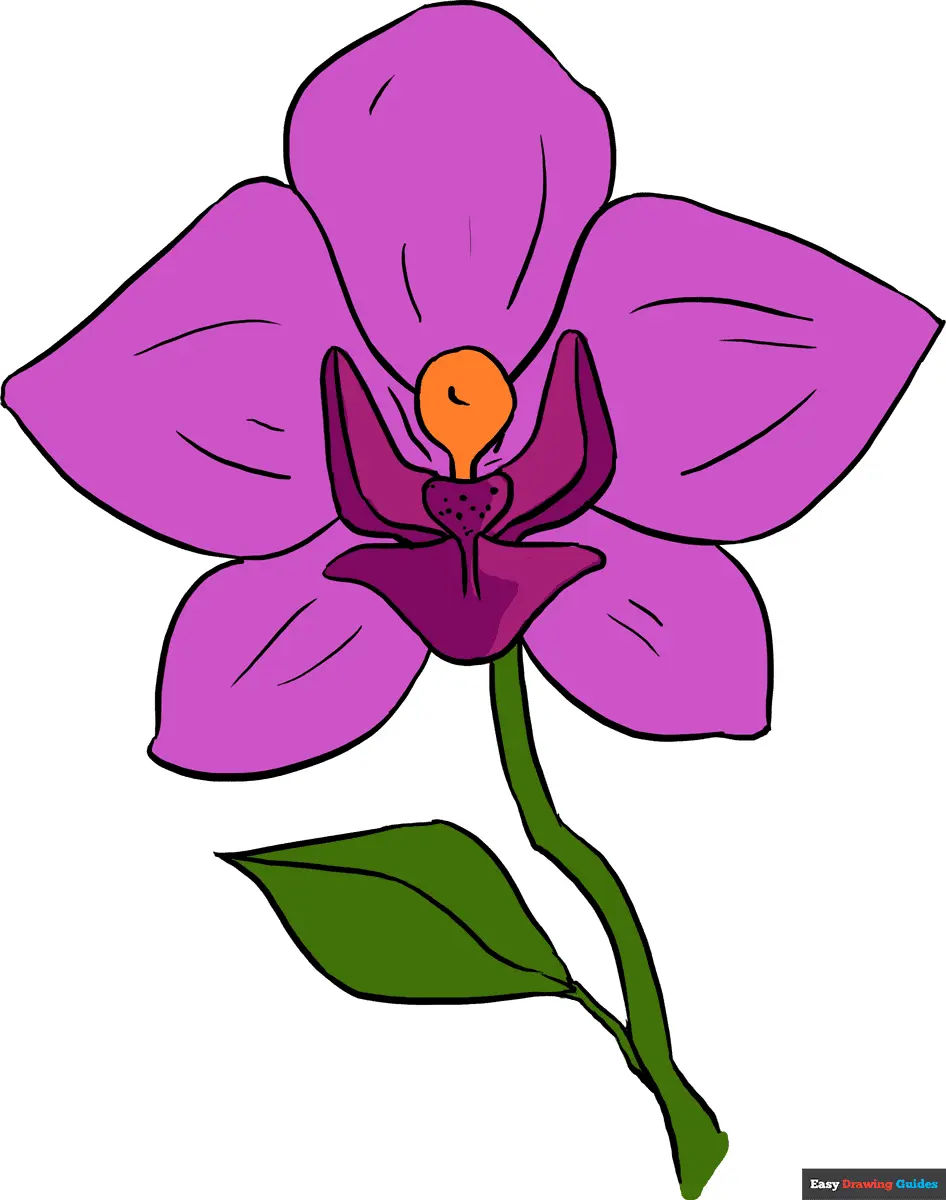
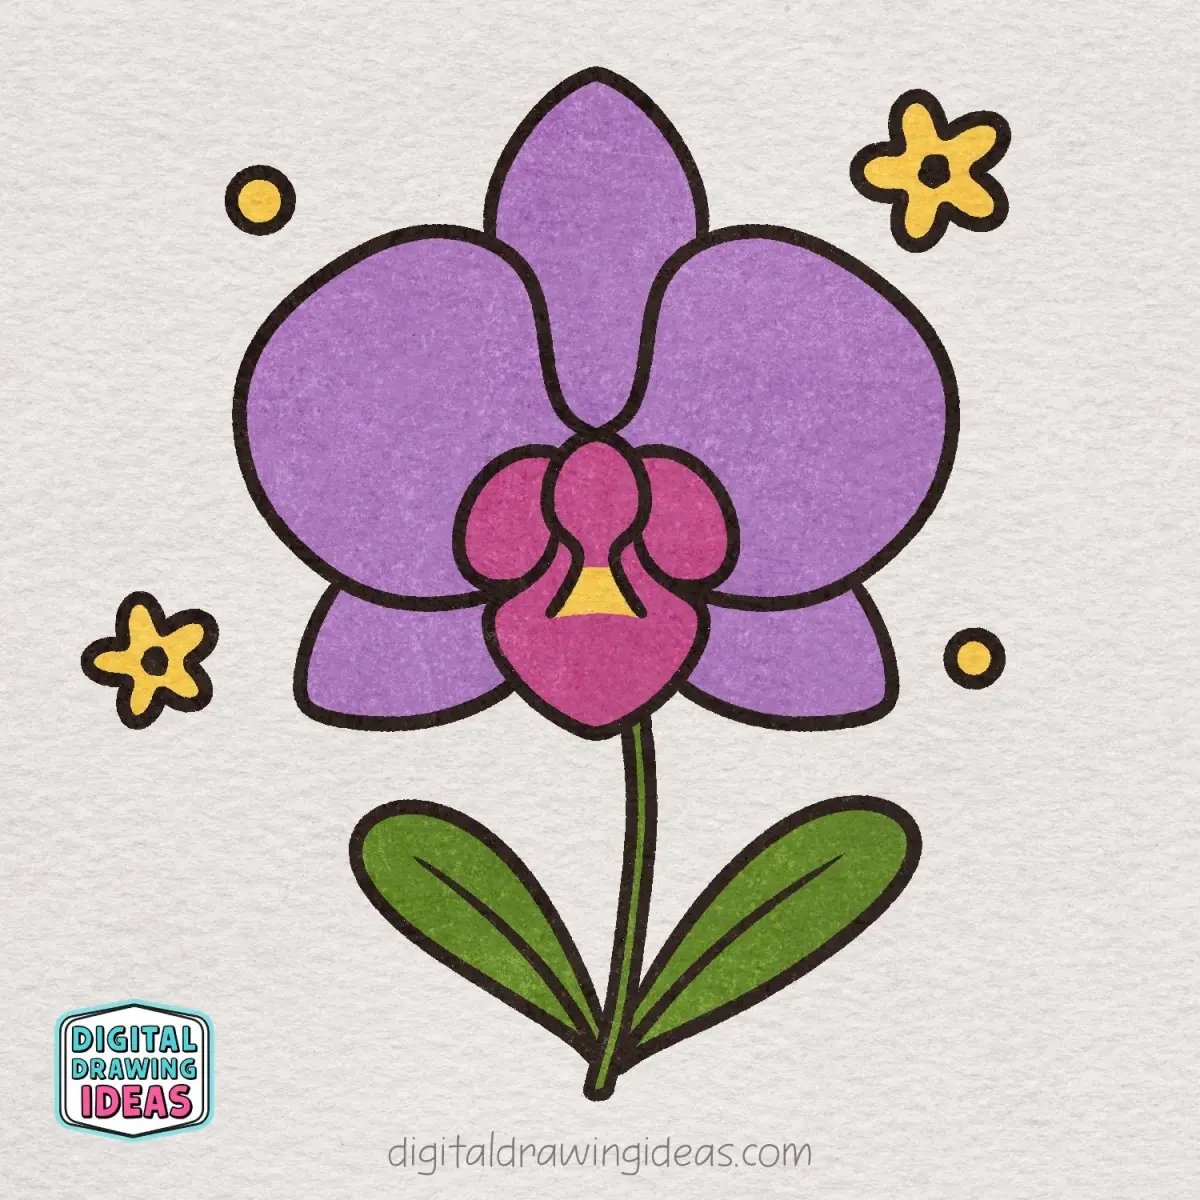
Orchids are defined by their unique anatomy, which differs significantly from standard flowers. To begin, visualize the flower as a series of overlapping planes. Most orchids possess three sepals and three petals, with one petal modified into a specialized structure called the labellum or lip. Start your sketch by lightly drawing a central circle to represent the heart of the flower where the column sits. This anchor point helps maintain the correct proportions as you build the outer layers.
Use a light graphite pencil, such as an HB, to map out the general orientation of the bloom. Do not press hard, as you will need to refine these lines later. Focus on the "gesture" of the flower—the way the stem curves and how the petals tilt toward the light. By establishing the primary axis first, you ensure the flower looks natural rather than stiff or static.
Best drawing techniques for beginners
Beginners often struggle with the complex curves of orchid petals. The most effective approach is to use a "contour drawing" method, where your eye follows the edge of the petal while your hand moves in sync across the paper. Avoid trying to draw the entire outline in one continuous motion. Instead, use short, deliberate strokes that capture the subtle ruffles and folds characteristic of the species.
- Draw the central column first to establish the focal point.
- Sketch the three outer sepals as elongated, slightly pointed ovals.
- Add the two side petals, which are typically wider and more rounded than the sepals.
- Draft the labellum at the bottom, focusing on its complex, cup-like shape.
- Refine the edges by adding slight indentations to show the natural texture.
How to add depth and detail
Once the basic outline is complete, you must address the three-dimensional quality of the flower. Orchids have a translucent, delicate appearance that requires careful shading. Use the side of your pencil to apply soft, graduated tones, focusing on the areas where petals overlap. These shadows are crucial for creating the illusion that the petals are sitting in front of one another rather than appearing flat on the page.
Pay close attention to the venation, or the tiny veins running through the petals. Use a sharp 2B pencil to lightly suggest these lines, but keep them irregular. Nature is rarely perfectly symmetrical, so varying the thickness and spacing of these lines will add a professional, realistic touch to your work. Always keep your light source in mind to ensure your shadows remain consistent across the entire bloom.
Common mistakes when drawing orchids
The most frequent error beginners make is over-complicating the labellum. Because this part of the flower is so intricate, artists often try to draw every single bump and fold, which leads to a cluttered, messy appearance. Simplify the lip into a basic bowl or funnel shape first, then add only the most prominent highlights and shadows. This keeps the drawing clean and readable.
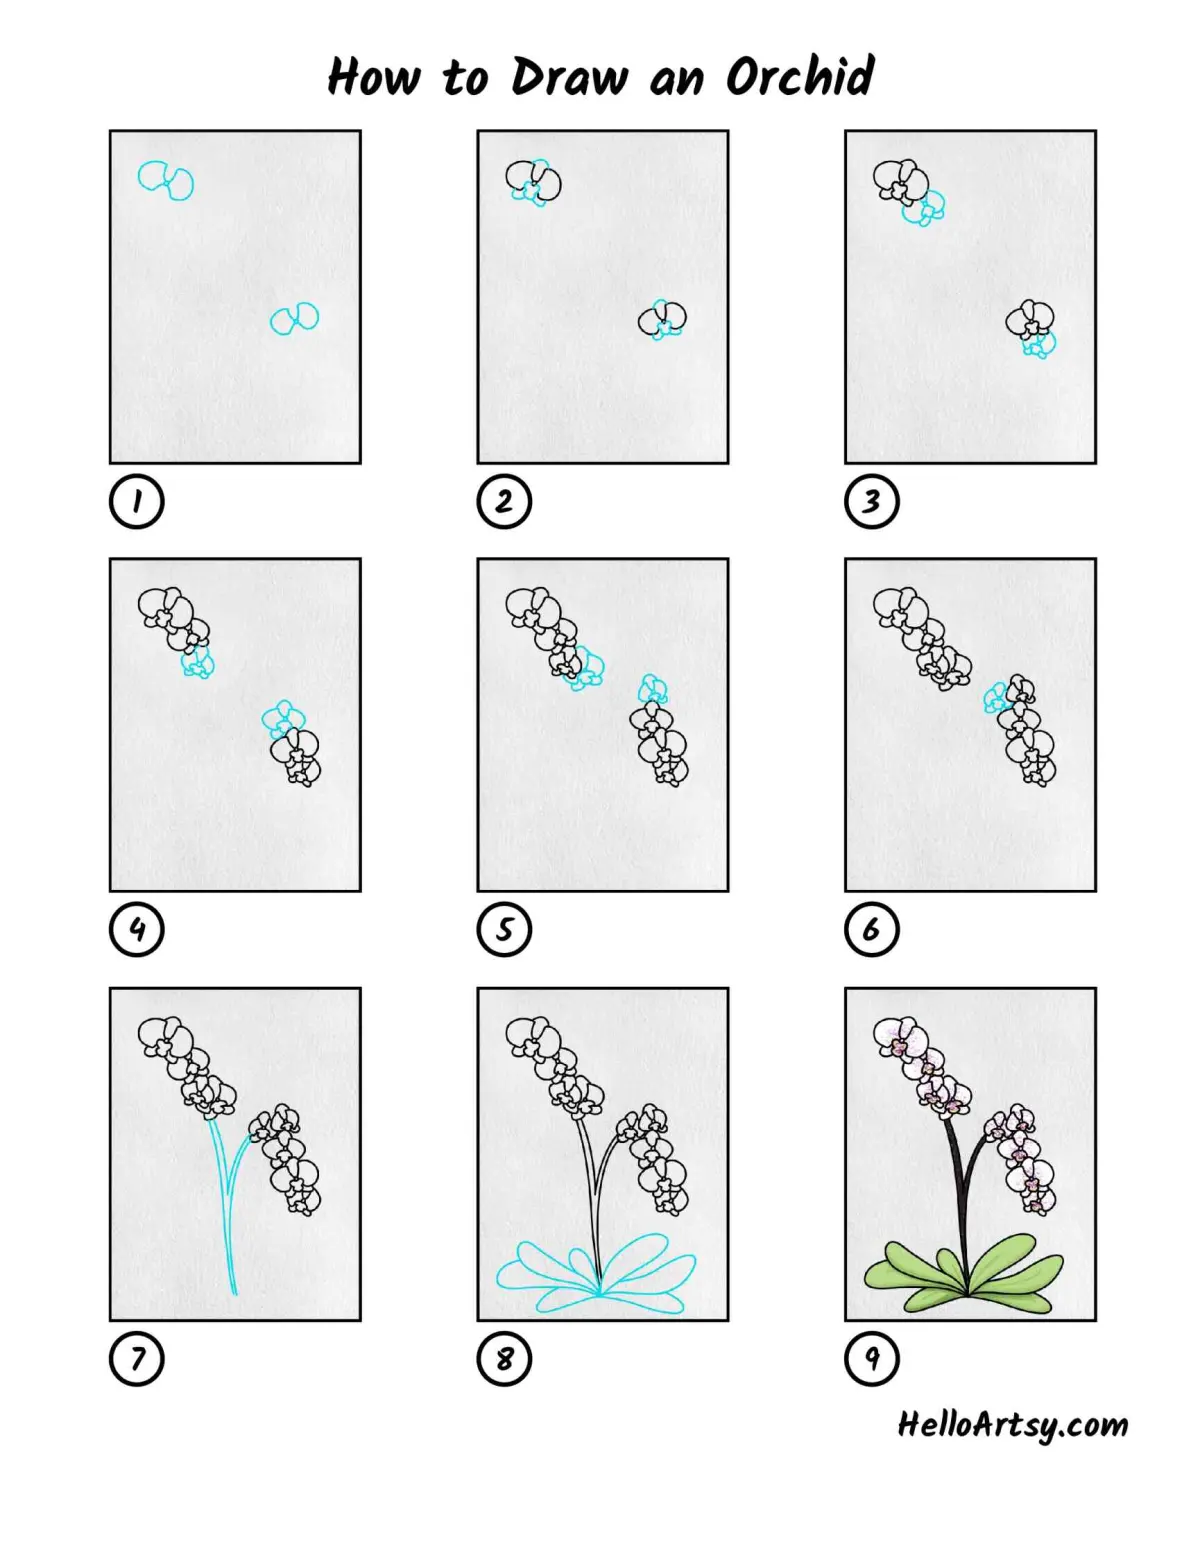
Another common mistake is ignoring the stem and the way the flower connects to it. An orchid does not simply float in space; it is attached to a stalk that often has a distinct, fleshy thickness. Ensure your stem has a slight curve and connects logically to the base of the flower. Neglecting these structural details makes the drawing feel disconnected and anatomically incorrect, regardless of how well the petals are rendered.
Best tools for orchid illustration
For those just starting, a limited set of tools is better than an elaborate kit. You only need a few pencils, a high-quality eraser, and smooth-surfaced paper. Bristol board or heavy-weight drawing paper works best because it allows for multiple layers of graphite without tearing. Avoid textured charcoal paper, as the grain will interfere with the fine, delicate lines required for the orchid's intricate details.
- HB pencil for initial light sketching and mapping.
- 2B pencil for adding mid-tones and defining shadows.
- Kneaded eraser to lift graphite and create soft highlights.
- A blending stump to smooth out transitions between light and dark areas.
- A sharpener to maintain a fine point for the delicate veins.
By keeping your equipment simple, you can focus entirely on the observation of the plant. Practice drawing from a live orchid rather than a photograph whenever possible, as this helps you understand the true depth and orientation of the petals.
Key facts
- Orchids belong to the family Orchidaceae, which contains over 28,000 accepted species.
- The basic structure consists of three sepals and three petals, with one petal modified into a prominent "lip" or labellum.
- Use a light graphite pencil (HB or 2H) to sketch the initial shapes before committing to darker lines.
- Focus on the symmetry of the petals, as most orchids exhibit bilateral symmetry, meaning they are mirror images if divided down the center.
- Draw the central column, the reproductive part of the flower, first to establish the anchor point for the surrounding petals.
- Avoid drawing perfectly straight edges; orchid petals are organic and often feature gentle waves or slight curls at the margins.
The bottom line
Drawing an orchid is an exercise in observing organic geometry. By starting with the central column and mapping out the three sepals and three petals, you can build a balanced composition. Focus on the unique shape of the labellum and incorporate gentle curves to mimic natural growth. Practice patience with your shading, as subtle transitions are the key to capturing the delicate, exotic beauty of these flowers.
People also ask
What is the easiest type of orchid to draw for a beginner?
The Phalaenopsis, or moth orchid, is the best choice because it has large, distinct, and flat petals. Its simplistic shape makes it easier to map out the proportions compared to more complex, ruffled varieties.
Should I start with the petals or the center of the flower?
Always start with the central column and the labellum. These elements act as the focal point, making it much easier to position the surrounding petals accurately afterward.
How do I make my orchid drawing look three-dimensional?
Use light shading on the edges of the petals where they curve away from the light source. A soft blending stump or your finger can help create smooth gradients that suggest volume.
Why does my orchid drawing look flat?
A drawing often looks flat because of uniform line weight. Use thicker, darker lines for the parts of the flower closest to the viewer and thinner, lighter lines for distant petals.
How do I draw the spots or patterns found on many orchids?
Wait until your line drawing is complete before adding patterns. Use light, irregular dots or lines that follow the contour of the petal to ensure they look like part of the surface.
What common mistake should I avoid when drawing orchid stems?
Beginners often draw stems as perfectly straight lines. In nature, orchid stems are slightly curved and often have small, alternating nodes or bumps where leaves or flowers emerge.
This answer was created with the help of AI research tools and reference sources. Spotted an error? Let us know — we correct mistakes quickly. See our editorial policy.