How do you draw realistic grass?
Short answer
Drawing realistic grass requires focusing on texture, variation, and light rather than individual blades. By layering strokes from the base upward, varying your pressure, and utilizing negative space, you create depth. Successful drawings rely on observing how grass clumps together and how light interacts with the blades to define form.
On this page
How to draw grass for beginners
To begin drawing grass, you must shift your perspective from drawing individual blades to capturing the overall texture of a patch. Beginners often make the mistake of drawing uniform, vertical lines that look like a picket fence. Instead, observe how grass grows in irregular clumps and clusters that overlap one another. Start by establishing the ground plane with light horizontal guidelines, then add your blades using quick, flicking motions with your pencil or pen.
When practicing, focus on the rhythm of your hand movement. The most natural-looking grass is created by varying the length, thickness, and curvature of your strokes. Think of each blade as a tapering shape that starts wider at the base and thins toward the tip. By practicing these flicking motions on a scrap piece of paper, you develop the muscle memory needed to create organic, non-repetitive shapes that mimic the chaotic nature of a real lawn or field.
How to create depth in grass drawings
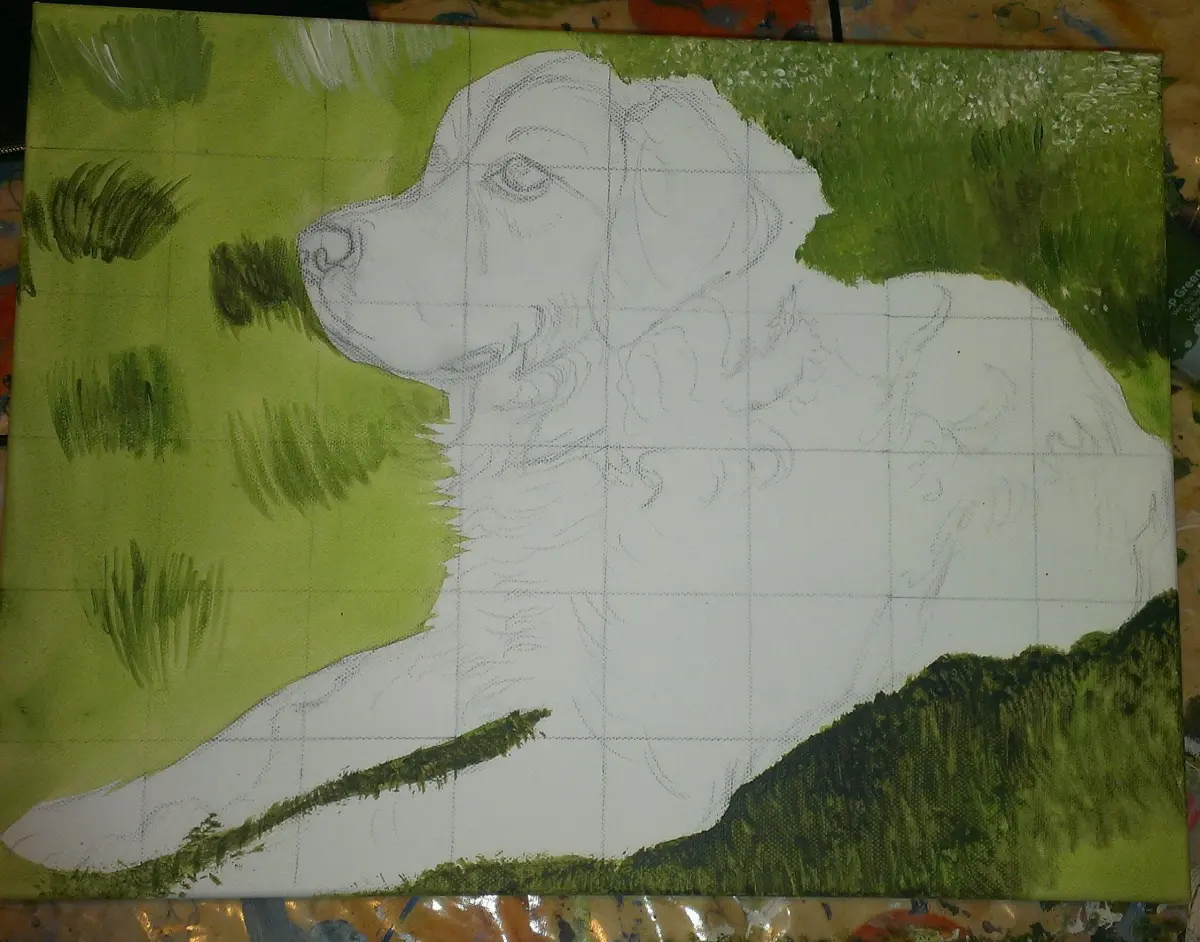
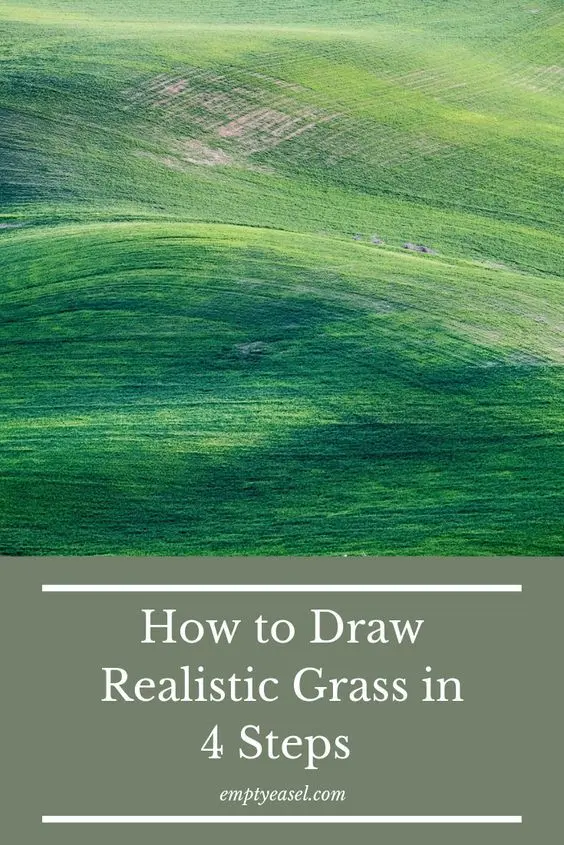
Depth is achieved by manipulating the density of your grass blades and the contrast between the foreground and background. Grass in the foreground should be drawn with more detail, larger shapes, and sharper contrast. As the grass recedes into the distance, the blades should become smaller, more compressed, and less distinct. This technique, known as atmospheric perspective, tricks the eye into perceiving a three-dimensional space on a two-dimensional surface.
Follow these steps to build layers effectively:
- Sketch the overall shape of the grassy mounds or patches using light, gestural lines.
- Add a base layer of mid-tone shading across the entire area to represent the shadows between clumps.
- Use a sharp pencil to draw individual, overlapping blades in the foreground, leaving some areas blank to represent highlights.
- Soften the appearance of distant grass by using a blending stump or by drawing smaller, tighter clusters.
Which tools are best for drawing grass
The choice of tools significantly impacts the texture of your grass. Graphite pencils are excellent for beginners because they allow for easy erasing and subtle tonal shifts. For a more graphic or high-contrast look, fine-liner pens or ink brushes are preferred. If you are working with colored pencils, use a variety of greens—such as olive, lime, and forest green—to break up the monotony of a single color.
Consider these essential tools for your kit:
- Hard pencils (such as 2H or HB) for light, preliminary sketching and distant blades.
- Soft pencils (such as 4B or 6B) for creating deep shadows at the base of the grass.
- A kneaded eraser, which can be molded into a point to "lift" highlights out of dark areas.
- A fine-tip pen for adding crisp details to the foreground blades.
Common mistakes when drawing grass
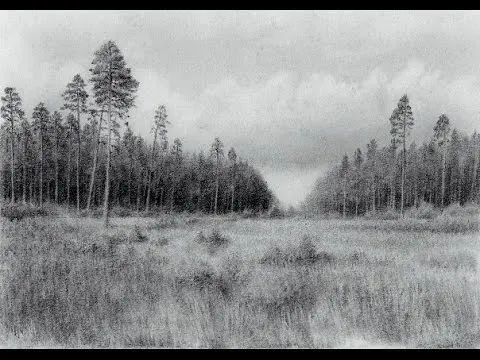
The most frequent error is drawing every single blade of grass with equal intensity and spacing. This creates a flat, artificial appearance that lacks life. Another common mistake is ignoring the light source; grass should have highlights on the side facing the light and deep shadows where blades overlap or meet the soil. Without consistent lighting, your drawing will look like a collection of floating lines rather than a cohesive surface.
Avoid these pitfalls to improve your results:
- Do not draw all blades at the same angle; grass leans with the wind and gravity.
- Avoid making the tips of the grass perfectly sharp or blunt; they should be tapered naturally.
- Do not forget to include the "negative space" between clumps, which provides the necessary contrast to make the grass pop.
- Ensure that your strokes follow the contour of the ground, rather than drawing everything on a flat plane.
How to add realistic lighting and shadows
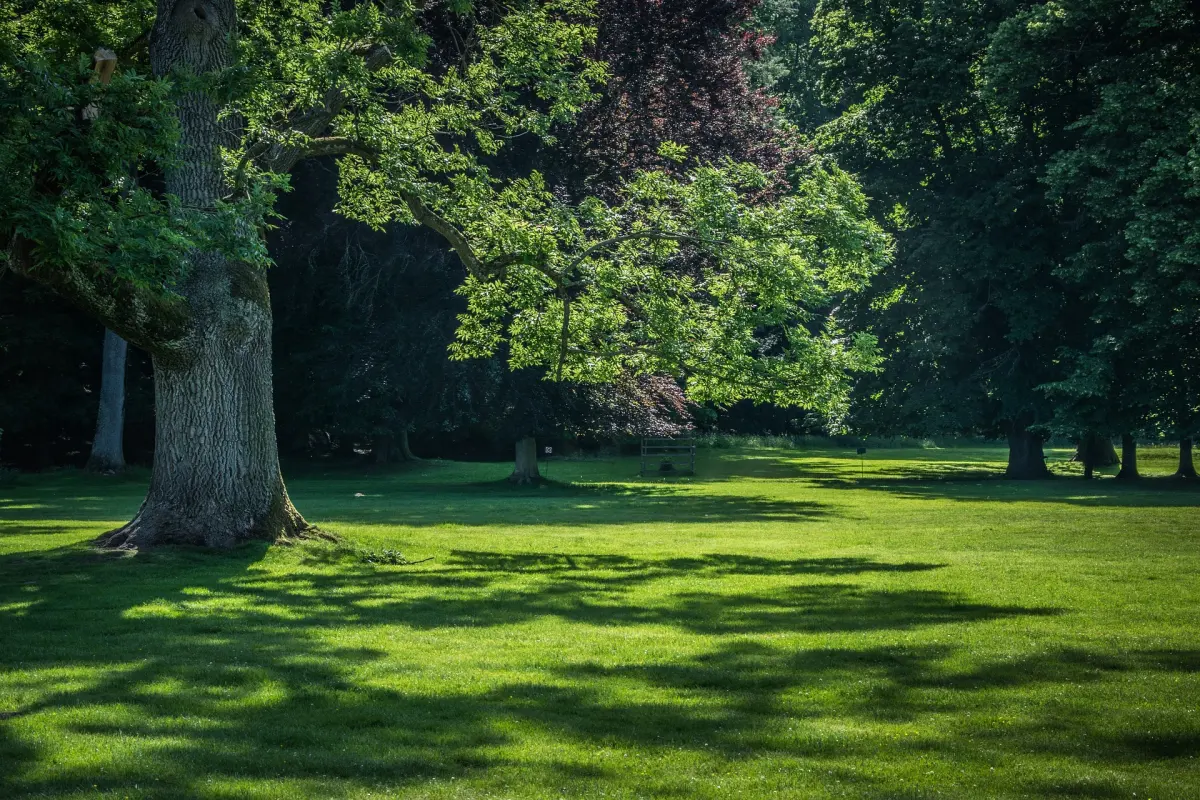
Lighting is the final element that transforms a basic sketch into a realistic scene. To define the form, identify where the light is coming from and apply your darkest values at the base of the grass clumps. As you move upward toward the tips, the blades should gradually become lighter. This transition from dark to light mimics the way sunlight filters through a meadow, creating a sense of volume and height.
Use your eraser to pull out highlights on the blades that catch the most light. By selectively removing graphite or ink, you create the illusion of glossy, sun-drenched grass. Remember that shadows are not just black; they are often cool-toned or desaturated versions of your base color. By layering these shadows and highlights, you define the structure of the grass, turning a simple field into a textured, immersive environment that draws the viewer’s eye across the entire composition.
Key facts
- Grass blades should be drawn with varying lengths and thicknesses to mimic natural, organic growth patterns.
- Use a "flick" motion with your pencil or brush, starting from the base and lifting the tool at the tip to create a tapered point.
- Group blades into small clumps rather than drawing individual, isolated lines to create a more realistic, dense texture.
- Incorporate shadows at the base of the grass clumps to establish depth and ground the blades within the scene.
- Vary the direction of the blades to show the influence of wind or uneven terrain, avoiding perfectly vertical or uniform lines.
- Use a lighter touch for blades in the background and darker, more defined strokes for those in the immediate foreground.
The bottom line
Achieving realism in grass requires moving away from uniform lines toward organic, clustered shapes. By varying the length, direction, and thickness of your strokes, you create a sense of natural density. Remember to ground your blades with deep shadows at the base and use lighter, less detailed marks for distant areas. Consistent practice with flicking motions will eventually lead to effortless, convincing textures in your landscape drawings.
People also ask
Should I draw every single blade of grass in a large field?
No, drawing every blade will make the image look cluttered and unnatural. Focus on detailing the foreground while using soft textures or simplified shapes for the background.
What is the best pencil grade for drawing grass?
A sharp HB pencil is excellent for initial outlines, while a 2B or 4B pencil works best for adding dark, crisp shadows at the roots. Using a mechanical pencil can help achieve the fine, thin lines required for individual blades.
How do I make grass look like it is blowing in the wind?
Angle all your strokes in the same direction to indicate wind flow. Ensure the tips of the grass blades curve consistently to mimic the movement of air across the field.
How can I show depth in a grassy landscape?
Use atmospheric perspective by making foreground grass darker and more detailed. Gradually lighten the grass and reduce the contrast as the field recedes toward the horizon line.
What is a common mistake when drawing grass?
A frequent error is drawing every blade with the same height and width. This creates a uniform, "hair-like" appearance that lacks the chaotic, organic quality of real vegetation.
How do I handle highlights on grass blades?
Leave thin white spaces or use an eraser to pull out highlights along the edges of the blades. This suggests sunlight hitting the surface, which adds volume and realism to the drawing.
This answer was created with the help of AI research tools and reference sources. Spotted an error? Let us know — we correct mistakes quickly. See our editorial policy.