How do you draw a bedroom?
Short answer
Drawing a bedroom requires establishing a focal point using one-point perspective. By drawing a central vanishing point on the horizon line, you create the illusion of depth. You then sketch the back wall, connect the corners to the vanishing point, and add furniture, windows, and decor to complete the realistic interior space.
On this page
How to set up one-point perspective for a room
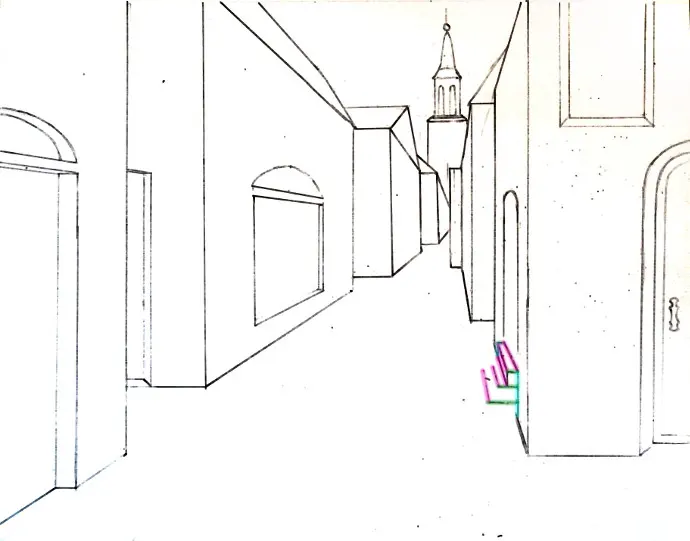
To draw a bedroom, you must first establish a horizon line across your paper. Place a single vanishing point somewhere near the center of this line. This point acts as the anchor for all lines that represent depth, such as the edges of walls, floors, and ceilings. By using a ruler to connect this point to the corners of your paper, you create the converging lines that define the room's volume.
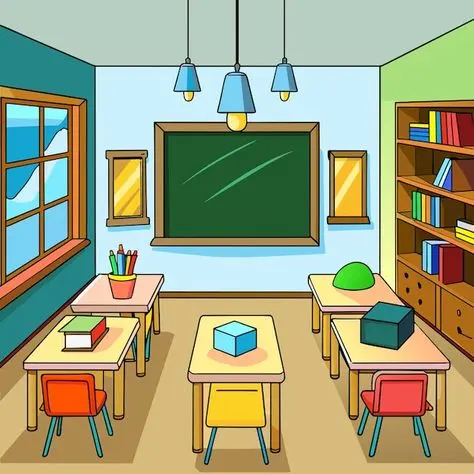
Once the perspective lines are set, draw a rectangle around the vanishing point to represent the back wall of the bedroom. The lines extending from the corners of this rectangle toward the edges of the paper form the side walls, ceiling, and floor. Keep these lines light so they can be erased or adjusted later. This framework ensures that every piece of furniture you add will look proportional and correctly aligned within the three-dimensional space.
How to draw furniture in a bedroom
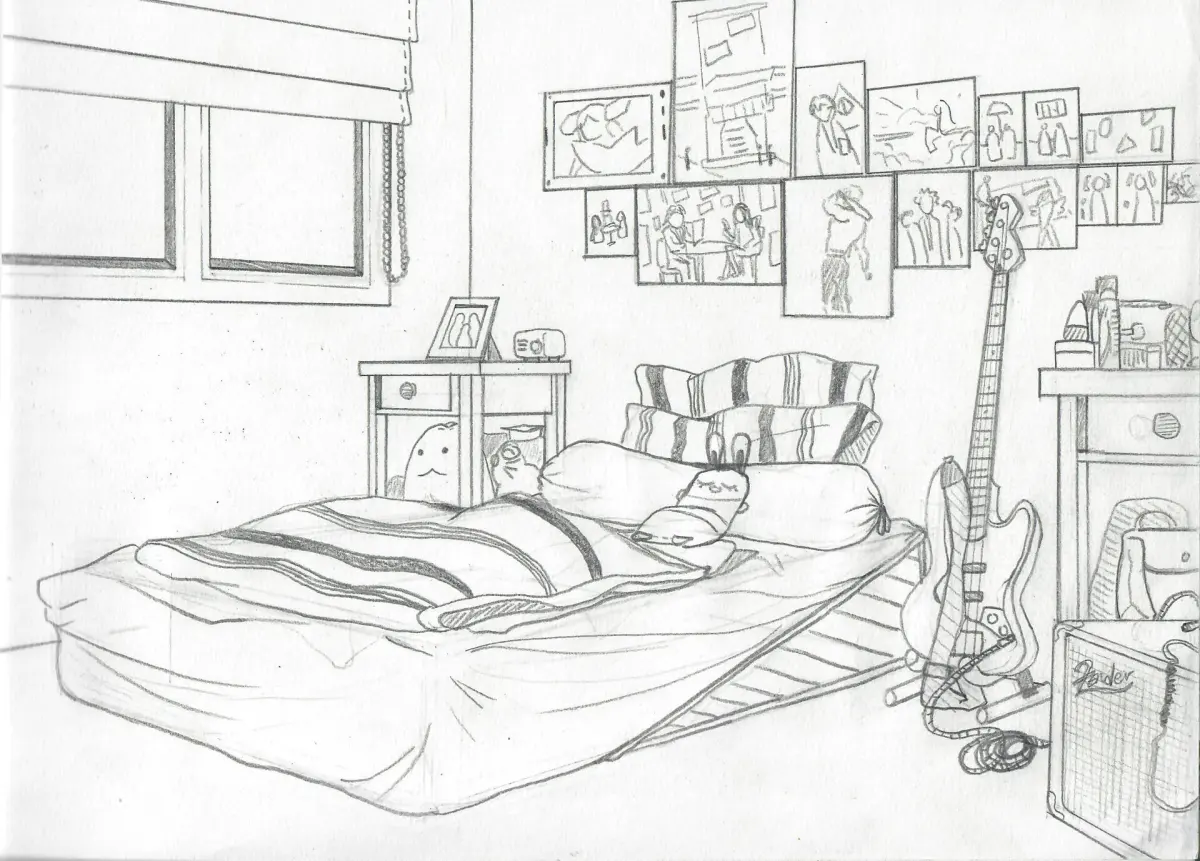
Furniture should be drawn using the same vanishing point as the walls. Start by sketching the basic rectangular footprint of items like a bed or a dresser on the floor or wall planes. For a bed, draw a rectangle on the floor, then extend vertical lines upward to establish its height. Use your ruler to ensure that the top edges of the bed align perfectly with the perspective lines leading to the vanishing point.
When adding detail to furniture, follow these steps to maintain accuracy:
- Sketch the main block shape to define the object's footprint.
- Use horizontal and vertical lines for the front faces that are parallel to the viewer.
- Use the vanishing point to guide the depth lines of the sides.
- Add rounded details or bedding textures only after the structural perspective is verified.
Best drawing tools for beginners
For those starting out, a standard HB pencil is ideal for initial sketches because it is easy to erase. A mechanical pencil with 0.5mm lead offers the precision needed for drawing sharp, consistent perspective lines. You will also need a long, transparent plastic ruler to ensure your lines remain straight and accurately aligned with the vanishing point. A white vinyl eraser is essential for cleaning up construction lines without damaging the paper surface.
Consider using a heavier weight drawing paper, such as 80-pound or 100-pound stock, to withstand repeated erasing. If you plan to add color, colored pencils or alcohol-based markers work well over graphite. Avoid using pens until the final stage, as ink is permanent and mistakes in perspective can be difficult to hide. Keeping your tools organized and your workspace clean will help you focus on the technical requirements of the drawing process.
Why perspective distortion happens
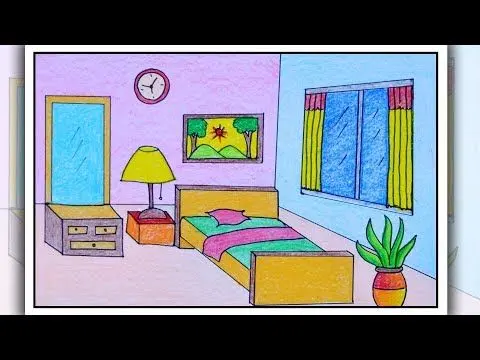
Perspective distortion occurs when the vanishing point is placed too close to the edge of the paper or when objects are drawn too large relative to the room. If the furniture appears to "tilt" or look skewed, it is usually because the depth lines were not aligned precisely with the vanishing point. This creates a jarring visual effect where the room feels compressed or physically impossible, breaking the illusion of a realistic interior space.
Another common cause of distortion is failing to keep vertical lines perfectly vertical. In one-point perspective, all vertical edges of walls and furniture must be perpendicular to the horizon line. If these lines lean even slightly, the room will look like it is collapsing or slanted. To avoid this, use a T-square or align your ruler with the side of your drawing paper to ensure every vertical line remains perfectly straight and parallel to the edge of the page.
Common mistakes when drawing bedrooms
The most frequent error is neglecting the scale of furniture in relation to the room. Beginners often draw beds that are too large, leaving no room for walking or other essential items like nightstands. Another mistake is drawing too many details before finalizing the perspective, which makes it harder to correct errors. Always work from the largest shapes to the smallest details to ensure the room maintains a logical, balanced layout throughout the entire process.
Avoid these common pitfalls to improve your results:
- Drawing furniture lines that do not converge toward the vanishing point.
- Placing the vanishing point too high or too low, which creates an unnatural bird's-eye or worm's-eye view.
- Forgetting to account for the thickness of walls or baseboards, which makes the room look like a flat box.
- Overcrowding the space with too much furniture, which obscures the perspective lines and makes the drawing feel cluttered.
- Using heavy, dark lines for construction work, which leaves permanent indentations on the paper even after erasing.
Key facts
- Use a single-point perspective by drawing a vanishing point on the horizon line to create depth.
- Start by drawing a large rectangle for the back wall, then connect its corners to the edges of your paper.
- Place the bed against the back wall, keeping the headboard parallel to the horizontal lines of the room.
- Draw furniture like nightstands and dressers using parallel lines that converge toward the central vanishing point.
- Add windows and doors by drawing vertical lines that connect to the floor and ceiling lines.
- Use a ruler to ensure all lines receding into the distance meet exactly at the vanishing point for a realistic look.
The bottom line
Drawing a bedroom successfully requires mastering the principles of linear perspective. By establishing a clear vanishing point and using a ruler to guide your lines, you can create a convincing sense of depth and scale. Focus on the room's structural geometry first, then gradually add furniture and details. Consistent practice with these technical foundations will allow you to render any interior space with professional accuracy and confidence.
People also ask
What is the most common mistake when drawing a room?
The most common mistake is failing to align all receding lines with a single vanishing point. This causes the room to look tilted or distorted instead of three-dimensional.
Should I draw the furniture before the walls?
Always draw the room’s structure, such as walls, floor, and ceiling, before adding furniture. This provides a spatial framework that ensures your furniture is sized correctly.
How do I draw objects that are not parallel to the walls?
To draw angled objects, you must establish a second vanishing point on the horizon line. This technique, known as two-point perspective, allows you to represent items like an open door or a rug at an angle.
What tools are essential for a clean drawing?
A sharp HB pencil, a long metal ruler, and a high-quality eraser are the most essential tools. These allow for precise lines and easy corrections without smudging the paper.
How do I create the illusion of light in a bedroom drawing?
Determine where your light source is located, such as a window, and shade the sides of objects facing away from it. Consistent shading helps define the volume of your furniture.
Is it better to draw from imagination or a reference photo?
Beginners should start by drawing a real room from a reference photo or observation. This helps you understand how perspective works in reality before attempting to create complex spaces from memory.
This answer was created with the help of AI research tools and reference sources. Spotted an error? Let us know — we correct mistakes quickly. See our editorial policy.