How do you draw a classroom?
Short answer
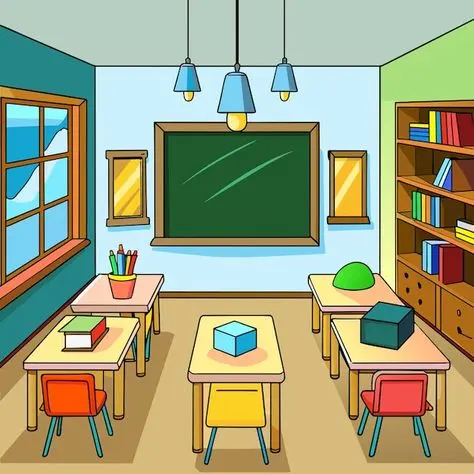
Drawing a classroom requires establishing a one-point perspective to create depth. By setting a central vanishing point on the horizon line, you can align walls, desks, and windows to lead the viewer’s eye into the space. Focus on simple geometric shapes first, then add details like chairs and whiteboards to build realism.
On this page
How to set up perspective for a classroom
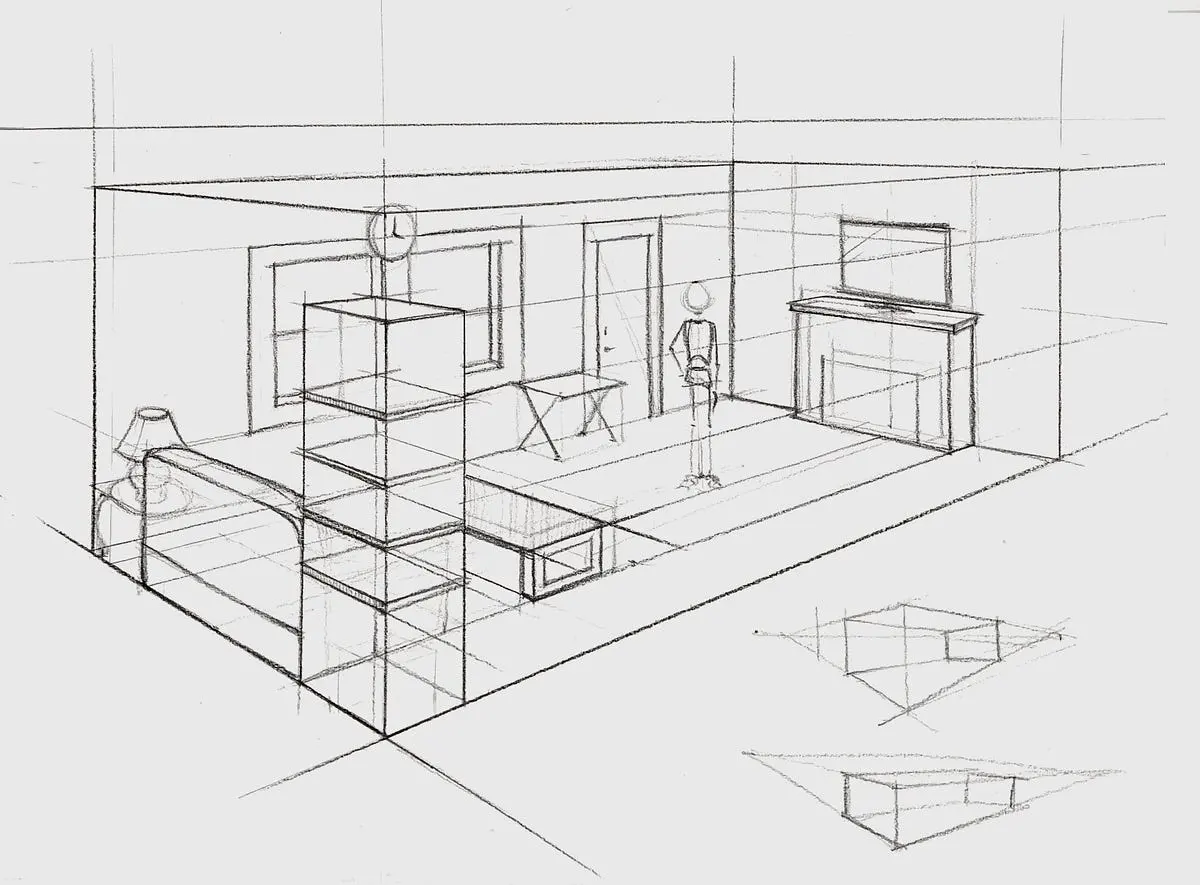
The foundation of a realistic classroom drawing is one-point perspective. Begin by drawing a horizontal line across your paper, which serves as the eye level of the viewer. Place a small dot, known as the vanishing point, somewhere near the center of this line. All lines representing the depth of the room—such as the edges of the floor, ceiling, and walls—must converge toward this single point.
To construct the room, draw a large rectangle that frames the entire scene. From the four corners of this rectangle, draw light diagonal lines that meet at your vanishing point. These lines define the corners where the walls meet the floor and ceiling. By maintaining these angles, you ensure that the room appears three-dimensional rather than flat. Keep your initial construction lines very faint so they can be easily erased later.
How to draw desks and furniture
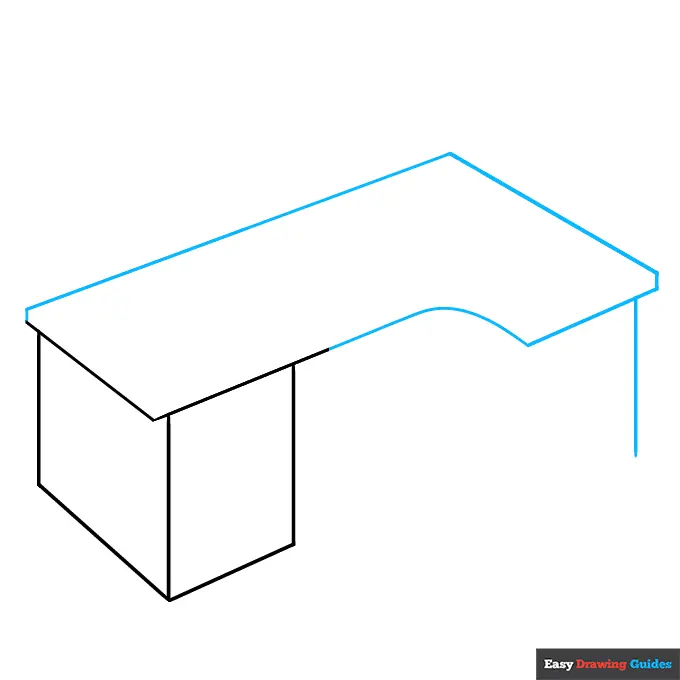
Once the room structure is established, you can place furniture using the same perspective rules. Desks are essentially rectangular prisms that sit on the floor plane. To ensure they look proportional, draw the front face of the desk first, then extend lines from its corners back toward the vanishing point to create the sides.
Follow these steps to ensure your furniture looks accurate:
- Draw the front rectangular face of the desk parallel to the bottom of your paper.
- Extend light lines from the top and bottom corners of the desk toward the vanishing point.
- Choose a point along those lines to draw the back edge of the desk, ensuring it is parallel to the front.
- Add vertical lines to connect the corners, creating the legs and the tabletop thickness.
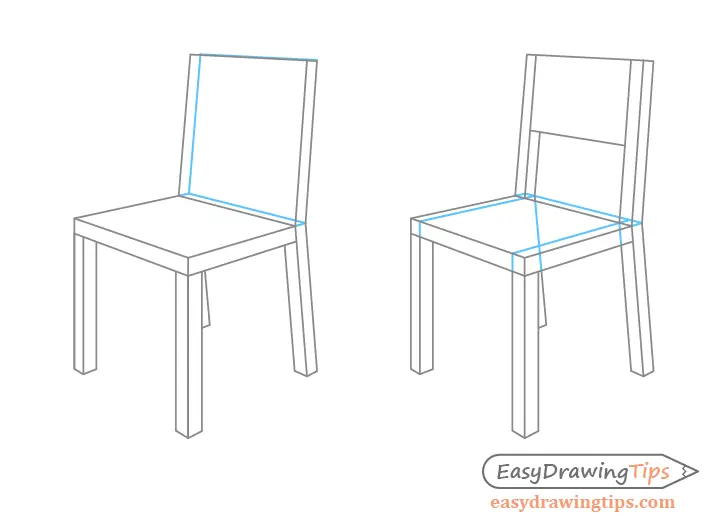
- Repeat this process for chairs, keeping them slightly smaller as they move closer to the vanishing point.
Best tools for drawing classrooms
Using the right equipment can significantly improve the precision of your architectural sketches. A hard lead pencil, such as an H or 2H, is ideal for creating the initial perspective grid because it leaves light, clean marks. A softer pencil, like a 2B or 4B, is better for adding final details, shading, and defining the outlines of furniture or windows.
A long, clear ruler is essential for maintaining strict alignment with the vanishing point. Without a straightedge, perspective drawings often look distorted or "wobbly," which ruins the illusion of depth. Additionally, a kneaded eraser is a professional choice because it allows you to lift graphite off the page without damaging the paper surface. If you are working on a large scale, consider using a drafting board to keep your paper secure and your lines perfectly horizontal or vertical.
Common mistakes when drawing classrooms
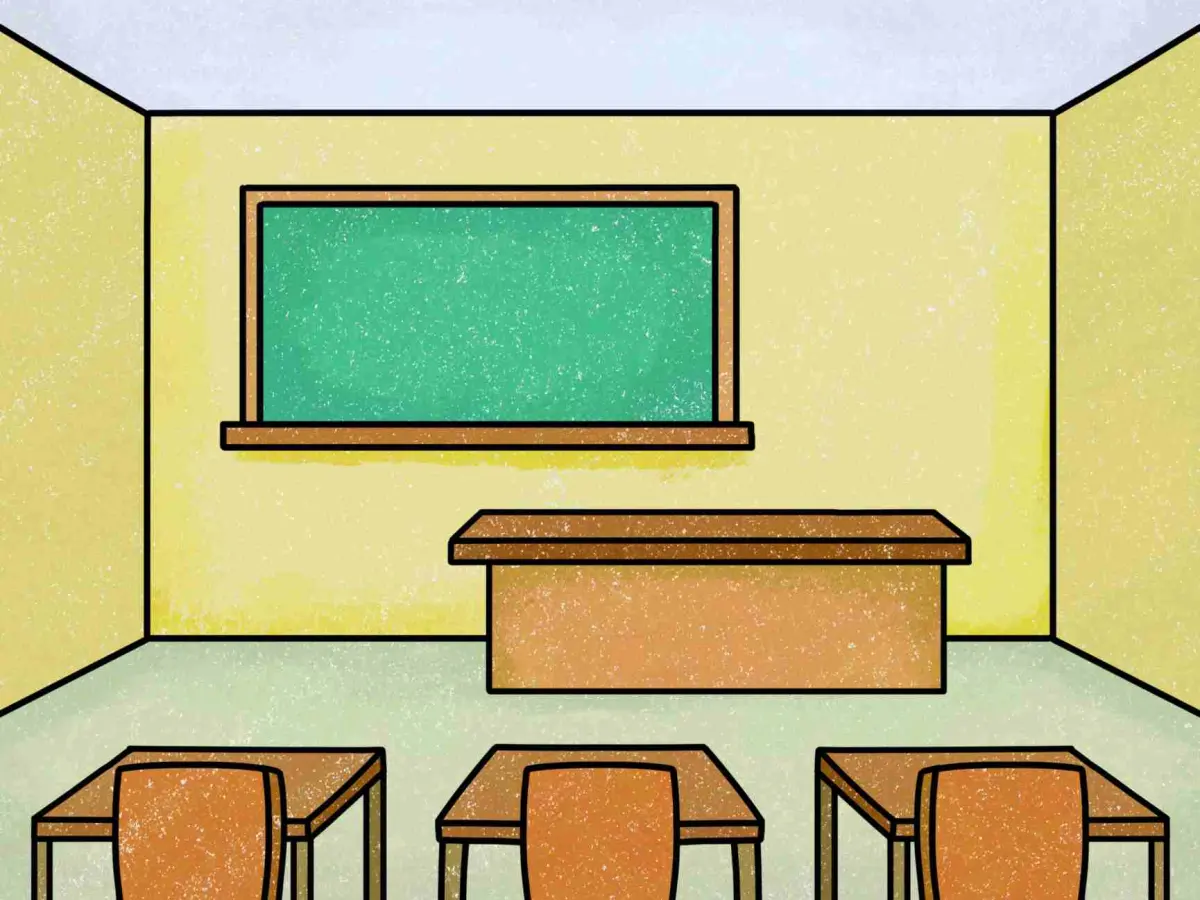
A frequent error is failing to keep horizontal lines perfectly parallel to the bottom edge of the paper. If the front of a desk or a whiteboard is tilted, the entire perspective will look skewed. Always use a ruler to verify that your horizontal edges are level, even if the side edges are converging toward the vanishing point. Another common mistake is making objects in the background too large.
Avoid these pitfalls to keep your drawing realistic:
- Ignoring the scale of objects as they approach the vanishing point.
- Drawing walls that are too thin, which makes the room look like a box rather than a space.
- Forgetting to account for the thickness of walls, doors, and window frames.
- Over-detailing the background, which distracts from the main focal point of the classroom.
- Placing the vanishing point too high or too low, which creates an unnatural bird’s-eye or worm’s-eye view.
Why classrooms look distorted in drawings
Distortion often occurs when the artist does not respect the "cone of vision," which is the area the human eye perceives without moving. If you place your vanishing point too close to the edge of the paper, the lines converging toward it will become unnaturally steep. This creates a "fish-eye" effect that makes the room appear warped or stretched. To fix this, ensure your vanishing point is placed centrally and that the objects within the room are not stretched beyond the reasonable limits of the page.
Another reason for distortion is the inconsistent use of vanishing points. Beginners sometimes accidentally create two-point perspective by tilting furniture, which causes the lines to clash with the primary vanishing point of the room. Every object that is parallel to the walls must share the same vanishing point. By keeping all depth lines locked to that single point, you maintain a harmonious and believable environment. Consistency is the most important element in achieving a professional, architectural look for your classroom sketch.
Key facts
- Use one-point perspective by drawing a single vanishing point on the horizon line to create the illusion of depth.
- Draw parallel lines converging toward the vanishing point to define the floor, ceiling, and side walls.
- Place furniture like desks and chairs along these converging lines to ensure they appear realistically sized as they recede.
- Add windows and doors by drawing vertical lines perpendicular to the floor and horizontal lines parallel to the horizon.
- Include details such as a chalkboard, clock, or posters to establish the specific function and atmosphere of the room.
- Avoid drawing objects at random angles, as this breaks the consistent perspective and makes the classroom look distorted.
The bottom line
Drawing a classroom requires a solid grasp of linear perspective to create a believable environment. By establishing a clear vanishing point and using a ruler to guide your lines, you can accurately represent the depth and scale of the space. Focus on consistent proportions for furniture and add specific details to bring the scene to life. With practice, these foundational techniques will allow you to illustrate any interior.
People also ask
What is the most common mistake when drawing a room?
The most frequent error is failing to align all depth lines with a single vanishing point. This causes the furniture and walls to look tilted or disconnected from the room's overall structure.
How do I make the classroom look occupied?
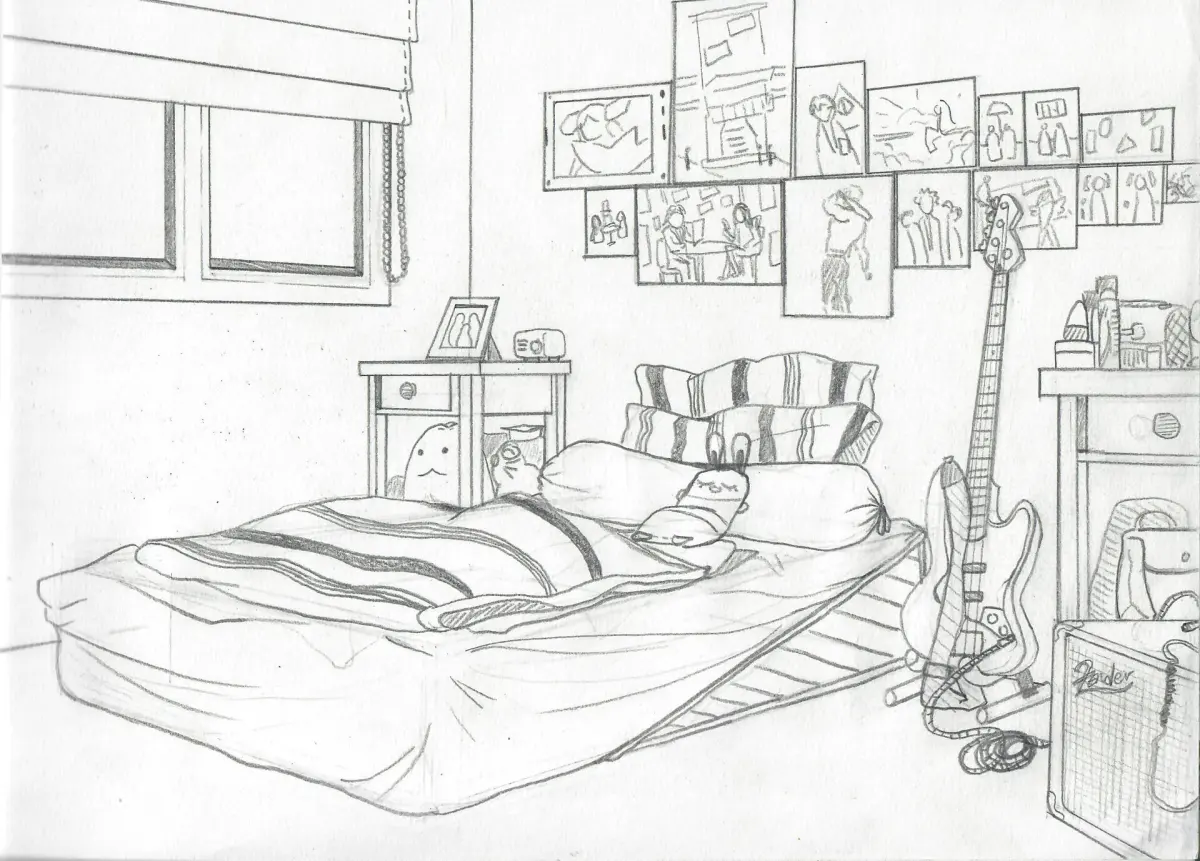
Add personal items like open books on desks, bags on the floor, or chalk dust on the board. These small details suggest human activity and make the space feel lived-in.
Should I draw the furniture before or after the walls?
Always establish the walls, floor, and ceiling first to create your perspective grid. Once the room's geometry is set, you can place furniture accurately within that space.
How can I show light and shadow?
Identify a primary light source, such as a window, and apply shading to the opposite sides of objects. Consistent shading helps define the volume of desks and chairs.
What tools are best for drawing a classroom?
A graphite pencil, a ruler for straight perspective lines, and a kneaded eraser are essential. Use a ruler to keep your vanishing lines precise and clean.
How do I draw rows of desks?
Draw the first desk in the foreground, then use the vanishing point to guide the size and placement of subsequent desks. This ensures that the rows appear to shrink proportionally as they move away.
This answer was created with the help of AI research tools and reference sources. Spotted an error? Let us know — we correct mistakes quickly. See our editorial policy.