How do you draw a chair for beginners?
Short answer
Drawing a chair involves breaking its complex form into basic geometric shapes like cubes and cylinders. By establishing a horizon line and using one-point or two-point perspective, you can create a realistic sense of depth. Focus on the structural framework first, then refine the details to achieve a balanced, three-dimensional representation.
On this page
How to start drawing a chair structure
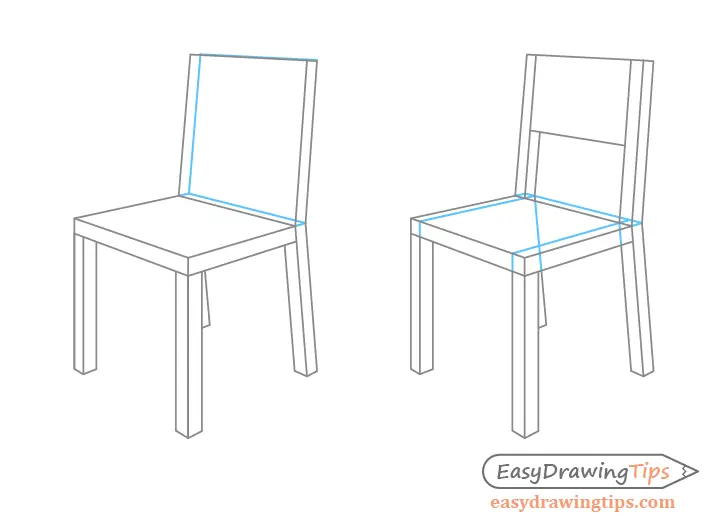
The most effective way to draw a chair is to visualize it as a collection of simple geometric volumes. Begin by sketching a light, transparent box that defines the overall space the chair occupies. This "bounding box" ensures your proportions remain accurate before you add specific features like legs or a backrest. Use a hard pencil, such as an H or HB, to keep your initial construction lines faint so they can be easily erased or integrated later.
Once the primary volume is set, identify the seat level and the height of the backrest. Draw a horizontal line across your box to mark where the seat meets the back, and vertical lines to indicate the placement of the four legs. Maintaining these guidelines helps you avoid the common error of drawing a chair that looks lopsided or structurally impossible. Remember that the legs closer to the viewer should appear slightly longer and thicker than those in the background.
Best drawing techniques for beginners
Perspective is the foundation of realistic drawing, and mastering it will instantly improve your work. For a beginner, one-point perspective is the most accessible method; imagine all the parallel lines of the chair receding toward a single vanishing point on the horizon line. If you are drawing the chair at an angle, use two-point perspective, where lines recede toward two separate points on the horizon. This creates a more dynamic and professional look.
To ensure your chair looks grounded rather than floating in space, follow these steps:
- Draw a horizon line across your paper to establish eye level.
- Place your vanishing points on this line to guide your receding edges.
- Connect the corners of your bounding box to these points to create depth.
- Add thickness to the legs by drawing smaller, parallel boxes around your initial guide lines.
- Use an eraser to remove the hidden internal lines of the box, leaving only the visible structure.
How to add realistic depth and detail
After establishing the framework, focus on the chair's specific character. Add curves to the backrest or armrests, but keep them consistent with the perspective you established. If the chair has upholstery, use soft, rounded lines to suggest volume and cushion. Avoid drawing perfectly straight lines for organic shapes, as this makes the object look rigid and artificial. Instead, use slight variations in your line weight to indicate where light hits the chair and where shadows form.
Adding texture and shading is the final step in creating a believable object. Identify where your light source is coming from and apply darker shading to the opposite side of the chair legs and the underside of the seat. Hatching or cross-hatching can be used to simulate wood grain or fabric patterns. By varying the pressure of your pencil, you can create a gradient that makes the chair appear solid and tactile rather than flat.
Common mistakes when drawing chairs
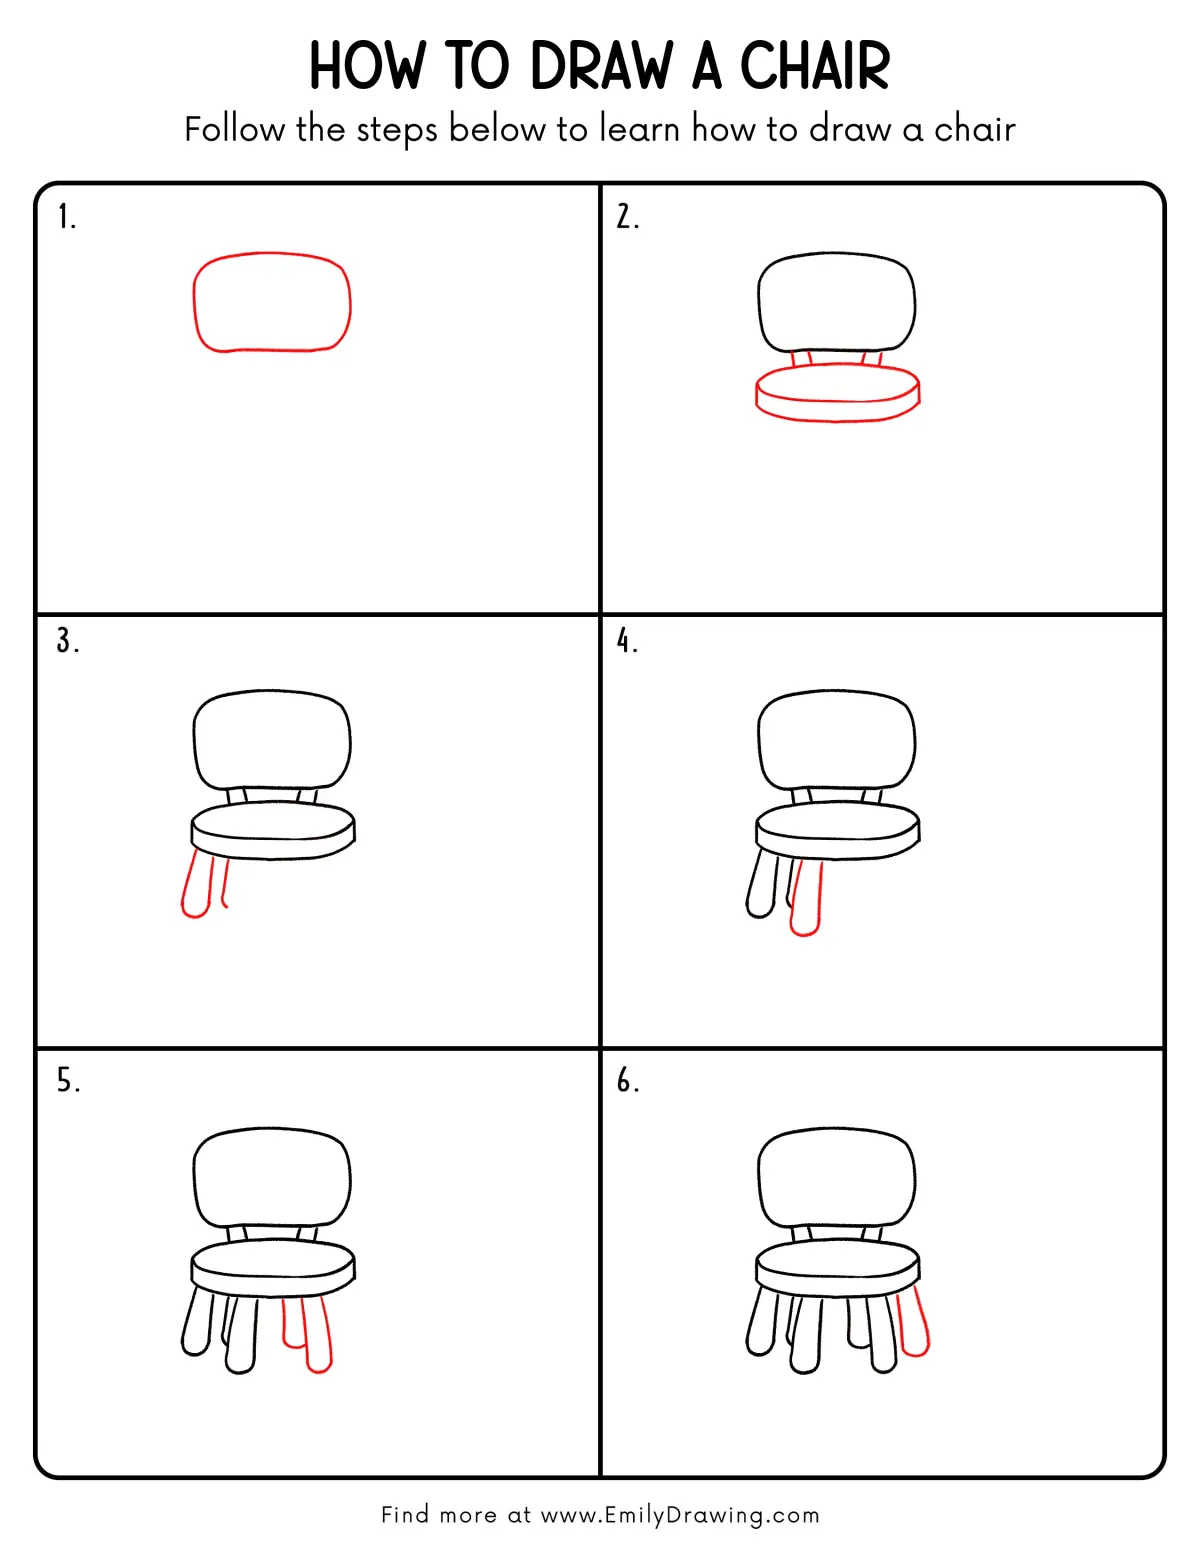
One of the most frequent errors beginners make is failing to maintain consistent convergence. If the legs of the chair do not align with the established vanishing points, the chair will appear warped or "broken." Always double-check that the lines representing the sides of the seat and the legs are angled toward the same points on your horizon line. Another common mistake is ignoring the thickness of materials, such as drawing chair legs as thin, single lines instead of three-dimensional columns.
- Forgetting to account for the thickness of the seat cushion or frame.
- Drawing legs that are all the same length, which ignores the effects of foreshortening.
- Using heavy, dark outlines too early, which makes the drawing look like a cartoon.
- Neglecting the negative space between the legs, which is crucial for defining the chair's silhouette.
- Placing the chair on an uneven surface, making it look like it is sliding or falling over.
How to practice drawing furniture effectively
Consistency is the key to improvement, so aim to sketch different types of chairs regularly. Start with simple, four-legged wooden chairs before moving on to complex office chairs or ornate armchairs with intricate carvings. You can find excellent references by looking at furniture catalogs or simply observing the chairs in your own home. Take photos of these chairs from different angles to study how the perspective changes as you move around the object.
Set aside ten minutes each day to practice quick, gestural sketches rather than focusing on a single, perfect drawing. These rapid studies help you internalize the relationship between geometric shapes and the final form of the object. If you find yourself struggling with a specific angle, try drawing the chair as a wireframe model first. Over time, your ability to visualize these structures will become intuitive, allowing you to draw furniture from your imagination with confidence and precision.
Key facts
- Start by drawing a simple cube or rectangular box to establish the chair's overall volume and perspective.
- Use a light pencil touch for initial construction lines so they can be easily erased later.
- Ensure the legs of the chair are parallel to the vertical edges of your guide box to maintain correct alignment.
- Draw the seat as a flat plane that connects the inner corners of your guide box.
- Add thickness to the legs and backrest by drawing a second line parallel to your first stroke.
- Use a vanishing point if you want to create a more realistic three-dimensional look in two-point perspective.
The bottom line
Drawing a chair is an excellent exercise for mastering perspective and structural logic. By starting with a simple geometric box, you can accurately map out the seat, legs, and backrest before adding details. Focus on maintaining parallel lines and consistent proportions to ensure the chair looks stable. With practice, these foundational techniques will allow you to draw any piece of furniture with confidence and precision.
People also ask
Should I use a ruler when drawing furniture?
Using a ruler helps beginners learn straight lines and accurate proportions. Once you gain confidence, try drawing freehand to develop a more fluid and natural artistic style.
What is the most common mistake when drawing a chair?
The most frequent error is making the legs different lengths or placing them at incorrect angles. Always check that the back legs align with the front legs to keep the object grounded.
How do I make the chair look like it is resting on the floor?
Add a soft shadow directly beneath the legs to anchor the chair to the ground. Without this shadow, the object often appears as if it is floating in space.
Can I draw a chair without using a guide box?
While possible for experienced artists, beginners benefit from the box method to understand depth. It provides a structural framework that prevents the chair from looking distorted or flat.
How do I draw the curve of a chair back?
Lightly sketch a rectangular shape first, then round off the corners with your pencil. Use gentle, sweeping motions to create the arc rather than short, choppy lines.
What type of pencil is best for beginners?
An HB or 2B pencil is ideal because it is dark enough to see but light enough to erase. Avoid using dark charcoal or ink until you have finalized your structural lines.
This answer was created with the help of AI research tools and reference sources. Spotted an error? Let us know — we correct mistakes quickly. See our editorial policy.