What is a silhouette photo?
Short answer
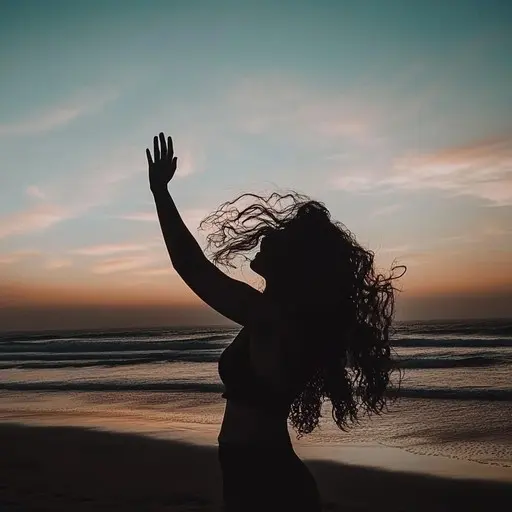
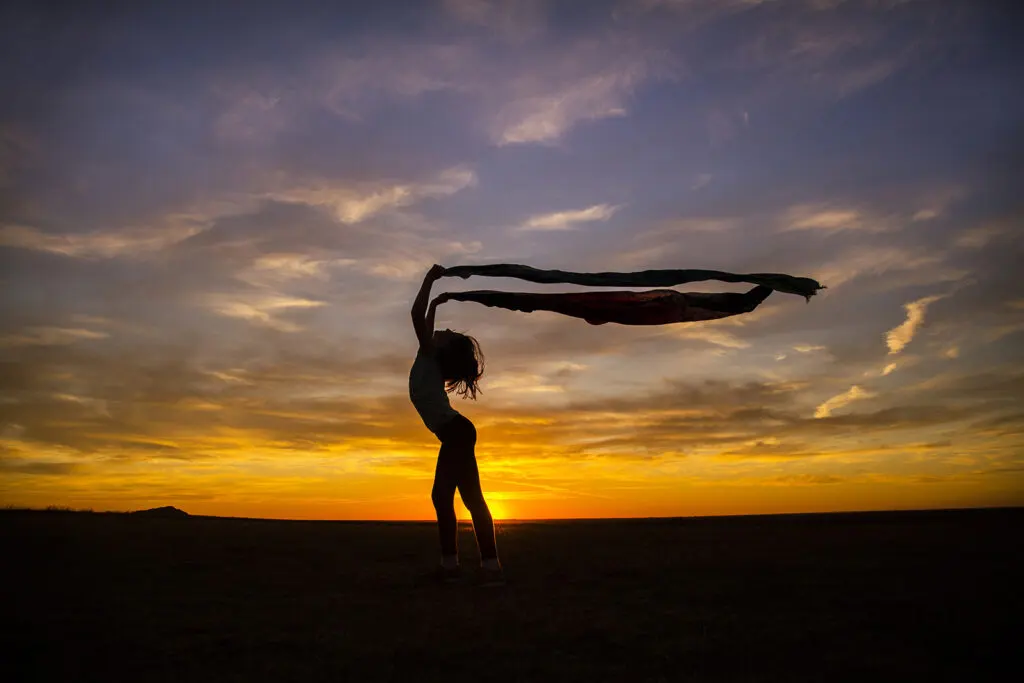
A silhouette is a photographic image where a subject appears as a solid, dark shape against a brighter background. This effect is achieved by placing the subject in front of a strong light source while underexposing the foreground, effectively stripping away detail and color to emphasize the subject's distinct outline and form.
On this page
What is a silhouette photo?
A silhouette photo is defined by high contrast between a dark subject and a luminous background. By positioning the subject between the camera and the light source—such as the sun, a window, or a studio lamp—the photographer ensures the subject is backlit. This technique hides internal details like facial features or clothing textures, leaving only the external contour visible to the viewer.
The aesthetic power of a silhouette lies in its minimalism and ability to convey emotion through shape alone. Because the viewer cannot see expressions, they focus entirely on the subject’s pose, body language, and the overall composition of the frame. This style is frequently used in landscape, portrait, and artistic photography to create dramatic, storytelling images that rely on the interplay of light and shadow rather than explicit detail.
How to take a silhouette photo
To capture a successful silhouette, you must prioritize the brightness of the background over the subject. Modern cameras often try to compensate for dark subjects by brightening the entire image, which ruins the silhouette effect. You must manually override these settings to ensure the background remains properly exposed while the subject remains dark.
Follow these steps to capture your first silhouette:
- Position your subject in front of a bright light source, such as a sunset or a window.
- Set your camera to manual mode or use exposure compensation to lower the brightness.
- Focus your lens on the subject’s outline to ensure the edges are sharp and crisp.
- Take the photo and check your histogram to ensure the shadows are truly black.
By following these steps, you force the camera to ignore the subject’s internal light, resulting in a stark, high-contrast image. Experiment with different angles to see how the shape changes as the subject moves.
Best lighting for silhouette photography
The quality of your light source is the most critical factor in silhouette photography. Natural light, particularly during the "golden hour"—the period shortly after sunrise or before sunset—is ideal because the sun is low on the horizon. This provides a soft, warm glow that creates a vibrant background, making the dark subject pop with significant visual impact.
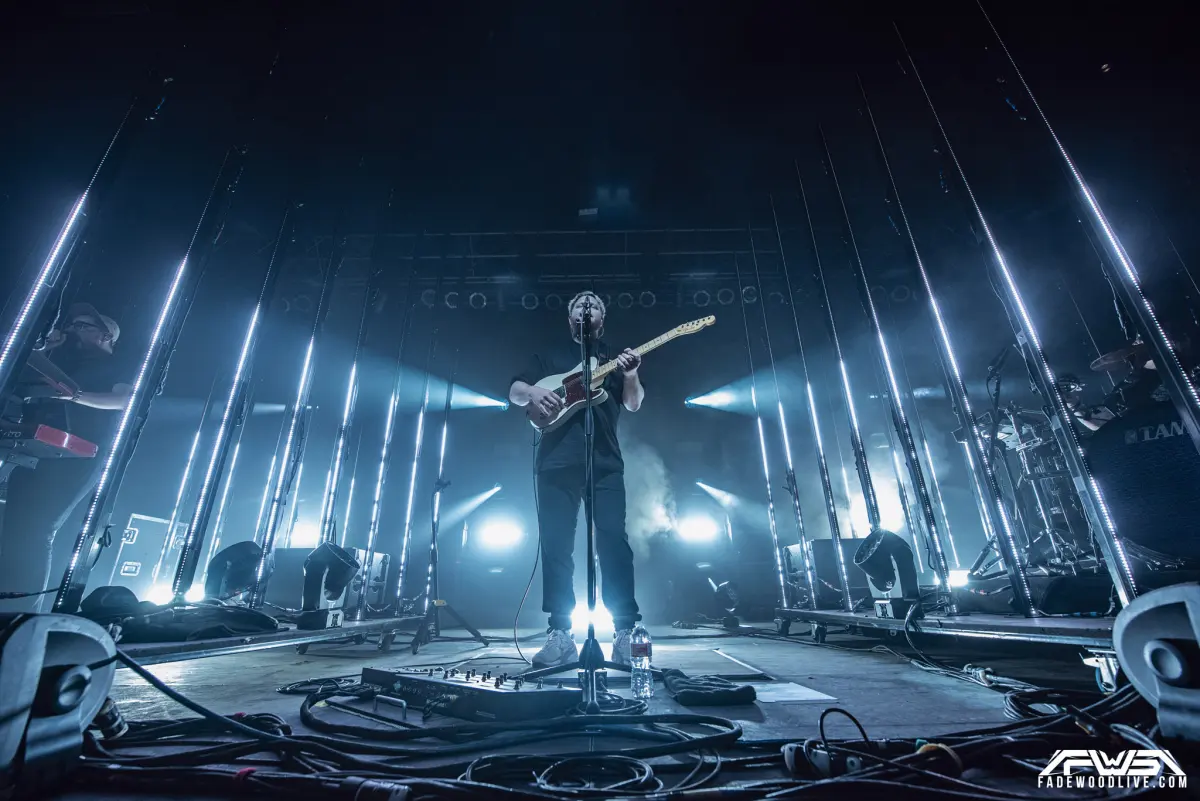
If you are shooting indoors, you can use a large window or a studio light directed toward a wall or backdrop. The goal is to create a bright, uniform field of light behind the subject. Avoid using direct flash on the subject, as this will illuminate the details you are trying to hide. Instead, keep the light behind the subject at all times to maintain the necessary contrast ratio.
Common mistakes when shooting silhouettes
One of the most frequent errors is failing to separate the subject from the background. If a person is standing in front of a busy, cluttered environment, their silhouette will likely blend into the surrounding shapes, making the image confusing. Always aim for a clean, unobstructed background, such as an open sky or a plain wall, to ensure the outline remains recognizable.
Another common mistake involves improper focus. Because the subject is dark, autofocus systems often struggle to lock onto the edges. You may need to switch to manual focus to ensure the silhouette is sharp. Additionally, avoid using too much detail in the subject's pose. If the limbs overlap, the silhouette becomes a blob; instead, ensure there is "negative space" between arms and legs to clearly define the shape.
- Avoid cluttered backgrounds that distract from the subject's outline.
- Do not use front lighting or flash, as this adds detail to the subject.
- Ensure the subject is not too close to the light source to avoid lens flare.
- Check your focus manually to ensure the edges of the silhouette are crisp.
Why silhouette photography works
Silhouette photography works because it engages the viewer's imagination. By stripping away the visual information of a person's face or the specific textures of an object, the image becomes a universal symbol. The viewer is invited to project their own experiences onto the shape, making the photograph feel more personal and interpretive. This technique has been used by artists for centuries, dating back to the 18th-century trend of paper-cut portraits.
In modern photography, the silhouette remains a powerful tool for visual storytelling and composition. It forces the photographer to think about the "gestalt" of an image—the idea that the whole is greater than the sum of its parts. By focusing on the elegance of a curve or the strength of a stance, you create a timeless image that transcends the limitations of standard, detail-oriented photography. Mastering this skill allows you to capture the essence of a moment with simple, bold, and effective visual language.
Key facts
- A silhouette is a high-contrast image where the subject appears as a solid black shape against a brighter background.
- The primary requirement for a silhouette is placing the light source directly behind the subject, known as backlighting.
- To create a silhouette, you must set your camera’s exposure for the brightest part of the scene rather than the subject.
- Subjects with distinct, recognizable outlines work best, as internal details are lost in the shadow.
- Turn off your camera flash, as it will illuminate the subject and destroy the silhouette effect.
- Use a fast shutter speed to ensure the background remains sharp and the subject remains dark.
The bottom line
A silhouette is a powerful photographic technique that emphasizes form and composition by stripping away color and detail. By mastering backlighting and exposure control, you can create dramatic, minimalist images that tell a story through shape alone. Whether capturing a person against a sunset or an object against a bright window, the key is ensuring the light source remains behind your subject to achieve that striking, high-contrast look.
People also ask
Do I need a professional camera to take silhouette photos?
No, you can capture effective silhouettes with a smartphone. Simply tap the brightest part of the screen to lock the exposure, which forces the subject into shadow.
What time of day is best for silhouette photography?
The golden hour, occurring shortly after sunrise or before sunset, provides the best light. The sun is low on the horizon, making it easier to position behind your subject.
Should I use manual or automatic mode?
Manual mode is preferred because automatic settings often try to brighten the dark subject. If using automatic, use exposure compensation to lower the brightness until the subject turns black.
How do I focus on a silhouette?
If the camera struggles to focus, focus on the edge of the subject where it meets the bright background. Alternatively, use manual focus to lock onto the subject’s outline before the final shot.
Can I edit a photo to turn it into a silhouette?
Yes, you can increase the contrast and lower the shadows in post-processing software. While this works, it is always better to capture the effect in-camera for higher quality.
What are the most common mistakes to avoid?
The most common mistake is failing to block the light source, which leads to a washed-out image. Another error is including too many subjects, which can cause the shapes to overlap and lose their definition.
This answer was created with the help of AI research tools and reference sources. Spotted an error? Let us know — we correct mistakes quickly. See our editorial policy.