What is HDR photography?
Short answer
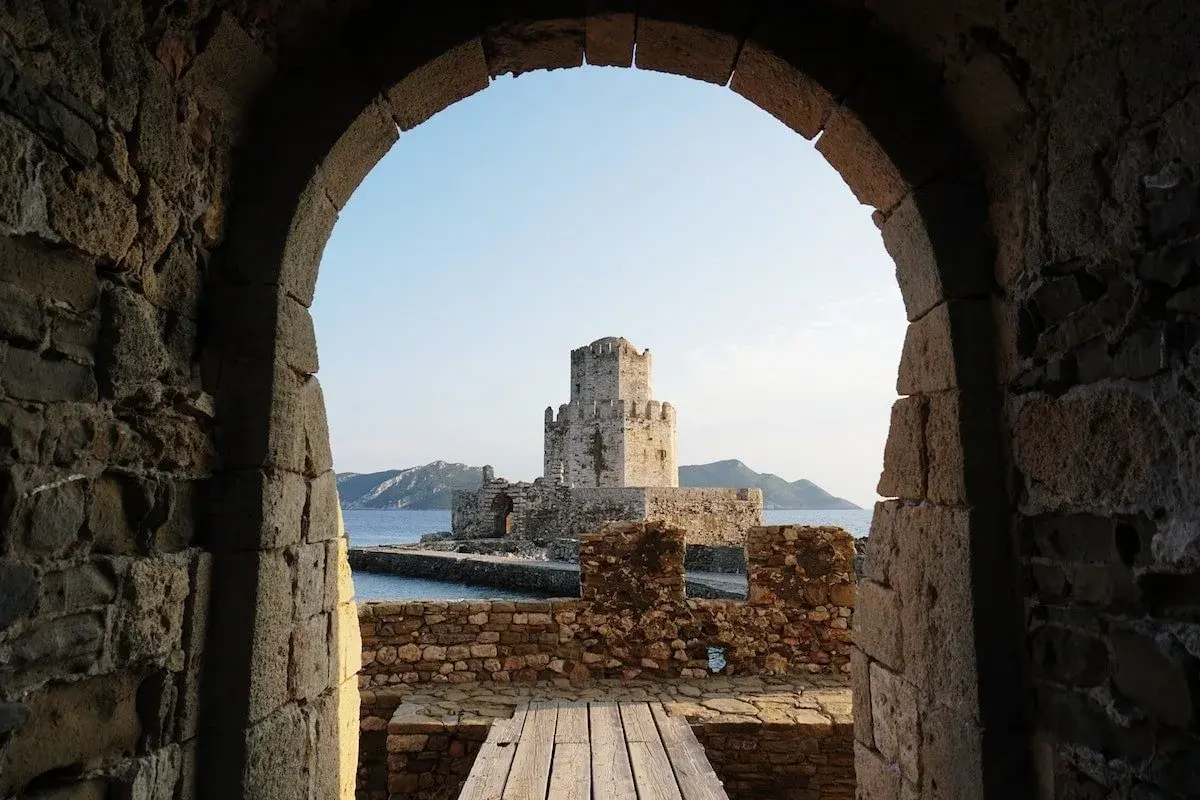
High Dynamic Range (HDR) photography is a technique that captures a wider range of light and shadow than a standard camera sensor can record in a single shot. By combining multiple exposures of the same scene, it produces images that retain detail in both the brightest highlights and the deepest, darkest shadows.
On this page
What is HDR photography?
HDR photography solves the fundamental limitation of digital sensors, which struggle to record the vast contrast between bright sunlight and deep shade. In a standard photograph, the camera must choose a single exposure setting, often resulting in "blown-out" white skies or "crushed" black shadows where all detail is lost. HDR overcomes this by taking a series of images—typically three or more—at different exposure levels. One shot captures the highlights, one captures the mid-tones, and one captures the shadows.
These individual files are then merged using software to create a single composite image. The final result displays a dynamic range that closely mimics the human eye, which can perceive detail across a much broader spectrum of light than a single digital exposure. This technique is particularly popular in landscape and architectural photography, where high-contrast scenes are common. It allows photographers to balance the luminance of an indoor room with the bright light streaming through a window, ensuring the entire frame is properly exposed and visually balanced.
How to take HDR photos
To capture high-quality HDR images, you must ensure that your camera remains perfectly still during the entire sequence. If the camera shifts even slightly between shots, the software will struggle to align the images, leading to ghosting or blurry edges. Using a tripod is the most effective way to maintain consistency across your exposures. If you are shooting handheld, use your camera’s "Auto Exposure Bracketing" (AEB) mode, which fires off the sequence in rapid succession to minimize movement.
Follow these steps to capture successful HDR sequences:
- Mount your camera on a sturdy tripod to ensure frame alignment.
- Set your camera to Aperture Priority mode to keep the depth of field consistent between shots.
- Enable Auto Exposure Bracketing (AEB) in your menu, typically set to a range of -2, 0, and +2 stops.
- Use a remote shutter release or the camera’s self-timer to prevent vibrations caused by touching the shutter button.
- Capture your sequence, ensuring the scene remains static throughout the process.
Best software for HDR processing
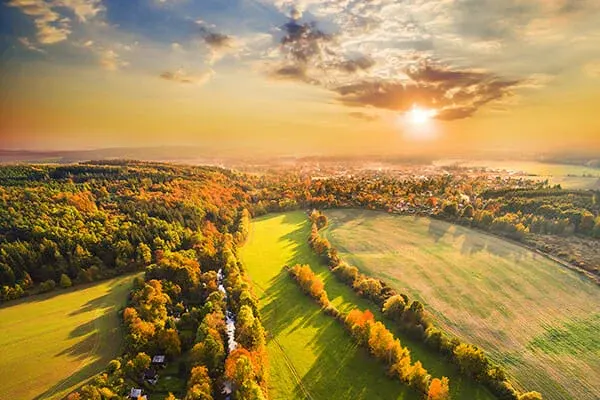
Once you have captured your bracketed exposures, you need specialized software to merge them into a single file. Adobe Lightroom and Photoshop are the industry standards, offering robust tools for merging exposures while preserving natural color and texture. Other dedicated applications like Aurora HDR or Photomatix Pro provide more granular control, allowing photographers to adjust the strength of the HDR effect and manage noise reduction in the shadows.
When selecting software, consider your workflow needs:
- Adobe Lightroom: Ideal for photographers who want a seamless integration between raw editing and HDR merging.
- Photomatix Pro: Best for those who need advanced ghosting removal tools for scenes with moving elements like trees or people.
- Aurora HDR: Offers sophisticated tone-mapping algorithms that can produce highly stylized or naturalistic results depending on your artistic preference.
- Affinity Photo: A powerful, one-time purchase alternative that handles complex HDR merging without the need for a monthly subscription.
Why HDR photos look fake
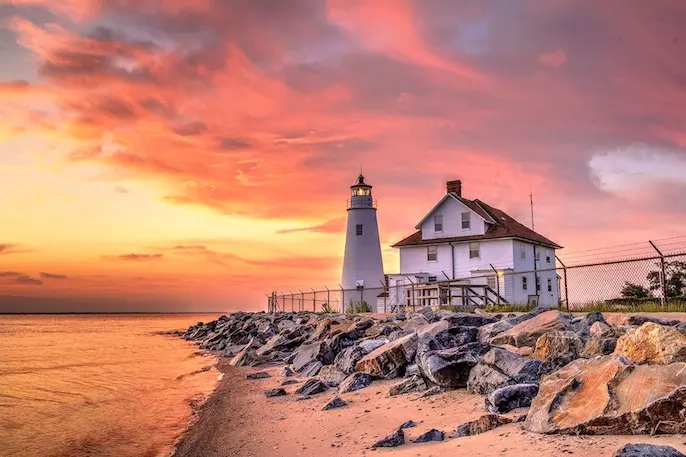
The most common criticism of HDR photography is the "over-processed" look, characterized by glowing halos around objects, unnaturally saturated colors, and flattened contrast. This usually happens when users push the tone-mapping sliders too far, attempting to force every single pixel into a mid-tone range. While the goal of HDR is to recover detail, it is not meant to eliminate the natural shadows that give an image depth and dimension. If a photo looks like a surreal painting, the HDR effect has likely been overdone.
To avoid the "fake" look, focus on subtle blending rather than aggressive contrast enhancement. Keep the natural light direction in mind; if your shadows are as bright as your highlights, the image will lose its sense of realism. Always check your edges for halos, which are often caused by excessive sharpness or contrast adjustments in the software. A well-executed HDR image should be indistinguishable from a standard photograph, simply one that contains more information than the camera could have captured in a single frame.
Common mistakes when shooting HDR
One frequent mistake is attempting to use HDR on scenes with significant movement, such as busy streets or wind-blown foliage. Because HDR requires multiple frames, any object that moves between shots will appear as a faint, translucent "ghost" in the final composite. While modern software includes "de-ghosting" features, these can often result in artifacts or loss of detail in the affected areas. If your scene contains moving subjects, it is often better to use a single raw file and recover the shadows manually.
Another error is failing to shoot in raw format. JPEG files have already discarded a significant amount of data during the compression process, leaving you with very little information to work with when you try to merge the exposures. Always use raw files to ensure you have the maximum amount of highlight and shadow data available for your software to process. By avoiding these pitfalls and focusing on clean, intentional exposures, you will produce professional-grade images that showcase the full potential of your camera equipment.
Key facts
- HDR stands for High Dynamic Range, a technique used to capture a greater range of light and dark details than a standard photograph allows.
- The process typically involves taking three or more photos of the same scene at different exposure levels: underexposed, balanced, and overexposed.
- Software then merges these images to preserve highlights in bright areas and details in deep shadows simultaneously.
- Modern smartphones often perform this process automatically in the background when the HDR setting is enabled in the camera app.
- A tripod is essential for high-quality results to ensure the multiple shots align perfectly without motion blur or ghosting.
- Avoid over-processing HDR images, as excessive contrast and saturation can lead to an unnatural, "crunchy" look that lacks photographic realism.
The bottom line
HDR photography is a powerful tool for balancing extreme lighting conditions, ensuring that both bright highlights and dark shadows remain visible in a single image. By capturing multiple exposures and merging them, photographers can overcome the limitations of digital sensors. To achieve professional results, prioritize stability with a tripod and aim for a natural look that enhances the scene rather than distorting the original lighting.
People also ask
Does HDR photography make photos look fake?
It can, if the settings are pushed to extremes during the editing process. When used moderately, HDR simply helps the photo look closer to what the human eye perceives in high-contrast lighting.
Can I use HDR for moving subjects?
It is generally discouraged because the camera needs to take multiple shots in quick succession. If a person or object moves between frames, the final image will show blurry "ghosting" artifacts where the layers do not align.
What is the difference between HDR and RAW?
RAW files contain all the data captured by the camera sensor, while HDR is a technique for blending multiple exposures. You can create an HDR image by merging multiple RAW files to achieve the best possible quality.
Do I need special software to create HDR images?
Yes, you need software capable of "exposure bracketing" or "merging." Popular professional tools include Adobe Lightroom, Photoshop, and Photomatix, though many free mobile apps offer basic HDR functionality.
When should I avoid using HDR?
Avoid HDR when shooting scenes with intentional high contrast, such as silhouettes or dramatic shadows. Using HDR in these cases will flatten the image and remove the artistic intent of the lighting.
Is HDR the same as exposure compensation?
No, exposure compensation is a manual adjustment to brighten or darken a single shot. HDR is a composite technique that combines multiple exposures to expand the total dynamic range.
This answer was created with the help of AI research tools and reference sources. Spotted an error? Let us know — we correct mistakes quickly. See our editorial policy.