How do you take photos in the rain?
Short answer
Capturing photos in the rain requires protecting your equipment with weather-sealed gear or waterproof covers while utilizing fast shutter speeds to freeze falling droplets. Focus on high-contrast subjects, seek shelter under overhangs, and prioritize safety to ensure both your camera and yourself remain dry throughout the creative process.
On this page
How to protect camera gear in the rain
Moisture is the primary enemy of digital photography, as water can easily seep into internal circuitry and cause permanent damage. Before heading out, invest in a dedicated rain cover, which is a sleeve that shields the camera body and lens while allowing access to controls. If you lack professional gear, a simple plastic bag with a hole cut for the lens, secured by a rubber band, serves as a functional emergency solution. Always carry a supply of high-quality microfiber cloths to wipe down the exterior of your equipment frequently.
When working in wet conditions, follow these protective steps to maintain hardware integrity:
- Use a lens hood to prevent raindrops from landing directly on the front element of your glass.
- Keep your camera inside a dry bag or backpack when moving between locations to prevent condensation buildup.
- Avoid changing lenses while outdoors, as internal sensors are highly susceptible to moisture and dust particles.
- Once home, leave your camera bag open in a dry, ventilated area for several hours to allow any trapped humidity to evaporate naturally.
Best camera settings for rain photography
Rain often creates low-light conditions, which necessitates careful adjustment of your exposure triangle. To freeze the motion of falling raindrops, you must use a fast shutter speed, typically at least 1/500th of a second. If you prefer to capture the streaks of rain, a slower shutter speed between 1/30th and 1/60th of a second will provide a sense of movement. Because faster shutter speeds require more light, you may need to increase your ISO settings, though be mindful of the digital noise this introduces.
Utilizing a wider aperture, such as f/2.8 or f/4, helps compensate for the lack of ambient light by allowing more photons to reach the sensor. If you are shooting in manual mode, consider these adjustments:
- Set your white balance to "Cloudy" or "Shade" to warm up the typically cool, blue tones of a rainy day.
- Use continuous autofocus to track subjects that might be moving quickly across wet, slick surfaces.
- Enable exposure compensation to brighten images, as light meters often misinterpret the gray, overcast sky as being brighter than it actually is.
![RAIN 🌧 [Vidéo]](/img/70/how-do-you-take-photos-in-the-rain-2.webp)
How to find the best light in the rain
Rainy weather provides a soft, diffused light that is ideal for portraiture and macro photography. Without the harsh shadows of direct sunlight, colors often appear more saturated and vibrant, particularly on wet pavement or foliage. Look for reflections in puddles, as these can create symmetrical compositions that add depth to an otherwise flat scene. Urban environments are particularly effective for this, as the neon lights of storefronts or streetlamps reflect beautifully on wet asphalt.
When the sky is overcast, the clouds act as a giant softbox, creating an even illumination that reduces contrast. To maximize this effect, look for:
- High-contrast subjects like brightly colored umbrellas or yellow rain slickers that pop against the muted gray background.
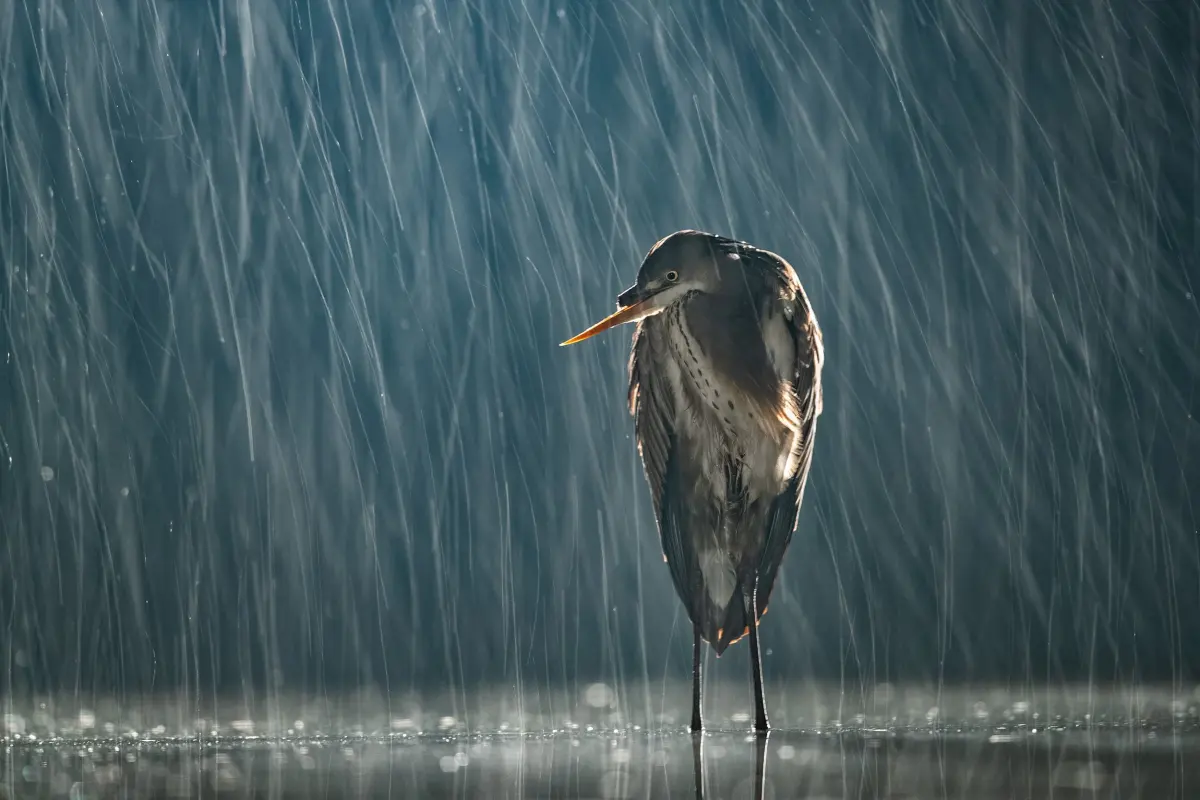
- Backlit rain, which occurs when you shoot toward a light source, causing the droplets to sparkle and become more visible in the frame.
- Textures on wet surfaces, such as brick walls or leaves, which gain a reflective sheen that adds tactile detail to your photographs.

Common mistakes when shooting in the rain
One of the most frequent errors photographers make is failing to account for lens fogging. When moving from a cold, rainy environment into a warm indoor space, condensation forms instantly on the glass and internal components. To avoid this, place your camera inside a sealed plastic bag before entering a warm building; this allows the equipment to reach room temperature gradually, preventing moisture from settling on the lens elements. Never force the camera to warm up by using heaters or hair dryers, as this can cause internal components to warp.
Another common oversight is neglecting personal safety and stability. Wet surfaces are slippery, and carrying expensive gear while navigating slick terrain increases the risk of falls. Additionally, many photographers forget to check their composition for distracting elements like wet spots on the lens. Always perform these checks:
- Regularly inspect the front of your lens for water droplets, as even a small smudge can cause significant blurring or unwanted light flares.
- Ensure your tripod is firmly planted, as wind often accompanies rain, which can cause camera shake during longer exposures.
- Do not ignore the horizon line, which can become obscured by mist and rain, leading to tilted or crooked images.
Why rain photography requires patience
Successful rain photography is less about technical perfection and more about capturing the mood and atmosphere of the moment. The rain changes the behavior of people, causing them to huddle under umbrellas or hurry toward shelter, which provides excellent candid opportunities. Patience is essential because you must wait for the right combination of light, subject, and intensity of the downpour. Do not be discouraged by a light drizzle; sometimes, the most atmospheric shots occur when the rain is just beginning or trailing off.
Ultimately, the goal is to tell a story through the lens that conveys the feeling of being in the storm. Whether you are focusing on the rhythmic patterns of ripples in a pond or the solitary silhouette of a pedestrian, the rain adds a layer of emotion that sunny days often lack. Embrace the unpredictability of the weather and allow the elements to dictate the aesthetic of your work. By staying prepared and observant, you can turn a gloomy day into an opportunity for compelling visual storytelling that captures the world in a unique, refreshed state.
Key facts
- Use a dedicated rain cover or a simple plastic bag with a hole cut for the lens to keep your camera body dry.
- Keep a large microfiber cloth in a sealed bag to wipe your lens dry without introducing moisture to the glass.
- Increase your shutter speed to at least 1/500th of a second to freeze raindrops in mid-air for a crisp effect.
- Use a lens hood to physically shield the front element of your lens from direct rain spray and stray light.
- Carry silica gel packets in your camera bag to absorb residual humidity once you are back indoors.
- Avoid changing lenses outdoors, as moisture can easily enter the camera sensor chamber and cause permanent damage.
The bottom line
Capturing the rain requires a balance of equipment protection and technical precision. By prioritizing moisture management through covers and lens hoods, you safeguard your gear against long-term damage. Simultaneously, adjusting your shutter speed and lighting allows you to transform simple precipitation into a dramatic visual element. With careful preparation and a focus on safety, you can turn challenging weather into an opportunity for unique, evocative photography.
People also ask
Can rain damage my camera if it is weather-sealed?
Weather-sealing provides resistance against light splashes, but it is not waterproof. Even high-end professional cameras can suffer internal corrosion if water enters through the lens mount or battery door.
How do I make the rain visible in my photographs?
You must use a flash or position yourself so the rain is backlit by a strong light source. Without backlighting, raindrops are often too thin to be captured by a camera sensor.
Should I use autofocus or manual focus in the rain?
Manual focus is often more reliable because raindrops can confuse autofocus systems, causing them to hunt for a subject. If you must use autofocus, select a single point and aim for a high-contrast subject.
Is it safe to use a tripod during a rainstorm?
It is safe, but you must ensure the tripod is stable on slippery surfaces and wipe it down thoroughly afterward. Metal tripods can rust, and moisture can seize the locking mechanisms of carbon fiber legs.
How do I prevent my lens from fogging up?
Fogging occurs when you move from a cold environment to a warm one. Keep your camera inside your bag until the equipment reaches the ambient temperature of the new environment to prevent condensation.
What is the best aperture for rainy day portraits?
A wide aperture, such as f/2.8, helps blur the background and makes the falling rain appear as soft, dreamy bokeh. This technique isolates your subject while creating a moody, atmospheric aesthetic.
This answer was created with the help of AI research tools and reference sources. Spotted an error? Let us know — we correct mistakes quickly. See our editorial policy.