How do you paint fruit in watercolor?
Short answer
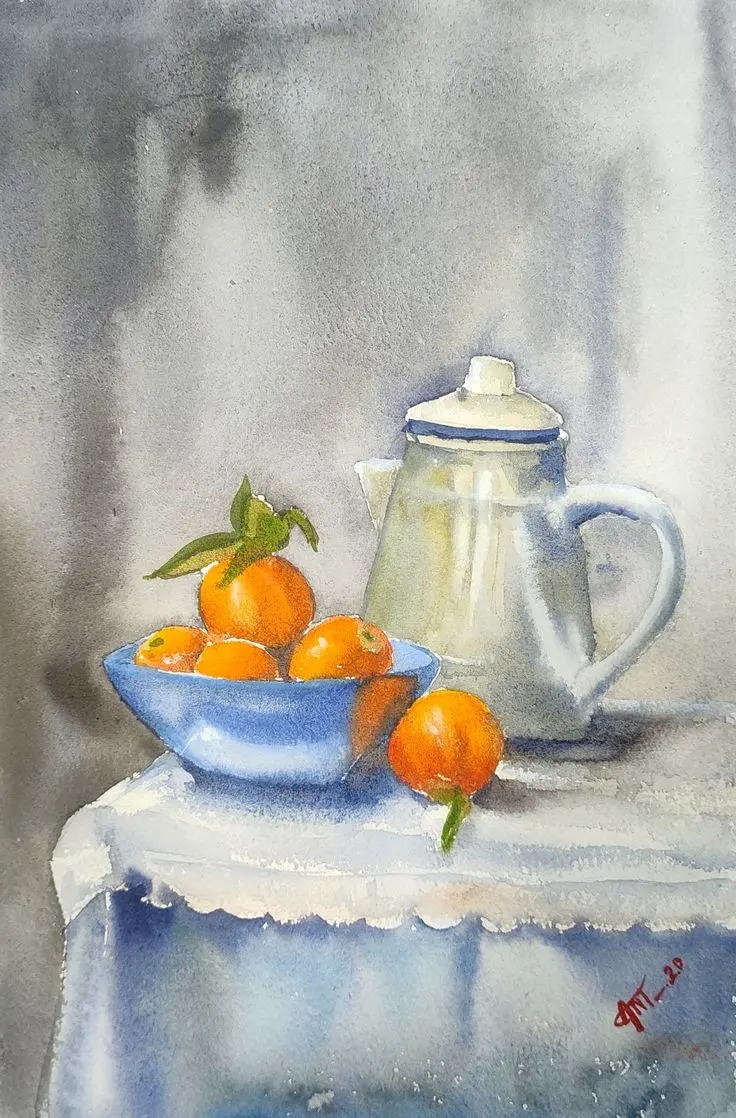
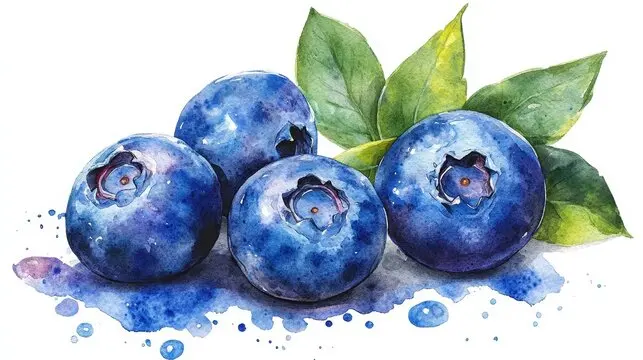
Painting fruit in watercolor requires layering transparent washes to build volume and depth. Begin with a light pencil sketch, apply local color, and gradually darken shadows while preserving white highlights. By controlling water-to-pigment ratios and allowing each layer to dry completely, you can capture the translucent, vibrant essence of fresh produce.
On this page
Best watercolor supplies for beginners
To achieve professional results, start with high-quality materials. Use 140-pound (300 gsm) cold-press watercolor paper, which offers a slight texture that holds pigment well. For brushes, a size 6 or 8 round synthetic or sable brush is versatile enough for both large washes and fine details. You will also need a basic palette of artist-grade paints, including warm and cool versions of primary colors like lemon yellow, cadmium red, and ultramarine blue.
Avoid student-grade paints, as they often contain fillers that result in muddy colors. Invest in a palette with deep wells to mix large amounts of paint, ensuring you have enough color for an entire wash. Keep two jars of water nearby: one for rinsing dirty brushes and one for picking up clean water to dilute your pigments. This simple setup prevents colors from becoming dull or contaminated during the painting process.
How to sketch fruit for watercolor
Before applying paint, create a light, accurate pencil sketch on your watercolor paper. Use a hard lead pencil, such as an H or 2H, to draw faint outlines. Heavy graphite can smudge or become trapped under watercolor glazes, ruining the clarity of your work. Focus on the structural shapes of the fruit, such as spheres for apples or cylinders for bananas, rather than intricate details.
- Observe the fruit's silhouette and draw the basic geometric forms.
- Mark the location of the light source to identify where highlights will remain white.
- Lightly erase any dark lines until they are barely visible, ensuring they won't show through thin layers of paint.
- Check your proportions against the real subject to ensure the scale feels natural and balanced on the page.
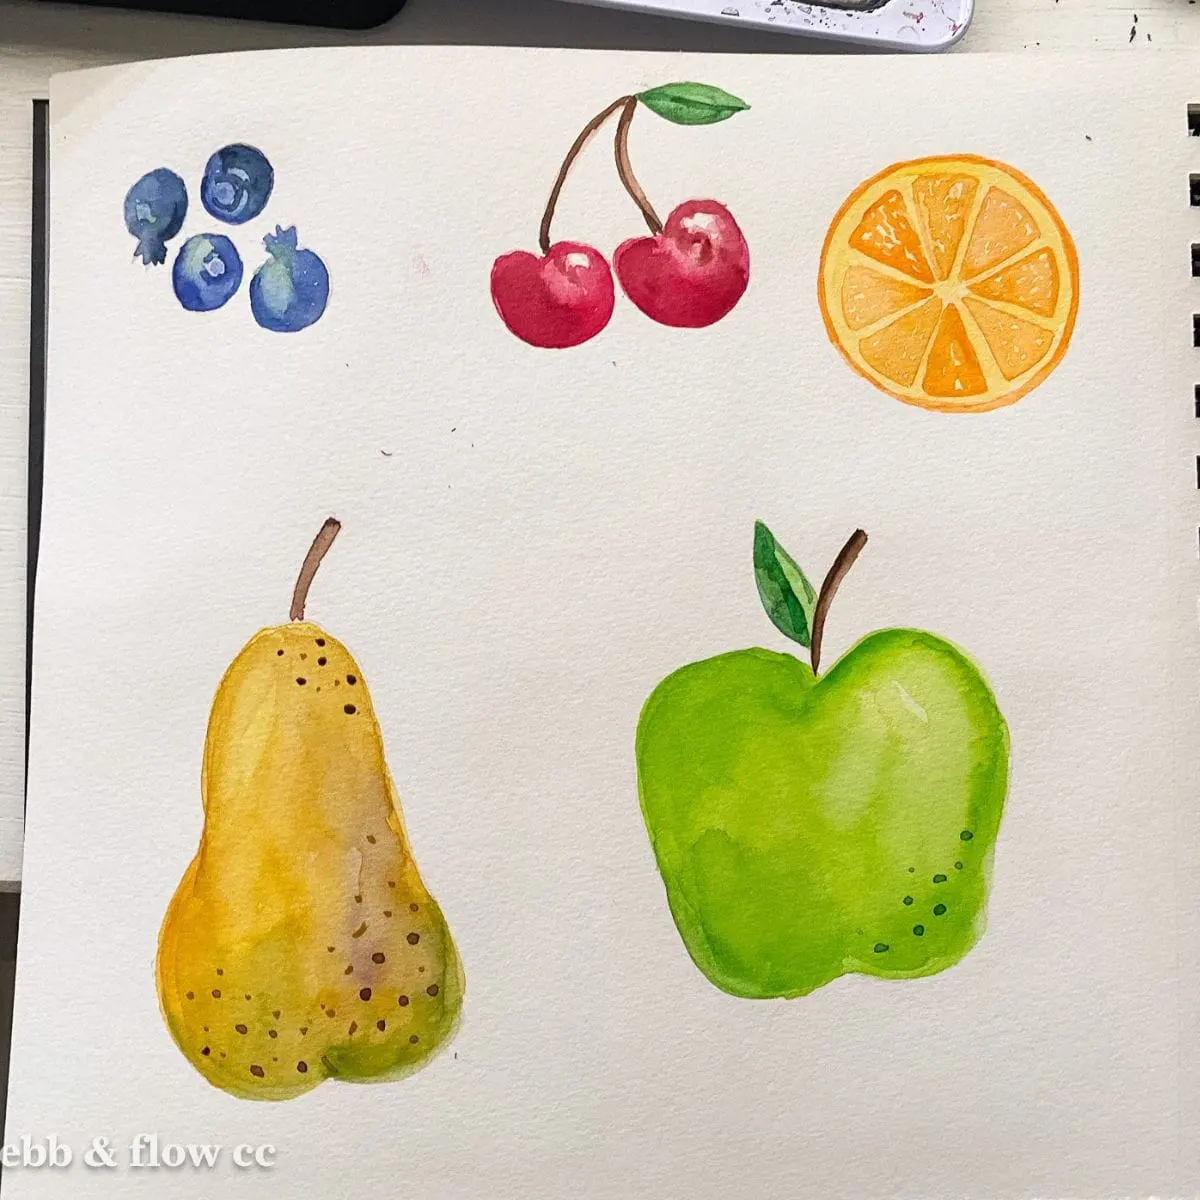
How to layer watercolor for fruit
Layering, or glazing, is the technique of applying thin, transparent washes over dried layers to build intensity. Start by applying a light "local color" wash over the entire fruit, leaving the brightest highlight areas completely untouched. Once this base is bone-dry, mix a slightly darker, more concentrated version of the same hue to begin defining the shadows.
- Work from light to dark to maintain the luminosity of the paper.
- Use a "wet-on-dry" technique to achieve sharp edges for features like stems or pits.
- Apply "wet-on-wet" washes for soft transitions, such as the gradient found on a peach.
- Allow each layer to dry fully before adding the next to prevent the paper fibers from pilling or colors from bleeding unintentionally.
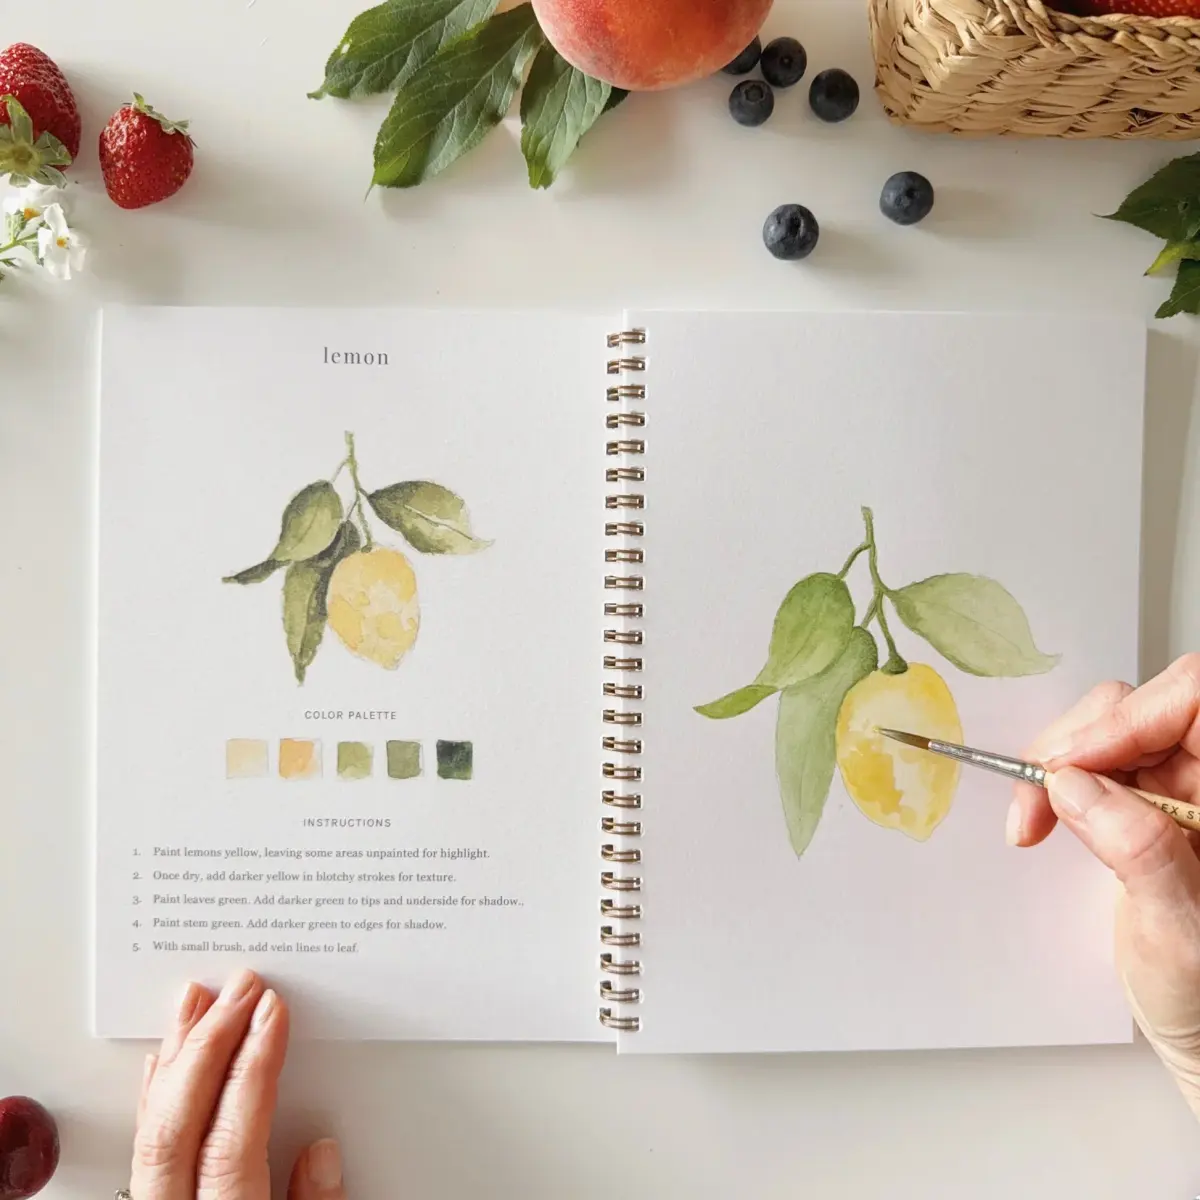
Why colors look muddy in fruit paintings
Muddy colors often occur when too many pigments are mixed together or when a brush is not cleaned properly between strokes. If you mix complementary colors—such as red and green—in large quantities, you will inevitably create a neutral brown or gray. While these tones are useful for shadows, they can look lifeless if applied over the entire fruit. Always test your color mixtures on a scrap piece of watercolor paper before committing to your painting.
Another common cause of muddiness is overworking the paper. If you continue to scrub or brush over an area that is beginning to dry, you will lift the previous layers of pigment and create a patchy, dull appearance. Aim to place your brushstrokes decisively and leave them alone. If you make a mistake, it is often better to let it dry and adjust the color in a subsequent layer rather than trying to fix it immediately while the paint is still damp.
Common mistakes when painting fruit
Many beginners struggle with the "halo" effect or flat-looking subjects. To avoid flat paintings, you must emphasize the contrast between the light side of the fruit and the deep, cast shadows on the surface below. A common mistake is using a single, uniform color for the entire object. Instead, vary the temperature of your colors; for example, use a cool yellow on the side facing the light and a warmer, orange-toned yellow in the shadowed areas to create a sense of three-dimensional form.
- Failing to preserve white highlights, which makes the fruit look dull and heavy.
- Using too much water, which causes the pigment to pool and create unwanted "cauliflower" textures.
- Ignoring the cast shadow, which grounds the fruit and prevents it from appearing as if it is floating in space.
- Over-detailing the texture before establishing the overall volume and light direction of the subject.
Key facts
- Use high-quality cold-press watercolor paper, which has a slight texture that helps capture the organic, bumpy surface of fruits like oranges or peaches.
- Always start with a light graphite sketch, keeping lines faint so they do not show through the transparent watercolor washes.
- Preserve the brightest highlights by using masking fluid or simply painting around the white of the paper before adding color.
- Work from light to dark, applying pale washes first and layering deeper, more concentrated pigments to build volume and shadow.
- Keep a clean brush dampened with water nearby to soften hard edges, a technique known as "lifting" that creates smooth gradients on round fruit.
- Wait for each layer to dry completely before adding adjacent colors to prevent unwanted bleeding, unless you are intentionally creating a soft, wet-on-wet effect.
The bottom line
Painting fruit in watercolor requires a balance of patience and observation. By layering transparent washes from light to dark and carefully preserving the white of the paper for highlights, you can achieve a realistic, luminous effect. Master the control of water-to-pigment ratios and practice patience between layers to ensure your colors remain vibrant and clean, ultimately capturing the natural, juicy essence of your chosen subject.
People also ask
What type of brushes are best for painting fruit?
Round brushes in sizes 4, 6, and 8 are ideal because they hold a good amount of water while offering a fine tip for detail. Synthetic sable blends are popular for their ability to maintain a sharp point and provide consistent water release.
How do I make fruit look three-dimensional?
Focus on the placement of shadows and highlights to define the form. By placing a dark "core shadow" on the side opposite the light source and a "reflected light" area near the edge, you create the illusion of a spherical volume.
Should I use pan or tube watercolors?
Both are effective, but tube paints are often preferred for fruit because they allow you to mix larger puddles of color for consistent washes. Pan sets are more portable and excellent for quick sketches or painting on location.
Why does my painting look muddy?
Muddy colors usually occur from overworking the paper or mixing too many complementary colors together on the surface. To avoid this, let layers dry fully and clean your brush thoroughly between color changes.
How do I paint the texture of a strawberry or raspberry?
Use a "dry brush" technique by pulling a brush with very little water and pigment across the textured paper. This creates broken, speckled marks that mimic the tiny seeds and porous skin of berries.
Can I fix a mistake if I paint the wrong color?
While watercolor is difficult to erase, you can lift light stains by gently scrubbing the area with a clean, damp brush and blotting it with a paper towel. However, dark pigments often stain the paper fibers permanently.
This answer was created with the help of AI research tools and reference sources. Spotted an error? Let us know — we correct mistakes quickly. See our editorial policy.