How do you paint a still life with watercolor?
Short answer
Painting a still life in watercolor involves arranging stable subjects, sketching light outlines, and applying transparent pigment layers from light to dark. By controlling water-to-paint ratios and utilizing the white of the paper for highlights, you build depth and form, capturing the unique luminosity and fluid textures characteristic of this medium.
On this page
How to set up a still life for watercolor
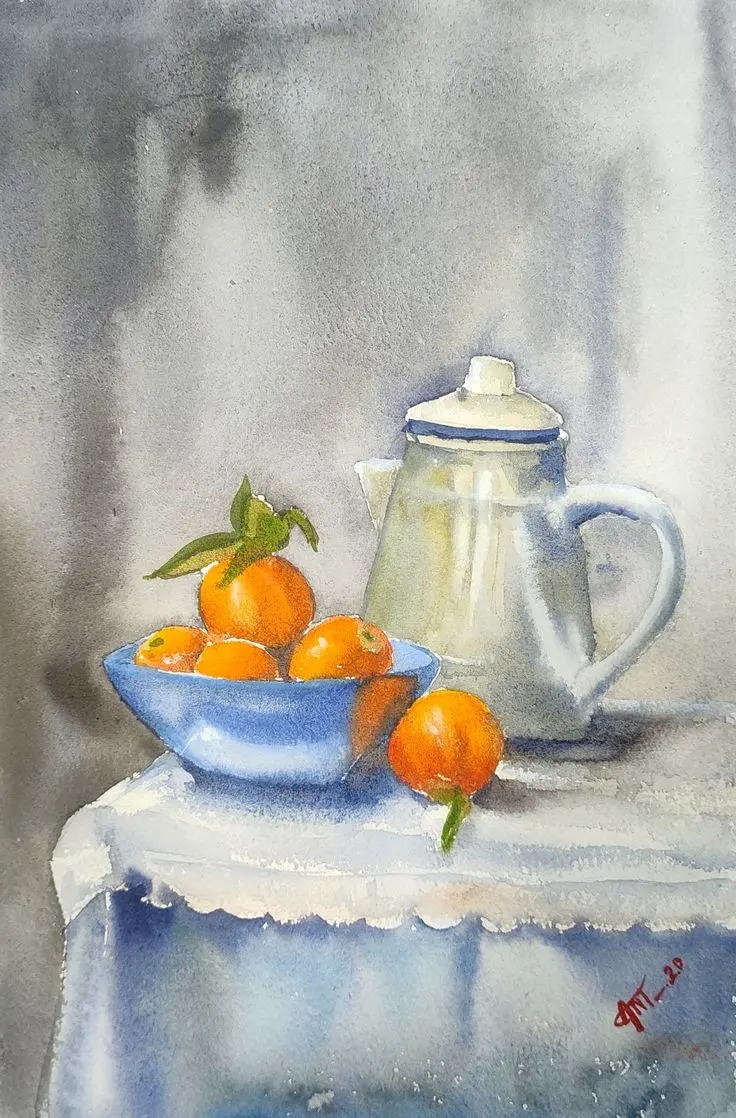
A successful still life begins with thoughtful composition and lighting. Choose objects with varying textures, such as a smooth ceramic bowl, a matte piece of fruit, and a reflective metal spoon. Place these items on a flat surface near a single, strong light source, such as a window or a desk lamp, to create clear highlights and deep, consistent shadows.
To organize your workspace, follow these steps to ensure stability and clarity:
- Arrange objects in an asymmetrical grouping to create visual interest.
- Place a neutral-colored cloth or board behind the items to serve as a backdrop.
- Position your paper at a slight angle on an easel or board to allow gravity to help control the flow of water.
- Ensure your water container, paper towels, and palette are within easy reach to maintain a steady workflow.
Best watercolor supplies for beginners
Selecting the right materials is essential for achieving predictable results. For paper, use 140-pound (300 gsm) cold-press watercolor paper, which features a slightly textured surface that holds pigment well. Beginners should start with a limited palette of high-quality artist-grade paints, focusing on primary colors like ultramarine blue, cadmium yellow, and alizarin crimson, which allow for extensive color mixing.
Regarding brushes, you do not need a large collection to start. A round brush in size 8 or 10 is versatile enough for both broad washes and fine detail. Synthetic sable brushes are excellent for beginners because they offer a good balance of durability and water retention. Always keep a clean rag or paper towel nearby to blot your brush, as controlling the moisture content in the bristles is just as important as the paint itself.
How to sketch and plan the painting
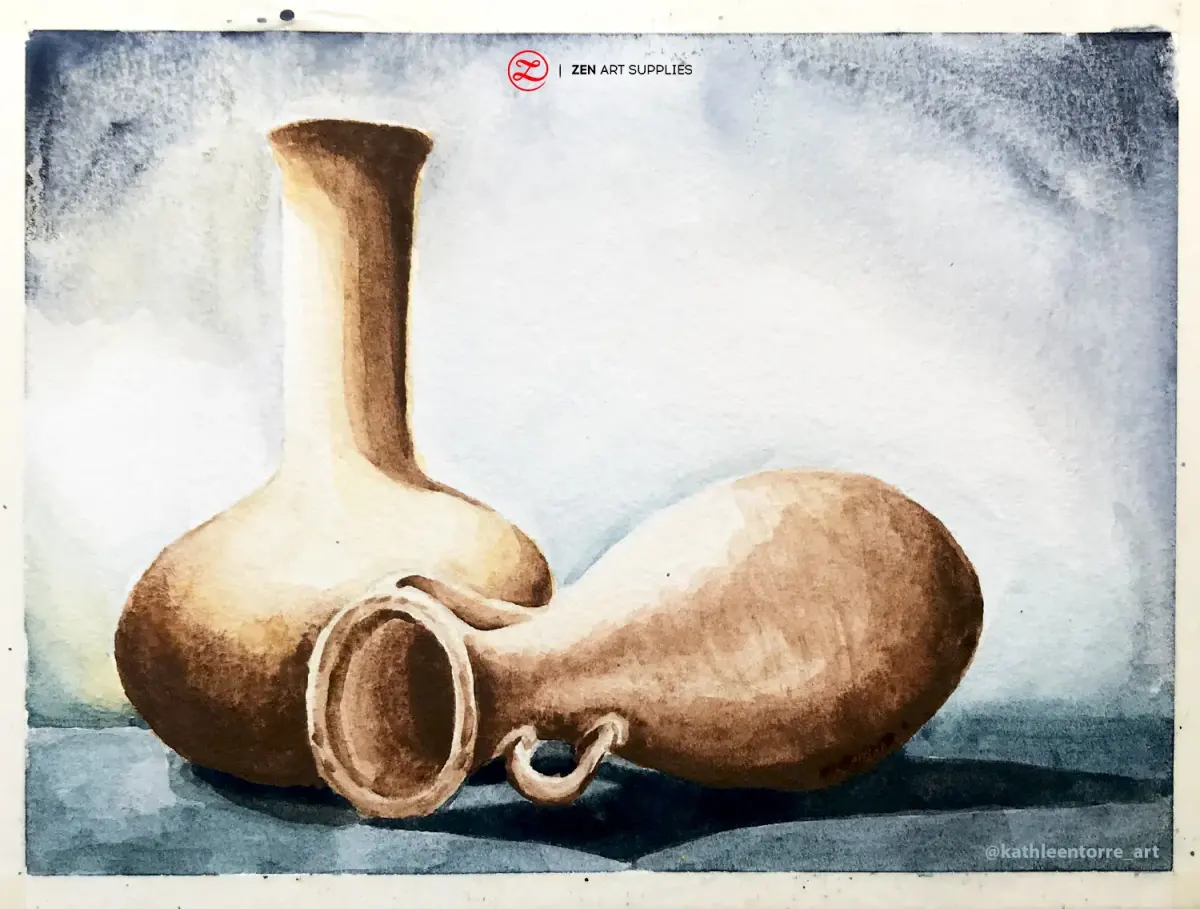
Before applying any pigment, create a light pencil sketch on your watercolor paper. Use a hard lead pencil, such as an H or 2H, to keep lines faint so they do not show through thin washes of color. Focus on the basic geometric shapes of your objects, such as spheres for fruit or cylinders for vases, rather than intricate details.
When planning your approach, consider the following sequence to maintain control:
- Identify the lightest areas of your subject and plan to leave those sections of the paper completely white.
- Map out the darkest shadows to establish the value range of the composition.
- Test your color mixtures on a scrap piece of the same watercolor paper to ensure the hue matches your vision before applying it to the main work.
- Remember that watercolor dries lighter than it appears when wet, so mix your colors slightly more intensely than you think is necessary.
How to layer watercolor for depth
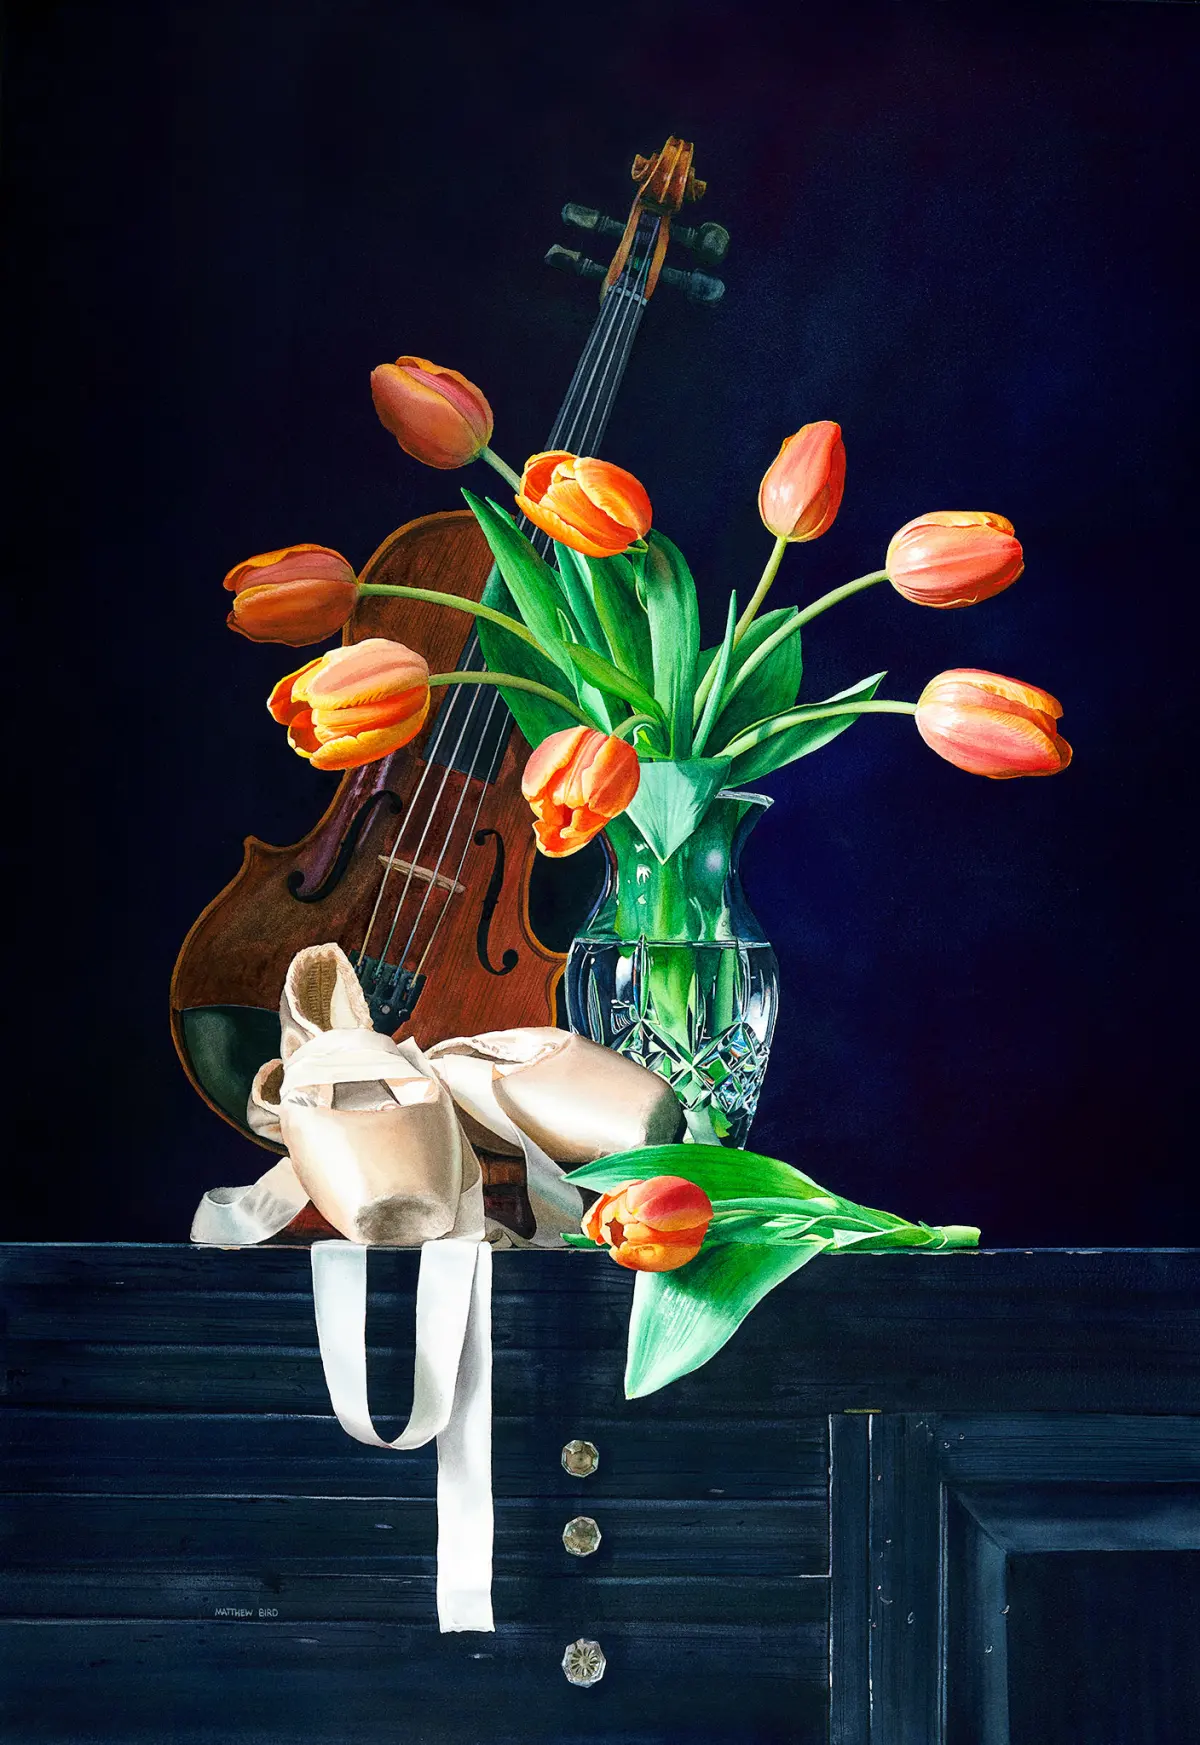
Watercolor is a transparent medium, meaning you must build depth through successive layers, known as glazing. Start by applying very thin, pale washes of color across the entire subject, focusing on the local color of the objects. Allow each layer to dry completely before adding the next to prevent the paper from becoming overworked or muddy, which can damage the fibers.
As you progress, gradually increase the concentration of pigment to define shadows and mid-tones. Use "wet-on-dry" techniques for sharp edges, such as the rim of a cup, and "wet-on-wet" techniques for soft transitions, such as the rounded side of an apple. By layering transparent colors, you allow light to pass through the paint and reflect off the white paper, which creates the characteristic luminosity that distinguishes watercolor from opaque mediums like acrylics or oils.
Common mistakes when painting still life
One of the most frequent errors is overworking the paper, which happens when an artist tries to fix mistakes by scrubbing or applying too many layers. This destroys the freshness of the watercolor and often results in a dull, gray appearance. If you make a mistake, it is often better to leave it or incorporate it into the shadow rather than trying to lift the paint repeatedly.
Another common pitfall is neglecting the importance of negative space. Many beginners focus exclusively on the objects and ignore the background, which makes the painting feel flat or disconnected. Treat the background as an active part of the composition, using it to define the edges of your objects and balance the overall color scheme. Finally, avoid using black paint directly from the tube, as it often looks flat; instead, mix your own darks using complementary colors like burnt umber and ultramarine blue for a more vibrant, nuanced result.
Key facts
- Use 140lb (300gsm) cold-press watercolor paper to prevent buckling when applying multiple washes.
- Establish your light source early to ensure consistent shadows across all objects in your composition.
- Paint from light to dark, preserving the white of the paper for the brightest highlights.
- Keep two jars of water: one for rinsing dirty brushes and one for clean water to mix fresh colors.
- Apply masking fluid to protect intricate highlights before painting large, dark background areas.
- Use a synthetic round brush, size 8 or 10, for most still life work to maintain a sharp point.
The bottom line
Painting a still life with watercolors requires patience and an understanding of how water interacts with pigment. By planning your light source, working from light to dark, and allowing layers to dry completely, you can build depth and luminosity. Remember that watercolor is a transparent medium; embrace the white of the paper and trust the process to create a vibrant, balanced, and professional-looking artistic composition.
People also ask
How do I prevent my watercolor painting from looking muddy?
Avoid over-mixing colors on your palette and limit the number of pigments used in a single wash to three or fewer. Always ensure one layer is completely dry before applying another to prevent the colors from bleeding and turning gray.
Should I draw the still life with pencil before painting?
Yes, a light graphite sketch helps establish proportions and composition before you commit to paint. Use a hard lead pencil, such as an H or 2H, so the lines do not smear or show through lighter watercolor washes.
How do I achieve smooth gradients in a still life?
Use the wet-on-wet technique by dampening the paper with clean water before applying pigment. This allows the paint to flow naturally and create soft transitions without harsh edges.
Why is my paint lifting off the paper when I add a second layer?
This usually happens because the first layer was not fully dry or you are scrubbing the paper with too much pressure. Use light, confident strokes and ensure the base layer is bone-dry to the touch.
What is the best way to mix shadows?
Instead of using black paint, create deep shadows by mixing complementary colors like blue and orange or purple and yellow. This produces a more vibrant, nuanced shadow that feels integrated into the painting.
How long does a watercolor still life take to dry?
Depending on humidity and the amount of water used, most washes dry within 10 to 20 minutes. You can speed up the process with a hair dryer on a cool setting, but keep it moving to avoid creating unnatural water spots.
This answer was created with the help of AI research tools and reference sources. Spotted an error? Let us know — we correct mistakes quickly. See our editorial policy.