How do you draw the ocean step by step?
Short answer
Drawing the ocean requires layering horizontal lines for the horizon, establishing depth through perspective, and using varying values to represent water movement. By focusing on the interplay of light and shadow, you can create realistic waves and reflections. Mastering these foundational techniques allows you to capture the vast, dynamic nature of the sea.
On this page
How to draw the ocean step by step
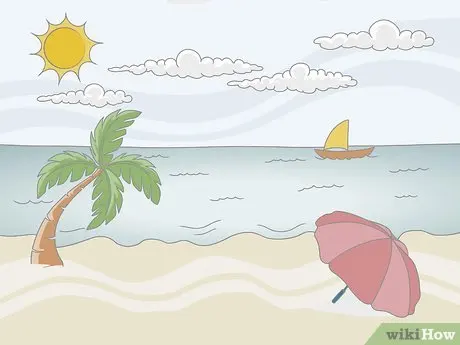
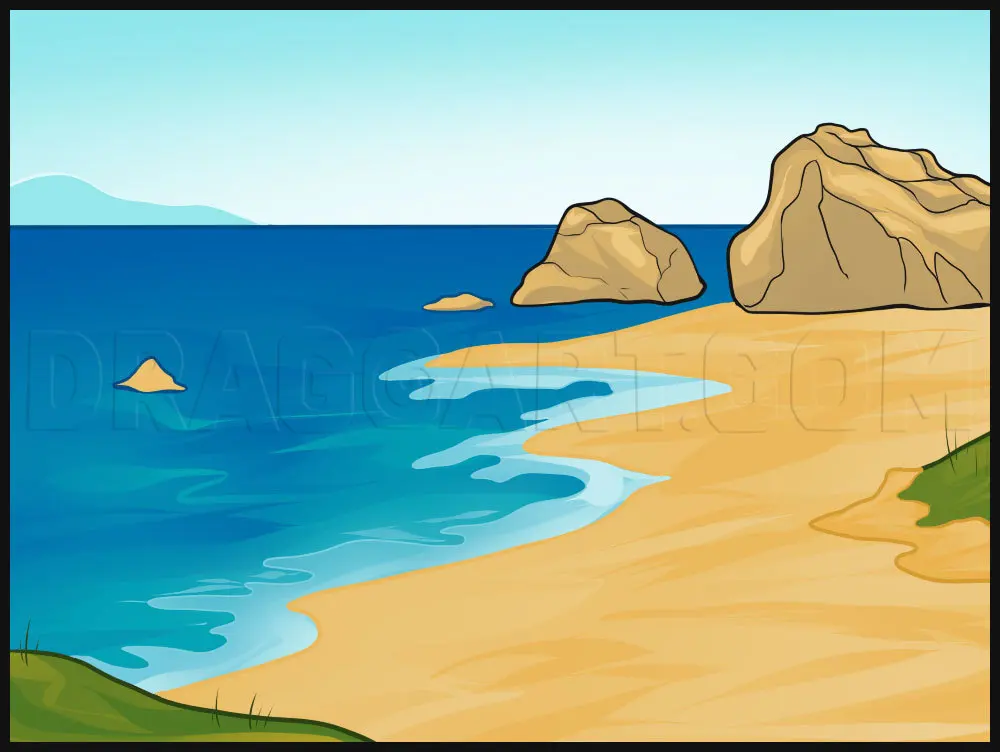
To begin your ocean drawing, start by establishing a clear horizon line. This line acts as the anchor for your entire composition, separating the sky from the water. For a standard landscape, place the horizon about one-third of the way down from the top of your page. If you want to emphasize the vastness of the water, lower the horizon line further.
Once the horizon is set, use light, horizontal strokes to build the base of the water. Avoid drawing perfectly straight lines, as the ocean surface is rarely flat. Instead, use gentle, undulating curves that become smaller and more compressed as they approach the horizon. This technique creates the illusion of depth, known as linear perspective, which is essential for making your ocean look three-dimensional.
- Sketch a light horizon line across the center or lower third of the paper.
- Draw long, horizontal lines that get closer together as they move toward the horizon.
- Use a soft graphite pencil to lightly shade the area closest to the horizon, keeping it lighter than the foreground.
- Gradually increase the pressure of your pencil as you move toward the bottom of the page to create a sense of proximity.
How to draw realistic waves
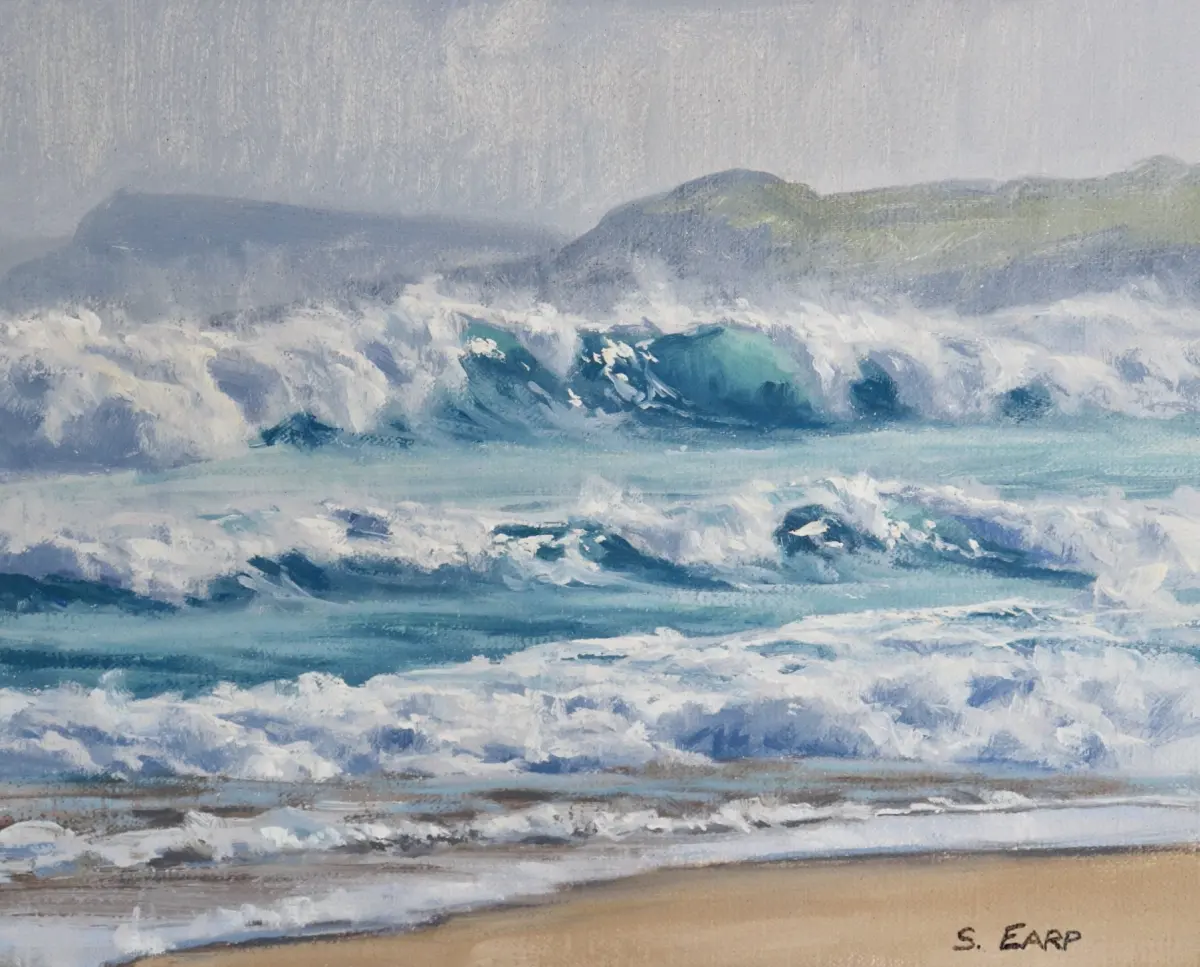
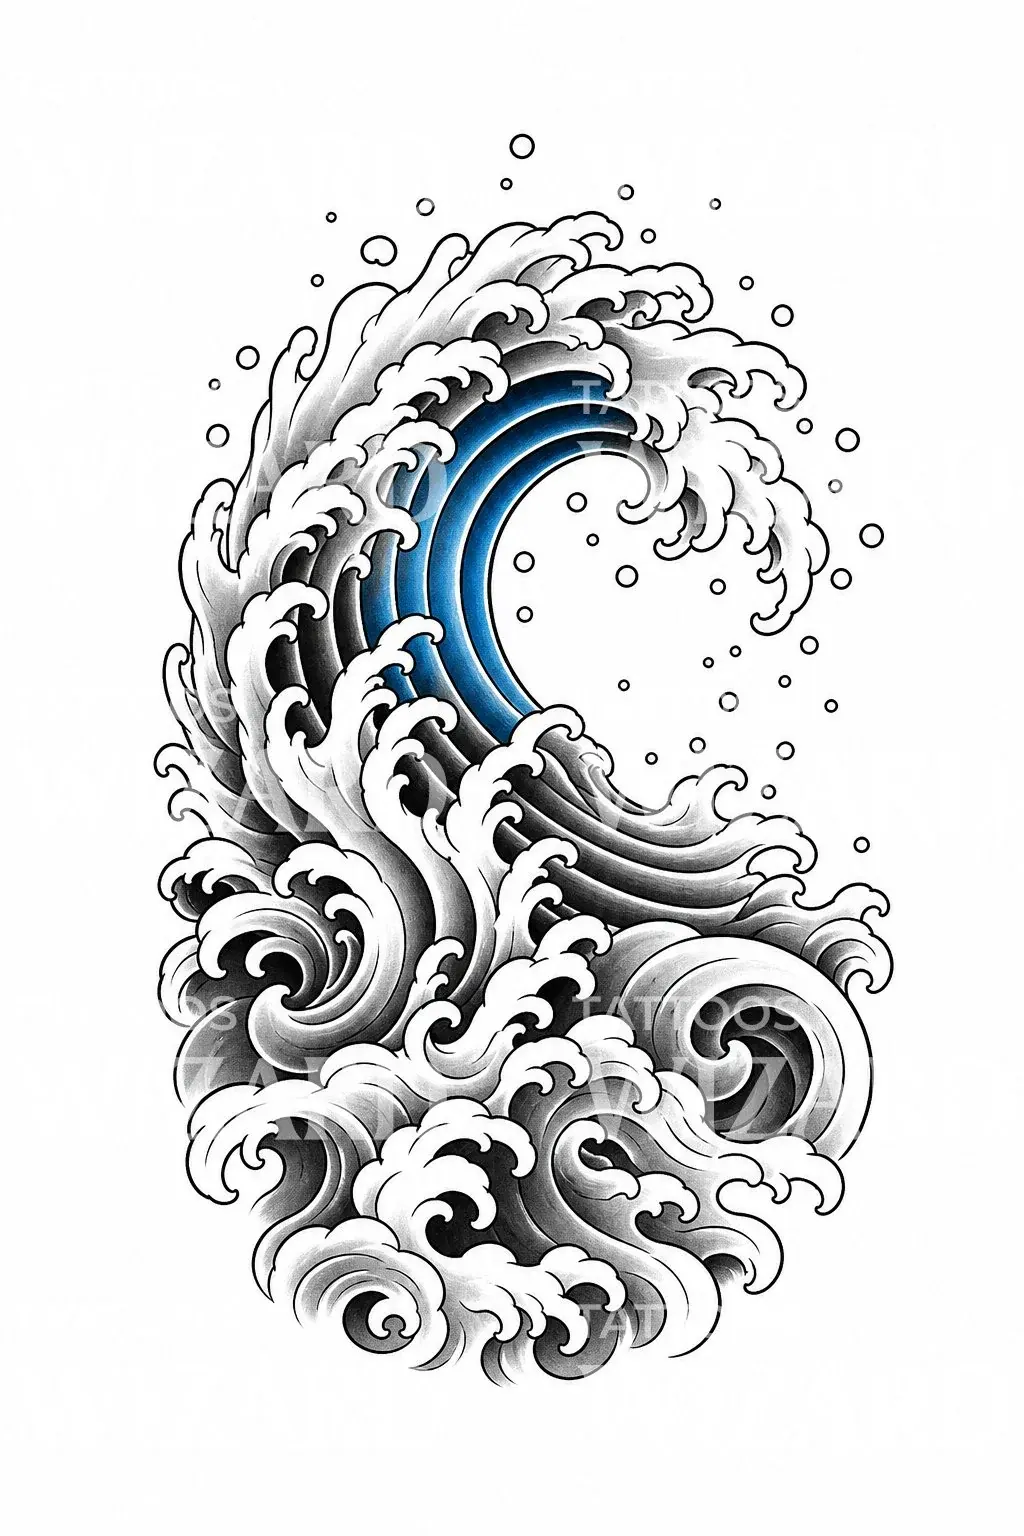
Creating realistic waves involves understanding how water curls and breaks. Start by sketching the general shape of the wave crest using a series of interlocking, irregular curves. Think of a wave as a moving mass of energy rather than a solid object. The front of the wave, or the "face," should be smooth, while the back and the crest often feature more chaotic, jagged lines to represent foam and spray.
When adding detail to your waves, focus on the shadows beneath the crest. These areas are usually the darkest parts of the water because the wave is casting a shadow on itself. Use a darker pencil grade, such as a 4B or 6B, to deepen these shadows. By contrasting these dark areas with the bright, white highlights of the foam, you can make the water appear translucent and powerful.
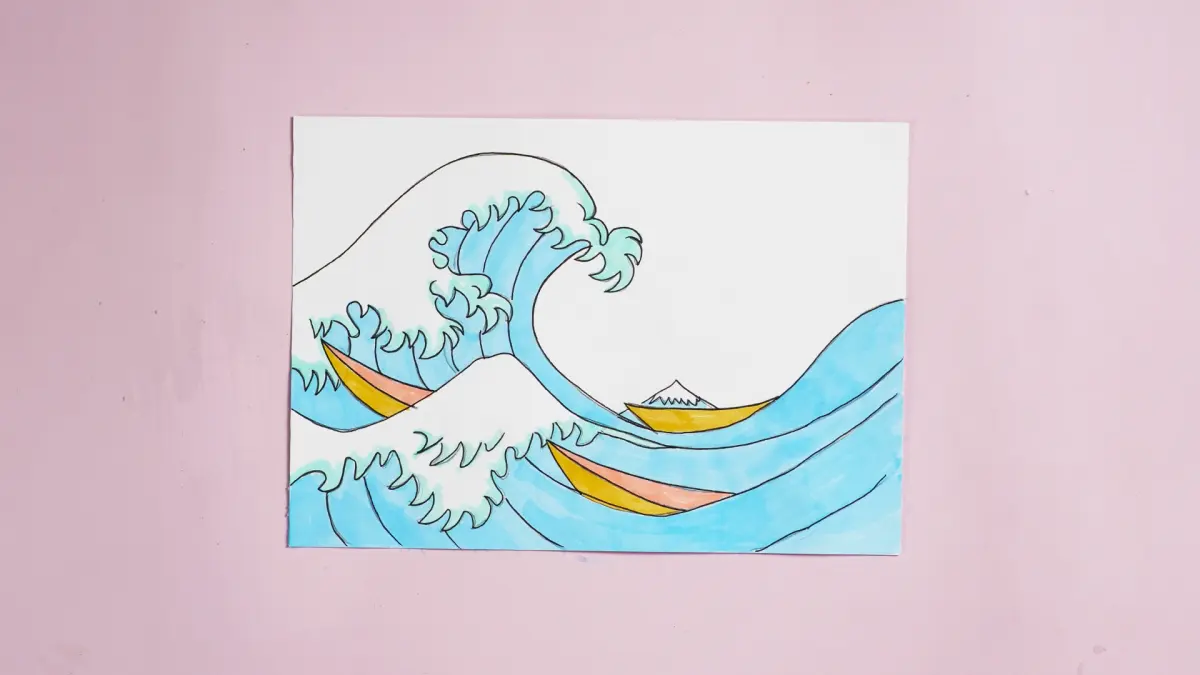
- Use C-shaped curves to outline the breaking parts of the wave.
- Add small, irregular circles or dots near the crest to simulate sea foam.
- Focus on the "trough" of the wave, which is the lowest point, by using darker, horizontal shading.
- Keep your lines fluid and organic to mimic the natural movement of liquid.
Best tools for drawing water
The quality of your ocean drawing depends heavily on the tools you choose. For beginners, a set of graphite pencils ranging from 2H to 6B is ideal. The harder 2H pencils are perfect for light, initial sketches and the distant horizon, while the softer 4B and 6B pencils allow you to create the deep, rich blacks necessary for shadows and high-contrast wave details.
In addition to pencils, a kneaded eraser is an indispensable tool. Unlike traditional rubber erasers, a kneaded eraser can be molded into various shapes, allowing you to "lift" graphite off the paper. This is particularly useful for creating the sparkling highlights on the water's surface or the delicate, misty spray of a crashing wave. A blending stump or a piece of soft tissue is also helpful for smoothing out gradients, ensuring the water looks liquid rather than scratchy.
- Graphite pencils (2H for light details, 6B for deep shadows).
- Kneaded eraser for creating highlights and removing excess graphite.
- Blending stump or paper tortillon for smooth transitions.
- Smooth-surfaced drawing paper to allow for clean, precise lines.
Why ocean perspective matters
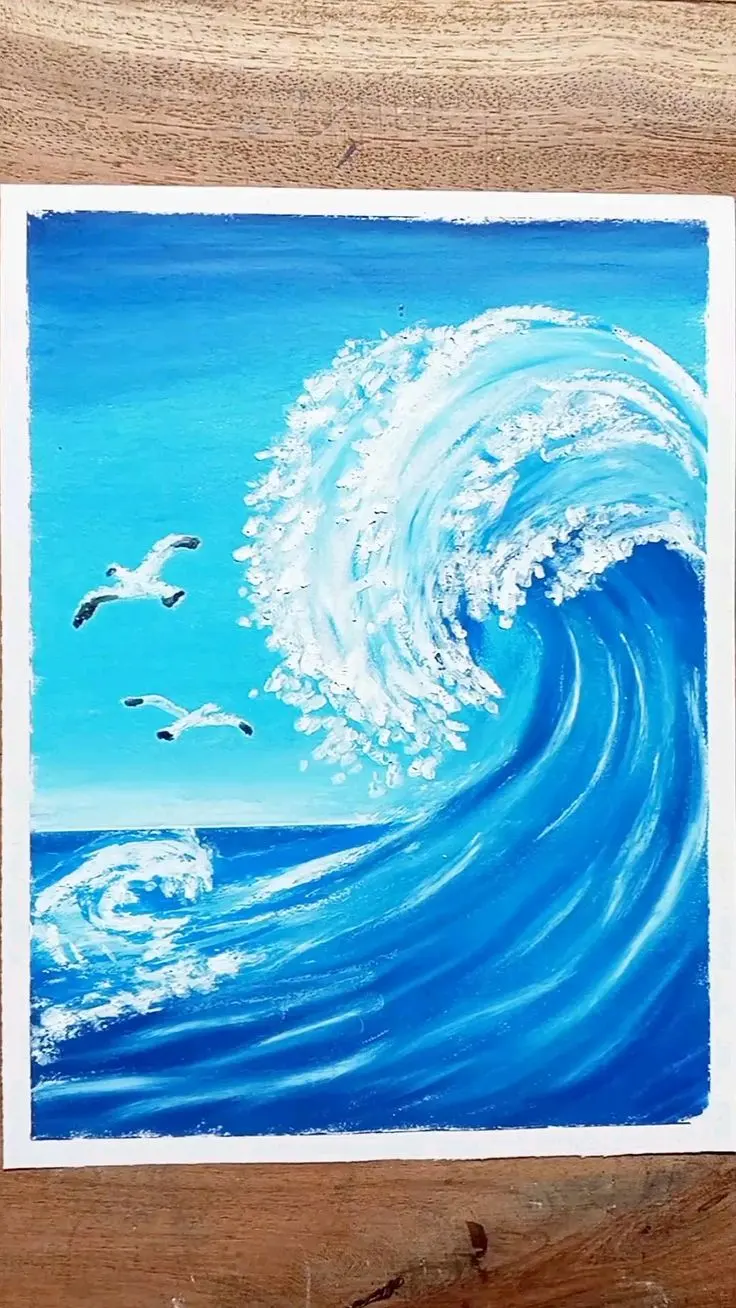
Perspective is the primary reason an ocean drawing looks either flat or expansive. When drawing the sea, the objects nearest to the viewer should be larger and more detailed, while those near the horizon should be smaller and less defined. This is known as atmospheric perspective. As objects move further away, they lose contrast and clarity, which helps the viewer perceive the vast distance between the shore and the horizon.
Many artists make the mistake of drawing waves of uniform size across the entire page. To fix this, visualize the ocean as a flat plane that tilts away from you. The waves at the bottom of your page should be wide and tall, while the waves near the horizon should be thin slivers. By strictly adhering to this rule, you create a natural sense of scale that makes the ocean feel like a vast, immersive environment rather than a simple pattern.
Common mistakes when drawing the ocean
One of the most frequent errors is creating overly symmetrical or repetitive wave patterns. Nature is inherently chaotic; therefore, your waves should vary in size, shape, and frequency. Avoid drawing a series of identical "M" shapes across the page, as this will result in a cartoonish look. Instead, vary the spacing between your waves and introduce occasional gaps where the water is calmer.
Another common mistake is neglecting the reflection of light. Water is reflective, and the surface often mirrors the sky or nearby objects. If you are drawing a sunset, the water should contain lighter values that correspond to the position of the sun. If you are drawing a stormy sea, the water should be darker and more turbulent. Always consider your light source before you begin shading, as this will dictate where your highlights and shadows fall, ultimately giving your ocean its mood and character.
Key facts
- Use a horizontal line to establish the horizon, keeping it straight to prevent the water from appearing to slide off the canvas.
- Apply darker blue tones near the bottom of the page and lighter shades near the horizon to create the illusion of depth.
- Draw horizontal wavy lines that become smaller and more compressed as they approach the horizon to mimic perspective.
- Leave small, irregular white gaps between wave crests to represent sea foam and reflected sunlight.
- Use a fan brush or a sponge to create soft, blended transitions between different shades of blue and green.
- Add vertical highlights on the slopes of waves using white or light turquoise to suggest the movement of water.
The bottom line
Drawing the ocean requires a balance of perspective and color layering. By establishing a firm horizon line and using compressed, horizontal strokes to represent distance, you create a sense of vastness. Remember that water is never a single shade; incorporating highlights and shadows is essential for depth. With patience and practice in blending techniques, you can effectively capture the dynamic, ever-changing nature of the sea.
People also ask
How do I make the ocean look realistic?
Focus on light and shadow by identifying where the sun hits the water. Use lighter colors for the tops of waves and deeper, cooler tones for the troughs.
Should I use watercolors or acrylics for painting water?
Watercolors are excellent for achieving the translucent, fluid quality of calm water. Acrylics are better for capturing thick, textured waves because they dry quickly and allow for layering.
How do I paint the reflection of the sun on the water?
Paint a bright, vertical streak of light extending from the horizon toward the viewer. Keep the edges of this streak slightly jagged to match the texture of the waves.
What is the most common mistake when drawing the ocean?
Many beginners make the horizon line wavy, which makes the water look unstable. Always use a straight edge to ensure the horizon is perfectly level.
How do I create the effect of crashing waves?
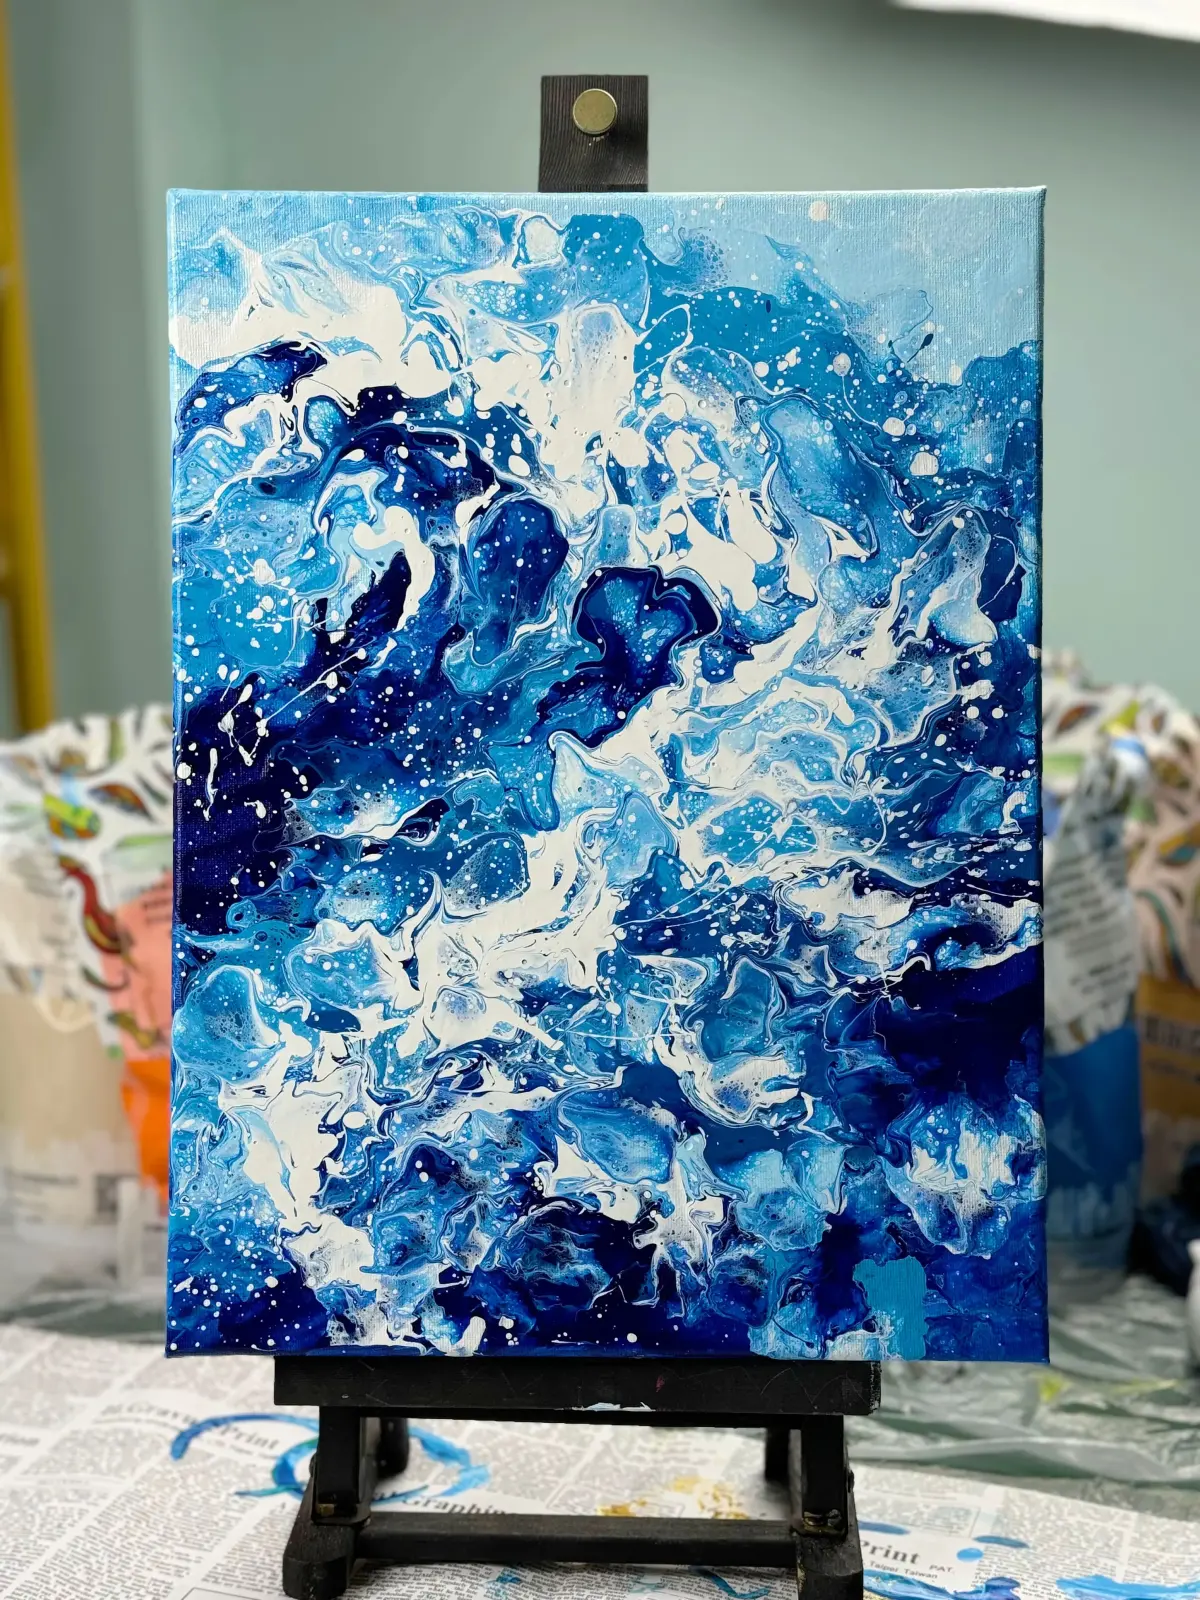
Use short, curved strokes that overlap each other to build volume. Add white "splatter" or dry-brush techniques at the base of the wave to simulate breaking foam.
Why does my ocean look like a flat wall of blue?
This usually happens because the colors are too uniform. Incorporate variations of green, gray, and violet to add complexity and depth to the water's surface.
This answer was created with the help of AI research tools and reference sources. Spotted an error? Let us know — we correct mistakes quickly. See our editorial policy.