How do you paint the ocean in oil?
Short answer
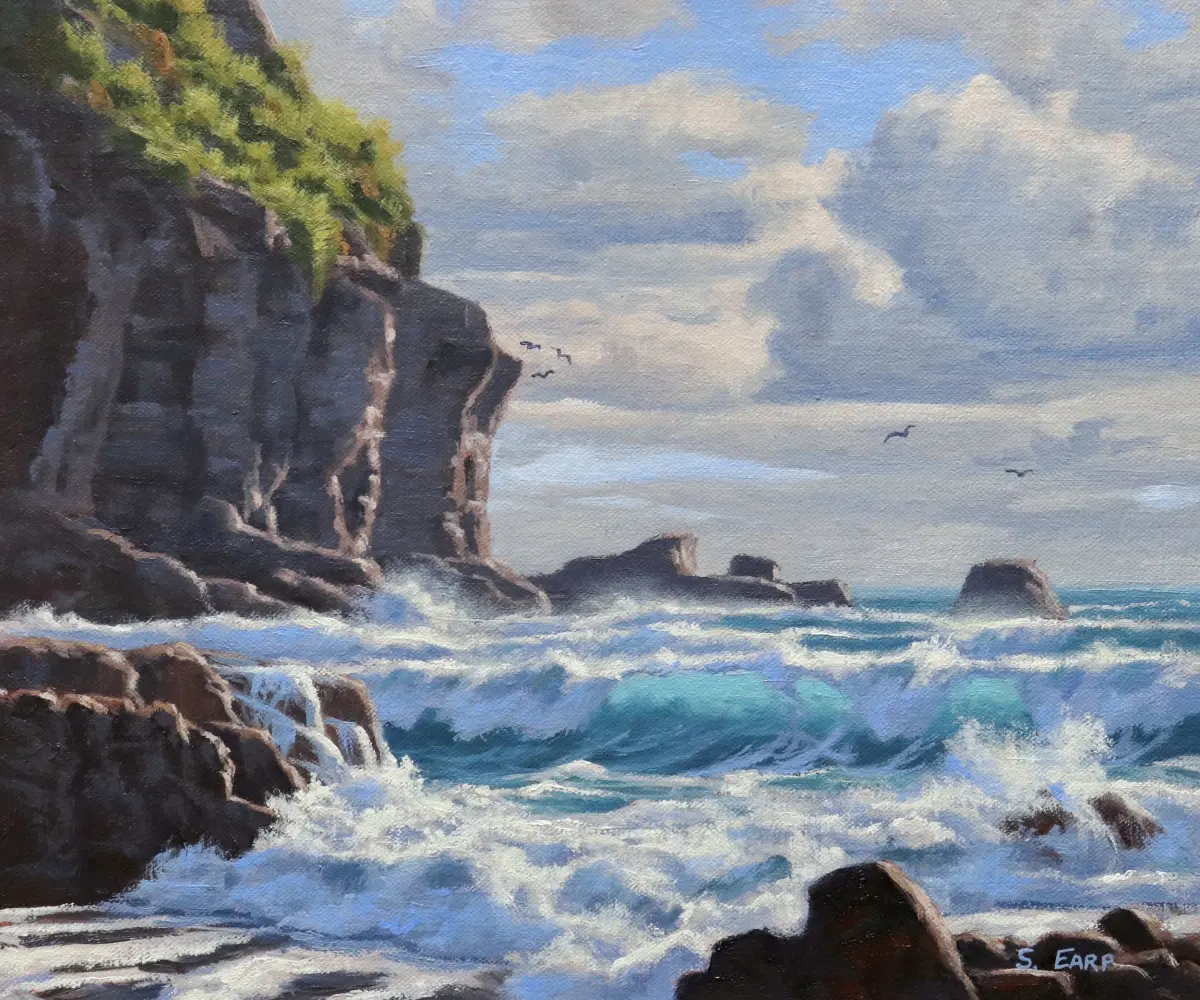
Painting the ocean in oil requires layering colors from dark to light, emphasizing the fluid movement of water through rhythmic brushstrokes. Artists typically begin with a thin underpainting, build depth with opaque glazes, and finish with thick, textured highlights. Mastering the interaction between light, reflection, and wave structure is essential for realism.
On this page
How to prepare the canvas for ocean scenes
The foundation of an oil painting dictates the final luminosity of the water. Start by applying a thin, neutral-toned wash, often called an imprimatura, using burnt sienna or raw umber mixed with a small amount of solvent. This mid-tone removes the harsh white of the canvas, allowing you to judge values more accurately as you build the composition. Once dry, sketch the horizon line and the major wave structures with a light charcoal pencil or a thin brush.
When preparing your palette, focus on a range of blues and greens, such as ultramarine, cerulean, and viridian. You will also need earthy tones like burnt umber and yellow ochre to mix the complex, murky greens found in shallow water or stormy seas. Professional-grade paints offer higher pigment density, which is crucial when trying to capture the subtle shifts in color between the deep ocean and the foam of a breaking wave.
- Prime the canvas with gesso to prevent oil absorption.
- Apply a neutral base coat to establish a mid-tone.
- Sketch the composition using light, erasable lines.
- Organize your palette with a variety of blue, green, and neutral pigments.
What brushes are best for painting water
Different brush shapes allow for the specific textures required to mimic the ocean’s surface. Filbert brushes are highly versatile, as their rounded edges help create soft, blended transitions between waves and the sky. Flat brushes are excellent for blocking in large areas of color, while small, stiff-bristled brushes are necessary for applying the "scumbling" technique to create the appearance of sea foam.
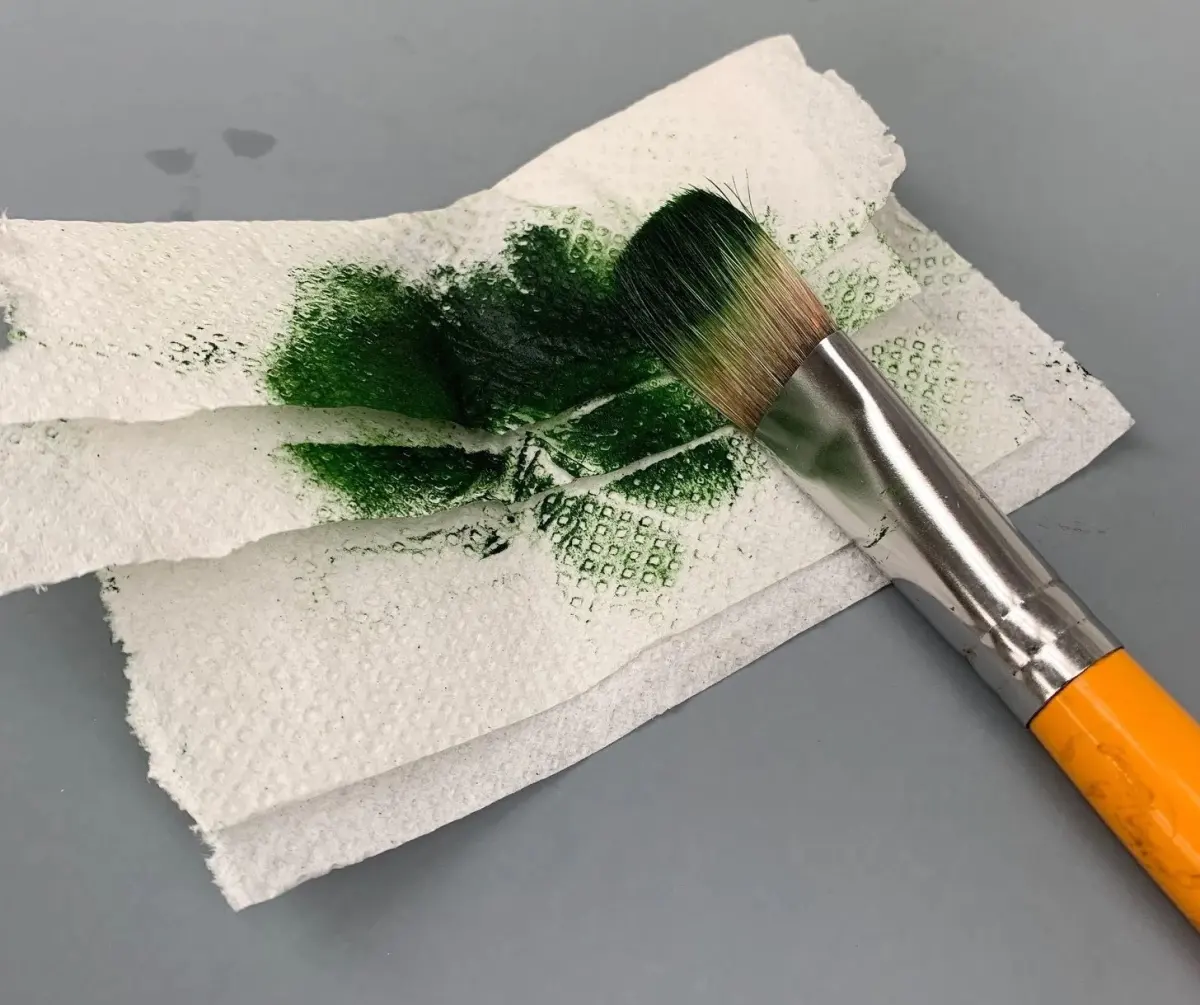
Avoid using overly soft synthetic brushes, as they may struggle to move the heavy body of oil paint. Instead, opt for hog hair brushes, which provide the necessary resistance to drag paint across the canvas. For fine details like spray or distant ripples, a small rigger or liner brush is essential. Keep your brushes clean throughout the process, as muddying your colors with residual pigment will destroy the clarity of your water tones.
- Use filbert brushes for blending wave shapes.
- Use flat brushes for covering large, deep-water areas.
- Use small rigger brushes for fine spray and foam details.
- Use hog hair brushes for better control over thick paint.
How to layer oil paint for depth
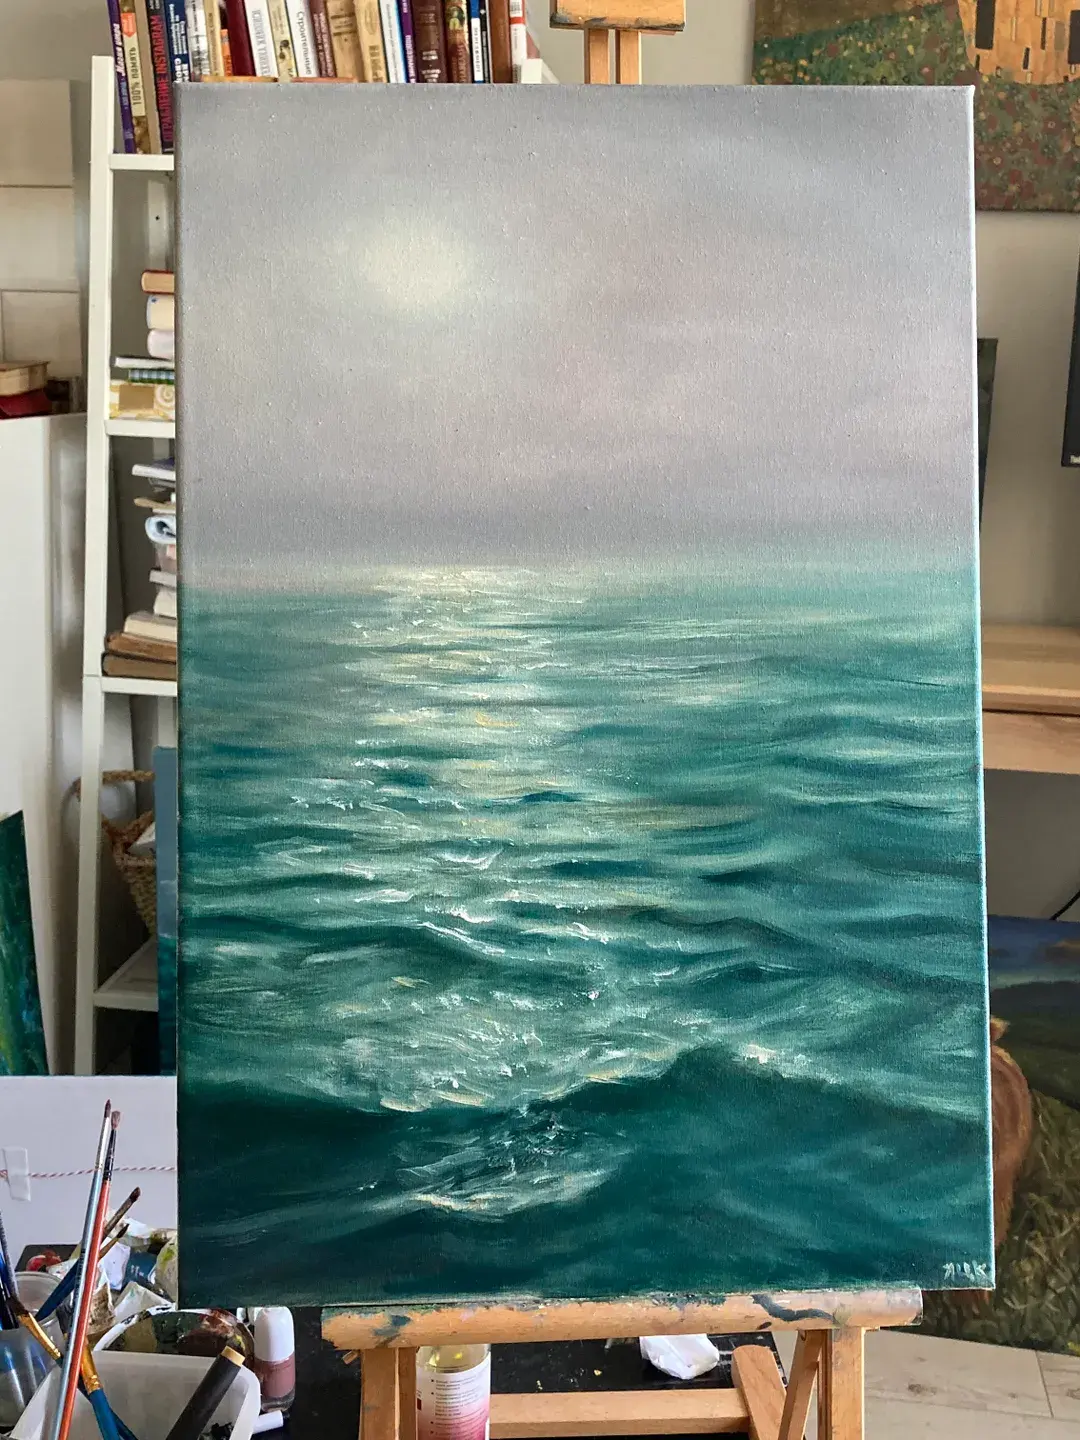
The ocean possesses inherent depth, which you can replicate by working from dark to light. Begin by painting the deepest parts of the water with thin, transparent glazes of dark blue and black. As you move toward the foreground or the crest of a wave, gradually increase the opacity of your paint. This technique mimics how light penetrates the water, showing darkness in the depths and brightness at the surface.
When applying lighter colors for foam or reflections, use the "fat over lean" principle. Ensure that your upper layers contain more oil than the layers beneath to prevent cracking as the painting dries. Applying thick, opaque highlights at the very end creates a tactile quality that makes the water appear to move. Experiment with varying the thickness of your paint to differentiate between the smooth, calm surface of the sea and the turbulent, aerated foam of a breaker.
Why color mixing matters for realistic waves
The ocean is rarely a single shade of blue; it is a complex mixture of reflected sky colors and suspended particles. To achieve realism, mix your greens by combining blue with yellow ochre or cadmium yellow rather than using tube greens directly. Adding a touch of orange or burnt sienna can help neutralize overly bright blues, creating the sophisticated, natural grays found in deep-sea water.
Always observe the horizon line carefully, as the water usually appears darker and more saturated at the base and lighter as it approaches the sky. Reflections of the sky should be painted with the same color palette used in the clouds, but slightly muted to account for the water's surface tension. By carefully balancing these relationships, you create a sense of space and atmosphere that draws the viewer into the scene.
Common mistakes when painting the ocean
One frequent error is over-blending, which results in a stagnant, plastic-like appearance rather than fluid movement. To avoid this, use distinct, directional brushstrokes that follow the contour of the wave. Another common mistake is neglecting the horizon, which must be perfectly level to maintain the illusion of gravity. If the horizon tilts, the entire ocean will appear as if it is sliding off the canvas.
Furthermore, beginners often use too much white when painting foam, which can make the water look like chalk. Instead, mix your whites with a tiny amount of blue or gray to maintain a sense of translucency. Finally, remember that water reflects the environment; if your sky is golden at sunset, your ocean must reflect those same warm tones. By paying attention to these subtle environmental cues, you will capture the true essence of the sea.
Key facts
- Use a "fat over lean" approach by mixing more oil into your top layers to prevent cracking as the paint dries.
- Cobalt blue and ultramarine are essential base pigments for capturing the deep, shifting tones of the open sea.
- Apply thin, transparent glazes of color over a dried underpainting to create the illusion of depth and light penetration.
- Use a fan brush for delicate sea foam and a flat, stiff-bristled brush for blocking in large, rhythmic wave shapes.
- Keep your palette clean by mixing colors on the side rather than directly on the canvas to maintain luminosity.
- Paint waves in the direction of their movement, using curved strokes to mimic the physical energy of the water.
The bottom line
Painting the ocean in oils requires a balance of fluid brushwork and strategic layering to capture the movement of water. By focusing on the interplay of light and shadow, using a limited palette of blues and greens, and applying paint in the direction of the current, you can create a compelling sense of depth. Patience with drying times and clean mixing techniques remain essential for professional results.
People also ask
How do I make the water look transparent?
Paint the shallow areas with lighter, warmer greens and yellows, then transition to darker blues as the water deepens. Applying a thin, transparent glaze over a lighter base layer mimics the way light filters through clear ocean water.
What is the best way to paint realistic sea foam?
Use a dry-brush technique with opaque white paint once the underlying wave structure is tacky or dry. Lightly dragging the brush across the surface creates a broken, airy texture that resembles bubbling foam.
Should I use a palette knife for waves?
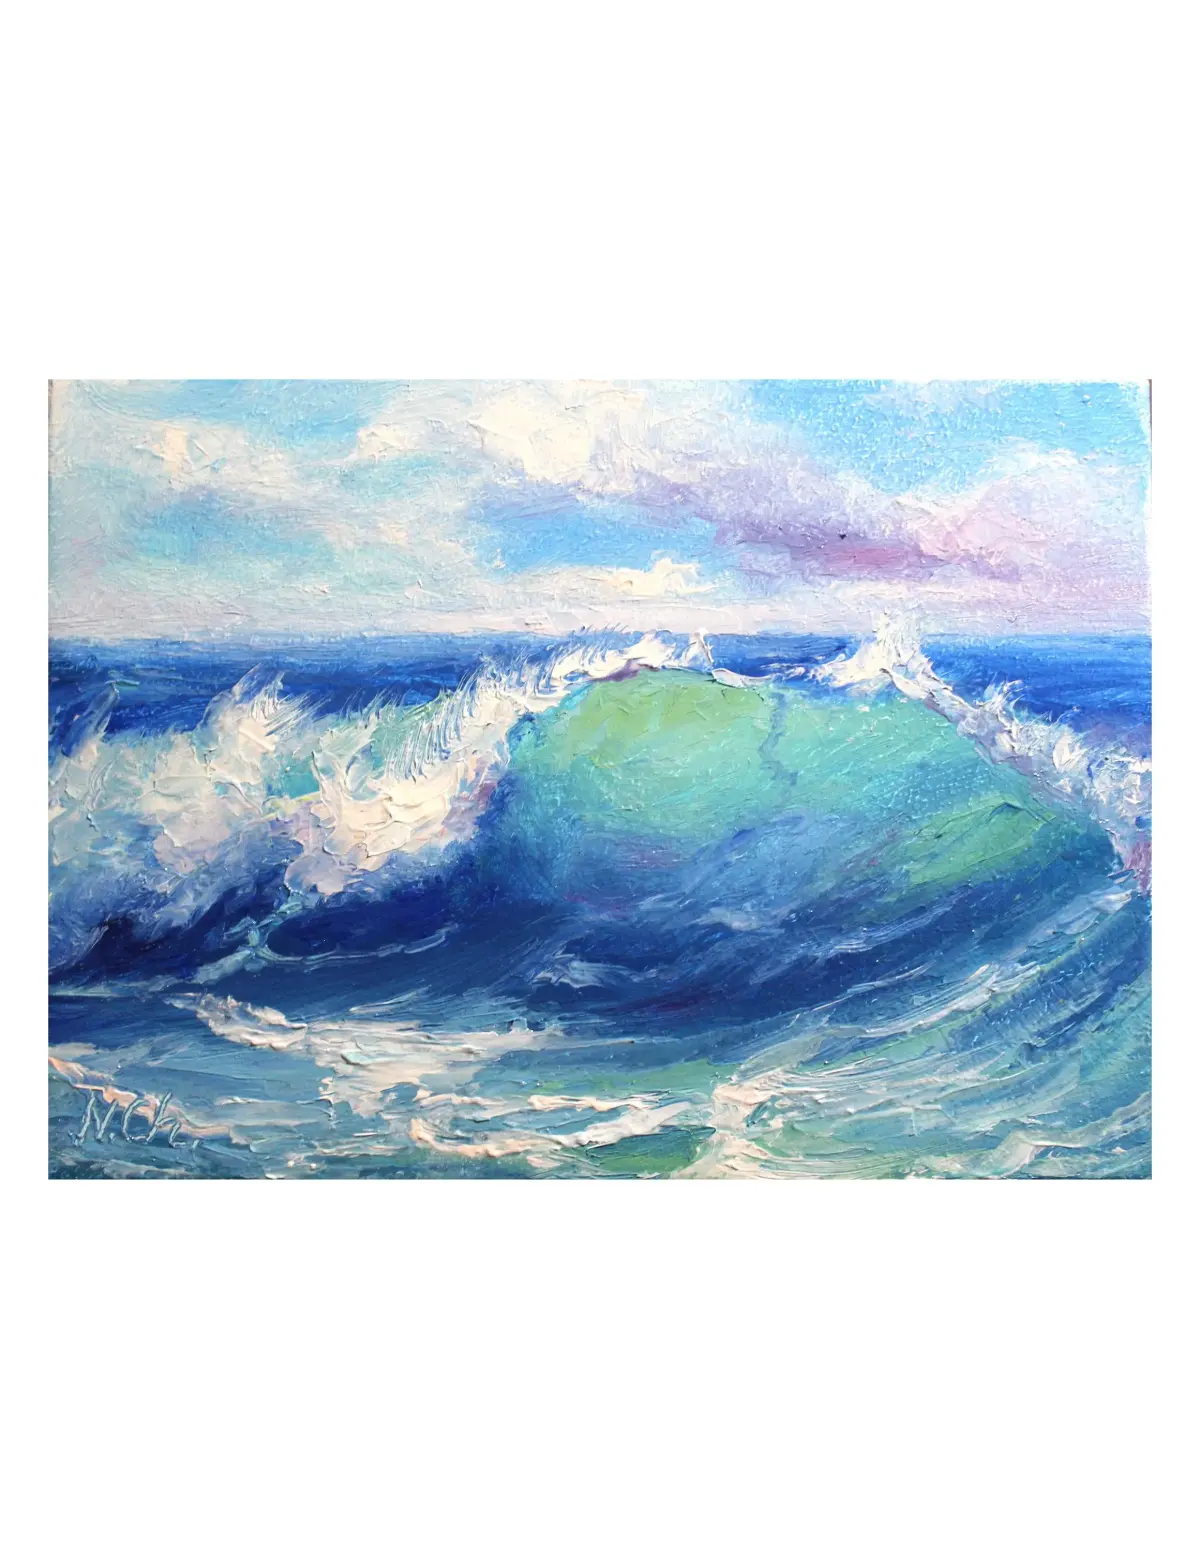
Palette knives are excellent for creating sharp, crisp edges on breaking waves and whitecaps. The tool allows for thick, impasto applications that catch light differently than brushwork, adding a sculptural quality to the water.
How do I handle the horizon line?
Keep the horizon line perfectly level and slightly blurred to suggest atmospheric distance. Avoid using pure black for the horizon, as deep blues or violets provide a more natural transition between the sky and sea.
Why does my ocean painting look muddy?
Muddy colors often result from over-mixing paints on the canvas or using too many complementary colors at once. Limit your palette to three or four primary colors and clean your brush thoroughly between every color change.
How long does an oil painting of the ocean take to dry?
Oil paint typically takes several days to be touch-dry and months to cure completely depending on thickness. Thin glazes may dry in a few days, while heavy impasto sections can remain soft for weeks or even months.
This answer was created with the help of AI research tools and reference sources. Spotted an error? Let us know — we correct mistakes quickly. See our editorial policy.