How do you paint a galaxy with acrylic paint?
Short answer
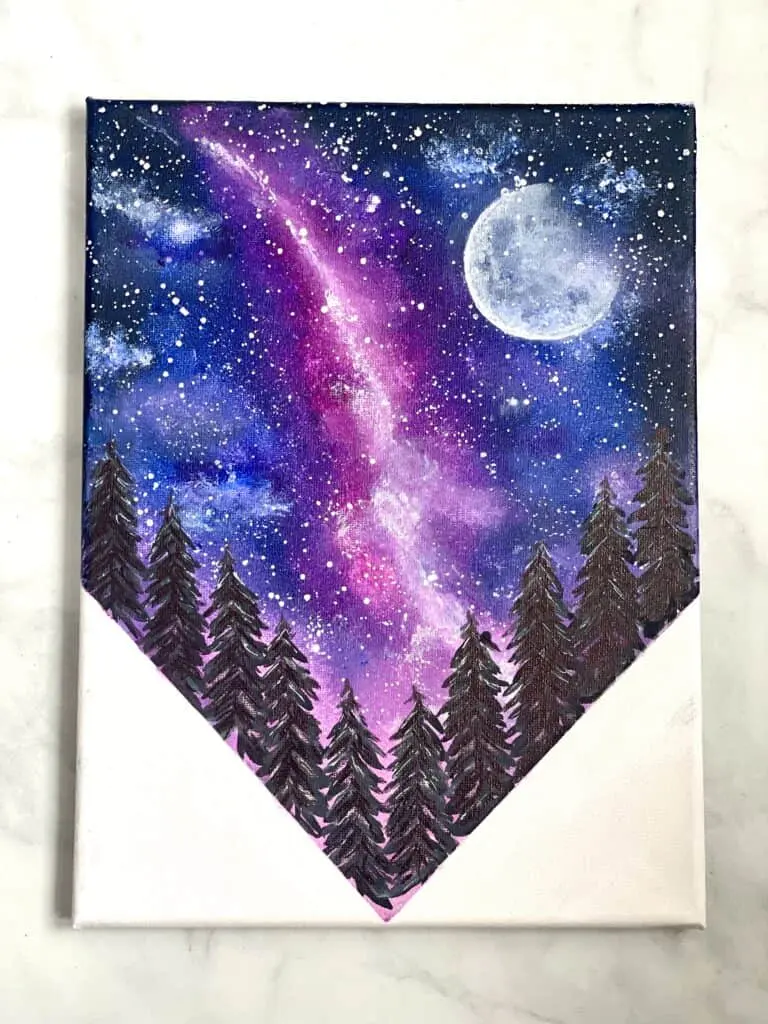
Painting a galaxy with acrylics involves layering dark backgrounds with vibrant nebulas using a "dry brush" or "sponge" technique. You build depth by blending deep blues, purples, and blacks, then adding bright highlights. Finally, create a realistic star field by flicking thinned white paint across the canvas with a stiff-bristled brush.
On this page
What supplies do I need for galaxy painting?
To create a high-quality galaxy, you need a set of professional-grade acrylic paints, which offer better pigment density than craft-store alternatives. Essential colors include ultramarine blue, dioxazine purple, magenta, and titanium white. You will also need a black base coat, preferably a matte acrylic, to ensure the colors pop against the dark void.
Beyond paint, your selection of tools dictates the texture of your nebula. A variety of brushes is helpful, but you specifically need a large, soft-bristled flat brush for blending and a small, stiff-bristled brush for the star-flicking technique. Natural sea sponges are also excellent for creating organic, cloud-like shapes that mimic the gas formations found in deep space.
- Stretched canvas or heavy-duty acrylic paper (at least 300 gsm).
- A palette for mixing, preferably a stay-wet palette to keep acrylics workable.
- A water jar and paper towels for cleaning brushes between color transitions.
- A toothbrush or a stiff hog-hair brush for creating the star effect.
How to prepare the canvas for a galaxy?
Preparation is the foundation of a successful space painting. Start by applying a solid, even coat of black acrylic paint across your entire canvas. If the surface is porous, you may need two coats to ensure a deep, light-absorbing finish. Let this base layer dry completely before you begin applying your nebula colors, as wet paint will muddy your vibrant highlights.
Once the background is dry, visualize the composition of your galaxy. Most beginners find success by creating a diagonal "s" shape or a central glowing core. Use a piece of chalk or a very faint pencil mark to outline where your brightest gas clouds will sit. This prevents you from losing your composition once you start layering colors.
- Prime the canvas with a coat of gesso if it is not pre-primed.
- Paint the entire surface black and allow it to dry for at least 30 minutes.
- Lightly sketch the path of your galaxy using a white charcoal pencil.
- Keep a damp sponge nearby to soften any edges that appear too harsh during the process.
How to blend colors for a nebula effect?
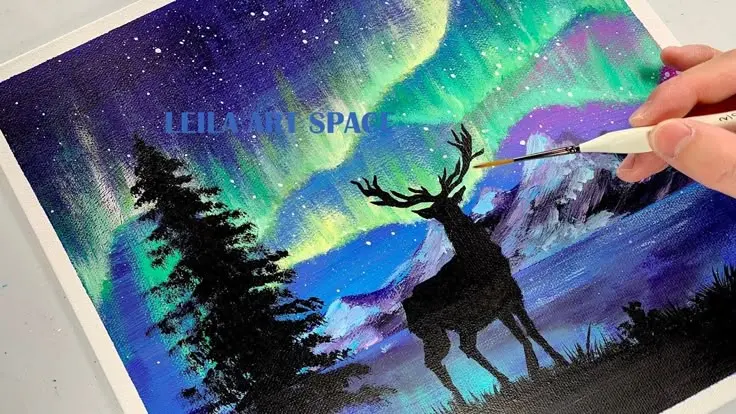
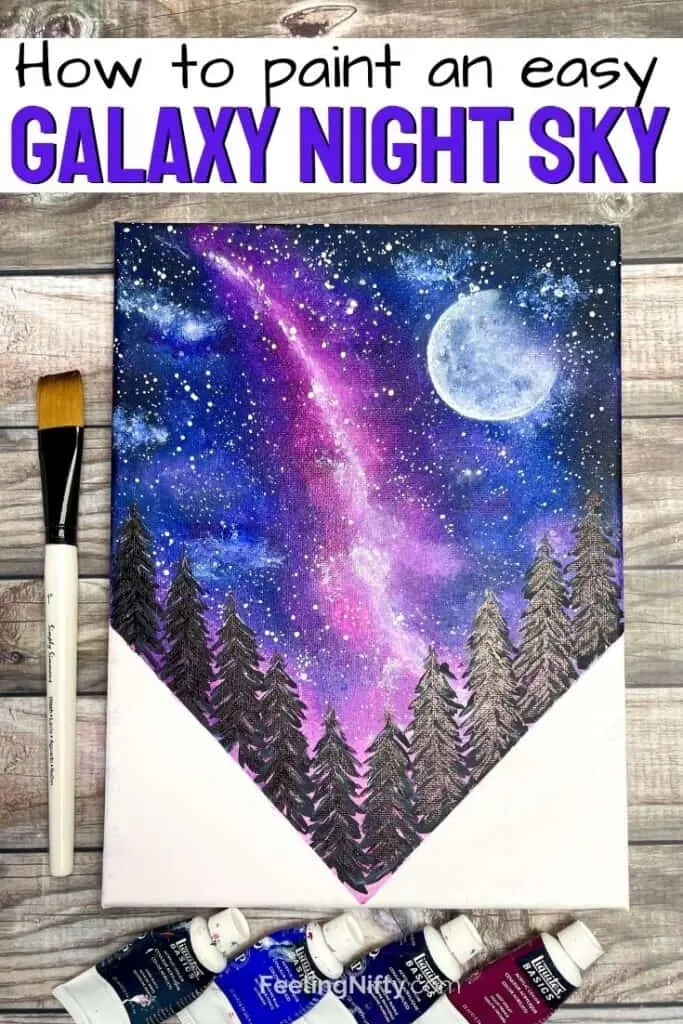
Blending is the most critical step in achieving the ethereal look of a galaxy. Take your sponge or a soft brush and pick up a small amount of dark purple or blue. Gently dab this onto the canvas, starting from the center of your sketched path and working outward. Use a light touch to ensure the black background still shows through in the shadows.
As you move toward the center of your nebula, transition to lighter colors like magenta or bright violet. The key is to avoid over-blending, which can turn your colors into a dull grey. Instead, layer the paints while they are still slightly damp, allowing the colors to intermingle naturally. Always keep your brush movements circular or irregular to mimic the chaotic nature of space.
If you find that your colors are becoming too opaque, add a tiny amount of water to your brush. This creates a "glazing" effect, which allows the layers beneath to remain visible. Continue building these layers until you are satisfied with the density of your nebula clouds, ensuring the edges fade gradually into the black void.
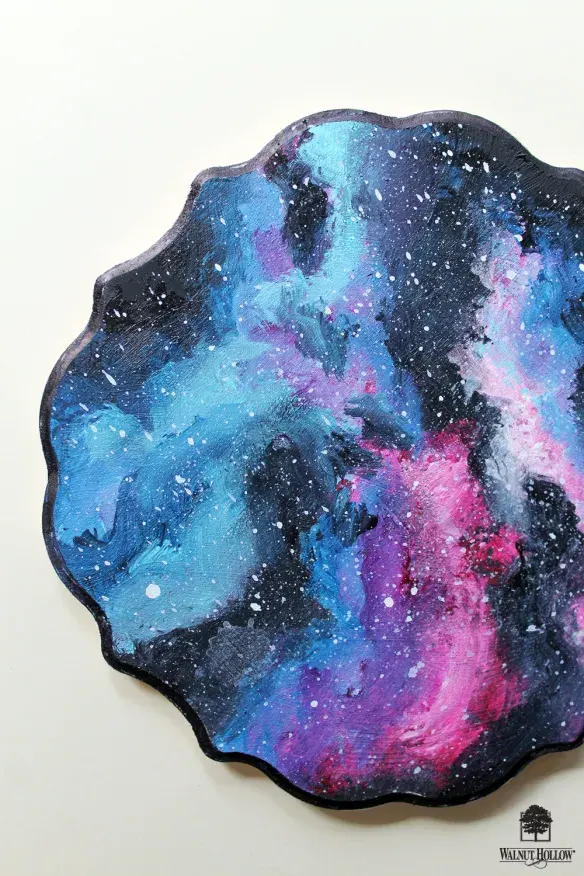
How to add stars and galaxies?
Stars provide the final spark of realism that brings a painting to life. To create a star field, thin your titanium white paint with a small amount of water until it reaches a milky consistency. Dip your stiff-bristled brush or toothbrush into the paint, hold it over the canvas, and use your finger to pull back the bristles, flicking tiny droplets onto the surface.
For larger, more prominent stars, use a fine-tipped round brush to add individual dots. You can also add a "cross" effect by painting two thin intersecting lines over a large star to make it appear as though it is twinkling. Be careful not to overdo the stars, as a cluttered canvas can distract from the beauty of the nebula clouds you spent time creating.
- Practice your flicking technique on a scrap piece of paper first to gauge the droplet size.
- Use a piece of cardboard to mask off areas where you do not want stars, such as a planet or a streak of light.
- Vary the size of your stars by using different brushes to create a sense of depth and distance.
Common mistakes when painting galaxies?
One of the most frequent mistakes is using too much paint, which can lead to thick, clumpy textures that do not look like gaseous clouds. Acrylics dry quickly, so if you apply them too heavily, you lose the ability to blend them smoothly. Always work in thin, translucent layers to maintain the delicate appearance of a nebula.
Another common error is failing to allow enough drying time between layers. If you apply a new color over a wet layer, the pigments will mix and create a muddy brown or grey color rather than a vibrant purple or blue. Patience is essential; if you are unsure if a layer is dry, wait an extra ten minutes. Finally, avoid using perfect circles for your stars, as they look unnatural. Keep your star shapes irregular to ensure a professional, authentic finish that captures the true essence of the cosmos.
Key facts
- Use a dark base coat of black, navy blue, or deep purple to provide the necessary depth for your galaxy.
- Apply acrylic paint using a "stippling" technique with a stiff-bristled brush to create natural-looking, textured nebula clouds.
- Create stars by loading a clean toothbrush with thinned white paint and flicking the bristles with your thumb over the canvas.
- Blend colors while the paint is still wet to achieve a smooth gradient, as acrylics dry very quickly.
- Layer your colors from darkest to lightest, adding bright highlights only after the base nebula colors have fully dried.
- Use a small round brush to paint a few larger, distinct stars with four-pointed crosses to add focal points to the composition.
The bottom line
Painting a galaxy with acrylics relies on layering techniques and high-contrast color application. By starting with a dark background and building up soft, stippled nebula clouds, you create the necessary depth. The final step involves flicking white paint to simulate stars, which adds a sense of vastness. With patience and attention to color blending, anyone can successfully capture the ethereal beauty of space on canvas.
People also ask
Can I use water to thin my acrylic paint for galaxy effects?
Yes, adding a small amount of water helps create translucent washes for nebula clouds. However, avoid adding too much water, as it can break down the paint's binder and make the pigment appear chalky or streaky.
What is the best way to fix a mistake in my galaxy painting?
Since acrylic paint is opaque and dries quickly, you can simply wait for the area to dry and paint over it with your base color. Once the background is restored, you can re-apply your nebula colors and star effects.
Should I use a primer on my canvas before starting?
Using gesso is recommended to seal the canvas surface, which prevents the paint from soaking in too deeply. A smooth, primed surface allows the acrylic colors to sit on top and remain vibrant.
How do I prevent my stars from looking like uniform dots?
Vary the pressure when flicking the toothbrush to create stars of different sizes. You can also manually paint a few larger, irregular shapes to break up the pattern and create a more organic, realistic appearance.
How long does it take for an acrylic galaxy painting to dry?
Acrylics typically dry to the touch within 15 to 30 minutes depending on the thickness of the paint. It is best to wait at least 24 hours before applying a protective varnish to ensure the layers are fully cured.
Can I use sponges instead of brushes to paint the nebula?
Natural sea sponges or synthetic cosmetic sponges are excellent tools for creating soft, diffused nebula shapes. Dab the sponge lightly onto the canvas to build up layers of color without leaving harsh brush marks.
This answer was created with the help of AI research tools and reference sources. Spotted an error? Let us know — we correct mistakes quickly. See our editorial policy.