How do you paint the northern lights with acrylic paint?
Short answer
To paint the northern lights with acrylics, focus on layering transparent glazes over a dark background. Start with a black or deep navy base, then use a dry brush technique with thinned-out neon greens and blues to create wispy, vertical curtains. Blend the edges softly while the paint remains wet to achieve a glowing effect.
On this page
Which acrylic painting supplies are best for beginners?
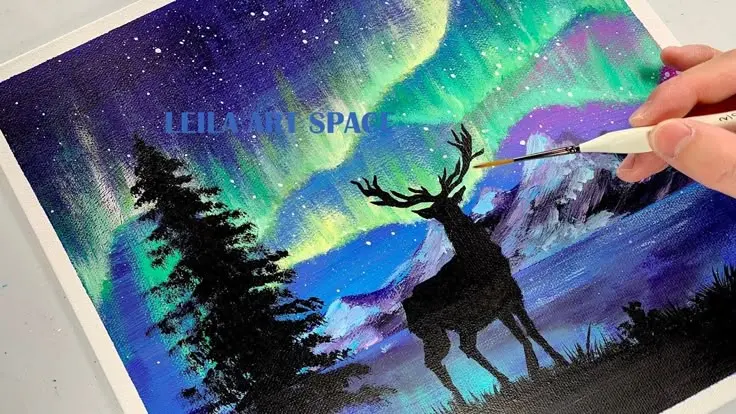
To capture the ethereal quality of the aurora borealis, you need a specific set of tools that allow for both opacity and transparency. Start with heavy-body acrylics for the base, but keep fluid acrylics or high-flow paints on hand for the delicate, glowing light ribbons. A set of synthetic brushes is essential; specifically, you should have a large flat brush for the sky and a small, stiff-bristled round brush for creating the "flicked" star effect.
Quality matters when it comes to the canvas and medium. Use a gessoed canvas or heavy-weight watercolor paper treated with acrylic primer to ensure the paint adheres correctly. You will also need a glazing medium, which thins the paint without losing its pigment intensity. This is the secret to achieving the translucent, layered look of the lights. Avoid using cheap, chalky paints, as they will turn muddy when you attempt to blend the vibrant greens and purples required for this subject.
How to prepare the canvas for northern lights
The background of your painting is the most important element, as it provides the contrast necessary for the light ribbons to appear luminous. Begin by painting the entire canvas a deep, solid black or a very dark midnight blue. If you prefer a more dynamic sky, blend a touch of dark purple or indigo into the horizon line while the black paint is still wet. This creates a subtle gradient that prevents the sky from looking like a flat, lifeless wall.
Once the background is completely dry, you can sketch your composition. Use a piece of white chalk to lightly map out the flow of your aurora curtains. Keep these lines fluid and organic, avoiding rigid or perfectly straight shapes. The northern lights move in waves and spirals, so your guide lines should reflect that motion. If you make a mistake, simply wipe the chalk away with a damp cloth and redraw your path until you are satisfied with the movement.
Step-by-step guide to painting aurora ribbons
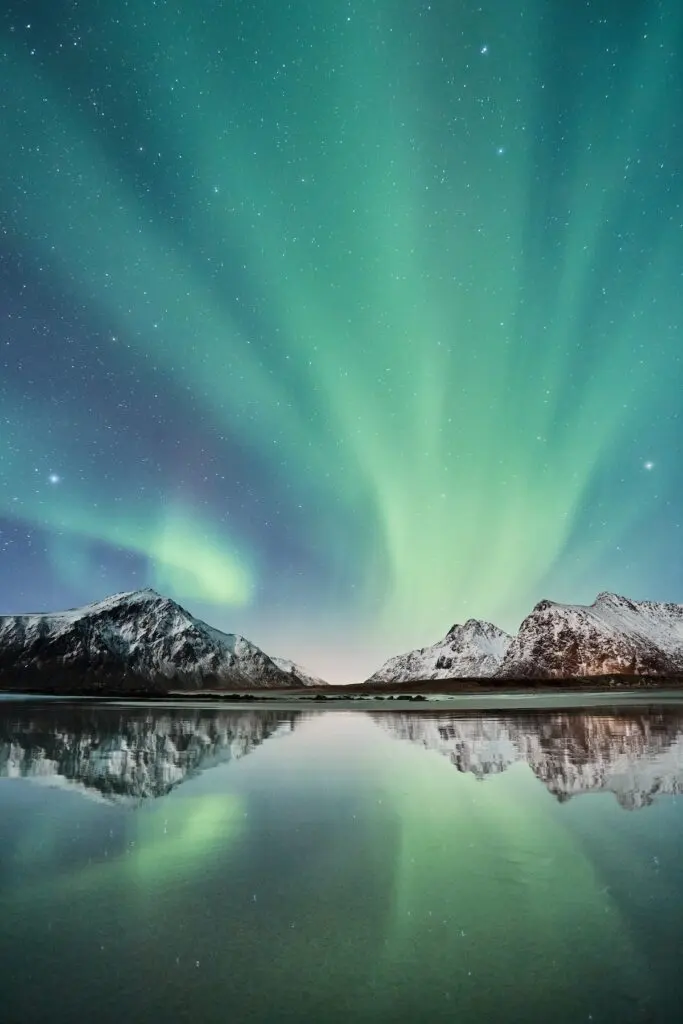
Creating the lights requires a technique known as "dry brushing," where very little paint is on the brush. Follow these steps to build your aurora:
- Dip your brush into a small amount of bright green paint and wipe most of it off on a paper towel.
- Using a light, sweeping motion, drag the brush across the canvas following your chalk lines to create a faint, misty glow.
- Gradually add more layers of paint, focusing the brightest color in the center of the ribbon and letting it fade out toward the edges.
- Add secondary colors, such as violet or teal, along the bottom edges of the green ribbons to add depth and realism.
- Use a clean, dry brush to gently soften any harsh edges, ensuring the light appears to be floating in the atmosphere.
How to add stars and atmospheric effects
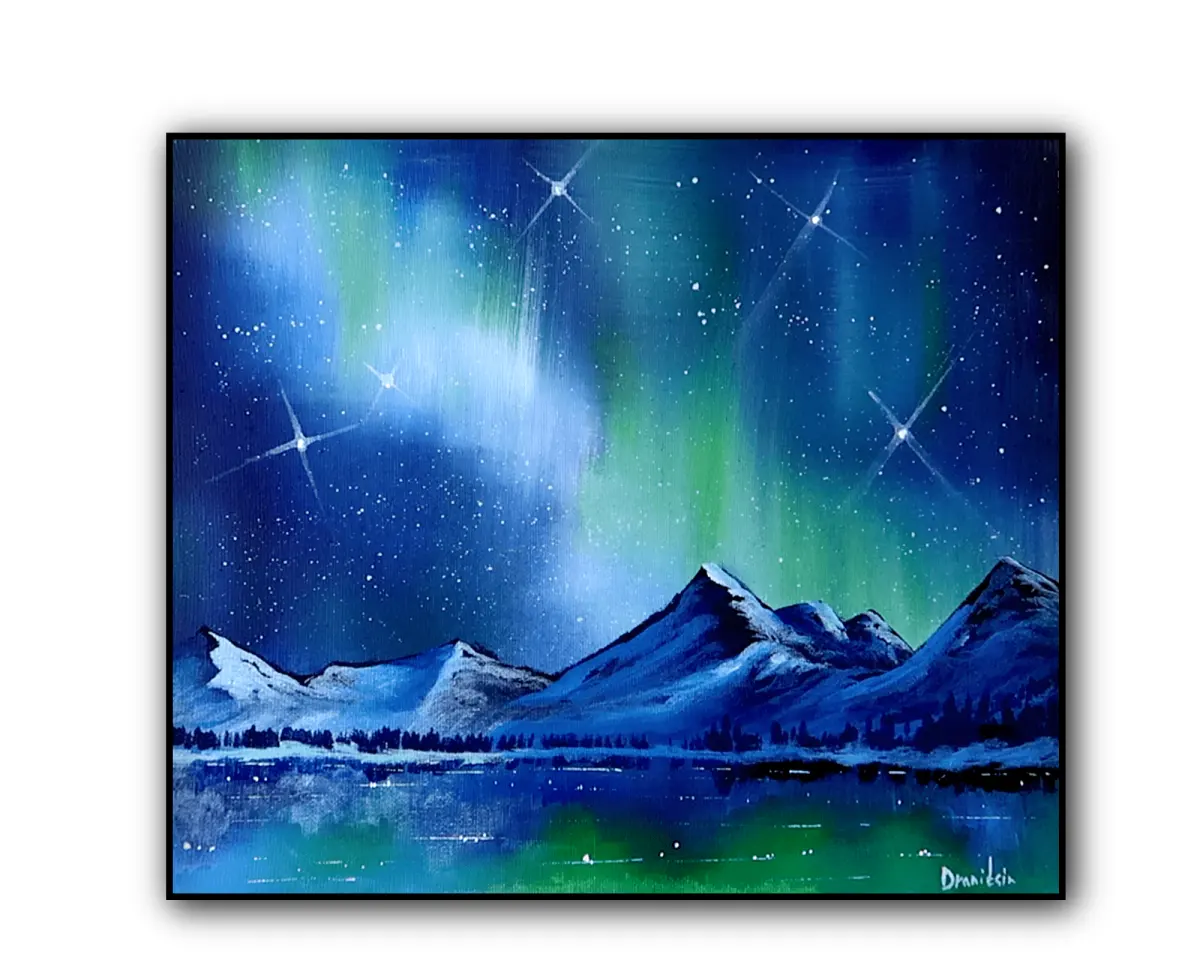
No northern lights painting is complete without a field of stars to ground the composition. To achieve this, use a stiff-bristled brush or an old toothbrush. Dip the tips into thinned white acrylic paint, then run your thumb across the bristles to flick tiny, irregular splatters across the dark sky. Avoid making the stars too uniform in size, as nature is rarely perfectly symmetrical. You can also use a fine-tipped liner brush to paint a few larger, brighter stars by adding a tiny cross-shape or a soft halo around a central dot.
To enhance the atmospheric effect, consider adding a silhouette of a landscape at the bottom of the canvas. A simple row of dark, jagged pine trees or a snowy mountain range works best. Keep these elements almost entirely black; they should act as a frame for the lights rather than a focal point. This creates a sense of scale, making the vastness of the sky feel even more impressive to the viewer.
Common mistakes when painting northern lights
The most frequent error beginners make is using too much paint, which results in thick, opaque streaks that lack the "glow" of real lights. Acrylics dry quickly, so if you apply paint too heavily, you lose the ability to blend and create those soft, translucent layers. Another common mistake is neglecting the horizon. If your lights start too high up, the painting will feel disconnected from the landscape. Always ensure your light ribbons appear to emerge from behind the mountains or trees to create a sense of depth and perspective.
Finally, avoid over-blending your colors. If you mix the green and purple too much, you will end up with a dull, brownish-gray color that ruins the vibrant contrast. Trust the layering process; let each coat dry for a few minutes before adding the next one. By building up the intensity gradually, you maintain the clarity of each color. Patience is your greatest tool when trying to capture the elusive and magical nature of the aurora.
Key facts
- Use high-flow or heavy-body acrylics to achieve the necessary transparency for layering light effects.
- Apply a base coat of deep midnight blue or black to create the high-contrast background required for luminosity.
- Utilize a dry-brush technique with a soft, round brush to blend the edges of the lights into the sky.
- Incorporate titanium white into your color mixes to create the vibrant, glowing highlights of the aurora.
- Work from dark to light, layering translucent glazes of green, violet, or blue over the base.
- Use a fan brush or a flicking technique with a toothbrush to add stars once the aurora is dry.
The bottom line
Painting the northern lights requires a patient, layered approach that prioritizes transparency and contrast. By starting with a dark base and gradually building up luminous, translucent colors, you can mimic the ethereal quality of the aurora. Remember to use dry-brush techniques for soft edges and keep your highlights bright to achieve a realistic glow. With practice, these simple methods will help you capture the sky's natural beauty.
People also ask
What is the best brush type for painting aurora borealis?
A soft, synthetic flat or filbert brush is ideal for blending colors smoothly across the canvas. A fan brush is also useful for creating wispy, ethereal edges that mimic the natural movement of the lights.
How do I prevent my acrylic paint from drying too fast while blending?
Add a small amount of acrylic retarder or a glazing medium to your paint to extend its open time. Working in smaller sections also ensures you can manipulate the paint before it sets.
Should I use a primer or gesso on my canvas first?
Yes, applying a coat of black or deep blue gesso provides a professional, uniform surface. This base layer eliminates the need to paint over white canvas, which helps keep your aurora colors vibrant.
How do I achieve the "glow" effect in the lights?
Focus on placing your brightest, most opaque white highlights in the center of the light ribbons. Surrounding these with thinner, more transparent glazes of green or blue creates a convincing luminous depth.
Can I fix mistakes if the paint dries too quickly?
Because acrylics are permanent once dry, you can simply paint over the area with your background color and start again. This layering process is actually a core technique for building depth in aurora paintings.
How do I create the vertical "curtain" effect?
Use vertical, sweeping strokes with a dry brush to pull the color upward from the horizon. Keep your hand loose and vary the pressure to create natural, irregular shapes that look like shifting curtains of light.
This answer was created with the help of AI research tools and reference sources. Spotted an error? Let us know — we correct mistakes quickly. See our editorial policy.