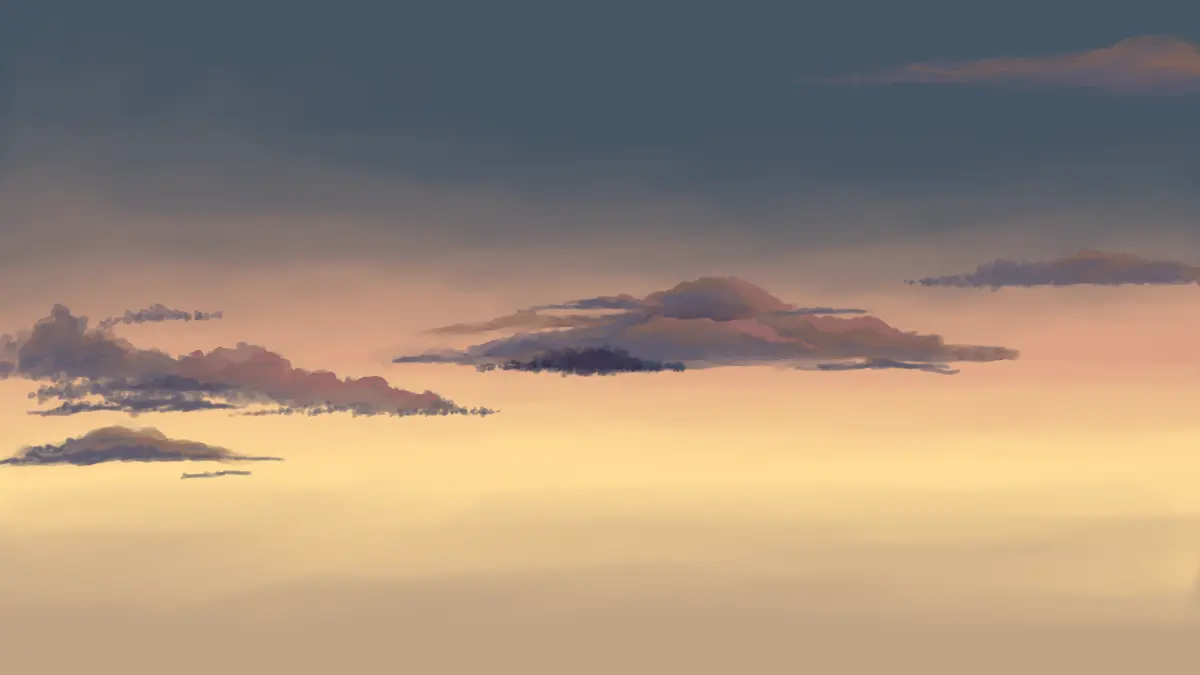
How do you paint clouds with acrylic paint?
Short answer
Painting clouds with acrylics requires layering thin, translucent glazes over a base color. By focusing on soft edges, varied opacity, and the interplay of light and shadow, you can create realistic depth. Use a dry-brush technique for wispy textures and build up highlights gradually to achieve a natural, three-dimensional appearance in your sky.
On this page
What tools are needed to paint clouds
To paint realistic clouds, you need a selection of brushes that allow for both broad coverage and delicate detail. A large, soft-bristled flat brush is essential for laying down the base sky color, while a smaller, round synthetic brush works well for shaping the cloud forms. Many artists prefer filbert brushes because their rounded edges make it easier to mimic the organic, soft shapes of cumulus clouds. High-quality acrylic paints are necessary; ensure you have a range of blues for the sky and titanium white for the clouds.
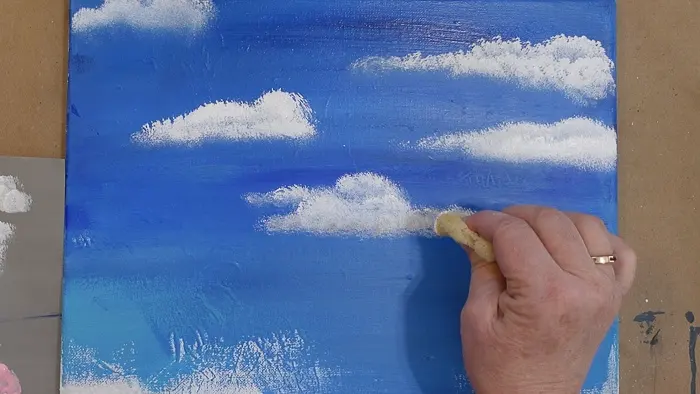
In addition to brushes, a palette knife can be a useful tool for creating sharp, crisp edges on the tops of clouds where the light hits most intensely. Keep a water container and a spray bottle nearby to keep your paint workable, as acrylics dry rapidly. A piece of sea sponge or a textured cloth can also be used to dab paint onto the canvas, creating the irregular, fluffy texture characteristic of natural cloud formations.
How to prepare the sky background
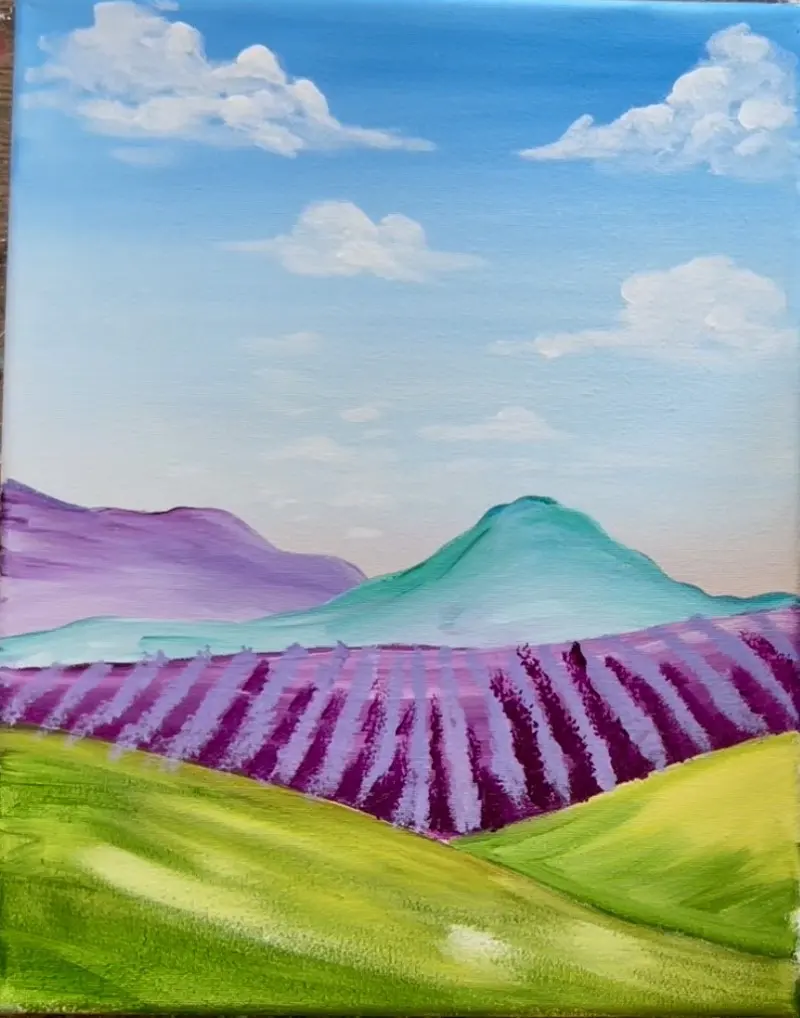
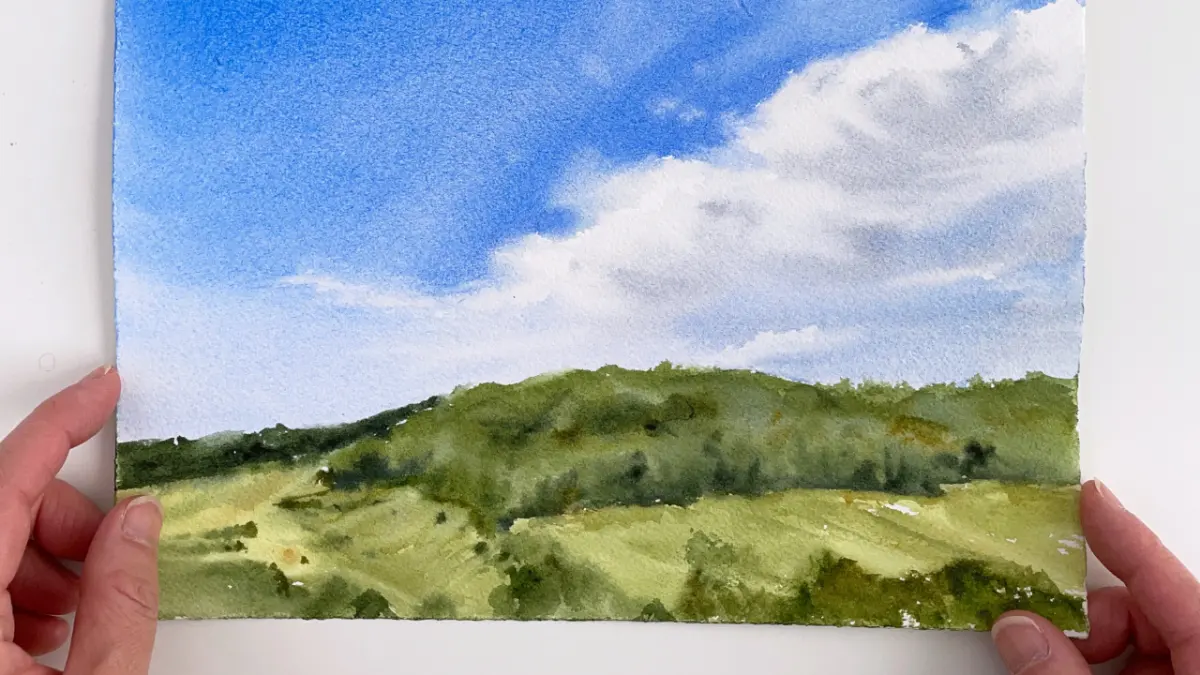
Before painting the clouds, you must establish the sky background. Start by applying a base coat of blue, varying the intensity from a darker shade at the top of the canvas to a lighter, more desaturated hue near the horizon line. This gradient mimics atmospheric perspective, where the sky appears lighter and warmer as it approaches the earth. Use long, horizontal strokes to ensure the color is smooth and consistent.
Once the base layer is dry, you can begin mapping out the cloud positions. Use a very thin, diluted wash of a neutral color like light gray or pale blue to sketch the general shapes. Do not worry about detail at this stage; focus on the composition and the distribution of cloud masses. Ensuring the background is completely dry before adding clouds prevents the colors from muddying, which is a common issue for beginners working with fast-drying acrylic mediums.
Step-by-step guide to painting clouds
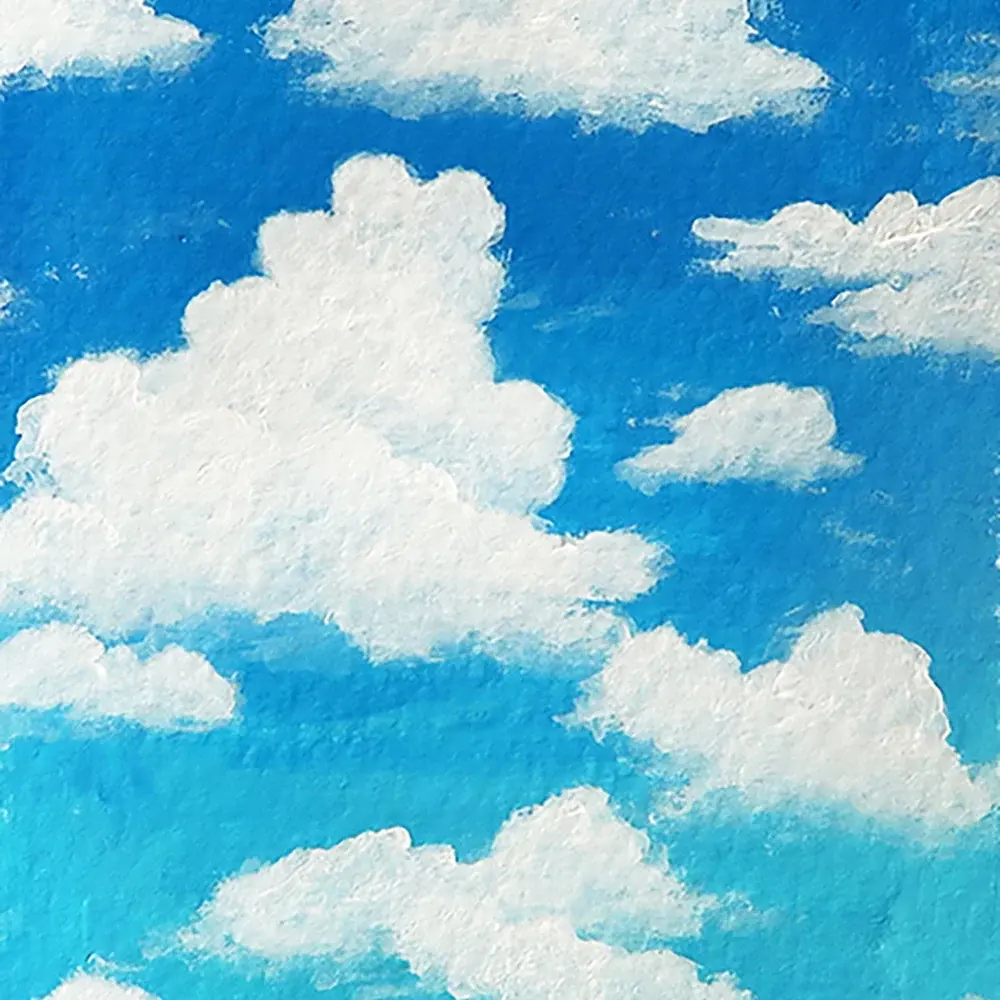
- Establish the mid-tones: Using a mixture of white and a touch of blue or gray, block in the main shapes of your clouds. Focus on the volume rather than the edges.
- Add shadows: Use a darker, cooler gray or blue-violet mixture to define the undersides of the clouds. This creates the necessary depth and indicates the light source.
- Apply highlights: With a clean, dry brush or a palette knife, apply thick, opaque titanium white to the tops of the clouds where the sun strikes them.
- Soften the edges: Use a clean, damp brush to gently blend the edges of the clouds into the sky. Soft, blurred transitions are key to making clouds look airy and light.
- Add final details: Use a small brush to add wispy, thin clouds or stray fragments at the edges to create a sense of movement and realism.
How to achieve realistic cloud textures
Achieving texture is what separates a flat painting from a dynamic, atmospheric sky. The "dry brush" technique is particularly effective here; load your brush with a small amount of thick, undiluted white paint and lightly drag it across the surface of the canvas. This allows the paint to catch on the texture of the canvas, creating a broken, airy effect that mimics the translucency of thin cloud wisps.
You can also experiment with layering glazes to create depth. A glaze is simply a mixture of paint and a clear acrylic medium that makes the pigment transparent. By layering these glazes over your base cloud shapes, you can create subtle shifts in color and shadow without losing the underlying structure. This process requires patience, as each layer must be dry before the next is applied. Remember that clouds are rarely solid; they are masses of vapor that interact with light, so maintain some transparency throughout your work.
Common mistakes when painting clouds
One of the most frequent errors is creating clouds that are too symmetrical or uniform. Clouds are organic, chaotic structures, so avoid repeating the same shape or size across the canvas. Another common mistake is using pure, unmixed white for every part of the cloud. In reality, clouds reflect the colors of their surroundings, including the blue of the sky and the warm tones of the sun. Always tint your white with a small amount of blue, yellow, or gray to ensure the colors harmonize with the rest of the painting.
Finally, many beginners struggle with edges that are too sharp. Clouds rarely have hard, defined outlines, except perhaps in the case of very dense storm clouds. If your clouds look like solid objects, use a clean, slightly damp brush to "feather" the edges into the sky. This technique, known as scumbling or blending, helps integrate the cloud into the atmosphere, making it appear as if it is floating within the air rather than sitting on top of the canvas.
Key facts
- Acrylic paint dries rapidly, so use a spray bottle to mist your palette and keep the paint workable.
- Use a "scumbling" technique by dragging a dry, stiff-bristled brush lightly over the canvas to create soft, wispy edges.
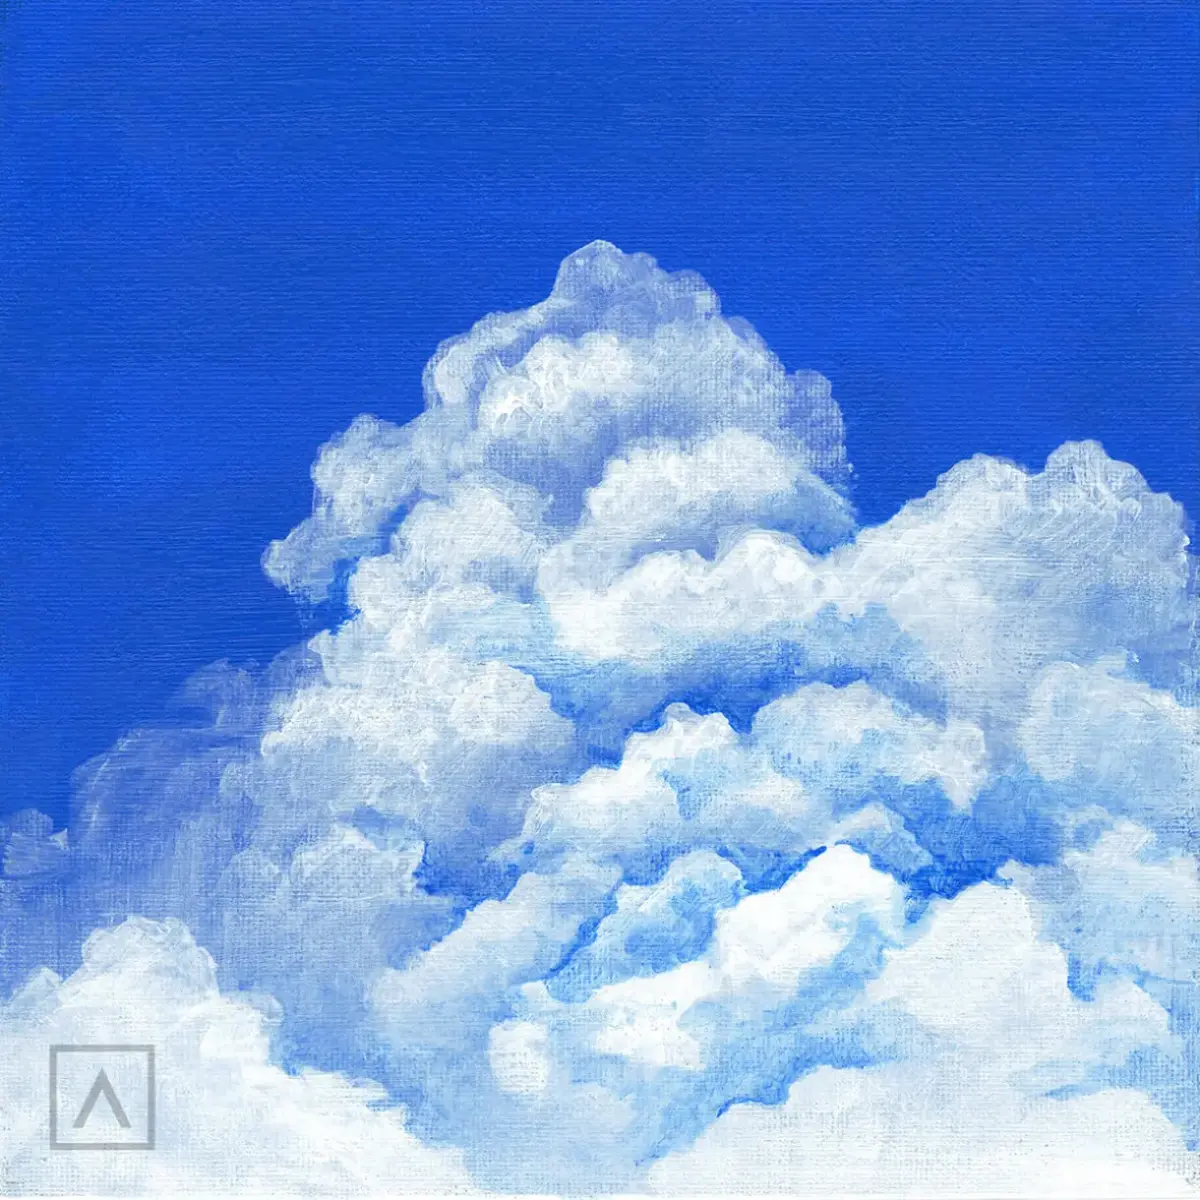
- Build depth by layering dark, cool-toned grays for the undersides of clouds and bright whites for the sunlit tops.
- Keep a clean, damp brush nearby to blend edges immediately before the acrylic sets into a permanent film.
- Limit your palette to titanium white, ultramarine blue, and a touch of burnt umber to maintain natural color harmony.
- Avoid over-blending, as this often results in a muddy, flat appearance rather than the airy volume of a cloud.
The bottom line
Painting realistic clouds with acrylics requires a balance of speed and layering. By establishing a solid sky base and using a dry-brush scumbling technique, you can capture the soft, ethereal nature of vapor. Focus on creating volume through subtle shadows and bright highlights, while keeping your edges soft. With practice, you will master the transition from flat, opaque shapes to dynamic, atmospheric skies that feel truly alive.
People also ask
Should I paint the sky before the clouds?
Yes, always establish your sky background first, allowing it to dry completely before adding cloud shapes. This prevents the colors from mixing unintentionally and keeps your cloud highlights crisp and bright.
What type of brush works best for clouds?
Filbert brushes are ideal because their rounded, oval shape mimics the organic, soft contours of cloud formations. Stiff-bristled brushes are also useful for creating texture and dry-brush effects on the edges.
How do I prevent hard edges on my clouds?
Use a clean, dry brush to gently buff the edges of your clouds while the paint is still slightly wet. This "softening" technique creates the illusion of vapor and atmospheric distance.
Can I use water to thin my acrylics?
You can use water, but adding too much will break down the binder and make the paint behave like watercolor. Use a glazing medium instead if you want to thin the paint while maintaining its adhesive properties.
Why do my clouds look like flat shapes?
This usually happens when the shading lacks contrast or the edges are too uniform. Add subtle shadows using a mix of blue and gray to give the clouds three-dimensional volume and weight.
How do I fix a mistake if the paint is already dry?
Since acrylics are opaque, you can simply wait for the layer to dry and paint over the error. Apply a fresh coat of your sky color to "erase" the shape before attempting to repaint the cloud.
This answer was created with the help of AI research tools and reference sources. Spotted an error? Let us know — we correct mistakes quickly. See our editorial policy.