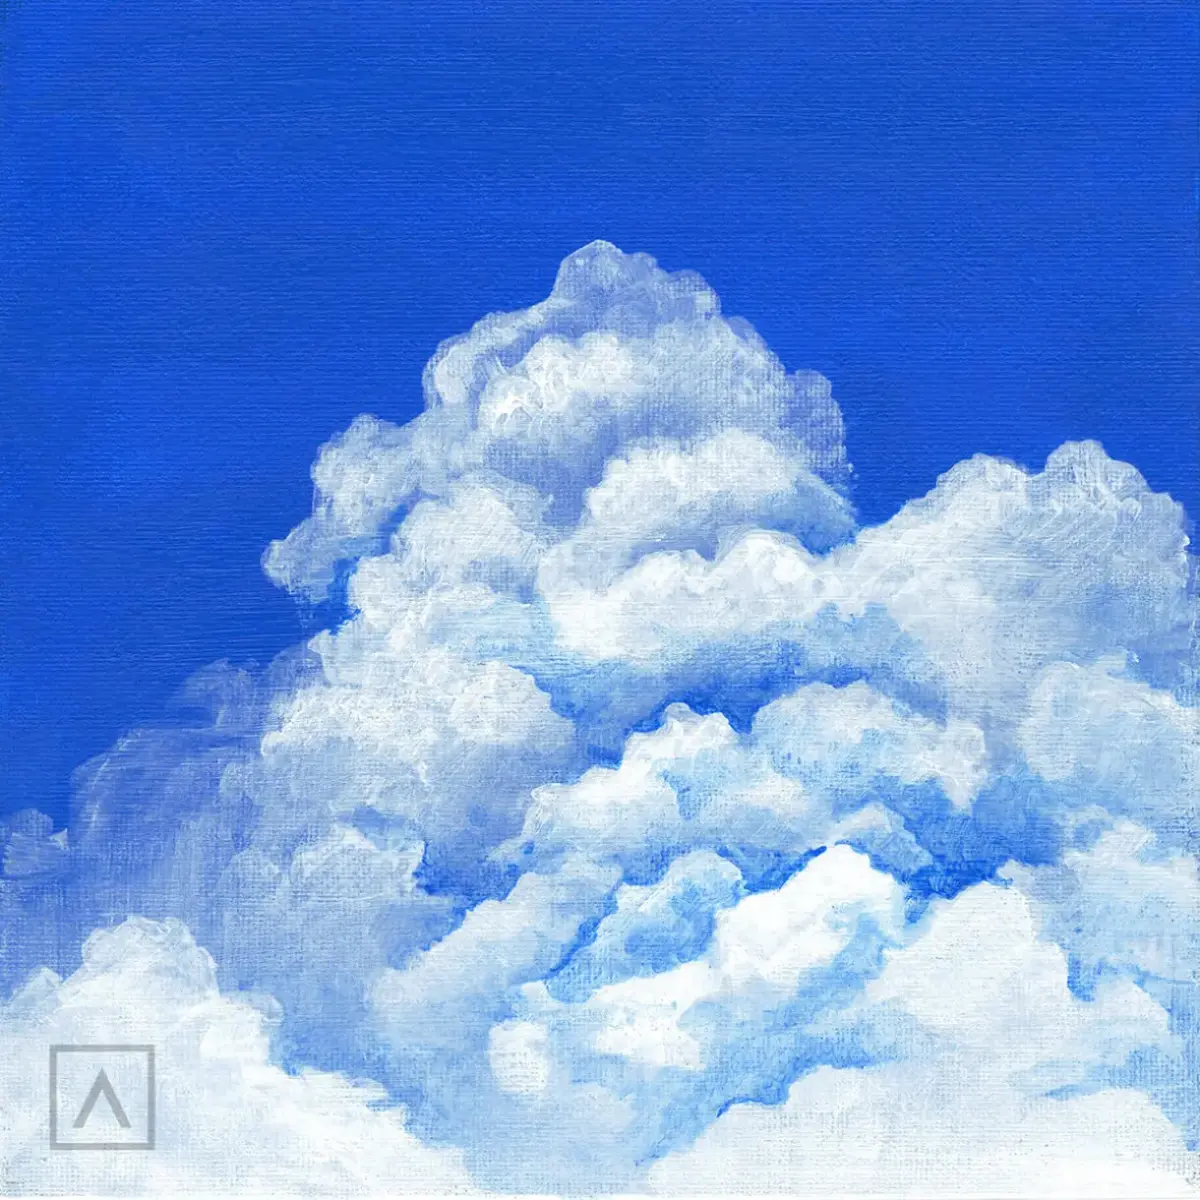
How do you paint a lavender field with acrylic paint?
Short answer
Painting a lavender field with acrylics involves building depth through layered color application. Begin by establishing a neutral background, then use varying shades of purple and green to create textured, vertical brushstrokes. Focus on light and shadow to define the rows, finishing with highlights that mimic the sun hitting the floral blooms.
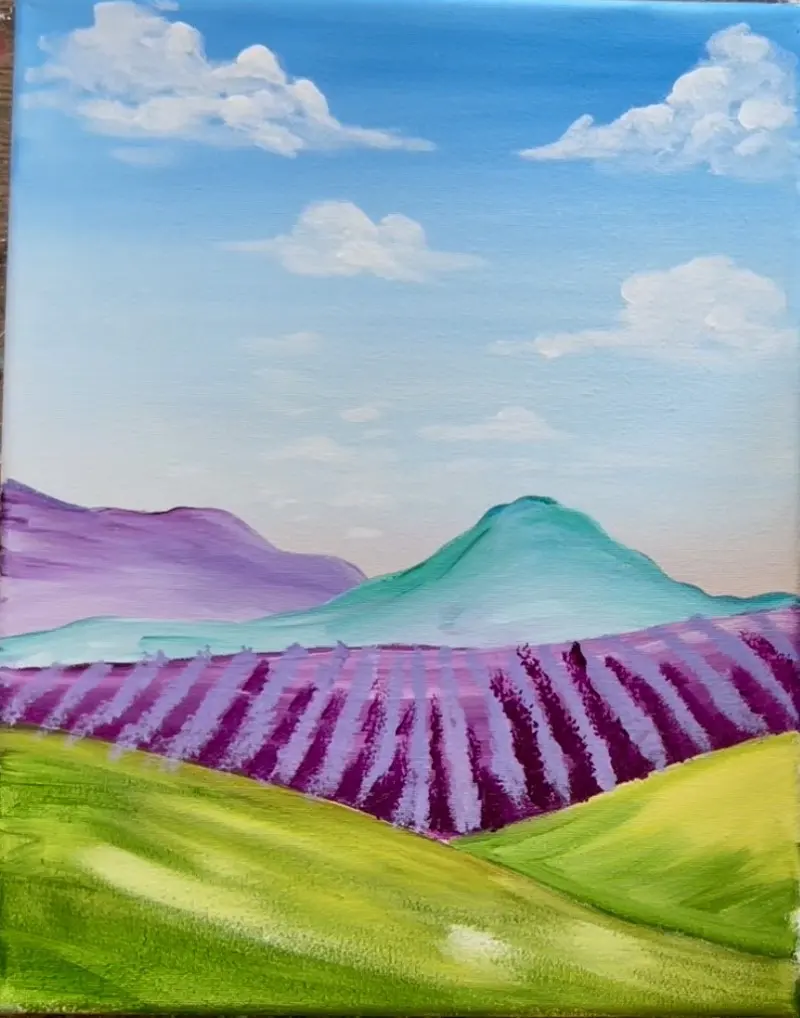
On this page
How to prepare your canvas for painting lavender
Preparation is the foundation of a successful landscape painting. Start by applying a thin wash of gesso to your canvas to ensure the acrylic paint adheres properly and does not soak into the fabric. Once dry, tone your canvas with a neutral color like burnt sienna or light gray. This eliminates the stark white surface, making it easier to judge the intensity of your purple and green tones as you build the scene.
When planning your composition, consider the rule of thirds. Place the horizon line either one-third from the top or bottom of the canvas to create a natural focal point. Use a light pencil or a thin, watered-down brush to sketch the perspective lines of the lavender rows. These lines should converge toward a single point on the horizon, which creates the illusion of depth and distance across your field.
What supplies are needed for beginners
Acrylic painting requires a specific set of tools to achieve the best results. Because acrylics dry quickly, you need a palette that keeps your paint moist, such as a stay-wet palette or a simple plastic tray with a spray bottle of water. High-quality brushes are essential; select a mix of synthetic flat brushes for blocking in large areas and smaller filbert brushes for detailing the flower heads.
- Heavy-body acrylic paints in various purples (ultramarine, dioxazine, and lavender).
- A range of greens, including sap green and olive, for the foliage.
- Titanium white for mixing tints and adding highlights.
- A medium-sized flat brush for the sky and foreground.
- A small round brush for fine details and stems.
- A palette knife for adding texture to the lavender clusters.
How to layer colors for a realistic field
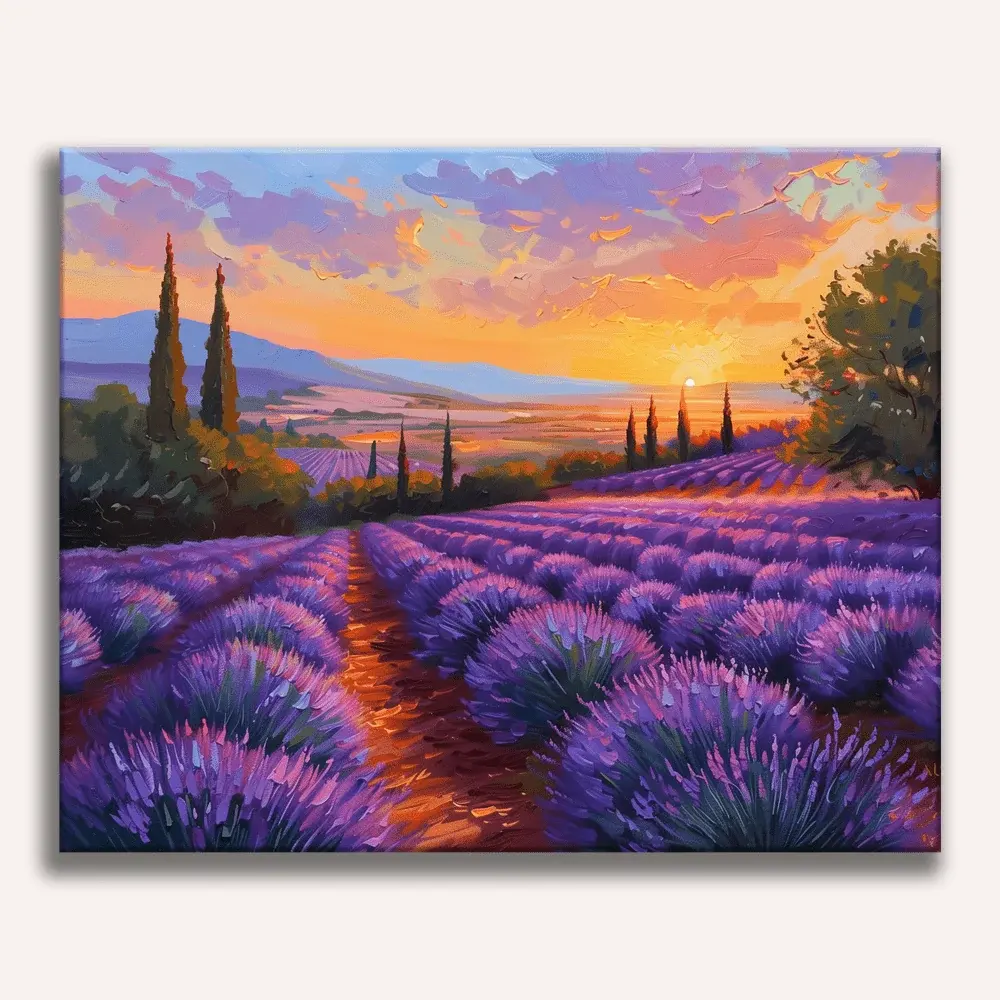
Creating a realistic lavender field requires working from the background to the foreground. Start by painting the sky and any distant hills using muted, cool colors. As you move toward the front of the canvas, increase the saturation and warmth of your colors. The lavender plants closest to the viewer should have the most detail, while those in the distance should be softer and less defined.
For the lavender rows, do not attempt to paint every individual flower. Instead, use a "dabbing" technique with a small brush or palette knife to create clusters of color. Layer darker purples at the base of the flower stalks to represent shadows, and apply lighter, brighter purples or whites on the tops of the clusters to represent sunlight. This variation in value is what gives the field its three-dimensional appearance and sense of movement.
Common mistakes when painting lavender
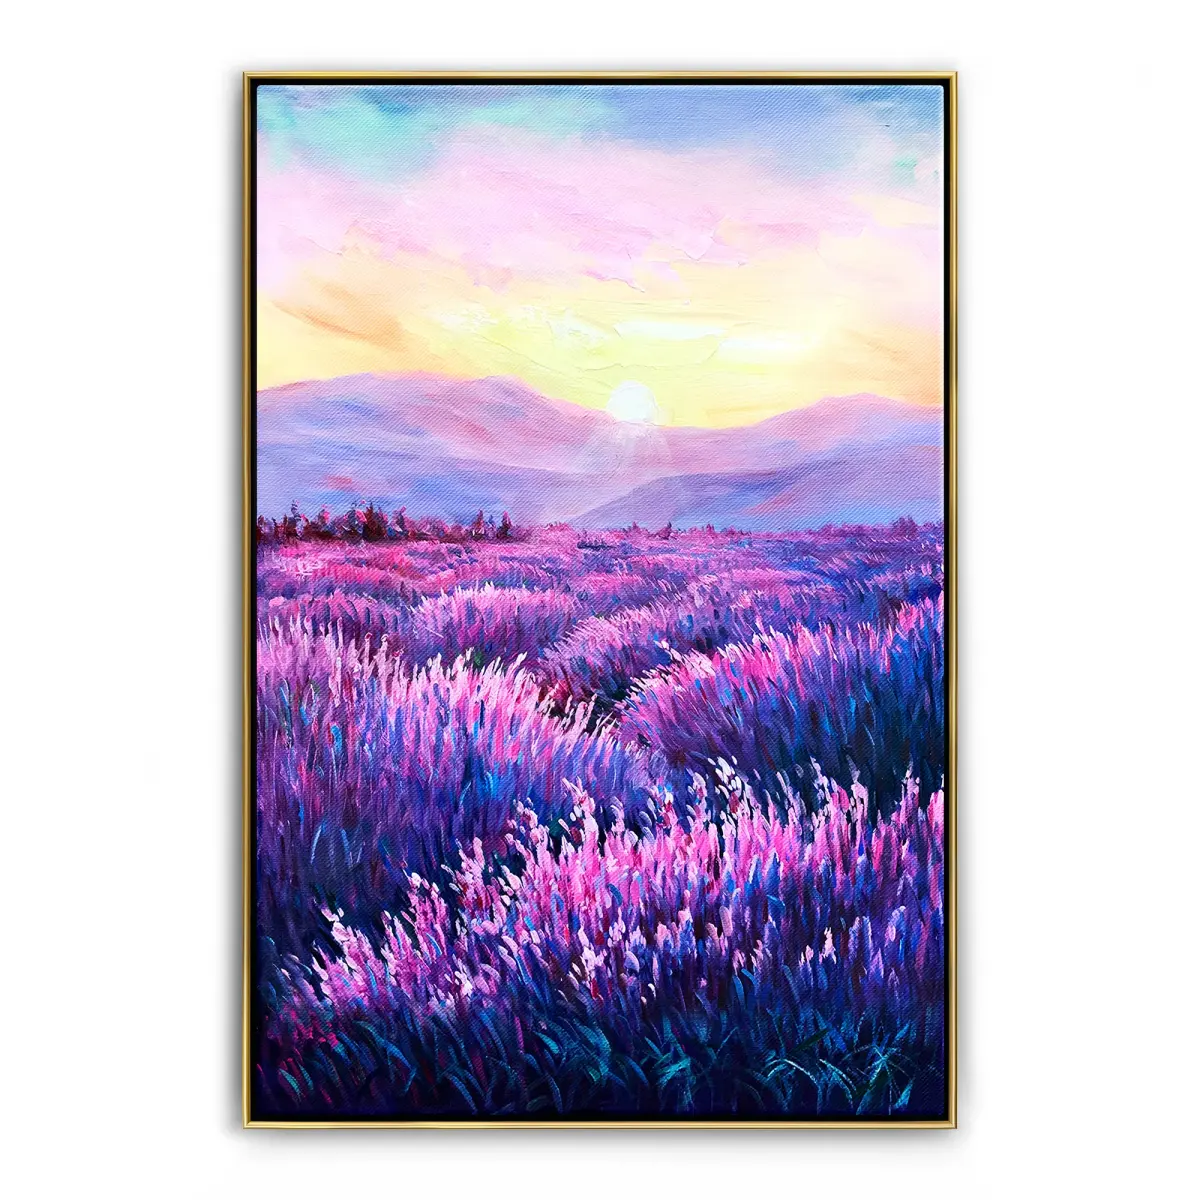
One of the most frequent errors is using a single shade of purple for the entire field. Lavender plants naturally possess a wide range of hues, from deep, moody violets to pale, dusty lilacs. If you use only one color, the painting will look flat and artificial. Always mix your colors on the palette to create a gradient of tones, ensuring that no two rows look exactly the same in intensity.
Another common mistake is neglecting the foliage. Beginners often focus so much on the purple flowers that they forget the green stems and leaves underneath. Ensure you paint the green stalks between the purple clusters, allowing some of the green to peek through the flowers. This interaction between the complementary colors of green and purple creates a vibrant, professional look that makes the lavender pop against the landscape.
How to add final details and texture
The final stage of your painting should focus on adding highlights and refining the edges. Use a dry brush technique to lightly drag a bit of titanium white or pale yellow over the tops of the lavender rows. This mimics the effect of sunlight hitting the petals, which adds a sense of atmosphere and life to the scene. Be careful not to overwork these areas, as too much white can make the flowers look like they are covered in snow.
- Check the perspective lines to ensure they lead the eye toward the horizon.
- Soften the edges of the distant rows to increase the sense of atmospheric perspective.
- Add a few stray, taller stems in the immediate foreground to break up the uniform shape of the rows.
- Sign your work in a corner that does not distract from the central composition.
- Apply a final varnish once the paint is completely dry to protect the surface and unify the finish.
Key facts
- Use a palette knife to apply thick, textured paint for the lavender spikes to create a three-dimensional effect.
- Mix ultramarine blue with quinacridone violet to achieve the most realistic range of lavender hues.
- Paint the background sky and distant hills first using thin, watery washes to establish atmospheric perspective.
- Apply darker shadows at the base of each lavender row to ground the plants and add depth to the field.
- Use a fan brush or a small filbert brush to dab on the flower clusters with a light, tapping motion.
- Work from the back of the canvas to the front, painting the most distant rows before adding foreground details.
The bottom line
Painting a lavender field requires a balance of atmospheric perspective and tactile texture. By layering distant, muted rows with vibrant, thick foreground spikes, you create a compelling sense of space. Focus on using a palette knife for flower clusters and maintaining clean, unmixed colors to capture the essence of the landscape. With patience and these layering techniques, you can effectively translate the beauty of a field onto canvas.
People also ask
How do I prevent the lavender colors from turning muddy?
Avoid over-mixing your colors on the palette and ensure your brush is clean before picking up a new shade. Applying paint in distinct, separate strokes rather than blending them together keeps the colors vibrant and crisp.
Should I use a primer on my canvas before starting?
Yes, applying a coat of gesso is essential for acrylic painting as it seals the surface and prevents the paint from soaking into the fabric. A smooth, primed surface allows the pigments to sit on top, resulting in brighter and more consistent colors.
What is the best way to paint the rows of lavender?
Use a long, thin liner brush to paint receding lines that converge toward a single vanishing point on the horizon. This creates a strong sense of linear perspective, making the field appear to stretch deep into the distance.
How long does acrylic paint take to dry?
Acrylics typically dry to the touch within 10 to 20 minutes depending on the thickness of the application and the humidity of your room. Because they dry quickly, you can layer colors rapidly without waiting hours between sessions.
Read the full answer →Can I use water to thin my acrylic paint?
You can use water to thin paint for washes, but adding more than 30 percent water can break down the binder and make the paint flaky. For better results, use an acrylic medium to thin your paint while maintaining its adhesive properties.
How do I clean my brushes after painting with acrylics?
Wash your brushes immediately with lukewarm water and mild soap before the paint dries, as dried acrylic is permanent and difficult to remove. Never leave brushes sitting in water, as this can permanently damage the bristles and the handle.
This answer was created with the help of AI research tools and reference sources. Spotted an error? Let us know — we correct mistakes quickly. See our editorial policy.