How do you do a pour painting?
Short answer
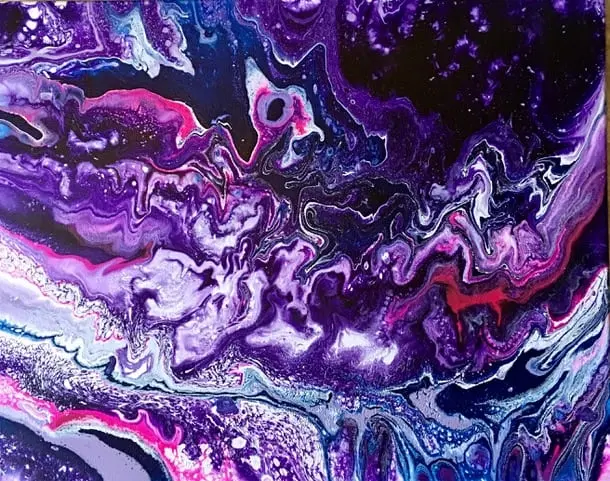
Pour painting, or acrylic pouring, is a fluid art technique where acrylic paint is mixed with a pouring medium and applied to a surface. By manipulating the canvas or layering colors in a cup, artists create abstract, marbled patterns. The process relies on fluid dynamics to produce organic, cell-like structures.
On this page
What supplies are needed for acrylic pouring
To begin, you need high-quality acrylic paints, a pouring medium, and a sturdy surface. The pouring medium is essential because it thins the paint while maintaining its pigment density and binding properties. Common additives include Floetrol or professional-grade pouring mediums, which prevent the paint from cracking as it dries. You should also gather plastic cups for mixing, stirring sticks, and a canvas or wood panel.
The following items are recommended for a successful setup:
- Acrylic paints (heavy body or fluid).
- Pouring medium (e.g., Floetrol or Liquitex).
- Silicone oil (optional, to create "cells").
- Disposable gloves and a drop cloth.
- A level surface to ensure the paint does not slide off unevenly.
- A torch or heat gun to pop air bubbles.
Always ensure your workspace is protected, as this process is inherently messy. Using a raised rack or overturned cups to elevate your canvas allows excess paint to drip off the edges cleanly.
How to prepare paint for pouring
Preparation is the most critical step in achieving the correct consistency. You must mix your acrylic paint with the pouring medium until it reaches the viscosity of warm honey. If the mixture is too thick, it will not spread across the canvas; if it is too thin, the colors will muddy and lose their definition. Test the consistency by lifting your stirring stick; the paint should flow in a smooth, continuous stream.
Follow these steps to prepare your colors:
- Pour a small amount of acrylic paint into a clean cup.
- Add your pouring medium at a ratio of approximately 1:1 or 1:2, depending on the brand.
- Stir slowly to avoid creating excessive air bubbles.
- Add a few drops of silicone oil if you desire a "cell" effect.
- Repeat for every color you intend to use.
Consistency is key to preventing "crazing," which occurs when paint layers dry at different rates. Once mixed, let your cups sit for ten minutes to allow trapped air to escape.
Best techniques for beginners
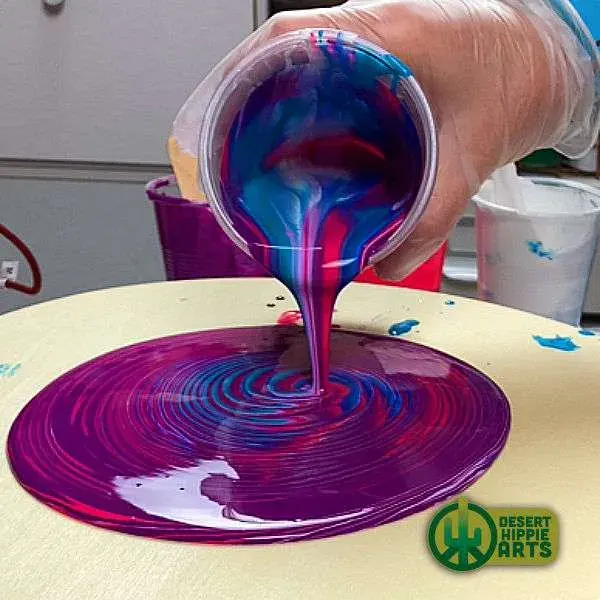
The "dirty pour" and the "flip cup" are the most popular methods for those new to the craft. In a dirty pour, you layer different colors into a single cup without stirring them, then pour the mixture onto the canvas. A flip cup involves placing the canvas face down on top of the cup, flipping both over quickly, and lifting the cup to release the paint. These methods provide immediate, dramatic results without requiring advanced technical skills.
Once the paint is on the canvas, tilt the surface slowly in different directions to move the paint. Gravity is your primary tool here. You can control the composition by guiding the flow toward specific corners or edges. If you find the paint is not moving easily, add more medium to your base coat. Experimenting with these movements allows you to understand how colors interact and blend under the influence of gravity.
Why paint cells happen in pouring
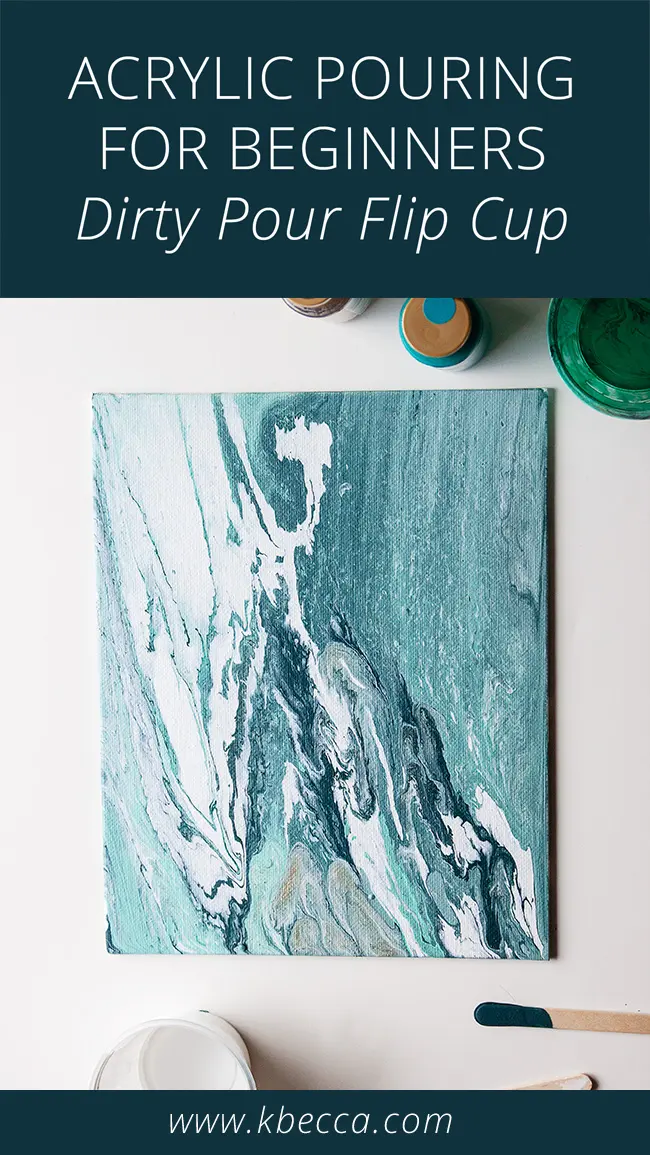
Cells are the circular, organic shapes that appear when one layer of paint pushes through another. This phenomenon is largely caused by differences in density and surface tension between the paints and the silicone oil. When silicone is added to the mixture, it resists the acrylic paint, forcing it to bubble up to the surface. Using a heat source, such as a butane torch, helps draw these cells out by warming the paint and encouraging the silicone to rise.
Not all paints produce cells naturally. Some pigments are heavier than others, which affects how they sink or float. To maximize cell formation, use a base coat of white paint on your canvas before pouring your colors. This provides a slippery surface that allows the colored mixtures to expand and interact more freely. If you prefer a smoother, marbled look without cells, simply omit the silicone oil from your mixture.
Common mistakes when pour painting
One of the most frequent errors is failing to level the canvas. If your table or surface is tilted, the paint will slide off one side, leaving the composition lopsided and thin. Always use a spirit level to ensure your workspace is perfectly flat before you begin. Another common mistake is over-mixing the paint after adding silicone, which breaks the oil into tiny droplets that may not create the desired aesthetic effect.
Avoid these pitfalls to improve your results:
- Working in a room that is too cold, which slows drying and can cause cracking.
- Using too many colors, which often results in a muddy, brown-toned finish.
- Failing to seal the painting after it is fully dry, which leaves it vulnerable to dust.
- Touching the wet paint, which ruins the surface texture and creates permanent fingerprints.
Patience is your greatest asset. Acrylic pours can take 24 to 72 hours to dry completely depending on the humidity and thickness of the paint. Once dry, apply a clear varnish to protect the surface and enhance the vibrancy of the colors for years to come.
Key facts
- Acrylic pouring relies on fluid dynamics, specifically the interaction between paint viscosity and an added thinning medium.
- Silicone oil is the most common additive used to create "cells," which are circular pockets of color that push through the top layer.
- A standard pouring medium ratio is two parts medium to one part acrylic paint to ensure the mixture flows without losing pigment density.
- The "dirty pour" technique involves layering different paint colors into a single cup before flipping it onto the canvas.
- A level surface is essential; even a slight tilt will cause the paint to pool unevenly as it dries over several days.
- You must seal finished paintings with a varnish or resin once they have cured for at least 72 hours to prevent dust accumulation.
The bottom line
Acrylic pouring is an accessible technique that transforms basic paints into fluid, abstract art through controlled chemistry. By mastering the balance of medium-to-paint ratios and utilizing additives like silicone, you can create complex, organic patterns. Patience is vital, as the drying and curing process requires a stable environment. With practice, you will learn to manipulate the flow to achieve professional, vibrant results on any canvas.
People also ask
Why is my paint cracking as it dries?
Cracking, often called crazing, usually happens when the paint layer is too thick or the environment is too hot. Ensure you apply an even coat and allow it to dry in a room with stable, moderate temperatures.
Can I reuse the paint that drips off the canvas?
Yes, you can place a collection tray under your canvas to catch runoff, known as "paint skins." These dried skins can be cut into shapes or used for jewelry and collage projects.
How long does it take for a pour painting to fully cure?
While a painting may feel dry to the touch within 24 hours, it typically takes two to four weeks to cure completely. Avoid stacking or framing the artwork until this process is finished to prevent damage.
What is the purpose of a torch in acrylic pouring?
A small butane torch is used to quickly heat the surface of the wet paint. This heat draws the silicone oil to the surface, forcing the colors to separate and creating distinct, vibrant cell patterns.
Do I need to prime my canvas before pouring?
While pre-primed canvases work, applying an extra coat of gesso helps prevent the canvas from sagging under the weight of the heavy paint. It also provides a smoother surface for the fluid to travel across.
Why do my colors look muddy?
Muddy colors occur when too many complementary colors are mixed together on the canvas. To avoid this, limit your palette to three or four colors and include a neutral shade like white or black to provide contrast.
This answer was created with the help of AI research tools and reference sources. Spotted an error? Let us know — we correct mistakes quickly. See our editorial policy.