How do you paint a butterfly with watercolor?
Short answer
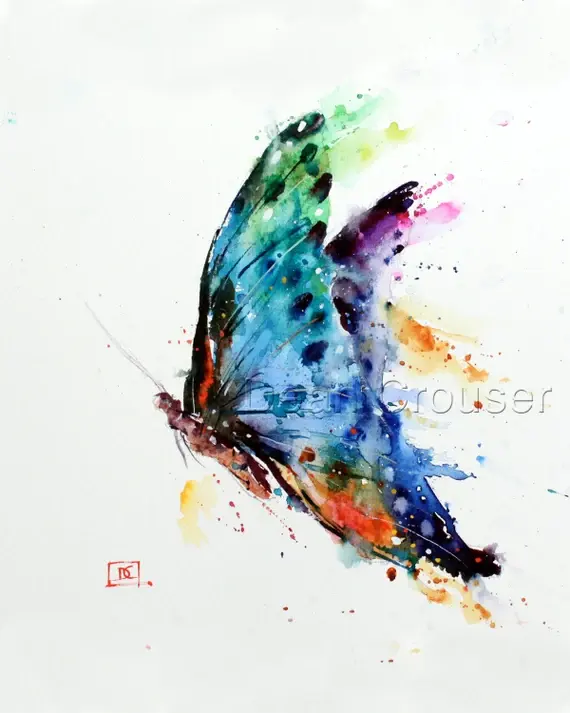
Painting a butterfly with watercolor requires layering transparent washes to build vibrant color and delicate detail. Begin by sketching a symmetrical outline, then apply light base colors before adding darker patterns and intricate wing veins. Use a fine-tipped brush for precision and allow each layer to dry completely to prevent muddy colors.
On this page
What materials are needed for watercolor butterflies?
To paint a realistic butterfly, you need high-quality materials that allow for control and color vibrancy. Start with cold-press watercolor paper, which has enough texture to hold pigment without warping excessively. A 140-pound weight is the industry standard for beginners and professionals alike, as it absorbs water well while maintaining structural integrity.
For brushes, invest in two round synthetic brushes: a size 6 for filling in larger wing areas and a size 0 or 2 for fine detail work. Synthetic brushes offer a sharp point and consistent spring, which is essential for painting the delicate antennae and wing veins. You will also need a basic watercolor palette containing primary colors, as mixing your own hues creates more natural, lifelike tones than using pre-mixed tubes.
- 140lb cold-press watercolor paper
- Round brushes in sizes 0, 2, and 6
- Artist-grade watercolor paints
- Two jars of clean water
- A kneaded eraser for light sketching
How to sketch a butterfly for painting
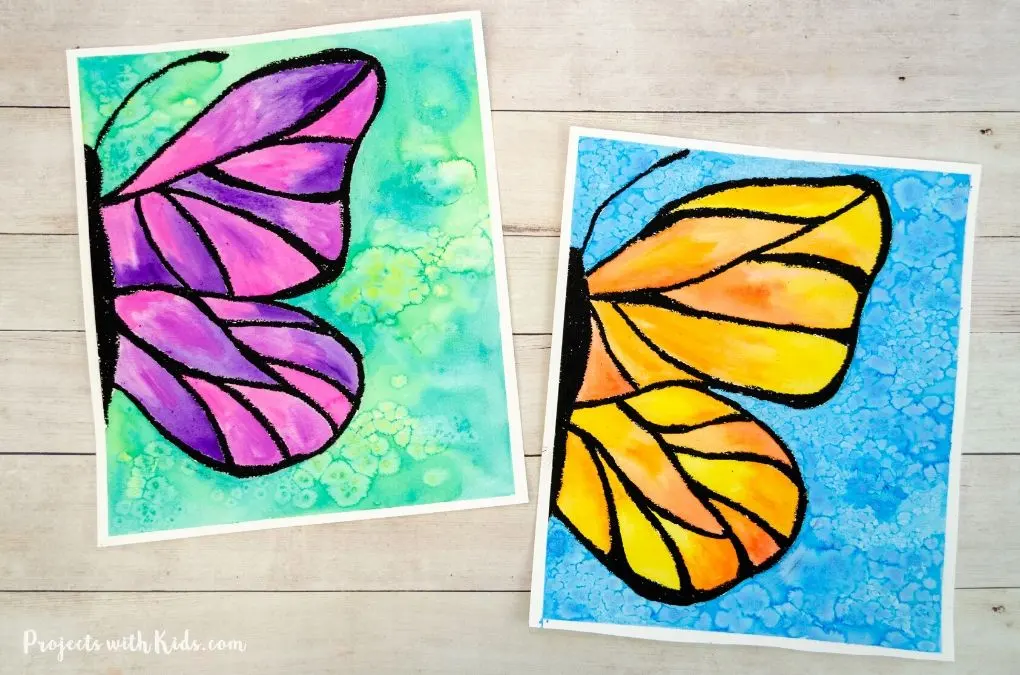
A successful painting begins with a light, accurate pencil sketch. Butterflies are defined by their bilateral symmetry, which means the left wing must mirror the right. Start by drawing a thin, vertical center line to act as a guide for the body. Sketch the thorax and abdomen as simple oval shapes along this line, then draw the wings outward, ensuring the top and bottom sections align proportionally on both sides.
Keep your pencil lines extremely faint, as graphite can smear when wet paint is applied. Use a kneaded eraser to lift excess graphite until the lines are barely visible against the white paper. If you struggle with symmetry, draw one side of the butterfly on tracing paper, fold it, and transfer the outline onto your watercolor paper by rubbing the back of the sketch. This technique ensures that your wings are perfectly balanced before you apply any pigment.
How to layer watercolor for wings
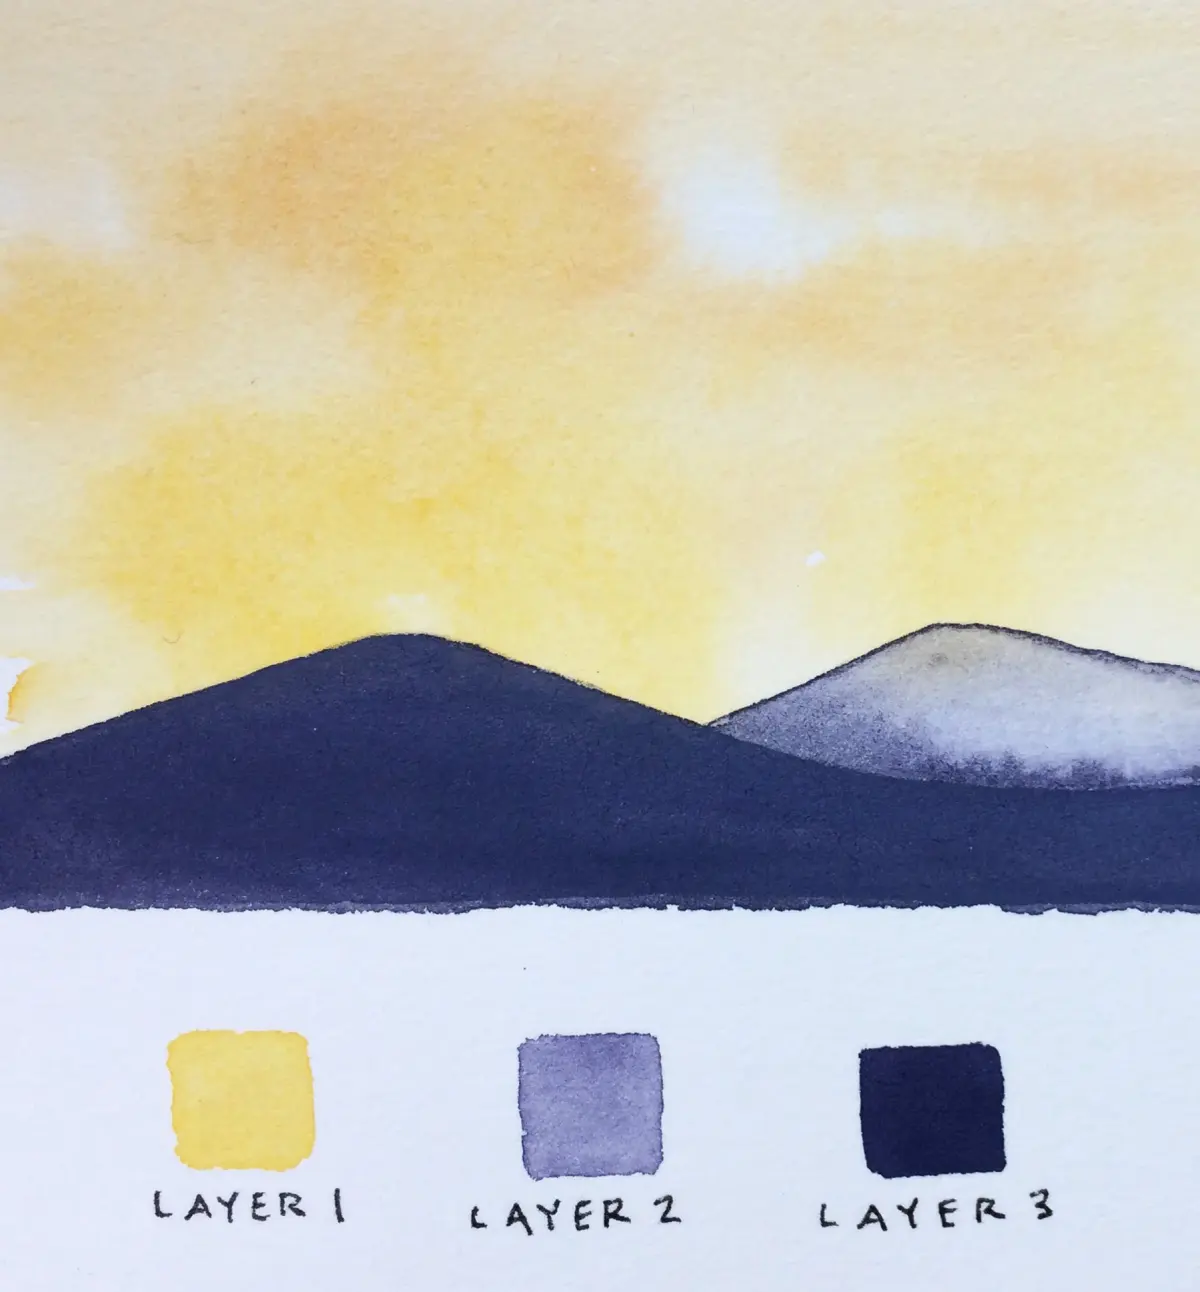
Watercolor is a medium of transparency, so you must build your butterfly from the lightest colors to the darkest. Begin by applying a "wash," which is a diluted layer of paint with a high water-to-pigment ratio. Paint the base colors of the wings while the paper is slightly damp to allow the hues to blend softly. Once this base is bone-dry, you can layer more concentrated pigment to define patterns and spots.
- Apply a light, watery wash across the entire wing surface.
- Allow the first layer to dry completely to prevent bleeding.
- Use a smaller brush to add secondary colors, such as orange or yellow patches.
- Add the darkest colors, like black or deep brown, only in the final stages.
- Use a dry brush technique to add texture to the wing edges.
Why do colors turn muddy?
Muddy colors occur when you overwork the paper or mix too many complementary colors together. Because watercolor pigments are transparent, layering a green over a red will create a dull, brownish gray. To keep your butterfly vibrant, avoid scrubbing the paper with your brush, as this damages the fibers and causes the paint to sink into the paper rather than sitting on top.
Another common cause of muddiness is failing to let layers dry. If you apply a new color while the previous layer is still damp, the pigments will bleed into each other uncontrollably. Always wait until the paper feels cool to the touch, indicating it is fully dry, before adding the next level of detail. If you accidentally apply too much paint, lift it immediately with a clean, damp brush or a paper towel before it sets.
Common mistakes when painting butterflies
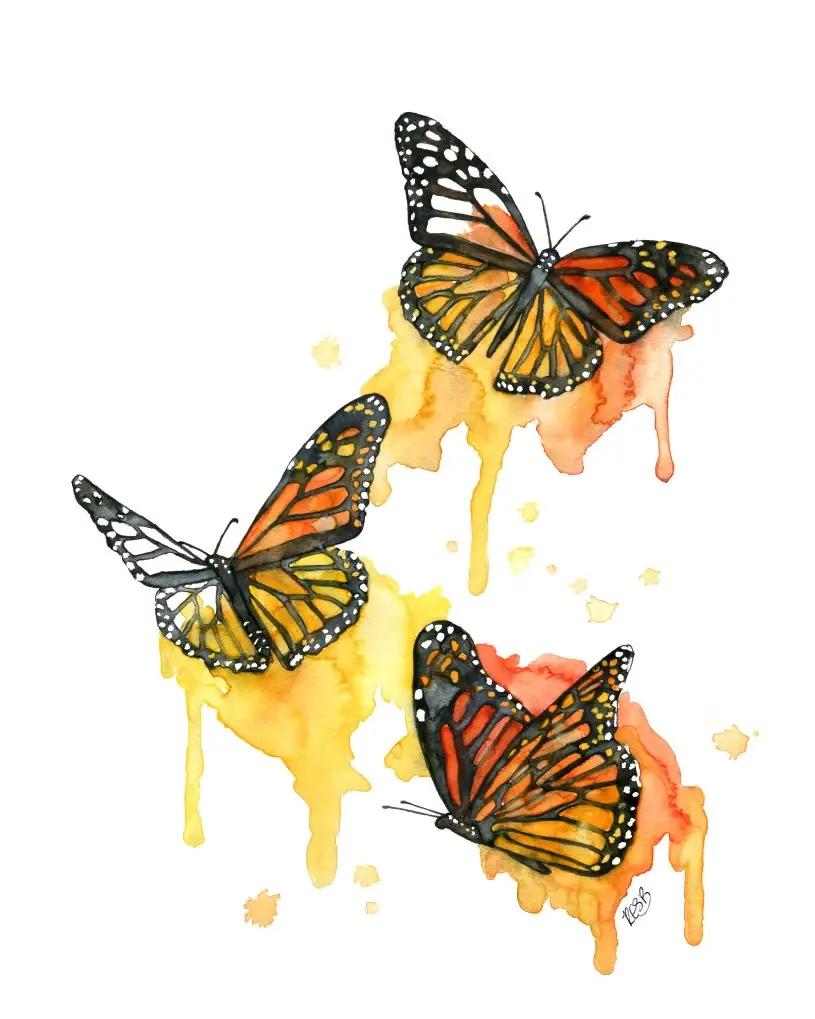
Many beginners make the mistake of outlining every wing vein with black ink or paint too early. This results in a cartoonish appearance rather than a natural, delicate wing. Instead, use a very thin brush and a dark, neutral color to suggest the veins with broken, light strokes. Focus on the flow of the veins, which should radiate outward from the body toward the outer wing margins.
Another frequent error is neglecting the butterfly's body. The thorax and abdomen should be painted with small, stippled strokes to mimic the fuzzy, realistic texture of the insect. Finally, do not forget to leave small white gaps between color patches to represent the natural highlights on the wings. These tiny, unpainted areas provide the contrast necessary to make the butterfly appear as if it is catching the light. By following these steps and maintaining patience, you will achieve a professional, balanced result.
Key facts
- Use high-quality cold-press watercolor paper, as its textured surface holds pigment better than smooth paper.
- Apply a light graphite sketch first, focusing on the symmetrical wing structure before adding any water.
- Utilize the "wet-on-wet" technique for the wings to allow colors to bleed naturally and mimic organic patterns.
- Keep a clean paper towel nearby to lift excess paint or correct mistakes while the surface is still damp.
- Use a small, round sable or synthetic brush, size 2 or 4, to achieve the fine details on the butterfly's body.
- Wait for the base layer to dry completely before painting the intricate dark veins or spots to prevent muddy colors.
The bottom line
Painting a butterfly with watercolors requires a balance of fluid, wet-on-wet washes for the wings and precise, controlled strokes for the body and veins. By layering colors from light to dark and allowing sufficient drying time, you can capture the delicate, vibrant essence of the insect. Patience and the use of quality materials are essential to achieving a professional, realistic finish in your nature artwork.
People also ask
How do I prevent the colors from looking muddy?
Avoid over-mixing colors on the paper and ensure your brush is rinsed thoroughly between color changes. Let each layer dry completely before adding darker details to keep the pigments vibrant and distinct.
Should I outline the butterfly with a pen?
You can use a waterproof fine-liner pen after the watercolor is fully dry to define edges. Ensure the ink is archival quality so it does not bleed or fade over time.
How do I create a soft gradient on the wings?
Apply clean water to the wing area first, then drop pigment into the damp surface. The paint will naturally spread, creating a smooth, soft transition of color without harsh lines.
What is the best way to paint the delicate antennae?
Use the very tip of a fine-pointed brush with a concentrated amount of pigment. Hold the brush vertically and use a steady, light touch to pull a single, thin line outward.
How do I make the wings look translucent?
Use a very thin, watery wash of paint rather than opaque layers. Leaving small white spaces on the paper helps simulate the natural light filtering through thin wing membranes.
Can I fix a mistake if the paint is already dry?
You can gently lift some pigment by scrubbing the area with a clean, damp brush and blotting it with a paper towel. However, staining pigments are difficult to remove completely, so it is best to plan your colors carefully.
This answer was created with the help of AI research tools and reference sources. Spotted an error? Let us know — we correct mistakes quickly. See our editorial policy.