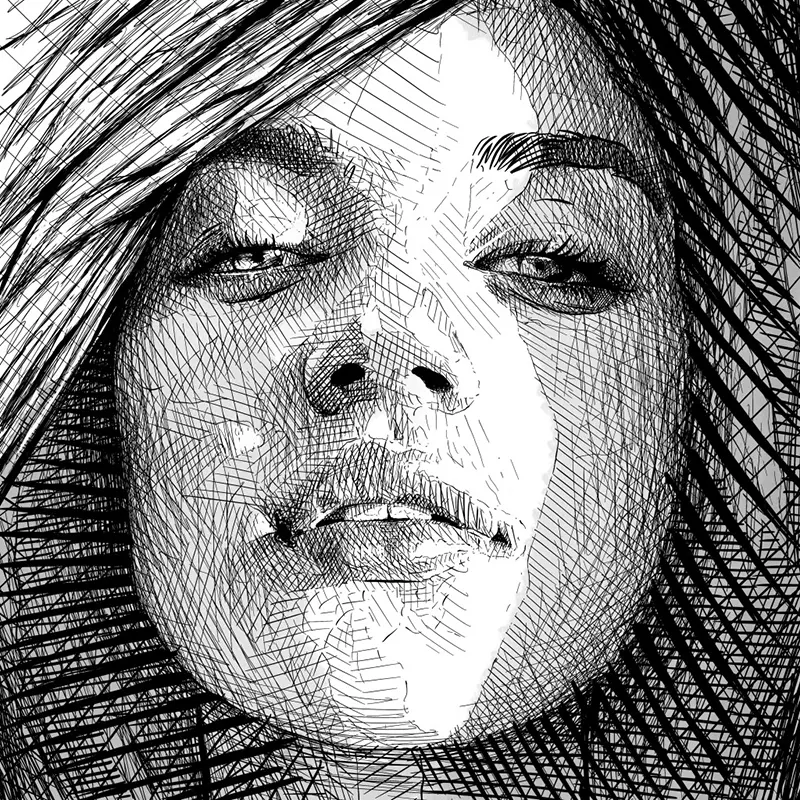
What is butterfly lighting?
Short answer
Butterfly lighting is a portrait photography technique characterized by a symmetrical, butterfly-shaped shadow cast directly beneath the subject’s nose. Created by placing a light source high and centered in front of the face, it emphasizes cheekbones and jawlines. It is widely known as "Paramount lighting" due to its popularity in 1930s Hollywood.
On this page
What is butterfly lighting used for?
Butterfly lighting is a classic studio setup prized for its ability to create a glamorous, high-fashion aesthetic. By positioning the light source directly above the subject’s eye level and angled downward, the photographer creates a distinct shadow under the nose and chin. This specific placement highlights the bone structure, making it an ideal choice for beauty photography, professional headshots, and portraits where the goal is to accentuate facial features like sharp cheekbones.
Because of its dramatic yet flattering nature, this style was a staple of the Golden Age of Hollywood. Legendary studio photographers used it to capture the iconic looks of stars like Marlene Dietrich and Greta Garbo. Today, it remains a fundamental technique for portrait artists because it provides a clean, polished look that minimizes skin texture while adding a sense of sophistication and professional polish to the final image.
How to set up butterfly lighting
Achieving the perfect butterfly effect requires precise positioning of your main light source. You generally want the light to be centered with the subject’s face, elevated high enough to cast that signature shadow under the nose, but not so high that the eye sockets fall into deep, unflattering darkness. Most photographers use a modifier like a beauty dish or a softbox to ensure the light is diffused enough to remain soft on the skin.
- Place your main light directly in front of the subject, slightly above their eye level.
- Angle the light downward at approximately a 45-degree angle toward the face.
- Position a reflector or a secondary fill light underneath the subject’s chin to soften the shadows.
- Adjust the distance of the light to control the intensity and the softness of the transition between light and shadow.
Why use a reflector with butterfly lighting
While the main light creates the defining shadows, a reflector is essential for balancing the overall exposure. Without a reflector, the shadows under the nose, chin, and eyes can become too harsh, which might make the subject look tired or aged. By placing a white or silver reflector at chest level, you bounce light back into the lower half of the face, effectively filling in those deep shadows while maintaining the desired butterfly shape.
Using a reflector also adds a "catchlight" in the subject’s eyes, which is a small reflection that makes the eyes appear bright and alert. This detail is crucial in portraiture, as it creates a connection between the viewer and the subject. If you do not have a dedicated reflector, a simple white foam board or even a light-colored shirt can serve the same purpose, providing just enough bounce to lift the shadows and add life to the portrait.
Common mistakes when using butterfly lighting
One of the most frequent errors beginners make is placing the light too high. When the light is positioned at an extreme angle, the nose shadow can stretch down to the upper lip, which looks unnatural and obscures the subject's mouth. Another common mistake is failing to account for the subject's specific facial structure. People with deep-set eyes are particularly susceptible to having their eyes disappear into shadow if the light is too steep, resulting in a "raccoon eye" effect that ruins the portrait.
- Positioning the light too far to the side, which turns the butterfly pattern into a split or Rembrandt lighting setup.
- Using a light source that is too small, resulting in harsh, distracting shadows rather than soft, graduated ones.
- Forgetting to check the catchlights, which can make the subject’s eyes look dull or lifeless.
- Neglecting to adjust the height of the light based on the subject’s height or seating position.
Best tips for butterfly lighting success
To master this technique, focus on the relationship between the light height and the subject’s nose. You want the shadow to be prominent but not disconnected from the base of the nose. Experimenting with the distance of the light source is also key; moving the light closer creates a softer light fall-off, while moving it further away creates a more defined, crisp shadow. Always take a few test shots to ensure the shadows are landing exactly where you intend them to be.
Consistency is the hallmark of a great portrait, so once you find the ideal placement for a specific subject, mark the floor or note the height of your light stand. If you are working in a smaller space, ensure your background is far enough away from the subject to avoid casting unwanted shadows on the wall behind them. By practicing these adjustments, you will develop an intuitive sense of how to manipulate light to achieve the classic, timeless look that defines the butterfly lighting style.
Key facts
- Butterfly lighting is a portrait lighting setup characterized by a symmetrical shadow directly beneath the subject’s nose.
- The main light source is positioned directly in front of the subject and elevated at a 45-degree angle.
- It is frequently called "Paramount lighting" because it was popularized by studios in the 1930s to glamorize leading actresses.
- This technique is highly effective for highlighting high cheekbones and creating a slimming effect on the face.
- A reflector or fill light is typically placed under the subject’s chin to soften harsh shadows in the eye sockets.
- Avoid placing the light too high, as this can create unattractive dark shadows under the eyes and obscure the subject's gaze.
The bottom line
Butterfly lighting remains a cornerstone of portrait photography, prized for its ability to define facial structure and evoke a classic, cinematic aesthetic. By positioning your light source high and centered, you create a flattering shadow that emphasizes cheekbones and adds depth. While best suited for specific face shapes, mastering this technique provides a versatile, professional tool for capturing timeless images with clean, deliberate, and elegant lighting.
People also ask
Is butterfly lighting suitable for all face shapes?
It works best for people with oval or heart-shaped faces. Those with prominent noses or deep-set eyes may find the downward shadows unflattering, as the technique accentuates these features.
How far should the light be from the subject?
For a soft, flattering look, place the light about three to five feet away. Closer placement creates harder shadows, while moving the light further away produces a softer, more diffused transition.
Do I need a specific light modifier for this setup?
A beauty dish is the traditional choice because it provides a balance of contrast and softness. However, a softbox or umbrella can also work if positioned correctly to maintain the signature nose shadow.
Can I use butterfly lighting for group portraits?
This technique is designed specifically for single subjects. Because the light is positioned directly in front of one person, it is difficult to achieve the same effect across multiple people simultaneously.
What is the purpose of the reflector in this setup?
The reflector acts as a fill light to bounce soft illumination back into the subject's face. It prevents the shadows under the nose and chin from becoming too deep or distracting.
How do I know if the light is at the correct height?
The shadow cast by the nose should resemble a small butterfly shape that stops just above the upper lip. If the shadow touches the lip, the light is too high; if it disappears, the light is too low.
This answer was created with the help of AI research tools and reference sources. Spotted an error? Let us know — we correct mistakes quickly. See our editorial policy.