How do you draw a medieval village?
Short answer
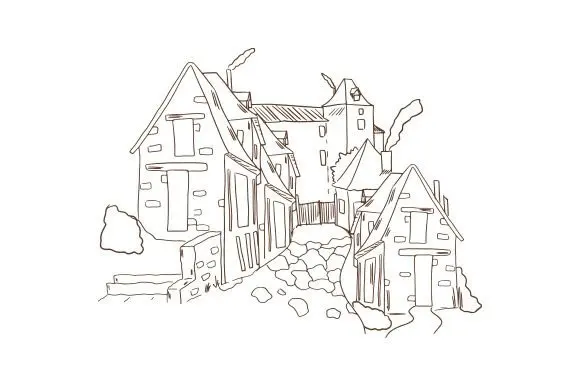
Drawing a medieval village requires balancing historical accuracy with artistic composition. Begin by establishing a central focal point, such as a church or manor house, surrounded by irregular, timber-framed dwellings. Incorporate winding dirt paths, thatched roofs, and natural landscape features like a stream or mill to create an authentic, lived-in atmosphere.
On this page
How to structure a medieval village layout
Medieval villages rarely followed the rigid grids seen in modern urban planning. Instead, they grew organically around natural resources or defensive positions. Most settlements featured a central open space, often called a village green, where markets or communal activities occurred. The parish church typically stood on the highest ground, serving as the spiritual and physical anchor of the community.
When planning your drawing, avoid placing buildings in perfectly straight lines. Instead, cluster homes along a main, winding thoroughfare that follows the natural contours of the land. Consider adding these essential elements to your composition:
- A parish church with a stone tower or steeple.
- A manor house or fortified dwelling for the local lord.
- Small, timber-framed cottages with thatched roofs.
- A central well or communal pond.
- Peripheral vegetable gardens or "tofts" behind each house.
What are the architectural features of medieval homes
Authentic medieval dwellings were constructed using local materials like wattle and daub, timber framing, and thatch. Walls were often whitewashed with lime, while the wooden beams were left exposed in a dark, weathered finish. Roofs were steeply pitched to allow rainwater and snow to slide off easily, typically covered in thick layers of bundled straw or reeds.
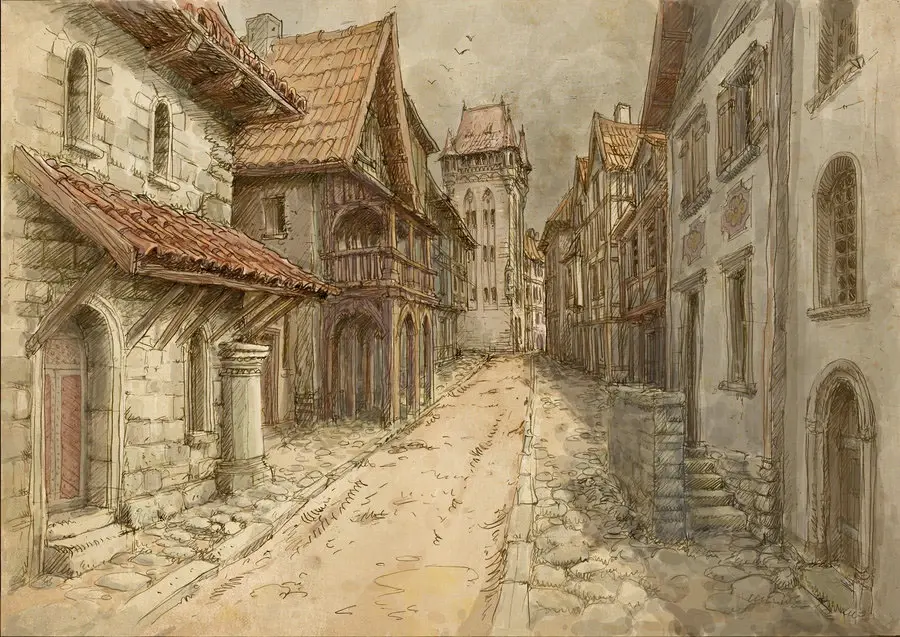
To draw these structures accurately, focus on the irregular nature of the materials. Timber frames should look slightly bowed or crooked rather than perfectly vertical. Small, leaded-glass windows were rare and expensive; most houses featured simple wooden shutters or small, unglazed openings. Incorporate these details to add depth:
- Sketch a rectangular base for the main structure.
- Add a jettied upper floor that overhangs the ground level.
- Draw thick, textured lines to represent the thatched roof.
- Include a central stone chimney, which became more common by the 13th century.
How to add realistic environmental details
A village is defined by its relationship with the surrounding landscape. Medieval life was deeply tied to agriculture, so your drawing should reflect the proximity of fields, pastures, and woodlands. Include a stream or a small river, as water was essential for both drinking and powering a watermill, which was a standard feature in many established villages.
Create a sense of movement and history by adding small, practical details throughout the scene. Muddy, rutted paths should wind between the houses, showing evidence of cart wheels and livestock traffic. Fences were typically made of wattle—woven branches—rather than sawn wood. Consider adding these features to ground your drawing in reality:
- A small wooden bridge crossing a stream.
- A communal oven or smithy located away from houses to prevent fires.
- Livestock like sheep or pigs roaming near the outskirts.
- Stacked firewood or piles of hay near the cottages.
Common mistakes when drawing medieval villages
One of the most frequent errors is making the village look too clean or symmetrical. Medieval life was messy and crowded, with buildings often encroaching upon the street. Avoid drawing perfectly uniform houses; vary the heights, widths, and roof angles to suggest that the village developed over several generations rather than being built at once.
Another mistake is ignoring the importance of the village boundary. In the Middle Ages, the distinction between the "in-field" (cultivated land) and the "out-field" (pasture or common land) was significant. Ensure that your village transitions logically from the dense center to the open agricultural plots. Keep these points in mind:
- Do not use modern stone masonry; medieval stone was rarely perfectly cut.
- Avoid wide, paved roads; paths should be narrow and uneven dirt tracks.
- Do not include large, ornate glass windows, as these were reserved for cathedrals.
- Ensure the church is the tallest structure to maintain historical hierarchy.
Best drawing techniques for medieval textures
Capturing the gritty, organic feel of the medieval period requires a focus on texture. Use hatching and cross-hatching to represent the rough grain of timber and the dense, fibrous quality of thatch. When drawing stone walls, vary the size and shape of the blocks to show that they were gathered from the landscape rather than manufactured in a factory.
Experiment with varying line weights to create depth in your village scene. Use thicker, darker lines for the foreground elements, such as a nearby fence or a large oak tree, and thinner, lighter lines for buildings in the distance. This atmospheric perspective helps the viewer understand the scale of the village. By layering these textures, you can create a convincing, tactile representation of a world that existed centuries before the industrial age.
Key facts
- Medieval villages were typically arranged around a central open space called a "green" or "common."
- Most peasant houses were built using wattle and daub, consisting of woven branches plastered with mud, clay, and straw.
- Roofs were almost exclusively thatched with reeds or wheat straw, featuring a steep pitch to shed rainwater.
- A village church was usually the tallest and most prominent stone structure, serving as the community's focal point.
- Houses were often narrow and long, with the gable end facing the street to save on frontage taxes.
- Gardens and small crofts were positioned directly behind houses to allow families to grow vegetables and keep livestock.
The bottom line
To draw a convincing medieval village, prioritize a layout centered around a communal green and a stone church. Use irregular, organic shapes for timber-framed houses with thatched roofs and wattle-and-daub walls. Avoid perfectly straight lines and uniform spacing, as these structures grew haphazardly over time. By incorporating dirt paths, small vegetable gardens, and livestock pens, you create a historically grounded atmosphere that reflects daily life.
People also ask
Did medieval villages have paved roads?
No, most village paths were simple dirt tracks that became extremely muddy during rain. Paving was reserved for major urban centers or castle courtyards.
Where were the farm animals kept?
In many cases, livestock were kept inside the family home at night, particularly in colder climates. This provided warmth for the residents and protection for the animals.
How were medieval houses lit?
Houses relied on small, shuttered openings rather than glass windows, which were expensive. Most light came from the central hearth fire or the open doorway.
Were all medieval houses painted?
Many timber-framed houses were coated in limewash, which was a white, protective mineral paint. This helped preserve the wood and made the village look bright from a distance.
What was the purpose of a village well?
The well was the primary source of fresh water for the entire community. It was usually located in a central, accessible area near the village green.
Did every village have a castle?
No, most villages were agricultural settlements managed by a local lord. Castles were rare and usually belonged to high-ranking nobility or served as military fortifications.
This answer was created with the help of AI research tools and reference sources. Spotted an error? Let us know — we correct mistakes quickly. See our editorial policy.
