How do you color fill in Procreate?
Short answer
Color filling in Procreate is primarily achieved using the ColorDrop feature. By dragging the color circle from the top-right corner of the interface and dropping it into a closed shape on your active layer, the software automatically fills the enclosed area with your selected hue based on the current threshold settings.
On this page
How to use ColorDrop in Procreate
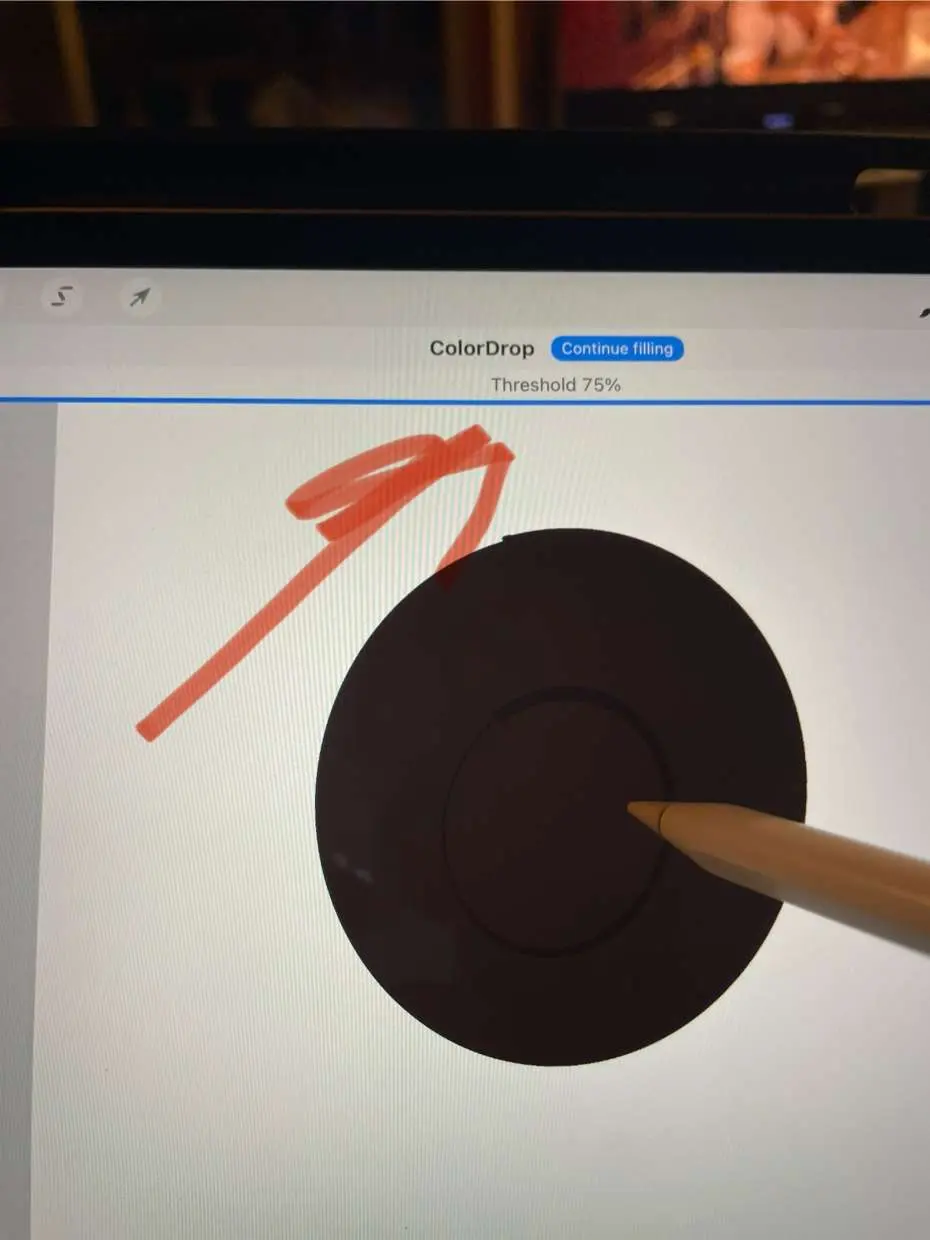
The ColorDrop tool is the most efficient way to fill shapes with solid colors. To begin, select your desired color from the color palette icon located in the top-right corner of the screen. Once selected, tap and hold the color disc, then drag it directly onto the canvas area you wish to fill. Ensure you are working on the correct layer, as ColorDrop interacts with the pixels present on the currently active layer.
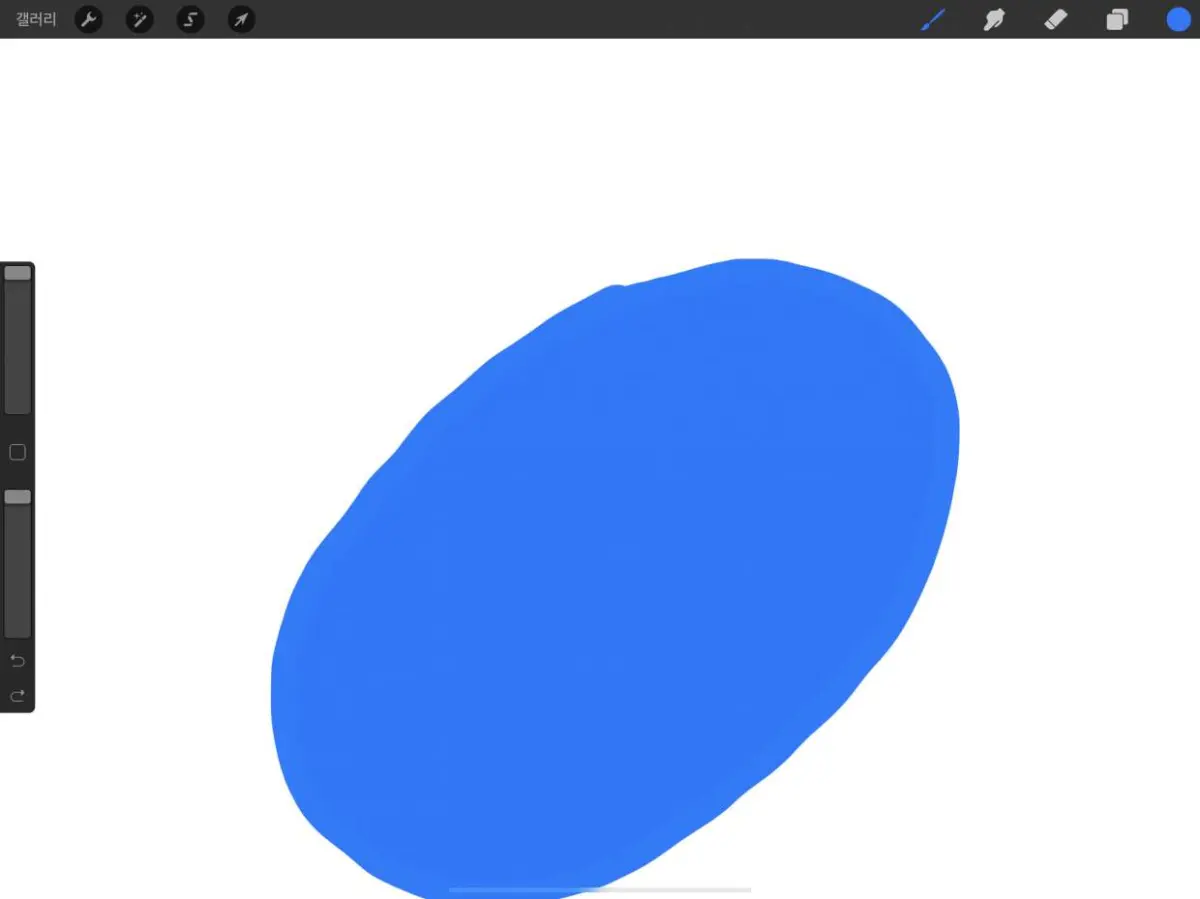
If you release your finger or stylus too early, the color will not fill. If you hold the color over the area for a moment after dropping it, the "ColorDrop Threshold" bar will appear at the top of the screen. Sliding your finger left or right adjusts how much of the surrounding area the color fills. A lower percentage keeps the color contained within tight lines, while a higher percentage allows the color to bleed into adjacent areas or across gaps in your line art.
How to fill colors across different layers
Procreate offers a feature called Reference layers, which allows you to keep your line art on one layer while filling colors on another. This is a standard professional workflow that prevents your colors from overlapping or erasing your original sketches. To set this up, tap the layer thumbnail containing your line art and select "Reference" from the menu. Once enabled, you can create a new layer beneath the line art and use ColorDrop; the fill will respect the boundaries of the reference layer.
- Open the Layers menu and tap the layer containing your line art.
- Select "Reference" to toggle it on.
- Create a new layer below your line art layer.
- Drag your color into the shapes on the new layer.
- The fill will automatically detect the boundaries from the reference layer.
Why color fill bleeds or leaves gaps
Color bleeding or leaving uncolored pixels at the edges of your lines is a common frustration for new users. This usually happens because the ColorDrop Threshold is set incorrectly or the line art has small gaps. If the threshold is too high, the color will spill over your lines. If it is too low, you may see a thin, uncolored halo around the edges of your shapes.
To fix these issues, consider these troubleshooting steps:
- Close all gaps in your line art by manually drawing over small breaks.
- Adjust the ColorDrop Threshold by sliding your stylus to the right immediately after dropping the color.
- Use a "Selection" tool to manually fill areas if the shape is too complex for the automatic fill.
- Ensure your line art is on a high-resolution layer to prevent pixelation that confuses the fill algorithm.
Best practices for clean color fills
Achieving professional-looking results requires organizing your workspace effectively. Always keep your line art on the top layer and set it to "Multiply" blending mode if you want the colors underneath to remain visible without obscuring the lines. This prevents the color fill from looking flat or "pasted on" top of your work. Additionally, using a separate layer for each major color block allows for easier adjustments later in the creative process.
When working with complex illustrations, follow these steps to maintain quality:
- Keep your line art on a dedicated top layer.
- Use the "Alpha Lock" feature on color layers to add shading or textures without going outside the filled area.
- Utilize the "Selection" tool to isolate specific parts of the drawing before filling if the automatic tool behaves inconsistently.
- Name your layers to keep track of different components, such as "Skin," "Hair," and "Clothing."
Common mistakes when filling colors
Many beginners struggle because they attempt to fill colors on a layer that contains other elements or transparency. If your layer has a transparent background, the fill will attempt to cover the entire canvas unless it is bounded by pixels. Another mistake is forgetting to check the layer opacity; if your layer is set to a low opacity, the fill will appear washed out or inconsistent.
Avoid these common pitfalls to improve your workflow:
- Filling on the same layer as your line art, which makes it impossible to edit colors without affecting the lines.
- Forgetting to reset the ColorDrop Threshold, which can cause subsequent fills to behave unexpectedly.
- Working on a layer that is hidden or locked, which prevents the ColorDrop tool from functioning entirely.
- Using a brush with low opacity or a textured tip for the initial fill, which creates patchy results that are difficult to clean up.
Key facts
- The ColorDrop feature is triggered by dragging the color circle from the top-right corner onto a closed shape.
- A closed shape must have no gaps in its outline for the color to stay contained within the intended area.
- Adjusting the "ColorDrop Threshold" by holding your finger down after dropping the color allows you to control how much the paint fills the area.
- You can fill an entire layer by selecting the layer in the menu and choosing "Fill Layer."
- Using a separate layer for line art and a layer underneath for color prevents the fill from bleeding over your outlines.
- The "Reference" feature allows you to set a line art layer as a guide so you can color on a different layer while keeping the lines intact.
The bottom line
Color filling in Procreate is a fundamental skill that relies on the ColorDrop tool and effective layer management. By ensuring your line art is fully closed and utilizing the Reference layer feature, you can maintain clean, professional results. Mastering the ColorDrop threshold is essential for achieving precise fills without leaving unsightly white gaps or bleeding colors outside your intended boundaries, ultimately streamlining your digital illustration workflow significantly.
People also ask
Why does the color fill my entire screen instead of just the shape?
This happens because your shape has a gap in the outline, causing the "digital ink" to leak out. Ensure your lines are fully connected or increase the ColorDrop threshold to capture smaller gaps.
How do I change the color of an existing shape without refilling it?
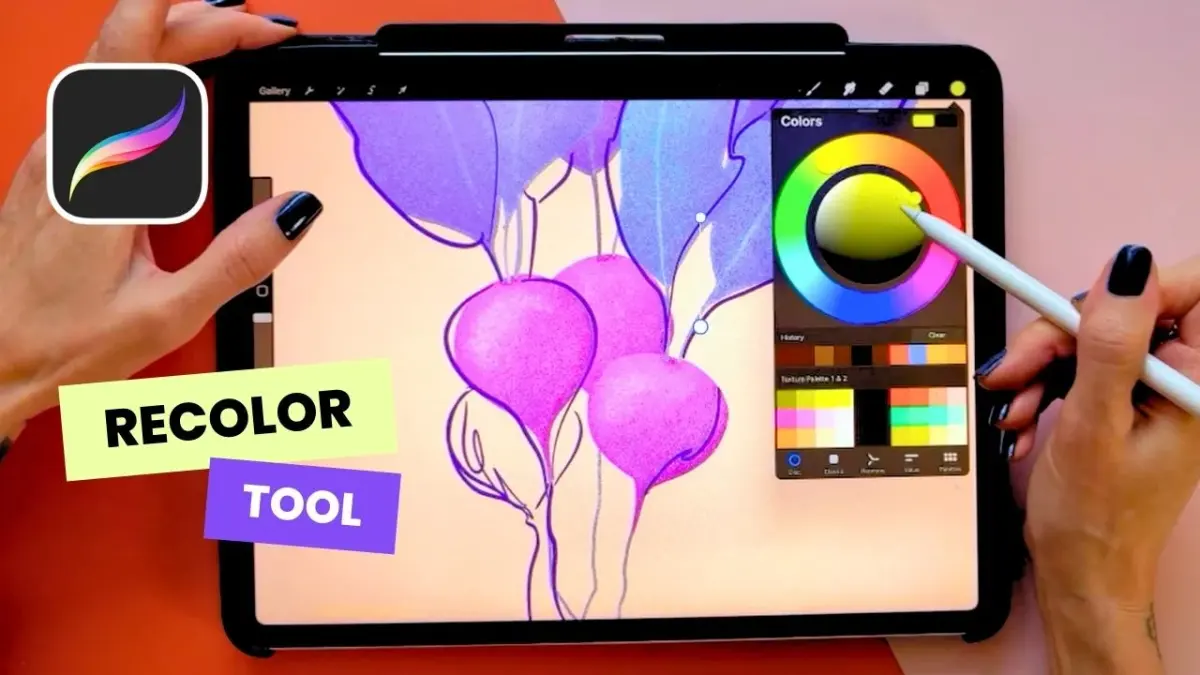
You can use Alpha Lock by swiping right on the layer with two fingers, then painting over the shape. Alternatively, use the "Recolor" tool found in the Adjustments menu to swap colors dynamically.
Can I fill multiple areas at once?
Procreate does not have a native "fill all" command for multiple disjointed shapes. You must fill each enclosed area individually using the ColorDrop tool.
What is the purpose of the Reference layer?
Setting a layer as a Reference allows you to fill colors on a separate layer based on the outlines of the reference. This keeps your line work clean and separated from your color flats.
How do I fix "white edges" left behind after a color fill?
White edges occur when the ColorDrop threshold is set too low. Drag the color into the shape and hold your finger down to slide the threshold percentage higher until the edges are covered.
Can I fill a selection?
Yes, use the Selection tool to outline an area, then tap the "Color Fill" button in the selection menu. This will instantly fill the selected space with your active color.
This answer was created with the help of AI research tools and reference sources. Spotted an error? Let us know — we correct mistakes quickly. See our editorial policy.