How do you use layers in Procreate?
Short answer
Layers in Procreate are digital transparent sheets stacked vertically, allowing you to edit specific elements of your artwork without affecting the entire canvas. You manage them via the Layers panel, where you can adjust opacity, toggle visibility, change blend modes, and rearrange the order to control how your composition appears visually.
On this page
How to access and organize layers in Procreate
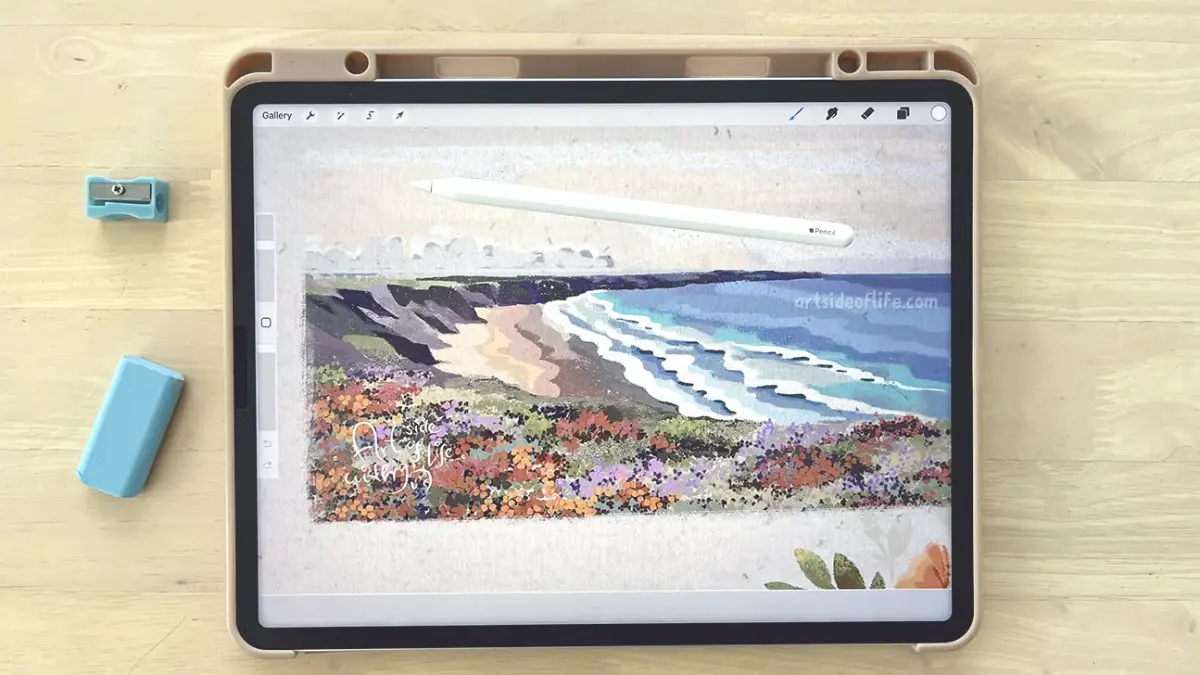
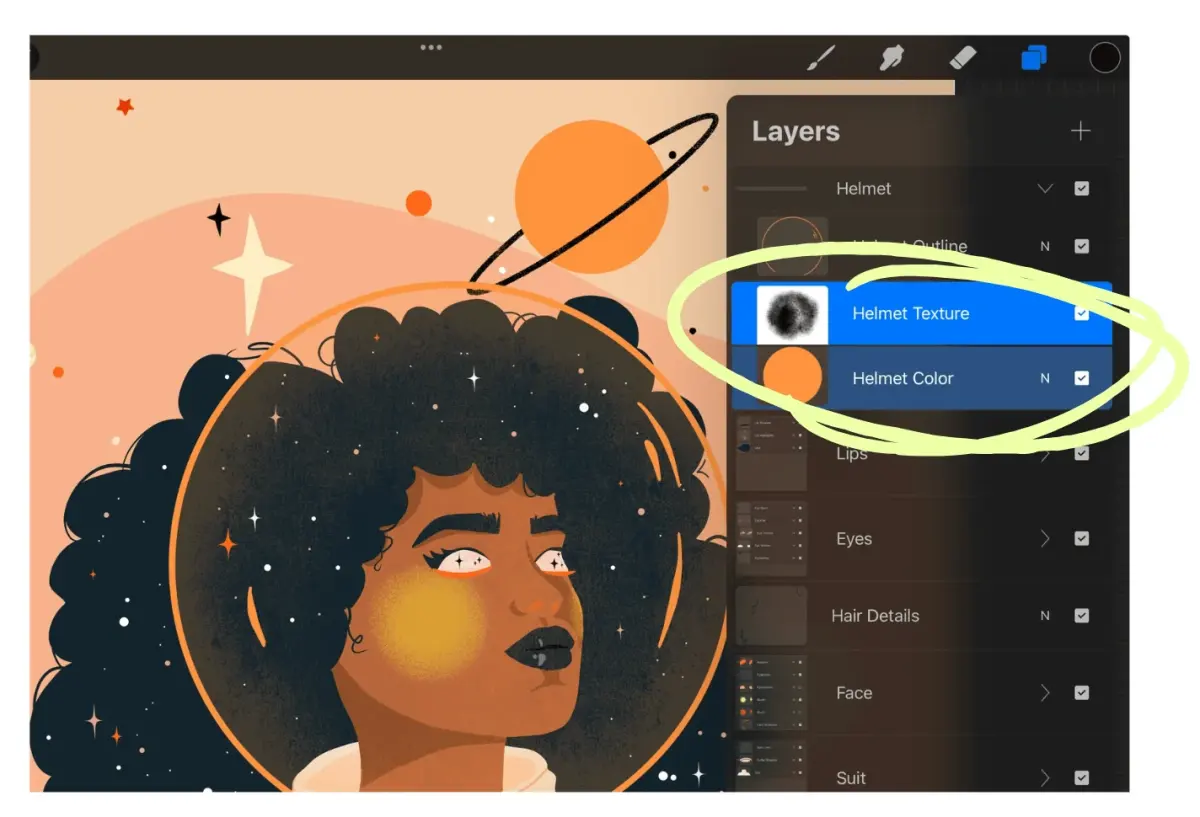
To begin using layers, tap the Layers icon in the top right corner of the Procreate interface, which looks like two overlapping squares. This opens the Layers panel, where you can see your current canvas structure. By default, every new document starts with a Background Color layer and one empty layer. You can add a new layer by tapping the plus (+) sign in the top right corner of the panel. To delete a layer, swipe left on its name and select Delete, or tap the layer and choose Delete from the menu.
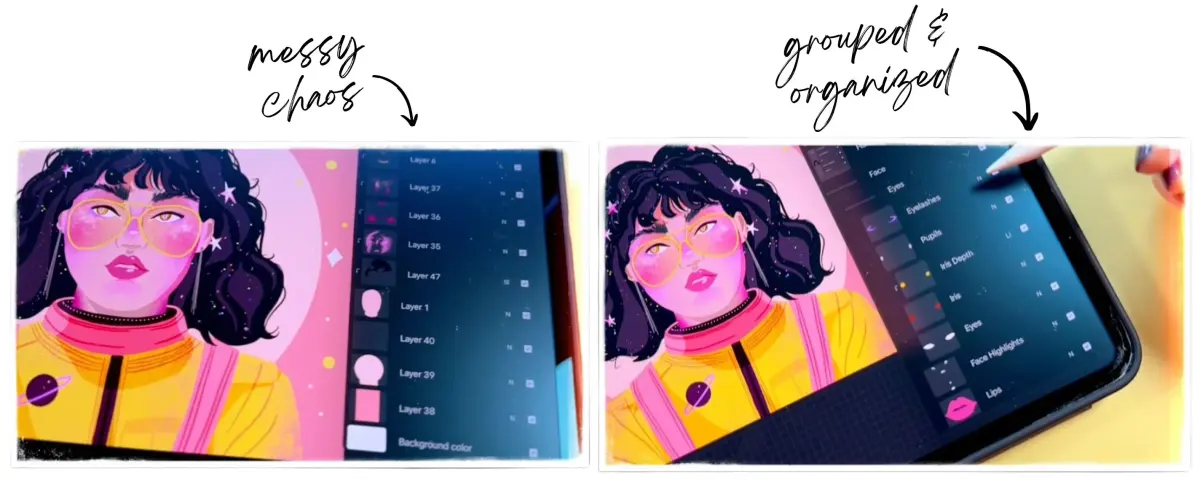
Organization is critical for complex illustrations. You can rename layers by tapping the layer name and selecting Rename, which helps keep track of elements like "Background," "Character," or "Highlights." To reorder layers, press and hold a layer thumbnail, then drag it up or down in the stack. The layer at the top of the list will appear in front of everything else on your canvas. Grouping layers is also possible; swipe right on multiple layers to select them, then tap the Group button to nest them into a single folder for better management.
How to adjust layer settings and transparency
Every layer in Procreate possesses individual settings that dictate how it interacts with the canvas. To access these, tap the letter (usually "N" for Normal) located on the right side of the layer thumbnail. This opens the Blend Modes menu and the Opacity slider. The Opacity slider is particularly useful for sketching; you can lower the opacity of your rough sketch layer to approximately 30% so you can easily trace over it on a new layer above.
Blend modes determine how the colors on one layer interact with the layers beneath them. For example, the Multiply mode is excellent for shading because it darkens the colors below, while the Add or Screen modes are perfect for creating glowing light effects. Experimenting with these modes allows for advanced lighting and color grading without permanently altering your base colors. Always ensure you are working on the correct layer before applying adjustments, as changes made to a layer affect all pixels currently contained within that specific layer.
How to use layer masks for non-destructive editing
Layer masks are one of the most powerful tools for professional artists because they allow you to hide parts of a layer without permanently erasing them. To create a mask, tap the active layer and select Mask from the menu. A white thumbnail will appear next to your layer. When the mask is selected, painting with black will hide the content on your layer, while painting with white will reveal it again. This is a non-destructive process, meaning your original artwork remains intact beneath the mask.
- Select the layer you wish to mask.
- Tap the layer thumbnail to open the Layer Options menu.
- Tap Mask to create a new mask layer above your artwork.
- Ensure the mask thumbnail is highlighted in blue.
- Use a black brush to hide parts of your image or a white brush to restore them.
This technique is essential for refining edges, blending textures, or creating complex silhouettes without the risk of accidentally deleting your hard work.
Common mistakes when using layers in Procreate
The most frequent mistake beginners make is drawing on the wrong layer. Before making a stroke, always glance at the Layers panel to ensure the layer you intend to use is highlighted in blue. Another common error is failing to create enough layers for separate elements, which makes it difficult to move or edit specific parts of the drawing later. If you paint everything on a single layer, you lose the ability to easily reposition or color-correct individual objects.
Another issue involves the layer limit, which depends on your iPad model and canvas size. If you reach the limit, you may need to merge layers to free up space. To merge, pinch two layers together or tap a layer and select Merge Down. Be cautious, as merging is a destructive action that combines two layers into one, making them impossible to separate afterward. Always save a duplicate of your project before performing significant merges to ensure you have a backup of your original, unmerged work.
Best practices for layer management in Procreate
Professional workflows rely on a consistent naming convention and logical stacking order. Start by separating your line art, base colors, shadows, and highlights into distinct layers. This approach allows you to apply filters, such as Gaussian Blur or Hue/Saturation adjustments, to specific elements like shadows without affecting the base colors or line work. Keeping your layers organized from the very beginning of the project saves significant time during the final stages of your illustration.
- Keep line art on the top layer to ensure it remains clean and visible.
- Place your base colors on layers beneath the line art.
- Use Clipping Masks to keep your shading and highlights contained within the shape of your base color layer.
- Regularly group related layers to keep the Layers panel clean and easy to navigate.
- Lock layers you are finished with to prevent accidental edits by swiping right and tapping Lock.
By following these habits, you will maintain a clean workspace that allows for greater creative freedom and efficiency throughout your entire artistic process.
Key facts
- Tap the icon that looks like two overlapping squares in the top right corner to open the Layers panel.
- Tap the plus (+) icon within the Layers panel to create a new, transparent layer above your current selection.
- Adjust layer opacity by tapping the letter "N" on a layer and sliding the Opacity bar to make elements more or less transparent.
- Use Blend Modes, found by tapping the "N," to change how colors interact with layers beneath them, such as "Multiply" for shadows or "Screen" for highlights.
- Swipe a layer to the left to reveal options to Lock, Duplicate, or Delete it, which helps keep your workspace organized.
- Pinch two layers together to merge them into one, which permanently combines their contents and saves memory on your canvas.
The bottom line
Mastering layers is essential for professional digital art, as it allows you to edit specific components without altering your entire composition. By organizing your work into separate levels, you gain the flexibility to adjust colors, lighting, and placement independently. Always label your layers to maintain clarity, and remember that merging layers is a permanent action, so keep backups of your complex projects to avoid losing original data.
People also ask
How do I change the order of my layers?
Tap and hold a layer thumbnail until it lifts, then drag it up or down to reposition it in the stack. Layers at the top of the list appear in front of those below them on the canvas.
What is the maximum number of layers I can have?
The layer limit depends on your iPad’s hardware specifications and the dimensions or resolution of your canvas. Larger, high-resolution files consume more RAM, resulting in fewer available layers.
How do I group layers together?
Swipe right on multiple layers to select them, then tap the "Group" button that appears at the top of the Layers panel. This creates a folder to keep your project tidy.
Can I draw on a layer without affecting the one below it?
Yes, layers isolate your work so you can edit specific elements independently. Ensure you have the correct layer selected in the panel before you begin drawing.
What is an Alpha Lock and when should I use it?
Alpha Lock restricts your painting to the existing pixels on a specific layer, preventing you from coloring outside your lines. Swipe two fingers to the right on a layer to activate it.
How do I delete a layer by mistake?
If you accidentally delete a layer, immediately tap the canvas with two fingers to undo the action. You can perform multiple undos to recover work from several steps back.
This answer was created with the help of AI research tools and reference sources. Spotted an error? Let us know — we correct mistakes quickly. See our editorial policy.