How do you draw a street lamp step by step?
Short answer
Drawing a street lamp involves constructing a vertical pole, adding a decorative base, and crowning it with a lantern housing. By focusing on geometric shapes like cylinders and rectangles, you can build a stable structure. Use perspective lines to ensure the lamp sits firmly on the ground within your scene.
On this page
How to draw a street lamp step by step
To begin your drawing, establish a vertical line to represent the center of the lamp post. This guide line helps maintain symmetry and balance as you add mass to the structure. Start by drawing a thin, tall rectangle or cylinder for the main shaft, ensuring it is slightly tapered if you want a classic, elegant look.
Once the shaft is set, add the base and the top housing. The base should be wider than the shaft to suggest stability, often depicted as a small pedestal or a flared metal fitting. For the lantern head, draw a box or a hexagonal prism at the top of the pole. Follow these steps to complete the basic framework:
- Sketch a long, vertical center line to act as your primary axis.
- Draw a flared, trapezoidal shape at the bottom for the base.
- Add a cylindrical shaft extending upward from the base.
- Place a rectangular or lantern-shaped box at the top of the shaft.
- Add a small decorative cap or finial to the very top of the lamp.
Best tools for drawing street lamps
For beginners, a standard HB graphite pencil is ideal because it allows for light, erasable initial sketches. You should also use a ruler or a straightedge to keep the vertical lines of the pole perfectly upright, as even a slight tilt can make the lamp look unstable. A kneaded eraser is particularly helpful for lifting away graphite without damaging the paper texture.
If you want to add depth, consider using a set of fine-line ink pens for the final outlines. Using different line weights—thicker lines for the base and thinner lines for the glass panels—creates a professional look. For shading, a 2B or 4B pencil works well to create the metallic sheen typical of cast-iron street lamps. Keep your workspace clean and use a blending stump to smooth out the shadows on the cylindrical post.
How to add realistic details to your lamp
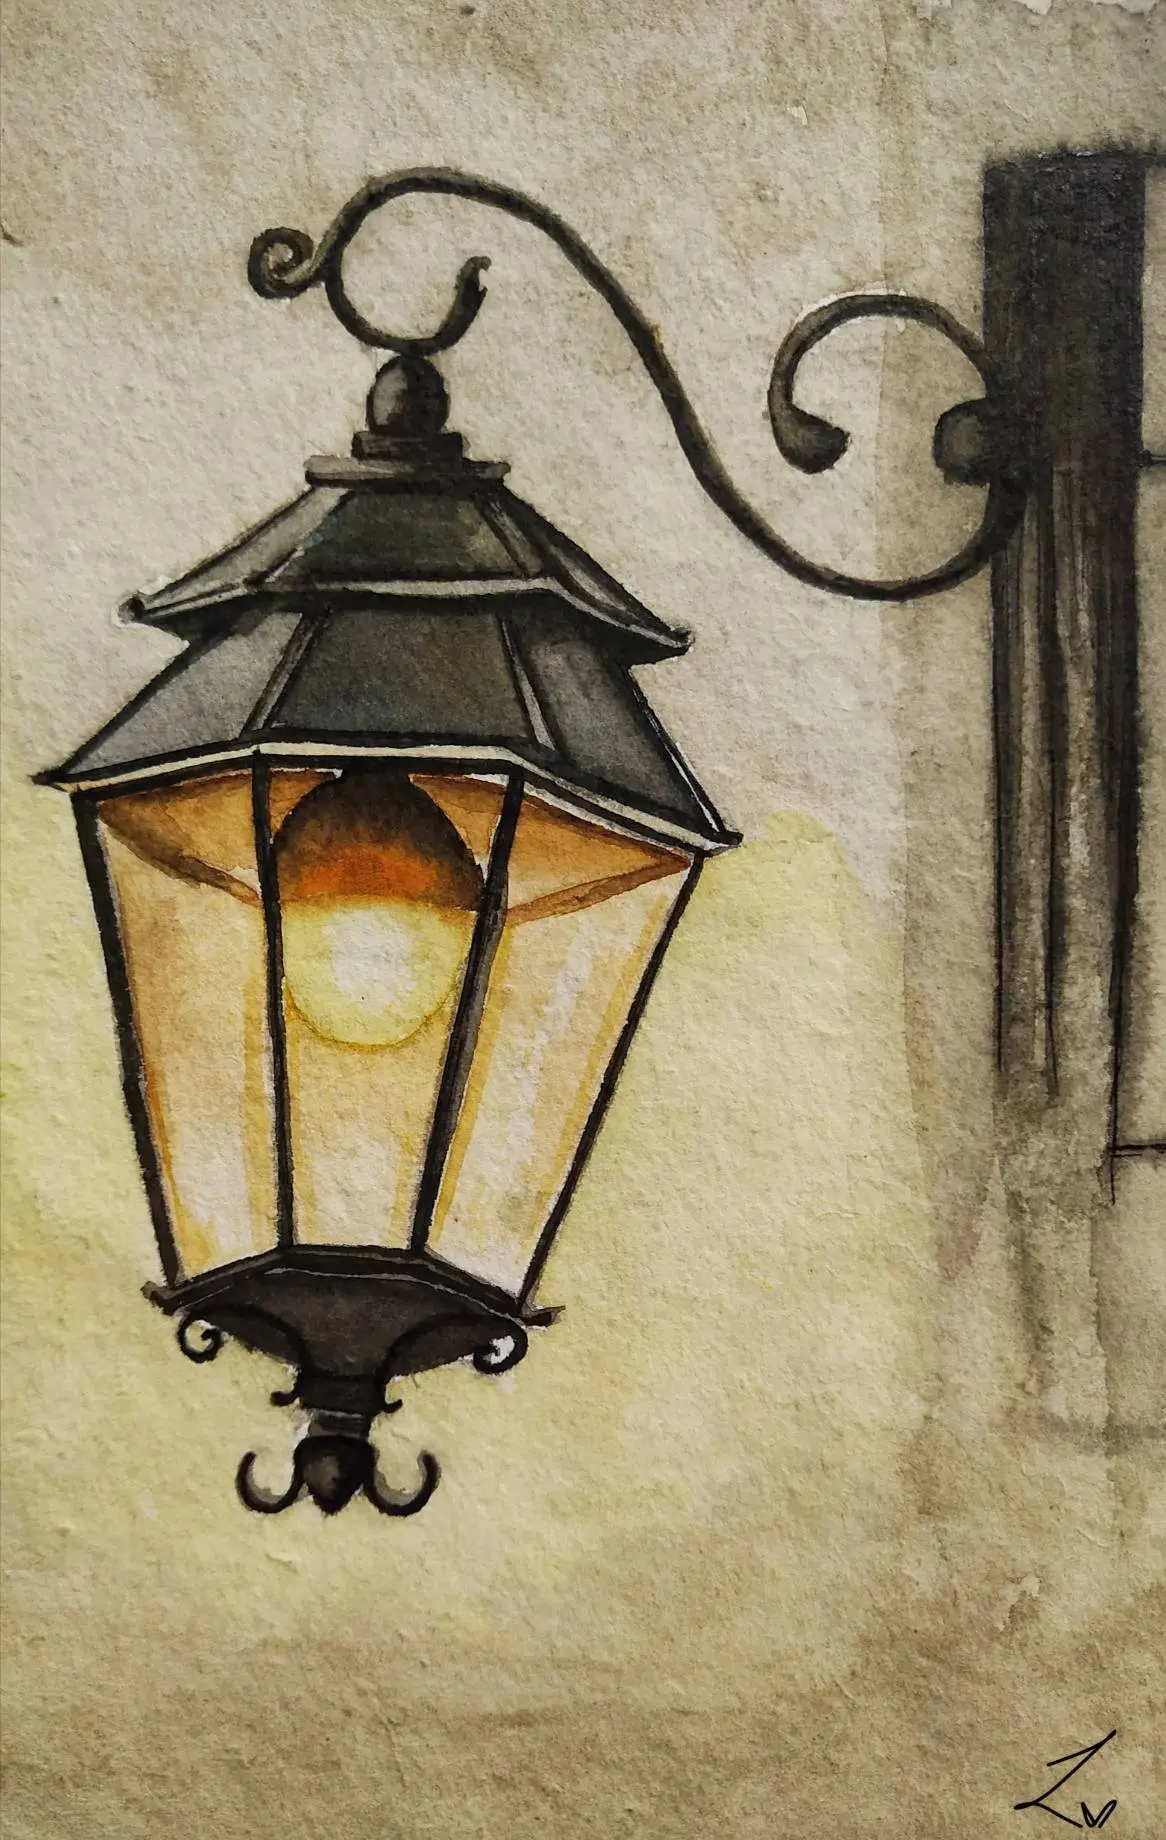
Detailing is what transforms a simple shape into a recognizable street lamp. Focus on the lantern housing, which typically features glass panes held together by metal frames. Draw thin, intersecting lines across the lantern box to represent these frames, and add a small circle inside to suggest the light bulb or gas mantle.
Adding texture to the pole itself can provide a sense of material authenticity. If you are drawing a vintage-style lamp, consider adding small rivets or decorative filigree near the base. You can also include a curved bracket if the lamp is meant to be a hanging style rather than a post-mounted one. Consider these additions to enhance your drawing:
- Add horizontal rings or ridges along the shaft to mimic modular construction.
- Include a small, dark shadow directly beneath the base to ground the object.
- Draw faint, radiating lines around the lantern to suggest a glowing light effect.
- Add a small door or access panel at the bottom of the pole for realism.
Common mistakes when drawing street lamps
One of the most frequent errors is failing to account for perspective. If the lamp is placed on a sidewalk, the base must align with the horizon line of your drawing; otherwise, the lamp will appear to float. Another common mistake is making the lantern head too small in proportion to the pole, which can make the entire structure look top-heavy and fragile.
Avoid drawing perfectly straight, flat lines for every component, as this makes the lamp look like a computer-generated object rather than a physical one. Even metal poles have slight variations in light reflection. Ensure that your shading follows the curvature of the cylinder; if you shade a round pole with flat, vertical strokes, you will lose the sense of three-dimensional volume that defines a realistic drawing.
Why perspective matters for lamp drawings
Perspective is the foundation of a believable street lamp drawing, especially when placing the object in an urban environment. By using a vanishing point, you ensure that the lamp recedes into the distance correctly relative to other objects like buildings or trees. If you are drawing a row of street lamps, make sure each subsequent lamp is slightly shorter and higher on the page to simulate distance.
When you master the placement of the lamp in a scene, you create a sense of atmosphere. A lamp is not just a standalone object; it is a source of light that casts shadows on the ground and nearby walls. By calculating where the light hits the floor based on the lantern's position, you add a narrative element to your artwork. Practice drawing the lamp at different angles, such as a low-angle view to make the lamp look towering and majestic, or a high-angle view to emphasize the street level. Consistent practice with these spatial relationships will refine your artistic skills and result in a finished piece that feels grounded and authentic.
Key facts
- Start with a vertical line for the post, using a ruler to ensure it is perfectly straight.
- Draw a small rectangle at the very top to serve as the cap of the lamp.
- Create a trapezoid shape beneath the cap to represent the glass housing where the bulb sits.
- Add a circular or oval base at the bottom to ground the lamp firmly on the sidewalk.
- Use horizontal lines inside the glass housing to suggest the structural metal frame.
- Keep the width of the post consistent from top to bottom to maintain structural realism.
The bottom line
Drawing a street lamp requires a focus on verticality and structural symmetry. By establishing a straight central post and building the housing from basic geometric shapes, you create a stable foundation. Adding details like glass framing and a soft glow transforms a simple line drawing into a realistic urban element. Practice maintaining consistent proportions to ensure your lamp fits naturally within any landscape or street scene.
People also ask
Should I use a pencil or a pen for the initial sketch?
Always use a light graphite pencil for the initial sketch so you can easily erase guidelines. Once the proportions are correct, you can go over the lines with a permanent ink pen.
How do I make the light look like it is glowing?
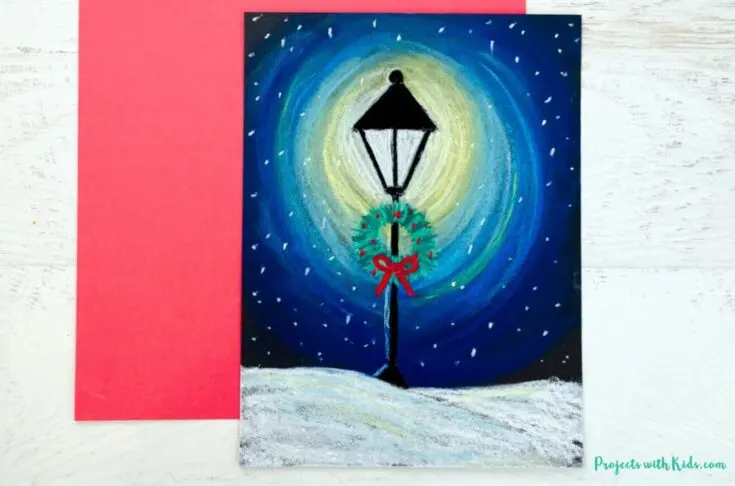
Use a blending stump or your finger to smudge a soft, light yellow or white color around the bulb area. Adding a subtle halo effect with lighter shading helps simulate the illumination of a night scene.
What is the best way to draw the lamp post on a curved street?
Use one-point or two-point perspective to angle the base of the lamp according to the street's vanishing point. This ensures the object looks like it belongs in the three-dimensional space of your drawing.
How tall should the lamp be relative to a person?
A standard street lamp is typically 15 to 30 feet tall, which is roughly three to five times the height of an average adult. Scaling your lamp to be significantly taller than any human figures in your drawing provides a sense of scale.
Can I add decorative elements to the lamp?
Yes, you can add scrollwork near the top or a decorative finial on the cap. Keep these details symmetrical to ensure the lamp looks balanced and professional.
What is a common mistake when drawing the glass part?
Many beginners forget to draw the thickness of the glass panes. Adding a thin double line along the edges of the glass housing adds depth and makes the lamp appear more solid.
This answer was created with the help of AI research tools and reference sources. Spotted an error? Let us know — we correct mistakes quickly. See our editorial policy.