How do you paint a lake in watercolor?
Short answer
Painting a lake in watercolor requires capturing the fluid nature of water through controlled washes and reflective techniques. By applying thin layers of pigment to represent depth and using horizontal brushstrokes to mimic the surface, you can create a realistic scene. Focus on color transitions and preserving white space for highlights.
On this page
How to paint realistic water reflections
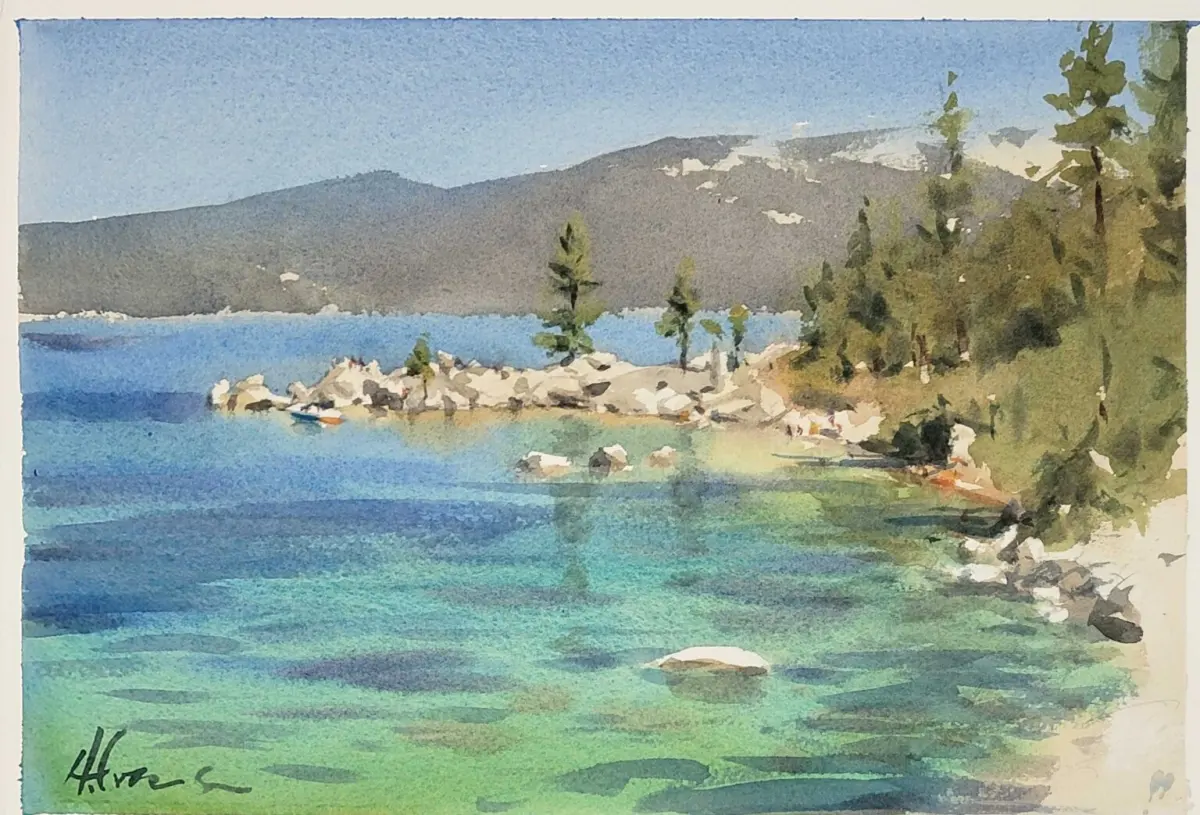
Reflections are the most critical element when painting a lake because they define the water's surface and depth. To achieve a realistic look, you must mirror the colors of the sky and the surrounding landscape in the water, but with slightly darker and more muted tones. Start by painting the sky and distant hills first, allowing them to dry completely before addressing the water. When you begin the lake, use horizontal strokes to establish the plane of the water.
- Identify the primary light source to determine where the brightest reflections will appear.
- Apply a base wash of the sky color across the water area, keeping it slightly cooler than the sky itself.
- Use a flat brush to pull vertical lines downward from the shore objects, then soften these lines with a damp brush to create the illusion of rippling.
- Add darker, more concentrated pigments to the base of the reflections to anchor the objects to the water's edge.
Best watercolor supplies for painting lakes
Choosing the right materials significantly impacts the outcome of your landscape. For lake scenes, 140-pound (300 gsm) cold-press watercolor paper is ideal because the slight texture helps catch pigment, creating the appearance of subtle ripples. A variety of brushes is essential; a large mop brush is perfect for laying down expansive washes, while a small synthetic round brush allows for the precise detail needed for shoreline vegetation or distant trees.
- Use professional-grade pigments like French Ultramarine or Cerulean Blue for the water base.
- Keep a natural sea sponge nearby to dab away excess paint or create soft, organic textures on the water's surface.
- Utilize masking fluid to preserve white highlights on the water before applying your first wash.
- Select a palette that includes earth tones like Burnt Sienna or Raw Umber to balance the cool blues and greens of the lake.
How to create depth in water
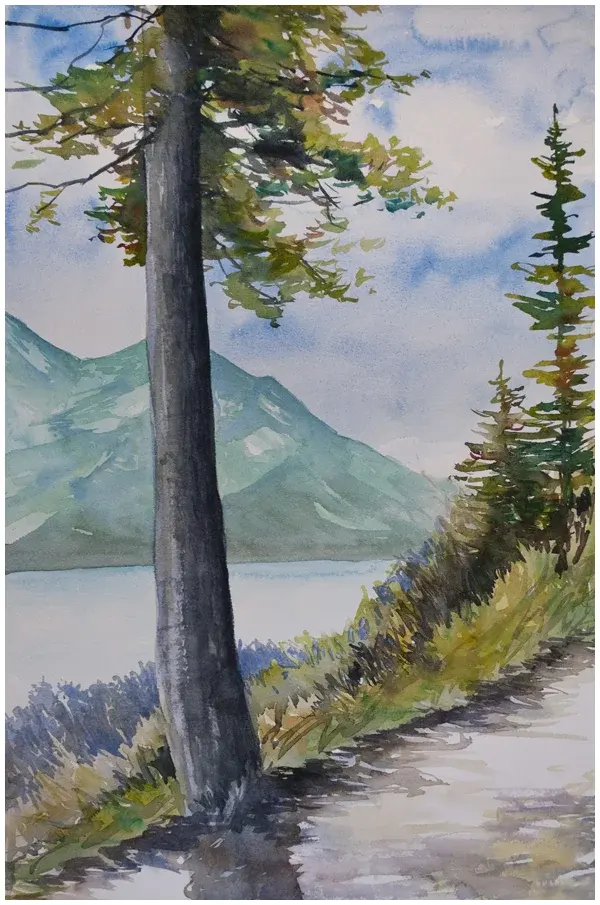
Depth in a watercolor lake is achieved through the manipulation of color temperature and value. Objects near the foreground should be painted with more intense, warmer colors and higher contrast, while elements further away should be cooler, paler, and less defined. This atmospheric perspective mimics how the human eye perceives distance. As the water recedes toward the horizon, the horizontal brushstrokes should become thinner and closer together to suggest a flatter, more distant surface.
When painting the transition from the shore to the center of the lake, use a wet-on-wet technique to allow colors to bleed into one another naturally. This creates a soft, hazy look that suggests distance. Avoid over-blending, as this can make the water appear muddy rather than transparent. Instead, layer thin, transparent glazes of color once the previous layer is dry to build up the richness of the water without losing the luminosity that makes watercolor unique.
Common mistakes when painting water
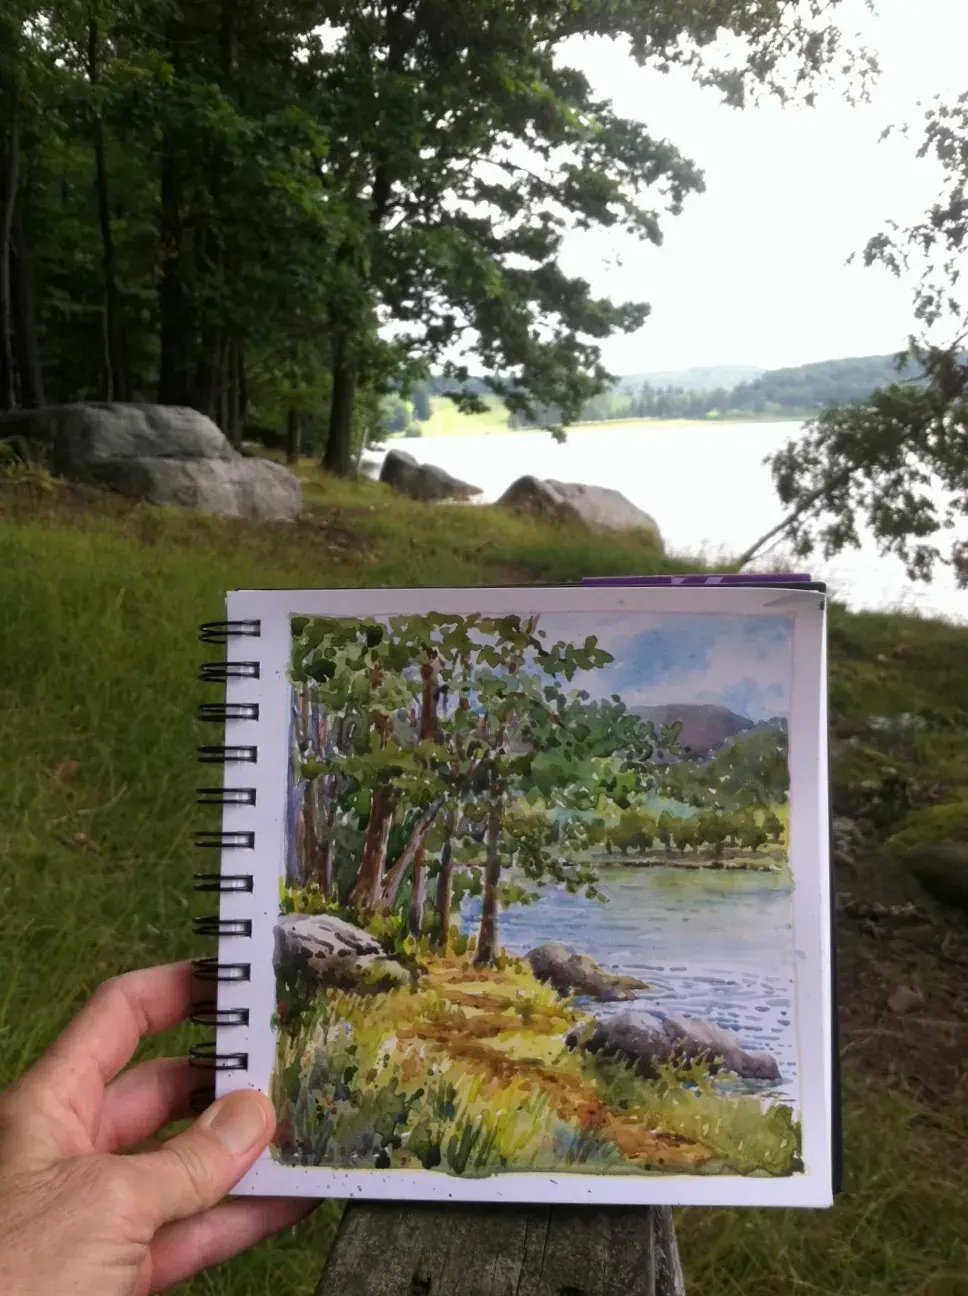
One of the most frequent errors is treating the water as a flat, uniform color. Beginners often paint the entire lake with a single shade of blue, which results in a static, artificial appearance. Water is a mirror, and its color is constantly changing based on the sky, the depth of the lake bed, and the surrounding environment. Another common mistake is using strokes that go in the wrong direction; diagonal or vertical strokes on the surface of a calm lake will immediately break the illusion of a flat, horizontal plane.
- Overworking the paper, which causes the surface to pill and the colors to lose their transparency.
- Using too much water in the brush, leading to "cauliflowers" or blooms that look like accidental water spots.
- Ignoring the "shoreline rule," where the water meets the land with a distinct, darker horizontal line to provide a clear boundary.
- Failing to leave enough white paper showing to represent the sparkle of sunlight reflecting off the ripples.
How long does it take to paint a lake
The time required to complete a watercolor lake depends on the complexity of the scene and your drying time management. A simple, small-scale study might take 45 to 60 minutes, while a detailed landscape with complex reflections and foreground foliage could take several hours or even multiple sessions. Because watercolor requires drying time between layers to prevent colors from bleeding, patience is a technical requirement. Rushing the process often leads to muddy colors and lost highlights.
If you are working on a larger piece, consider painting in stages. Dedicate the first session to the sky and the initial base wash of the lake. Allow the paper to dry completely overnight before returning to add the reflections, shore details, and final glaze layers. This systematic approach not only preserves the freshness of your colors but also allows you to step back and evaluate the composition with a fresh perspective. By working methodically, you ensure that each layer serves a purpose in building the final, cohesive image of the lake.
Key facts
- Use heavy-weight watercolor paper, at least 300 gsm, to prevent buckling when applying large washes of water.
- Paint the sky first, then the lake, as the water reflects the colors and light values of the sky above.
- Apply a "wet-on-wet" technique for the lake surface to achieve soft, blended transitions that mimic the fluidity of water.
- Use horizontal brushstrokes to represent the flat, calm surface of a lake, which helps establish perspective.
- Leave small areas of white paper untouched to serve as highlights where sunlight glints off ripples.
- Add darker, more saturated colors at the base of the shore to create depth and suggest the edge of the water.
The bottom line
Painting a lake requires balancing the reflection of the sky with the depth of the water. By using horizontal strokes and preserving white space for highlights, you create a convincing sense of surface. Remember that water is a mirror; its color depends entirely on its surroundings. Practice layering your washes from light to dark to build a realistic, tranquil scene that captures the essence of nature.
People also ask
Should I use masking fluid for lake highlights?
Masking fluid is excellent for preserving sharp, bright white highlights on water ripples. Apply it to the dry paper before painting your washes, then rub it off once the paint is completely dry.
How do I paint reflections of trees or mountains?
Paint the reflection using slightly darker and more muted colors than the object itself. Drag your brush vertically downward from the shoreline to create the illusion of a shimmering, distorted reflection.
What brushes are best for painting water?
A large flat brush is ideal for covering wide areas of water quickly. A round brush with a fine point is better for adding detail to ripples or shoreline vegetation.
Why does my lake look like a flat wall?
This often happens when the horizon line is too high or the colors are too uniform. Ensure the colors become lighter and cooler as they approach the horizon to create atmospheric perspective.
Can I fix a mistake if the paint is already dry?
You can lift some color by gently scrubbing with a clean, damp brush, but watercolor is transparent and difficult to completely erase. It is often better to incorporate the mistake into the landscape as a shadow or rock.
How do I make water look like it is moving?
Use broken, jagged horizontal lines with varying shades of blue and gray to suggest ripples. Avoid perfectly straight lines, as natural water movement is irregular and organic.
This answer was created with the help of AI research tools and reference sources. Spotted an error? Let us know — we correct mistakes quickly. See our editorial policy.