How do you make a linocut print?
Short answer
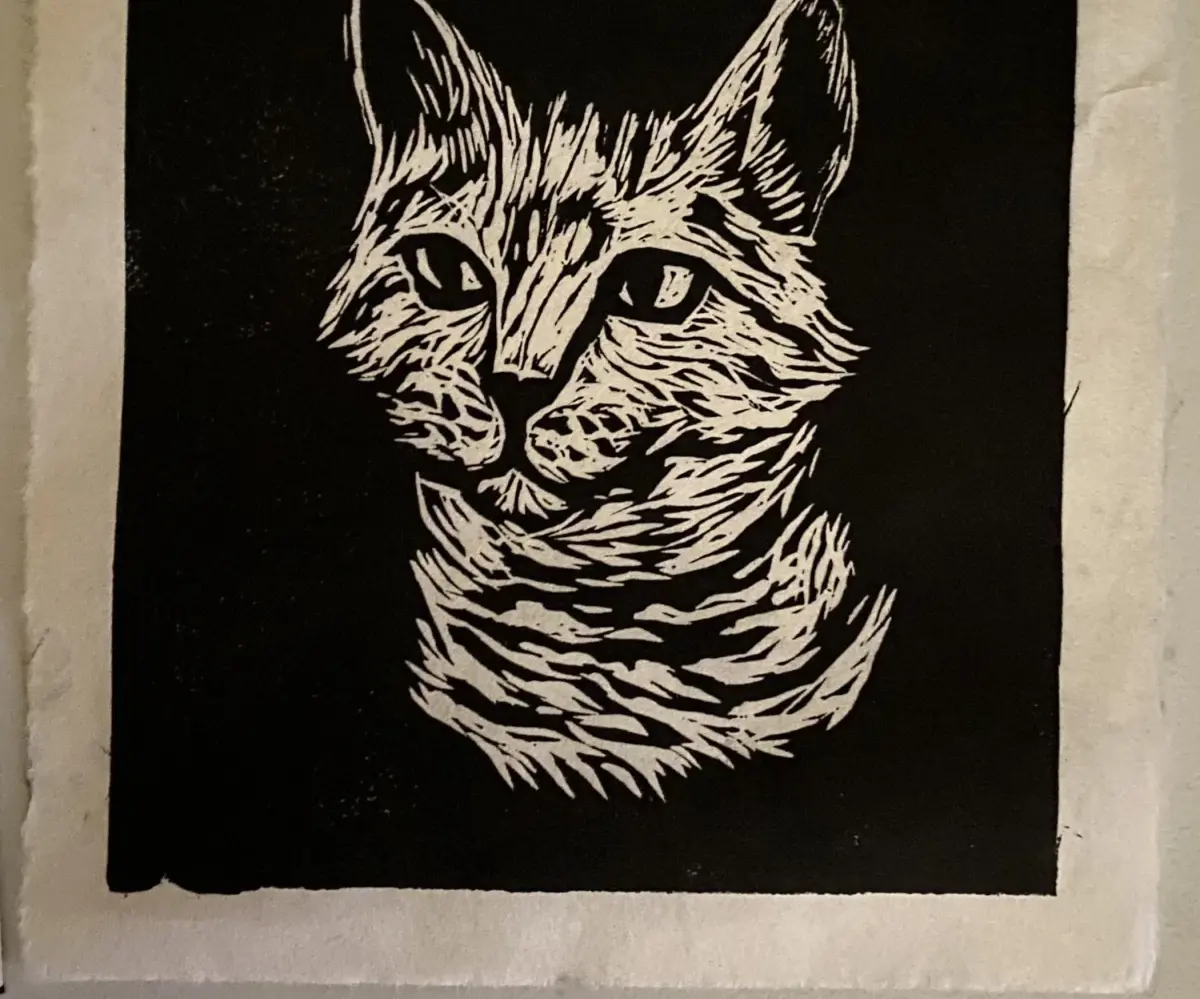
Linocut printing is a relief printmaking technique where you carve a design into a sheet of linoleum using sharp gouges. You then roll ink onto the raised surface and press it onto paper. The uncarved areas hold the ink, transferring your image to the print medium through manual or mechanical pressure.
On this page
What supplies do I need for linocut printing?
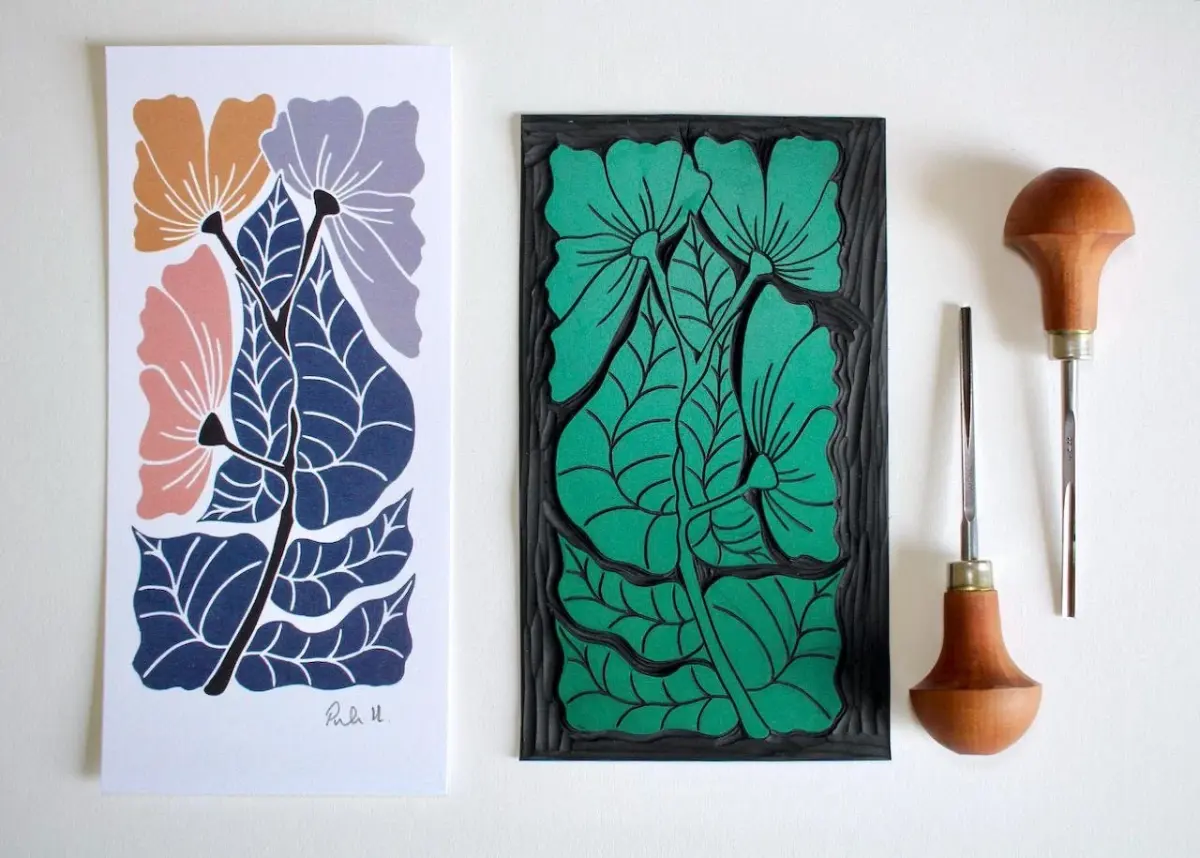
To begin linocut printing, you need a few essential tools designed for safety and precision. The most important item is the linoleum block, which comes in traditional battleship grey or softer, synthetic varieties that are easier for beginners to carve. You will also need a set of carving gouges, typically featuring U-shaped and V-shaped blades for different line weights.
In addition to carving tools, you must acquire printmaking ink and a brayer. Oil-based inks provide a rich, professional finish but require solvents for cleanup, whereas water-based inks offer easier maintenance. A brayer, or rubber roller, is necessary to distribute the ink evenly across your block. Finally, select a smooth, absorbent paper, such as Japanese washi or lightweight printmaking paper, to ensure the ink transfers clearly without smudging or bleeding.
- Linoleum blocks (mounted or unmounted)
- Set of carving gouges (U and V shapes)
- Brayer (rubber roller)
- Relief printing ink
- Bench hook (to hold the block steady)
- Barens or a wooden spoon for burnishing
How do I carve a linocut block?
Carving is the process of removing the negative space from your linoleum to leave your design in high relief. Before you begin, sketch your image directly onto the block using a pencil or transfer paper. Remember that your final print will be a mirror image of your design, so reverse any text or directional patterns before you start cutting.
Always carve away from your body to prevent injury if the tool slips. Use the V-shaped gouge to outline the edges of your design, as this provides a clean border for your shapes. Switch to the U-shaped gouge to clear out larger areas of background material. Keep your movements shallow; you only need to remove a thin layer of linoleum to ensure the background does not pick up ink during the printing process.
- Sketch your design clearly on the linoleum surface.
- Use a V-gouge to outline your primary shapes.
- Use a U-gouge to remove the remaining background material.
- Brush away all loose debris before applying ink.
How do I ink and print my design?
Inking is a delicate balance between having enough coverage and avoiding excess buildup. Squeeze a small amount of ink onto a glass or plastic palette and use your brayer to roll it out into a thin, even layer. You want the ink to sound like a slight hiss or the texture of orange peel when you roll it. Apply this layer to your linoleum block using light, consistent pressure until the raised surface is completely covered.
Once the block is inked, carefully place your paper on top, ensuring it does not shift. Use a baren or the back of a clean wooden spoon to rub the back of the paper firmly. Apply pressure in circular motions, covering every part of the design to ensure the ink transfers fully. Carefully peel back one corner to check the impression before lifting the paper entirely to reveal your finished print.
Common mistakes when making linocut prints
One of the most frequent errors for beginners is carving too deeply into the linoleum. This wastes energy and can cause the block to crumble or lose structural integrity, especially when printing fine details. Another common mistake is over-inking the block, which causes ink to fill the carved grooves and creates messy, blurred lines. Always aim for a thin, velvety layer of ink rather than a thick, wet coat.
Poor registration is another issue, occurring when the paper shifts during the printing process. If you are printing multiple colors or layers, this can ruin the alignment of your design. Using a registration jig or taping one side of the paper to your workspace can help keep everything in place. Finally, failing to clean your tools immediately after use will cause ink to harden, which ruins your brayer and dulls your carving blades over time.
How to care for linocut tools and blocks
Proper maintenance extends the life of your equipment and improves the quality of your prints. Always wipe your brayer clean with the appropriate solvent or soap immediately after finishing your work session. If ink dries on the roller, it can become uneven or cracked, leading to poor ink distribution in future projects. Store your brayer hanging up or resting on its handle so the rubber surface does not develop a permanent flat spot.
Keep your gouges sharp by honing them regularly with a sharpening stone or a leather strop. A dull blade is dangerous because it requires more force to carve, increasing the likelihood of a slip. When storing your linoleum blocks, keep them flat in a cool, dry place to prevent warping. If you follow these simple storage and cleaning habits, your printmaking setup will remain reliable and effective for many years of creative exploration.
Key facts
- Linoleum was invented in 1860 by Frederick Walton, who originally designed it as a durable floor covering.
- Artists carve into the linoleum surface using specialized gouges, removing material to create a relief image.
- A "brayer" is a hand-held rubber roller used to apply an even, thin layer of ink to the block.
- Relief printing works by inking the raised areas while the carved-out grooves remain empty and white.
- Always carve away from your body to prevent the sharp gouge from slipping and causing injury.
- Linocut blocks can be printed multiple times using a printing press or by applying firm pressure with a wooden spoon.
The bottom line
Linocut is an accessible and rewarding relief printing technique that transforms simple materials into bold, graphic art. By carefully carving away negative space and applying ink to the remaining raised surface, you can produce multiple high-quality prints by hand. Focus on safety, maintain consistent pressure during the transfer process, and embrace the unique aesthetic of relief carving to master this timeless and expressive creative medium.
People also ask
What is the difference between linocut and woodcut?
Linocut uses a soft, synthetic material that lacks grain, making it easier to carve in any direction. Woodcut uses timber, where the artist must navigate the natural wood grain that can affect the line quality.
Can I use regular paint instead of printmaking ink?
Regular paint dries too quickly and lacks the tackiness required for even transfer. Professional oil-based or water-miscible relief inks are formulated to remain wet longer and adhere properly to the block.
Do I need a professional printing press?
No, you can achieve excellent results by hand-burnishing. By placing paper over the inked block and rubbing the back firmly with a spoon or barren, you apply enough pressure to transfer the ink.
How do I transfer my design onto the linoleum?
You can draw directly on the block with a permanent marker or use carbon paper to trace a sketch. Remember that the final print will be a mirror image of your design on the block.
What is the best paper for linocut printing?
Lightweight, absorbent paper like Japanese Washi or Hosho is ideal for beginners. These papers pick up fine details easily without requiring excessive pressure during the printing process.
How do I clean my linoleum block after printing?
If using water-based ink, wash the block with mild soap and water. For oil-based inks, use a small amount of vegetable oil or a specialized press wash to remove residue before wiping clean.
This answer was created with the help of AI research tools and reference sources. Spotted an error? Let us know — we correct mistakes quickly. See our editorial policy.