What is woodcut printing?
Short answer
Woodcut printing is a relief printing technique where an artist carves an image into the surface of a wooden block. The raised, uncarved areas are inked and pressed onto paper or fabric to create a mirror-image print. It is the oldest form of printmaking, dating back to ancient China and medieval Europe.
On this page
How does woodcut printing work
Woodcut printing relies on the principle of relief. The artist begins with a flat block of wood, typically a soft grain like basswood, cherry, or plywood. By using sharp gouges and knives, the artist removes the wood from areas intended to remain white in the final print. The remaining raised surfaces are then coated with a thin layer of ink using a roller, known as a brayer.
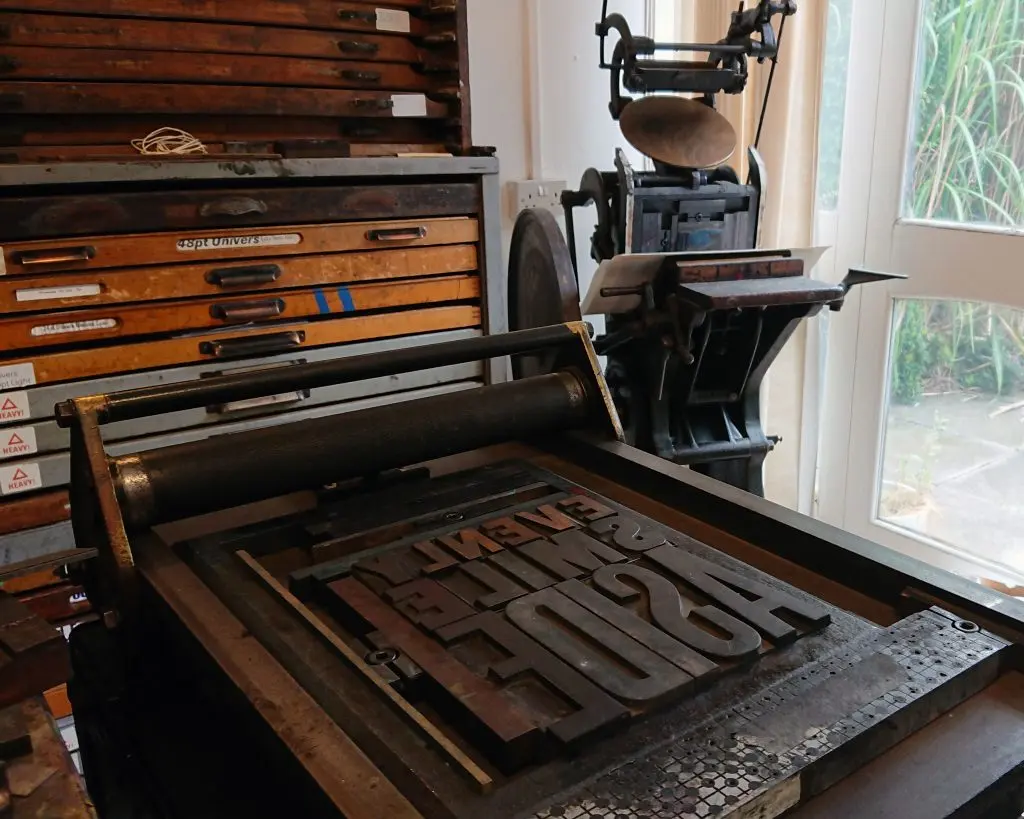
Once the block is inked, paper is placed carefully on top. Pressure is applied either by hand using a flat tool called a baren or by running the block through a mechanical printing press. The ink transfers from the raised wood to the paper, revealing the design. Because the image is carved in reverse, the resulting print appears as a mirror image of the original carving on the block.
What tools are needed for woodcut printing
To begin woodcut printing, you need a specific set of tools designed for precision and safety. Beginners should start with a small selection of high-quality gouges rather than a large, cheap set. A sharp tool is safer than a dull one because it requires less force to push through the wood, reducing the risk of slipping.
- A block of wood, such as birch plywood or soft pine.
- A set of carving gouges, including U-gouge and V-gouge shapes.
- A brayer for applying ink evenly.
- Water-based or oil-based relief printing ink.
- A baren or a wooden spoon for burnishing the back of the paper.
- Lightweight, absorbent paper like rice paper or mulberry paper.
Always keep a sharpening stone nearby to maintain the edge of your tools. A dull blade can tear the wood fibers, leading to messy, imprecise lines and increased physical strain during the carving process.
How to make a woodcut print step by step
Creating a woodcut requires careful planning and patience. Start by sketching your design directly onto the wood block with a pencil or a permanent marker. Remember that your final print will be a mirror image, so if you include text, you must carve it backward. Once the design is set, follow these steps to complete the process.
- Carve away the negative space, ensuring you always push the gouge away from your body and hands.
- Apply a small amount of ink to a glass or plastic palette and roll it out until it sounds like light crackling.
- Roll the inked brayer over the surface of the block, ensuring an even coating without filling in the carved grooves.
- Carefully lay your paper over the block, smoothing it down gently to prevent shifting.
- Apply firm, even pressure across the back of the paper using a baren or the back of a spoon.
- Slowly peel the paper away from the block to reveal your finished print.
Common mistakes when woodcut printing
One of the most frequent errors for beginners is applying too much ink. When the brayer is overloaded, ink can seep into the carved channels, causing the print to look muddy and obscuring the fine details of the design. Use a light touch and build up the ink layer gradually until the surface has a fine, velvety texture.
Another common mistake is failing to secure the block while carving. If the wood slides during the process, it can cause the gouge to slip, potentially resulting in injury or damage to the design. Use a non-slip mat or a bench hook to hold the block firmly in place. Additionally, avoid carving too deeply in one pass; it is better to make several shallow cuts to reach the desired depth, as this provides better control and prevents the wood from splintering.
Why is woodcut printing important in art history
Woodcut printing has played a pivotal role in the democratization of information and art. In 9th-century China, the technique was used to produce the Diamond Sutra, one of the world's earliest dated printed books. In Europe, the development of the printing press in the 15th century allowed woodcuts to be mass-produced for book illustrations, religious icons, and playing cards, making imagery accessible to the general public for the first time.
Artists such as Albrecht Dürer revolutionized the medium during the Renaissance, elevating it from a craft to a fine art form by introducing complex shading and perspective. Later, Expressionist artists like Edvard Munch used the bold, stark nature of woodcuts to convey deep emotional intensity. Today, the medium remains a vital form of artistic expression, valued for its graphic quality, the physical connection between the artist and the material, and its historical significance in the evolution of visual communication.
Key facts
- Woodcut is a relief printing technique where an image is carved into the surface of a wooden block.
- Artists typically use softwoods like pine or hardwoods like cherry, pear, or boxwood depending on the desired detail.
- The raised areas that remain after carving are inked with a roller, while the recessed areas stay blank.
- Paper is pressed onto the inked block, either by hand using a baren or through a printing press.
- Albrecht Dürer, a German Renaissance master, revolutionized the medium in the late 15th century with his intricate designs.
- Always carve away from your body to prevent injury, and ensure your tools are kept razor-sharp for clean lines.
The bottom line
Woodcut printing is a historic relief process that transforms a simple plank of wood into a sophisticated printing plate. By carving away negative space, artists create bold, high-contrast images that define the medium’s aesthetic. Whether you are a beginner or a seasoned printmaker, mastering the balance of pressure and ink application is essential for producing clean, professional prints that capture the unique texture of the wood grain.
People also ask
What is the difference between woodcut and wood engraving?
Woodcut involves carving along the grain of a plank, while wood engraving uses the end grain of a very hard wood. Wood engraving allows for much finer, more detailed lines than the coarser woodcut method.
Can I use any type of ink for woodcut printing?
You should use oil-based or water-based block printing inks specifically designed for relief work. Avoid standard acrylic paints, as they dry too quickly and can ruin your carving tools or clog the block.
How do I prevent my wood block from splitting while carving?
Select high-quality, kiln-dried lumber and avoid wood with large knots or irregular grain patterns. If the wood is very dry, lightly misting it or applying a thin layer of oil can make the surface easier to carve.
Why does my print look patchy or uneven?
Patchiness often results from applying too little ink or using uneven pressure when transferring the image to paper. Try using a baren or a wooden spoon to apply firm, circular pressure across the entire back of the paper.
How many prints can I make from a single block?
Softwood blocks may degrade after a few dozen impressions, while hardwood blocks can yield hundreds of high-quality prints. Eventually, the pressure of the press will cause the raised lines to compress or break down.
Is it possible to create multi-colored woodcuts?
Yes, you can produce color prints by using a separate block for each color or by carefully inking different areas of a single block. This process requires precise registration to ensure the colors align correctly on the paper.
This answer was created with the help of AI research tools and reference sources. Spotted an error? Let us know — we correct mistakes quickly. See our editorial policy.