What is block printing?
Short answer
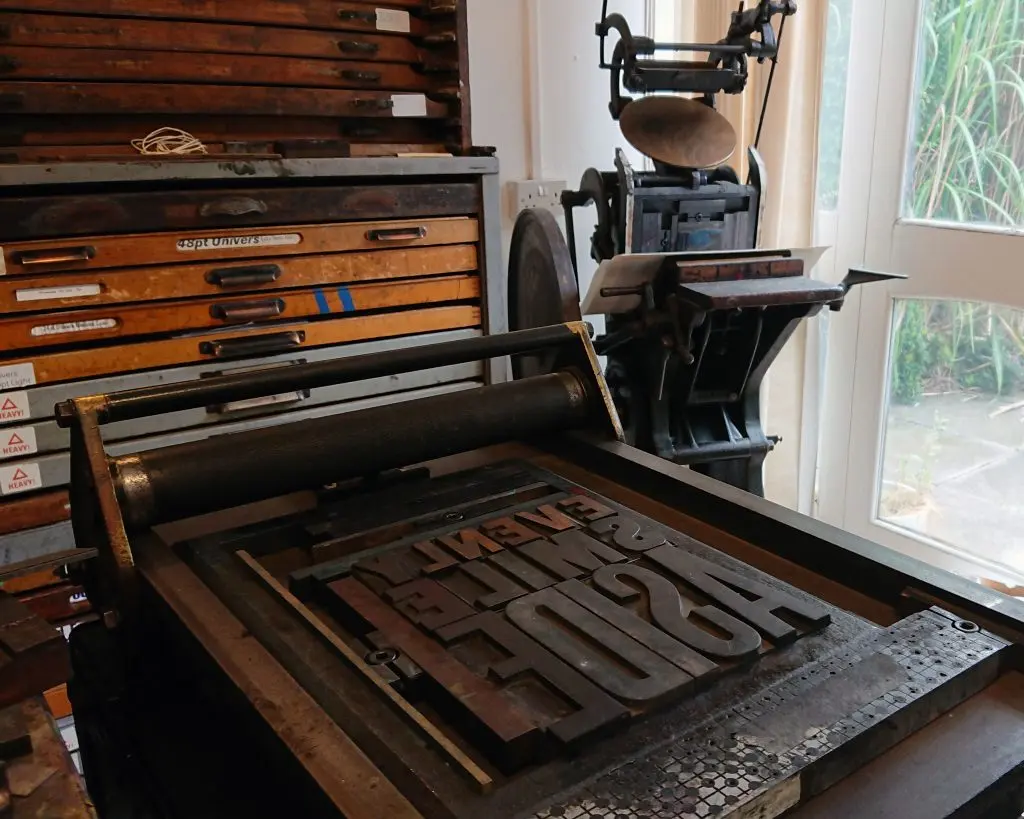
Block printing is a relief printing technique where an image is carved into a block of wood, linoleum, or rubber. The raised surface is coated with ink and pressed onto paper or fabric to transfer the design. It is one of the oldest methods of printing, dating back to ancient East Asian traditions.
On this page
How does block printing work?
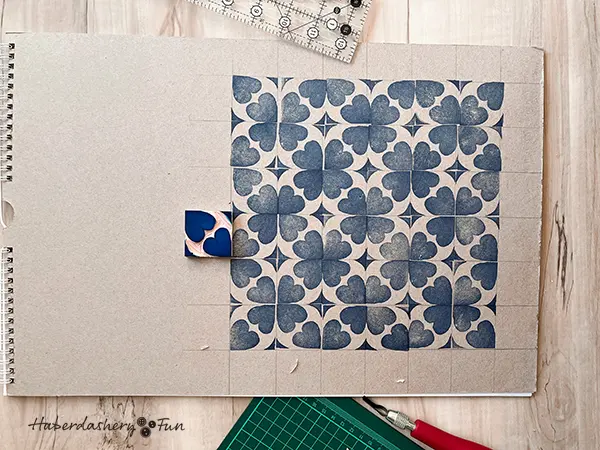
Block printing relies on the principle of relief printing. The artist carves away the areas of the block that are meant to remain white, leaving the design standing in relief. When ink is applied with a roller, known as a brayer, it adheres only to the raised surfaces. The block is then pressed firmly onto a substrate, such as paper or cloth, transferring the inked image. This process can be repeated to create multiple impressions, making it a foundational technique for early mass communication and textile decoration.
Historically, woodblock printing emerged in China during the Han dynasty for printing on textiles, and later for paper in the Tang dynasty. The Diamond Sutra, produced in 868 CE, remains the earliest dated printed book created using this method. By the 15th century, the technique spread to Europe, facilitating the production of playing cards and religious icons. Today, it remains a popular medium for artists who value the tactile, handcrafted quality of the final print and the unique character of each impression.
What materials are needed for beginners?
Starting a block printing project requires a modest set of tools that are widely available at art supply stores. Choosing the right materials is essential for achieving clean lines and consistent ink coverage. Beginners should focus on soft, easily carved surfaces before attempting harder woods like cherry or pear.
- Linoleum blocks or soft rubber carving plates.
- A set of linoleum cutters with interchangeable blades.
- Water-based or oil-based block printing ink.
- A rubber brayer for even ink distribution.
- A baren or a wooden spoon for applying pressure.
- Smooth, absorbent paper or cotton fabric.
When selecting ink, consider the drying time and cleanup requirements. Water-based inks are generally easier to clean with soap and water, making them ideal for home studios or classrooms. Oil-based inks offer a longer "open time," allowing for more precise work, but they require solvents for cleanup. Always ensure your workspace is well-ventilated regardless of the ink type chosen for your project.
How to create your first block print
The process of creating a print involves careful planning and execution. Because the final image will be a mirror reflection of the carved design, you must account for orientation if your work includes text or specific directional elements. Follow these steps to ensure a successful initial attempt at the craft.
- Sketch your design on paper, then transfer it onto your block using a pencil or transfer paper.
- Use the smallest carving blade to outline the edges of your design, moving the tool away from your body.
- Switch to wider blades to remove the negative space around your design, ensuring you do not cut too deeply.
- Apply a thin, even layer of ink to your brayer and roll it over the block until the surface has a velvety texture.
- Place your paper carefully over the block and apply firm, even pressure using a baren or the back of a spoon.
- Slowly peel the paper back from one corner to reveal your finished print.
Common mistakes when block printing
Even experienced artists encounter issues that can compromise the quality of a print. One of the most frequent errors is applying too much ink to the block. An excess of ink will pool in the carved areas and blur the crisp edges of your design, leading to a muddy appearance. Aim for a thin layer that sounds like a faint whisper when the brayer rolls over the block.
Another common mistake is applying uneven pressure during the printing process. If the pressure is inconsistent, parts of the image may appear faint or missing entirely. To avoid this, ensure your printing surface is flat and stable. If you are printing by hand, use circular motions with your baren or spoon to cover every inch of the block. Additionally, failing to sharpen your carving tools can lead to jagged lines and increased physical effort, which often results in accidental slips and damage to the block.
How to maintain and store your blocks
Proper maintenance ensures that your blocks remain usable for many future prints. After finishing a printing session, clean the ink off the block immediately to prevent it from drying and clogging the fine details of your carving. For water-based inks, a damp cloth or sponge with mild soap is usually sufficient. If you use oil-based inks, use a small amount of vegetable oil or a dedicated press wash to remove the residue before wiping the block dry.
Store your blocks in a cool, dry place away from direct sunlight, which can cause rubber or linoleum to become brittle or warp over time. If you have carved a large series of blocks, label them clearly and store them flat with layers of acid-free tissue paper between them to prevent sticking or scratching. By taking these simple precautions, you protect your hard work and ensure that your blocks remain in excellent condition for years of creative production, allowing you to revisit and reprint your favorite designs whenever inspiration strikes.
Key facts
- Block printing is a relief printing technique where a design is carved into a surface, typically wood, linoleum, or rubber.
- The raised, uncarved areas of the block are inked, while the recessed areas remain blank when pressed onto paper or fabric.
- The earliest known dated printed book is the Diamond Sutra, produced in China in 868 CE using woodblock printing.
- When carving, always cut away from your body to prevent injury if the sharp tool slips.
- Use a brayer, a small hand roller, to apply an even, thin layer of ink to the block for the best results.
- Mirror the design on your block before carving, as the final printed image will appear reversed.
The bottom line
Block printing is a versatile, accessible art form that transforms simple carved surfaces into repeatable works of art. By mastering the balance of ink application and pressure, you can create striking, high-contrast images on paper or fabric. Whether you are a beginner or a professional, the process offers a tactile connection to history, blending ancient techniques with modern creativity to produce unique, handcrafted designs every time.
People also ask
What is the difference between woodblock and linocut printing?
Woodblock printing uses wood as the matrix, requiring tools to cut with or against the grain. Linocut uses linoleum, a softer material that allows for fluid curves and is generally easier for beginners to carve.
Can block printing be done on fabric?
Yes, block printing is a traditional method for decorating textiles. You must use fabric-specific inks that are heat-set with an iron to ensure the design remains permanent after washing.
What type of ink is best for beginners?
Water-based block printing ink is recommended for beginners because it is easy to clean up with soap and water. Oil-based inks provide a richer, more professional finish but require solvents for cleanup.
Why does my print look patchy or uneven?
Patchiness usually occurs due to insufficient ink application or uneven pressure during the transfer. Ensure your brayer is fully coated and apply firm, consistent pressure across the entire back of the block.
How do I transfer my design onto the block?
Use carbon paper or a soft graphite pencil to trace your design onto the block surface. Remember to flip the image horizontally if the orientation of text or asymmetrical shapes matters.
How many times can I reuse a single printing block?
A well-cared-for linoleum block can produce hundreds of prints before the fine details begin to degrade. Woodblocks can last even longer if the wood is high-quality and properly sealed between sessions.
This answer was created with the help of AI research tools and reference sources. Spotted an error? Let us know — we correct mistakes quickly. See our editorial policy.