How do you use colored pencils?
Short answer
Using colored pencils involves layering pigments to build depth, texture, and vibrant color. By controlling pressure and utilizing blending techniques, artists transition from light initial sketches to rich, saturated finishes. Mastery requires understanding pencil hardness, paper tooth, and the systematic application of colors to achieve smooth gradients and realistic visual effects.
On this page
How to choose the best colored pencils for beginners
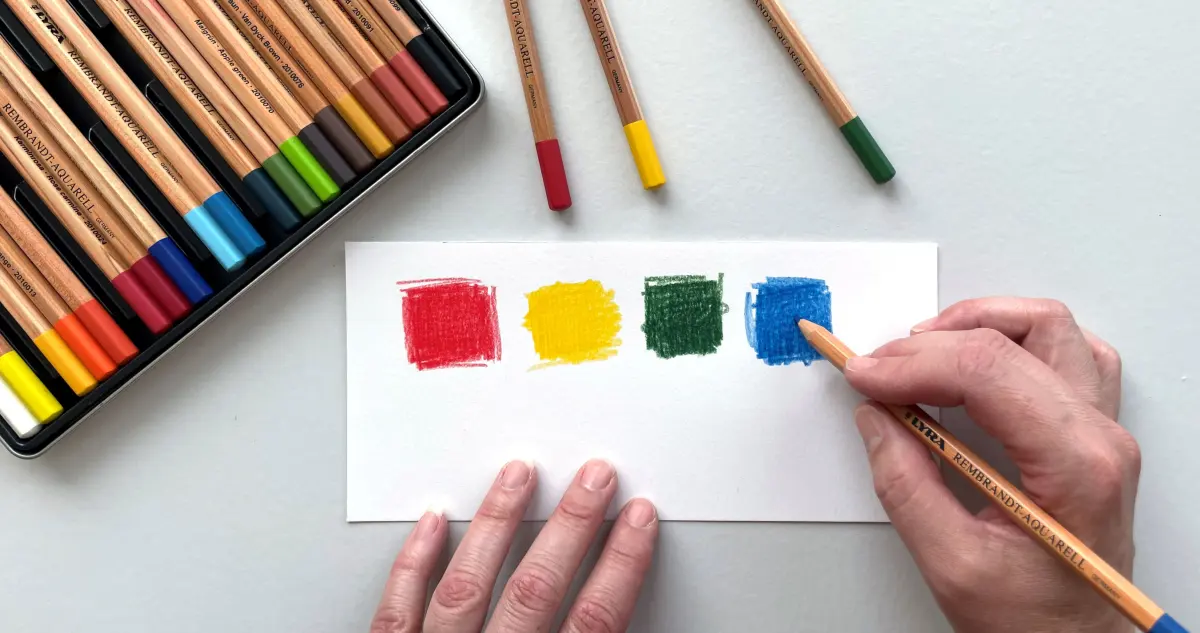
Selecting the right materials is the first step toward successful drawing. Colored pencils generally fall into two categories: wax-based and oil-based. Wax-based pencils, such as Prismacolor Premier, are softer and allow for easier blending and vibrant coverage. Oil-based pencils, like Faber-Castell Polychromos, are harder and hold a sharp point longer, making them ideal for fine detail work and layering without creating a waxy buildup.
Beginners should start with a set of 24 to 36 colors rather than a massive collection. This limitation forces you to learn how to mix colors manually, which is a fundamental skill in drawing. Look for "artist-grade" or "student-grade" labels rather than children's craft sets, as the latter often lack sufficient pigment and break easily.
- Wax-based: Soft, buttery texture, blends easily, prone to "wax bloom."
- Oil-based: Firm, durable point, resists breakage, cleaner layering.
- Paper selection: Choose paper with "tooth," which refers to the surface texture that grabs the pigment particles.
How to layer and blend colors effectively
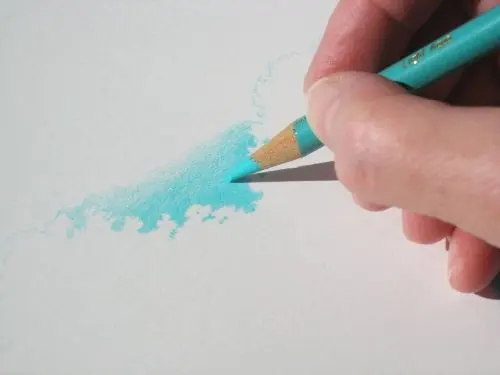
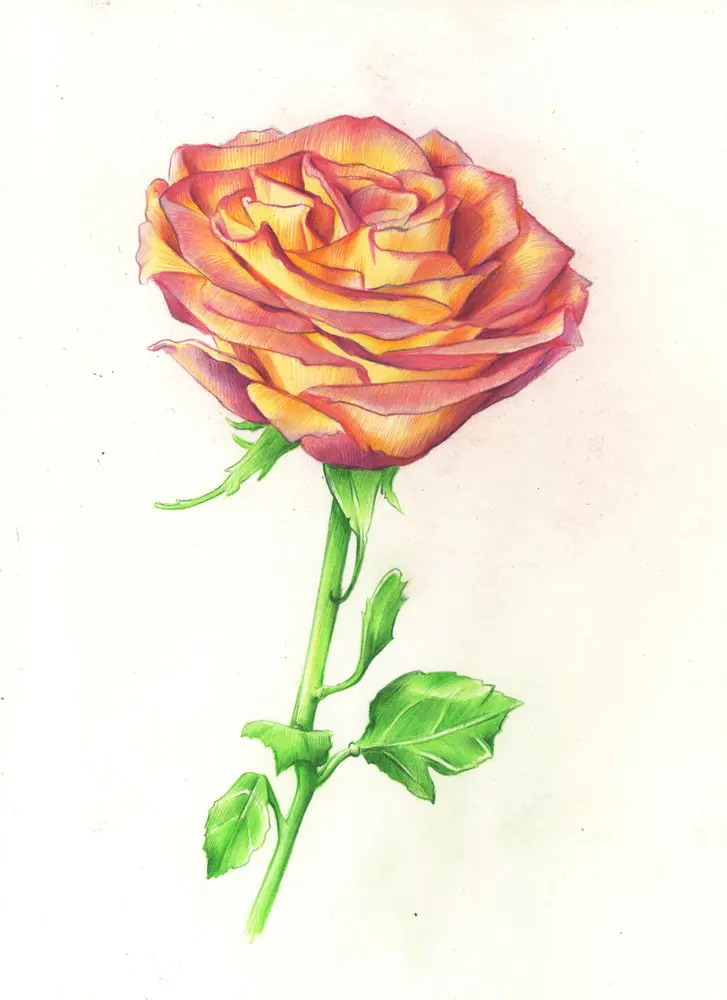
Layering is the process of applying multiple thin coats of color to build intensity. Start with a light touch, using a circular motion to distribute pigment evenly across the paper. By overlapping different hues, you create complex shades that look more natural than a single flat color. Avoid pressing hard initially, as this fills the paper’s tooth too quickly and prevents further pigment from adhering.
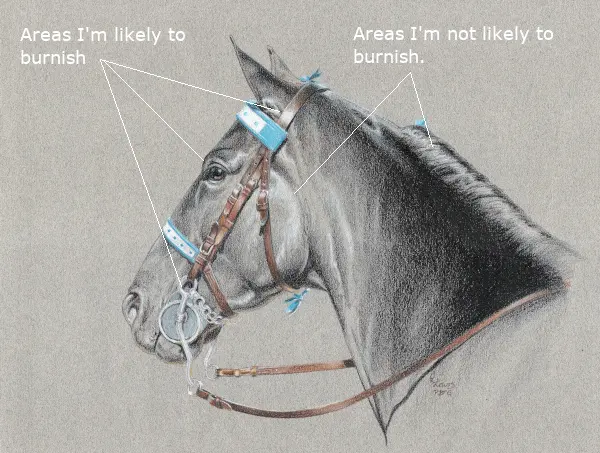
Blending can be achieved through physical friction or specialized tools. You can use a colorless blender pencil, which is essentially a binder without pigment, to push the colors together. Alternatively, a light-colored pencil like white or cream can be used to burnish the surface, creating a smooth, polished look.
- Apply the lightest color first as a base layer.
- Gradually introduce darker tones, focusing on shadows and depth.
- Use a blending tool or a light-colored pencil to soften transitions between hues.
- Add final highlights or deep accents to increase contrast.
How to sharpen and maintain your pencils
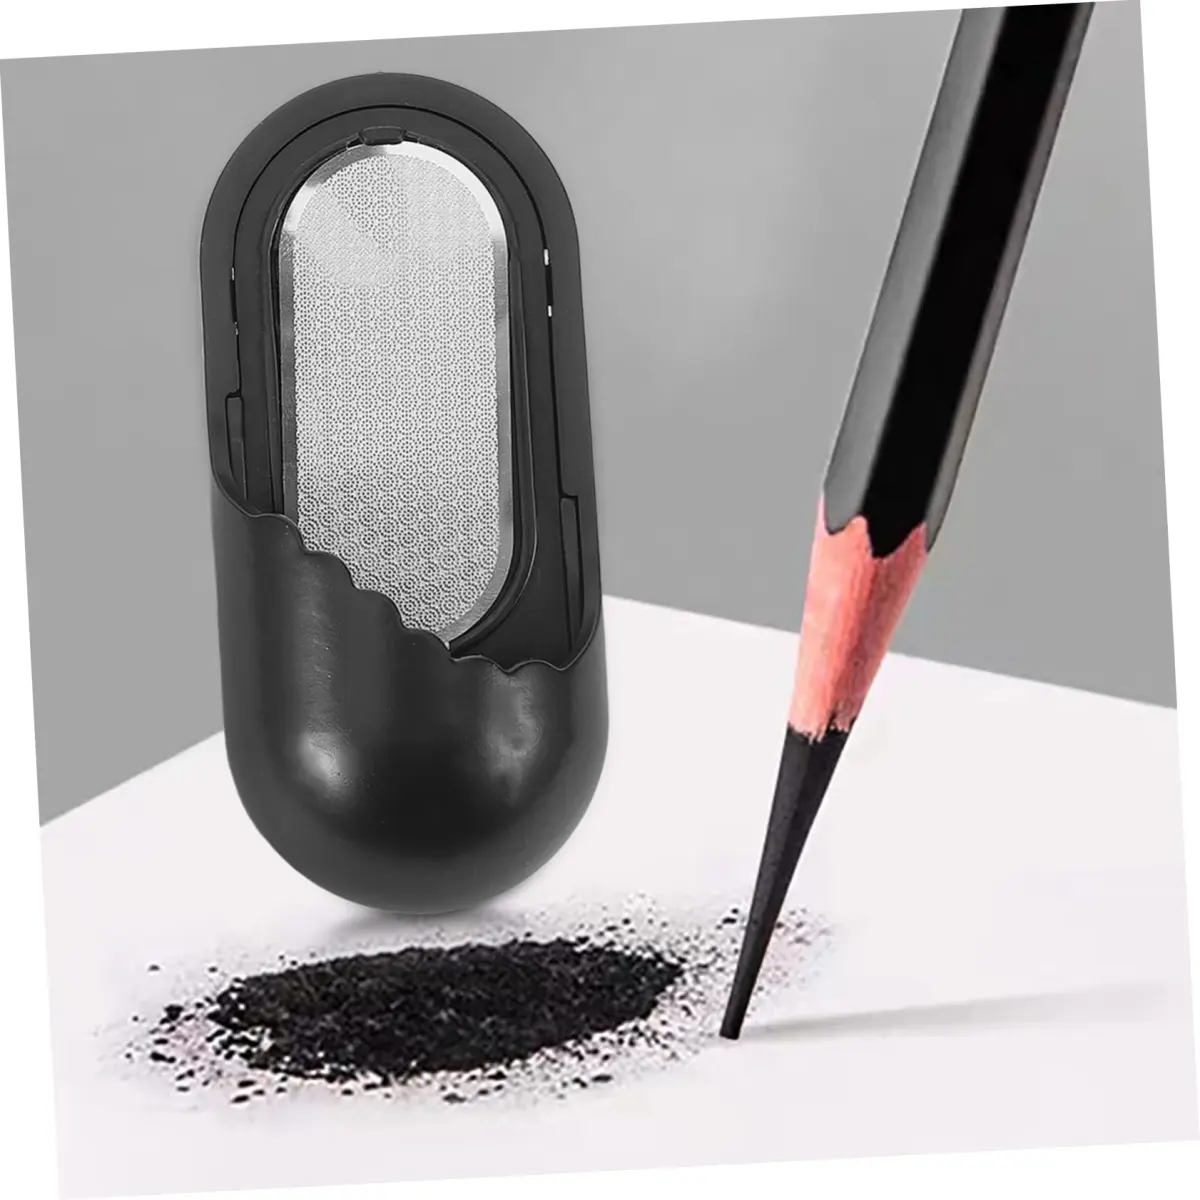
Proper sharpening is essential for both precision and the longevity of your pencils. A high-quality handheld metal sharpener is often superior to electric models, which can over-sharpen and snap fragile cores. If you are using soft wax-based pencils, keep your sharpener blades sharp to prevent the wood casing from chewing up the lead.
If a pencil core repeatedly breaks, it may have been dropped, causing internal fractures. Gently warming the pencil or using a different sharpening angle can sometimes help. Always store your pencils horizontally or tip-up in a cool, dry place to prevent the binders from melting or becoming brittle over time.
- Rotate the pencil slowly while sharpening to ensure an even point.
- Clean your sharpener blades periodically to remove wax buildup.
- Test your sharpener on a scrap pencil to ensure it is cutting cleanly before using it on your primary tools.
Common mistakes when using colored pencils
One of the most frequent errors is applying too much pressure too early in the process. This "seals" the paper, making it impossible to add more layers or blend effectively. If the paper appears shiny, you have likely burnished it prematurely. Always work from light to dark, building up the intensity slowly to maintain control over the final outcome.
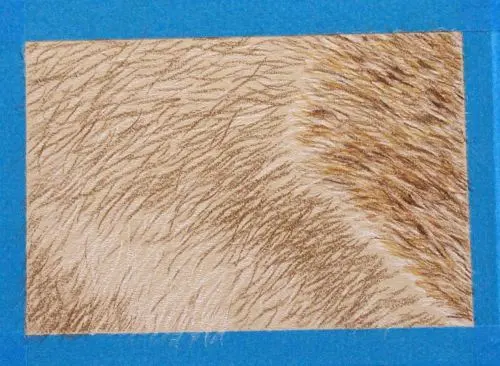
Another mistake is ignoring the direction of your strokes. While circular motions are great for blending, directional strokes can help define textures like hair, fur, or grass. Failing to use a scrap piece of paper to test color combinations before applying them to your artwork often leads to muddy, unwanted results that are difficult to correct.
- Pressing too hard: Leads to waxy buildup and prevents layering.
- Ignoring paper texture: Using paper that is too smooth makes it difficult to build up layers.
- Neglecting color theory: Mixing complementary colors without a plan often results in dull, brown tones.
How to preserve and display your drawings
Colored pencil art is sensitive to light, humidity, and physical abrasion. Over time, ultraviolet light can cause pigments to fade, especially in lower-quality pencils. To protect your work, keep finished drawings away from direct sunlight and consider using an archival-quality fixative spray. These sprays create a protective barrier against dust and moisture.
For long-term display, framing your work behind UV-protective glass is the gold standard. If you prefer to store your drawings in a portfolio, place a sheet of glassine paper between each page. This prevents the pigment from transferring from one drawing to the back of another. By following these storage practices, you ensure that your artistic efforts remain vibrant and intact for many years to come.
Key facts
- Wax-based pencils are softer and blend easily, while oil-based pencils are firmer and hold a sharp point longer for fine detail.
- Lightfastness ratings indicate how resistant a pigment is to fading when exposed to light over time.
- Layering colors from light to dark creates depth and prevents the paper's "tooth" from filling up too quickly.
- Burnishing involves applying heavy pressure with a light-colored pencil or a colorless blender to fuse layers into a smooth, glossy finish.
- Using a high-quality pencil sharpener is essential to prevent the fragile lead inside the wood casing from snapping.
- Applying a fixative spray once a drawing is complete protects the surface from smudging and environmental damage.
The bottom line
Mastering colored pencils requires a balance of patience and technique. By understanding the differences between wax and oil-based cores, you can choose the right tool for your specific style. Focus on light layering to build color depth, and use blending tools to refine your transitions. With consistent practice and proper paper selection, you can achieve professional results ranging from soft, painterly effects to sharp, hyper-realistic details.
People also ask
What is the difference between watercolor pencils and standard colored pencils?
Watercolor pencils contain a water-soluble binder, allowing you to use a wet brush to transform your pencil strokes into paint-like washes. Standard colored pencils are permanent and do not react to water, making them better suited for dry-layering techniques.
How do I prevent the tips of my pencils from breaking?
Avoid dropping your pencils, as this can shatter the internal lead core. When sharpening, rotate the pencil gently rather than forcing it, and use a sharp, high-quality blade to ensure a clean cut.
Can I use colored pencils on different types of paper?
Yes, but the texture of the paper, known as "tooth," significantly affects the result. Rougher papers hold more pigment for layering, while smooth papers are better for fine, realistic details.
What is the best way to blend colored pencils?
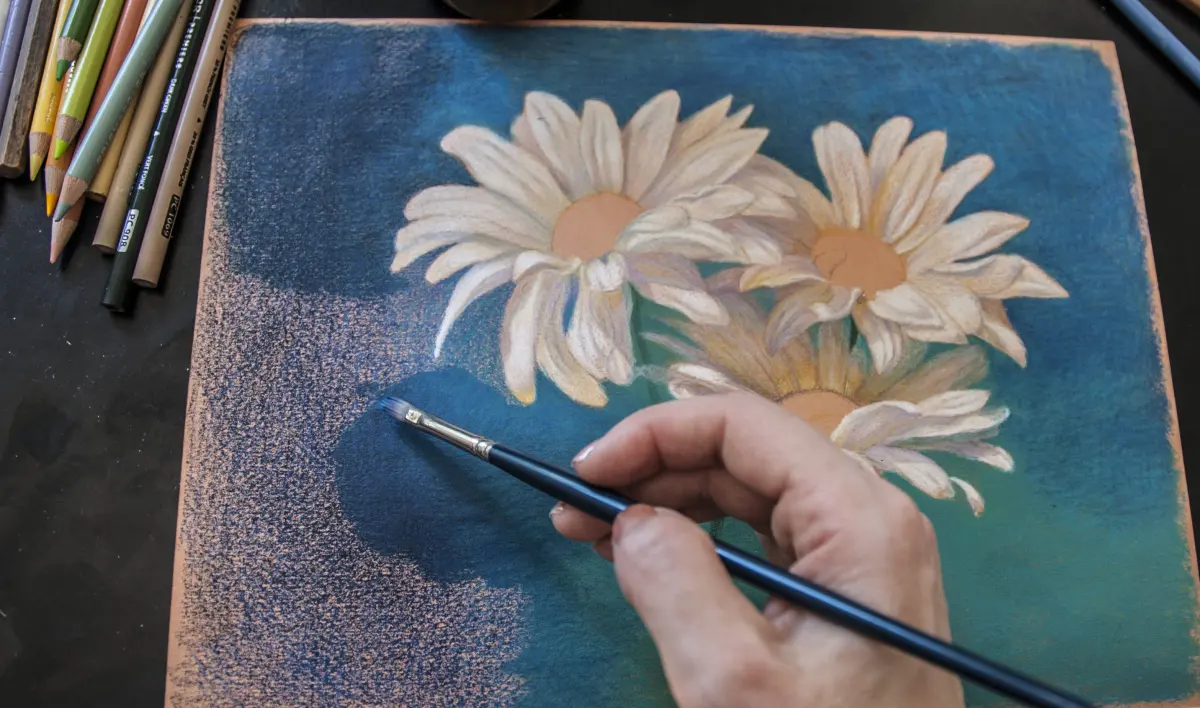
You can blend by layering colors with light pressure, using a colorless blender pencil, or applying a small amount of odorless mineral spirits with a brush. Each method creates a different level of smoothness and saturation.
Why do my colored pencil drawings look white or grainy?
This happens when the paper's tooth is not fully covered, leaving gaps in the pigment. Apply more pressure or add additional layers to fill the texture of the paper completely.
How do I fix a mistake made with colored pencils?
Colored pencils are difficult to erase, but a kneaded eraser can lift some pigment if you have used a light touch. For heavier applications, try using a craft knife to gently scrape away the top layer of wax.
This answer was created with the help of AI research tools and reference sources. Spotted an error? Let us know — we correct mistakes quickly. See our editorial policy.