How do you color fur with colored pencils?
Short answer
Coloring fur with colored pencils requires building layers from light to dark, using sharp pencils to mimic individual hair strands. By following the direction of growth and varying pressure, artists create depth and texture. Patience is essential, as layering pigment gradually produces a realistic, soft appearance rather than a flat, waxy surface.
On this page
How to layer colors for realistic fur
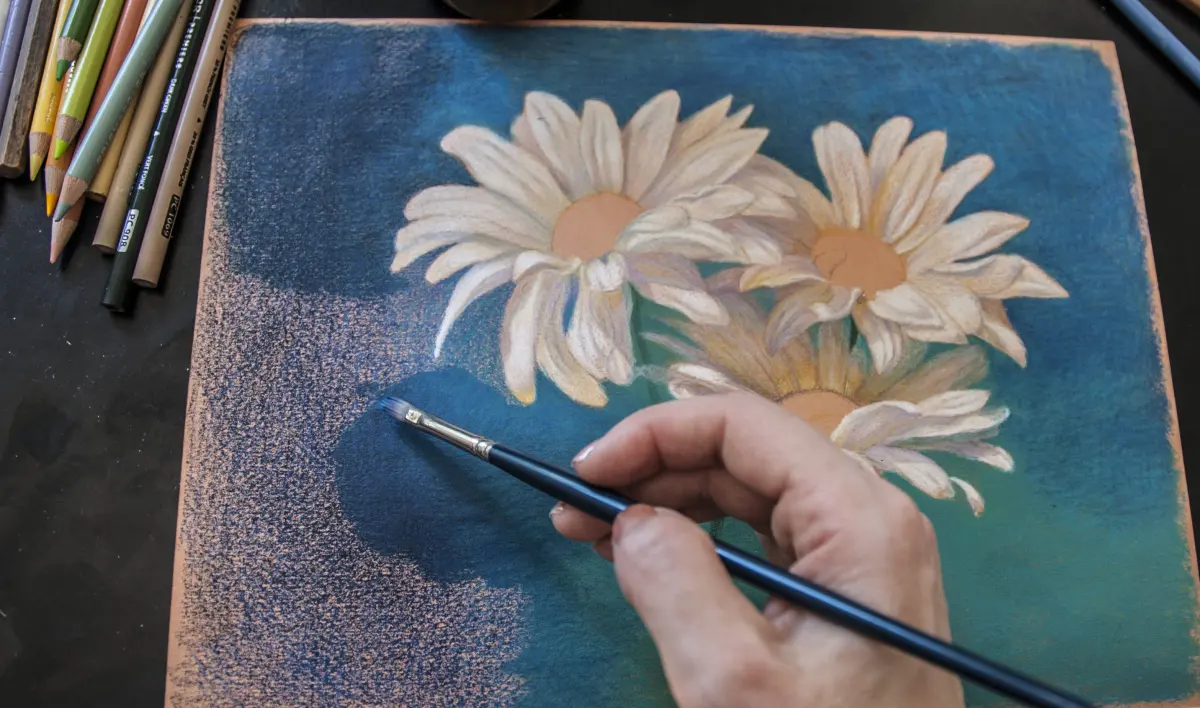
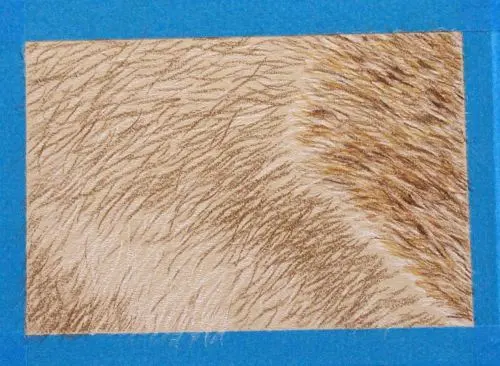
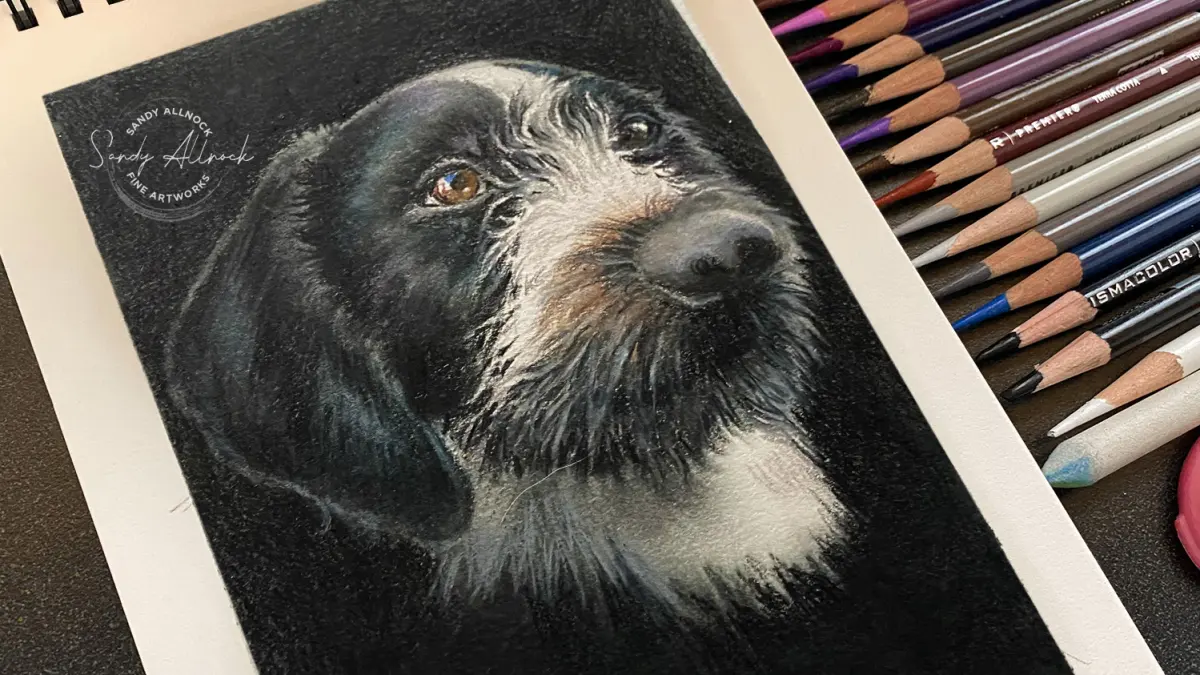
The secret to realistic fur lies in the layering process. Start by establishing a base layer of your lightest color, applying it with light pressure to cover the paper’s tooth. Gradually introduce mid-tones, focusing on the shadows where fur clumps together or curves away from the light source. Use a sharp pencil to flick color in the direction of hair growth, ensuring each stroke tapers at the end.
To build depth, transition from lighter shades to deeper, more saturated hues. Avoid using black for shadows, as it often looks muddy; instead, use dark browns, deep blues, or purples to create rich, natural-looking shade. Always maintain a sharp point to ensure the individual hairs remain distinct throughout the layering process.
- Apply a light base coat to define the overall shape.
- Add mid-tones using directional strokes to build texture.
- Layer dark colors in the deepest shadows to create volume.
- Use a colorless blender or a light pencil to soften transitions.
Best colored pencils for beginners
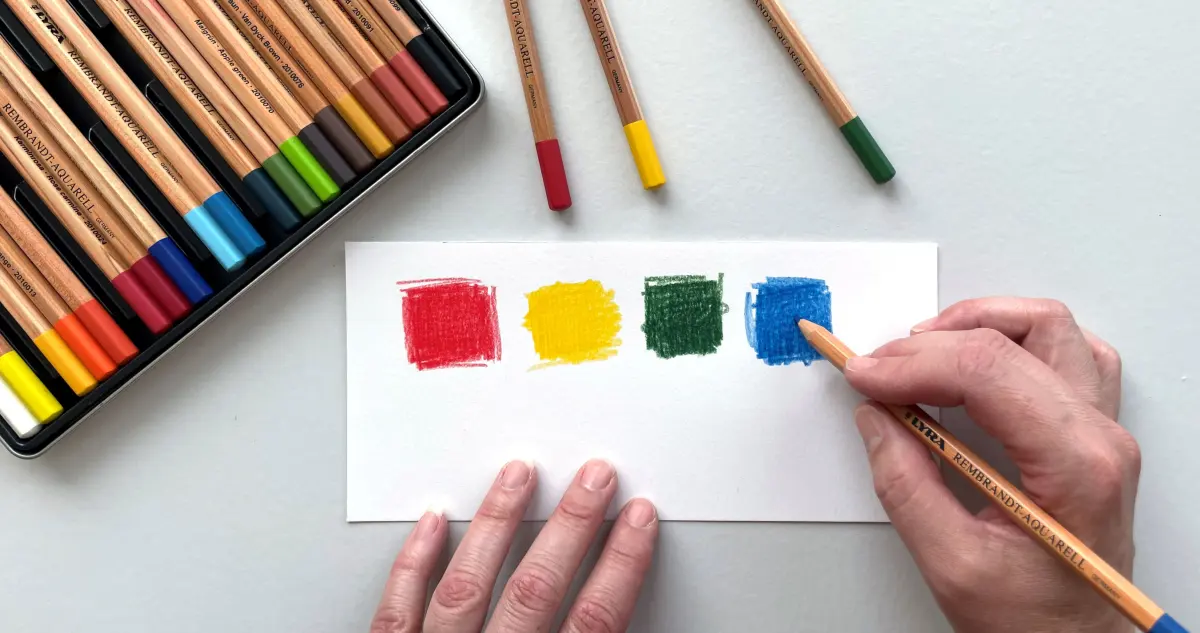
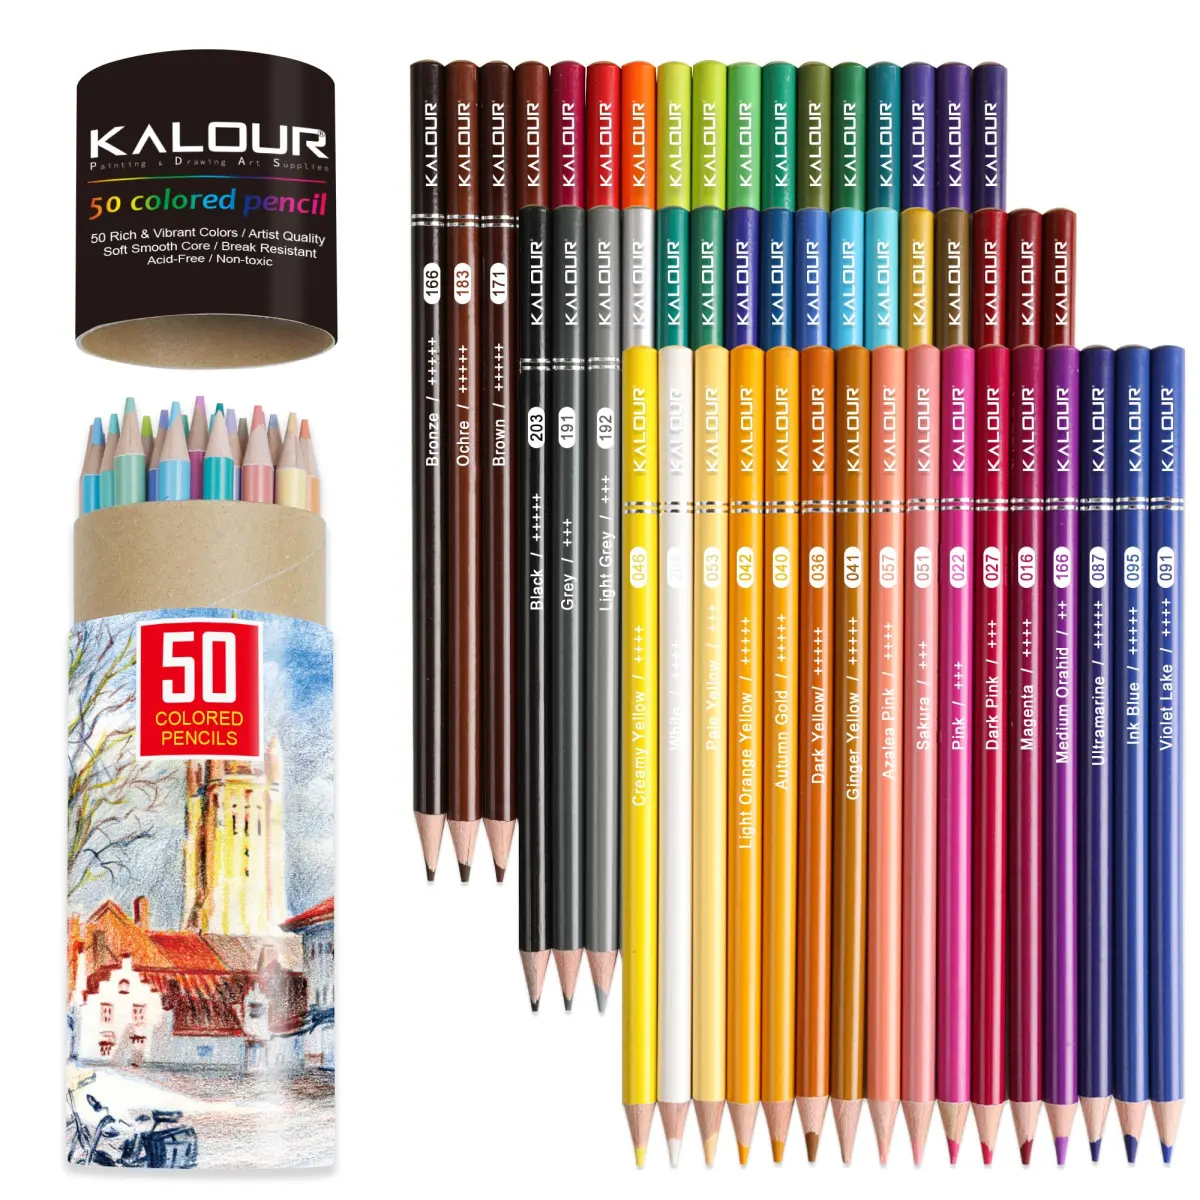
For those starting out, wax-based pencils are generally easier to blend than oil-based ones. Brands like Prismacolor Premier are popular because their soft core allows for smooth layering and vibrant color payoff. If you prefer a firmer lead that holds a sharp point longer, Faber-Castell Polychromos pencils are an excellent professional choice that resists breakage during detailed work.
Regardless of the brand, ensure you have a range of hardness levels. Soft pencils are ideal for filling in large areas, while harder pencils allow for fine, crisp details like whiskers or individual guard hairs. Investing in a high-quality manual sharpener is just as important as the pencils themselves, as a dull tip will result in blurred, muddy fur that lacks the necessary definition.
- Wax-based pencils: Offer creamy, blendable textures.
- Oil-based pencils: Provide firmer leads for precise, thin lines.
- Pastel pencils: Useful for adding soft highlights over darker colors.
How to create texture in fur drawings
Texture is achieved by varying the length and pressure of your strokes. Short, quick flicks mimic short, coarse fur, while longer, sweeping strokes represent soft or flowing hair. Pay close attention to the way fur changes direction around the eyes, nose, and ears, as following these natural growth patterns is critical for a convincing result.
Consider the "flow" of the animal's coat by drawing small arrows on a reference photo before you begin. This map prevents you from drawing hair in a uniform, unnatural direction. When working on highlights, leave the paper white or use a white gel pen to add sharp, bright glints where light hits the surface of the fur, which adds a three-dimensional quality.
- Use varying stroke lengths to show density.
- Follow the muscle structure beneath the skin.
- Vary pressure to show light and shadow within a single strand.
Common mistakes when drawing fur
One of the most frequent errors is drawing every single hair with equal intensity. This creates a cluttered, artificial look that lacks depth. Instead, focus on drawing "clumps" or groups of hair. By defining the shadows between these groups, the eye naturally perceives the individual strands without the need to draw every detail, making the fur appear much more realistic.
Another common mistake is applying too much pressure too early. If you fill the paper’s tooth immediately, you cannot add further layers, resulting in a flat, waxy appearance. Always start with light, airy strokes and build up the saturation slowly. If you make a mistake, avoid using heavy erasers, as they can damage the paper surface; instead, use a kneaded eraser to gently lift pigment.
- Avoid drawing uniform, parallel lines.
- Do not press too hard in the initial stages.
- Avoid using pure black for shadows.
How to blend and finish fur
Blending is the final step to unify your colors and soften harsh edges. You can use a colorless blending pencil, which is essentially a wax binder without pigment, to push the colors into the paper’s texture. Alternatively, a small amount of baby oil on a cotton swab can be used to dissolve the wax, creating a smooth, painterly effect.
Be careful not to over-blend, as this can destroy the fine texture you worked so hard to create. Once the blending is complete, go back in with your sharpest pencil to re-establish the finest highlights and darkest shadows. This final "pop" of detail brings the drawing to life, ensuring the fur looks soft, touchable, and full of natural movement.
Key facts
- Use high-quality, wax-based or oil-based pencils to ensure the pigment layers effectively on the paper surface.
- Always sharpen your pencils to a needle-point to mimic the thin, individual strands of animal fur.
- Apply strokes in the direction of hair growth to create a realistic flow and natural texture.
- Start with light base colors and gradually build depth by layering darker shades on top.
- Use a colorless blender or a light-colored pencil to soften transitions and smooth out harsh lines.
- Leave small gaps of white paper or use a white gel pen to create highlights that simulate light reflecting off fur.
The bottom line
Creating realistic fur with colored pencils requires patience, sharp tools, and a focus on directional layering. By mimicking the natural growth patterns of hair and building colors from light to dark, you can achieve a three-dimensional effect. Remember to prioritize thin, tapered strokes and strategic highlights, as these small details provide the illusion of texture and softness that defines professional-quality animal portraiture in colored pencil.
People also ask
Should I use a specific type of paper for drawing fur?
Yes, use a medium-tooth paper like Bristol vellum or pastel paper. The texture helps the pencil pigment grip the surface, allowing for more layers and richer color depth.
How do I make fur look soft rather than wiry?
Focus on varying your pressure throughout the stroke. Start with firm pressure at the base of the hair and lift the pencil off the paper at the end of the stroke to create a tapered, soft point.
Can I use solvents to blend fur textures?
You can use a small amount of odorless mineral spirits with a brush to dissolve wax-based pigments. This creates a painterly effect, but be careful not to over-blend, as it can destroy the fine hair detail.
How do I handle multi-colored or patterned fur?
Map out the pattern shapes lightly with a graphite pencil first. Fill in the colors section by section, ensuring the hair strokes cross over the boundaries of the color changes to make them look integrated.
What is the best way to create deep shadows in fur?
Avoid using pure black for shadows, as it often looks flat and lifeless. Instead, use dark blues, purples, or burnt umbers to build depth while maintaining the warmth and complexity of the fur's color.
How do I fix mistakes when drawing fur?
Use a kneaded eraser to gently lift excess pigment without damaging the paper fibers. If you have applied too much wax, a battery-operated eraser can help remove stubborn dark marks for highlight correction.
This answer was created with the help of AI research tools and reference sources. Spotted an error? Let us know — we correct mistakes quickly. See our editorial policy.