How do you paint a dog with acrylic paint?
Short answer
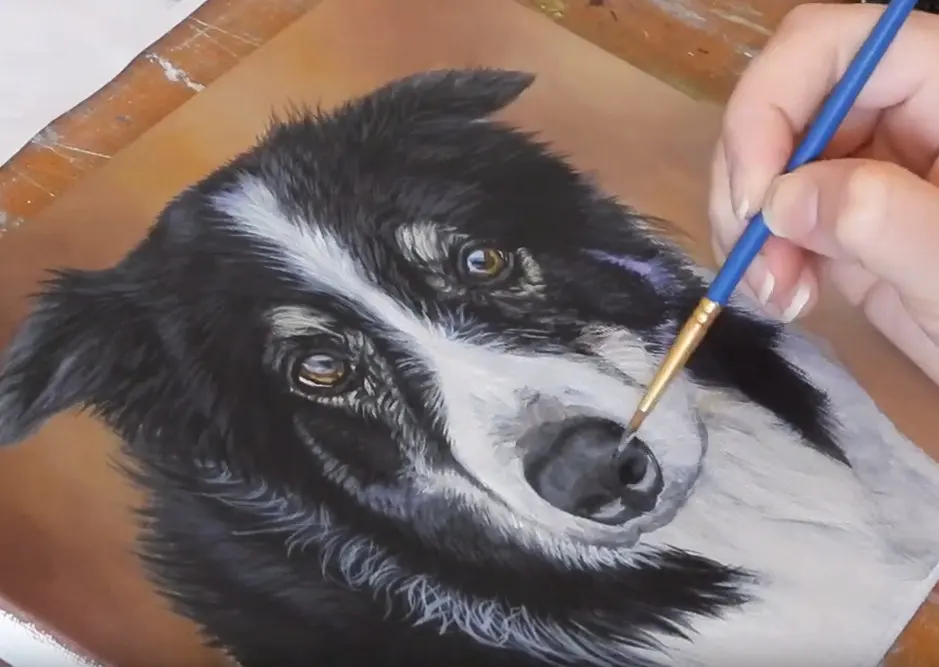
Painting a dog with acrylics involves sketching the animal’s anatomy, layering base colors, and building texture through short, directional brushstrokes. Because acrylics dry quickly, you must work in sections, starting with dark shadows and moving toward light highlights. Always use high-quality synthetic brushes to ensure precise control over fur detail and expression.
On this page
What supplies are needed to paint a dog?
To begin your portrait, you need a set of heavy-body acrylic paints, which offer the thickness required for fur texture. Essential colors include titanium white, carbon black, burnt umber, raw sienna, and ultramarine blue, which helps in mixing realistic neutral tones. You should also acquire a variety of synthetic brushes, specifically filberts for blending and riggers for fine whiskers or individual hairs.
A sturdy canvas or primed heavy-weight paper serves as your foundation. It is helpful to have a stay-wet palette, which prevents the fast-drying acrylics from hardening while you work. Additionally, keep a water container and a roll of paper towels nearby to clean brushes between color transitions. Having a high-quality reference photo printed in color will allow you to study the light source and fur direction accurately before applying any pigment.
How to prepare the canvas for a portrait?
Proper preparation ensures your paint adheres correctly and prevents the surface from absorbing moisture too quickly. Start by applying a thin layer of gesso to your canvas, which creates a smooth, professional tooth for the paint. Once dry, lightly sketch the outline of the dog using a soft graphite pencil or a light wash of watered-down burnt umber.
- Map out the head shape and muzzle length first to ensure correct proportions.
- Mark the placement of the eyes, as these are the focal point of any pet portrait.
- Sketch the general direction of the fur growth, as this serves as a guide for your later brushstrokes.
- Keep your initial lines faint so they do not show through thin layers of paint.
Avoid using dark markers or heavy charcoal, as these can bleed through acrylic layers and muddy your colors during the painting process.
How to layer acrylic paint for fur texture?
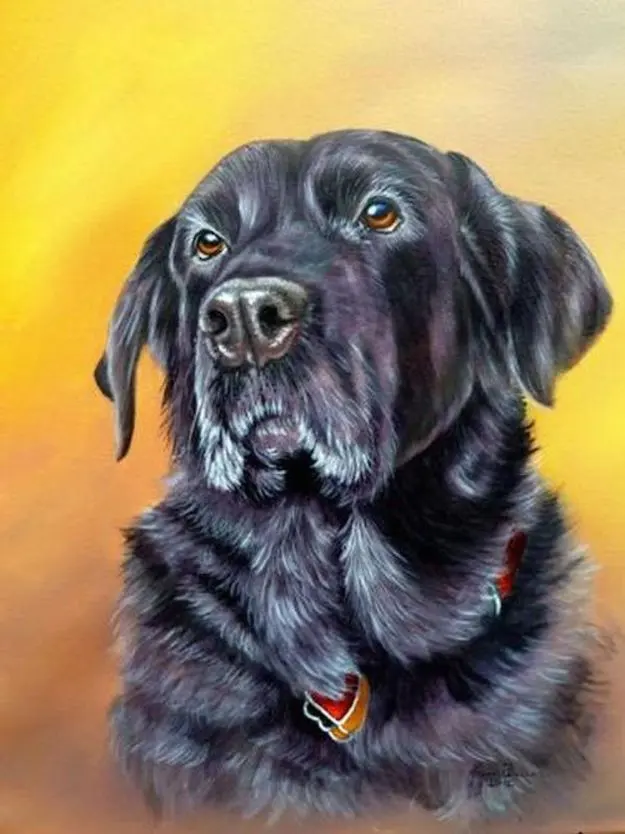
Layering is the secret to creating depth and realism in animal portraiture. Start by blocking in the mid-tones across the entire canvas to establish the dog's basic form. Once the base is dry, begin adding shadows in the recessed areas, such as under the ears, around the neck, and inside the eye sockets.
- Use dark, cool colors for deep shadows to create visual contrast.
- Apply mid-tones in the middle of the painting process to define the dog’s muscle structure.
- Add highlights last, using thick, opaque paint to simulate the sheen of the coat.
- Use short, flicking motions with a small brush to mimic the appearance of individual hairs.
Always work from the background to the foreground. By painting the areas behind the dog first, you ensure that the edges of the fur look natural rather than cut out.
How to paint realistic dog eyes?
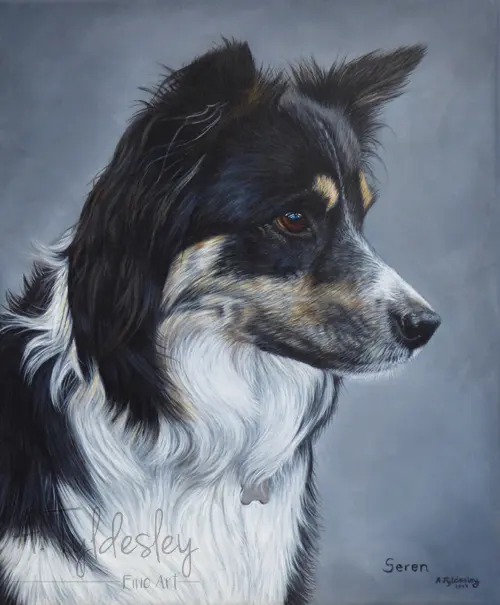
The eyes are the most critical part of a dog portrait because they convey personality and life. Start by painting the iris with a base color, then add a darker ring around the outer edge to create depth. Use a small, round brush to define the pupil, ensuring it is perfectly centered or directed according to your reference photo.
The most important step is adding the "catchlight," which is the white reflection of light on the surface of the eye. Use a tiny dot of pure titanium white to place this reflection, usually positioned at the top edge of the pupil. This single mark transforms a flat shape into a glossy, realistic eye. Avoid making the eyes too symmetrical, as natural eyes often have slight variations in light reflection and shape that make the portrait feel authentic.
Common mistakes when painting dogs?
One frequent error is failing to observe the direction of fur growth. Beginners often paint fur in a uniform direction, which makes the dog look like a flat object rather than a living creature. Always follow the contours of the body, letting your brushstrokes follow the natural flow of the coat from the roots to the tips.
Another mistake is over-blending, which results in a muddy, plastic appearance. Acrylics are meant to be layered; if you overwork the wet paint, the colors will mix into a dull grey. Allow each layer to dry completely before adding fine details on top. Finally, avoid using pure black for shadows, as this can look harsh. Instead, mix black with a touch of blue or brown to create a more natural, transparent shadow that adds dimension to the dog’s coat.
Key facts
- Acrylic paint dries within 10 to 20 minutes, allowing for rapid layering and corrections.
- Use synthetic brushes for acrylics, as natural hair brushes can become damaged by the paint's alkaline nature.
- Always start with a thin, diluted wash of color to map out the dog's proportions before adding thick paint.
- Use a "wet palette" to keep your acrylic paints workable for hours instead of letting them dry on the tray.
- Paint fur in the direction of growth using short, flicking brush strokes to create a realistic texture.
- Clean your brushes immediately after use with soap and water, as dried acrylic paint is essentially plastic and permanent.
The bottom line
Painting a dog with acrylics requires a structured approach that prioritizes layering and texture. By mapping out proportions first, building up colors from dark to light, and using deliberate, directional brush strokes for fur, you can create a lifelike portrait. Keep your tools clean, maintain a moist palette, and embrace the medium’s fast-drying nature to layer details effectively for a professional and vibrant final result.
People also ask
How do I choose the right colors for a dog's fur?
Observe the dog in natural light to identify undertones like blue, red, or yellow within the fur. Mix these base colors with white, black, or burnt umber to achieve a natural, multi-dimensional look rather than using a single flat brown.
Should I use water to thin my acrylic paint?
You can use water to thin acrylics for washes, but adding more than 30% water can break down the paint's binder. For better results, use an acrylic medium to thin the paint while maintaining its adhesive properties.
How do I capture the look of a dog's eyes?
Eyes are the focal point, so use high-contrast colors and a tiny dot of pure white for the reflection. Ensure the reflection is placed in the same spot on both eyes to create a consistent light source.
Can I paint over a mistake if I make one?
Yes, one of the primary benefits of acrylics is their opacity. Once the layer is completely dry, you can simply paint over the error with a thicker layer of the correct color.
What surface is best for painting a dog?
A primed canvas or heavy-duty acrylic paper is ideal because these surfaces are designed to hold paint without warping. Ensure the surface is gessoed to prevent the paint from soaking into the fibers.
How do I prevent the paint from drying too quickly while I work?
Use a spray bottle to lightly mist your palette with water throughout the session. Alternatively, purchase a slow-drying medium, often called a retarder, to extend the open time of the paint.
This answer was created with the help of AI research tools and reference sources. Spotted an error? Let us know — we correct mistakes quickly. See our editorial policy.