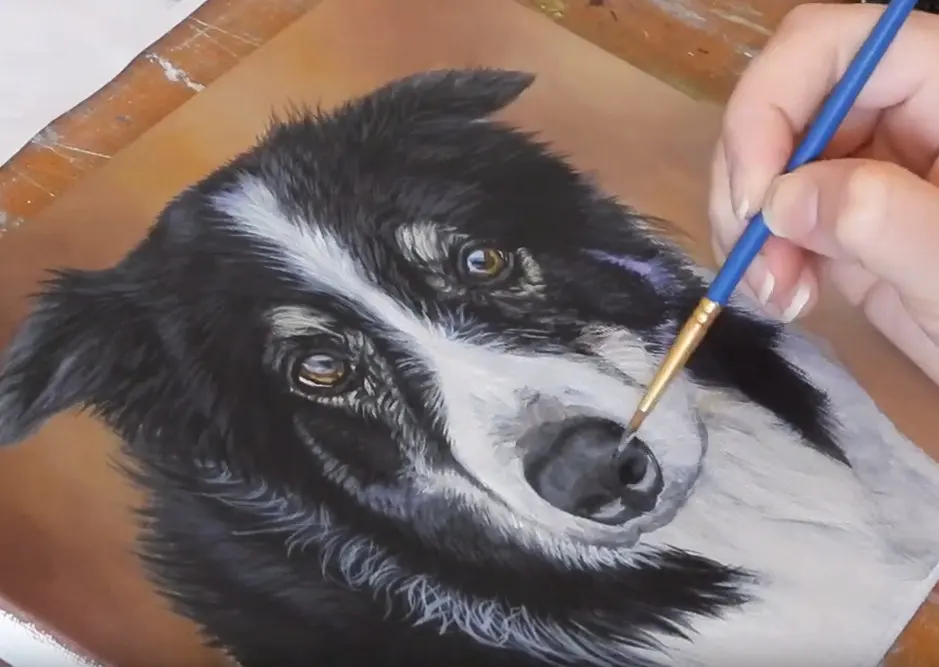
How do you paint a portrait with acrylic paint?
Short answer
Painting a portrait with acrylics involves sketching the subject, blocking in base skin tones, and layering details. Because acrylics dry rapidly, artists must work quickly to blend colors. Success requires managing paint moisture, building depth through thin glazes, and focusing on light and shadow to define the facial structure accurately.
On this page
How to prepare your canvas and materials
Selecting the right materials is the foundation of a successful portrait. For acrylics, a primed canvas or heavy-duty mixed-media paper works best to prevent the paint from soaking into the fibers. You should also choose a range of synthetic brushes, specifically filberts and rounds, which offer the versatility needed for both broad strokes and fine facial details.
Before applying paint, prepare a palette with a "stay-wet" system or a simple spray bottle. Acrylics dry in minutes, so keeping your paint moist is essential for blending. A basic portrait palette should include titanium white, yellow ochre, burnt sienna, ultramarine blue, and a warm red like cadmium. Having a neutral gray tone for your background helps you judge skin values more accurately than a stark white surface.
- Prime your surface with gesso if it is not already treated.
- Sketch the facial proportions lightly using a graphite pencil or a thin wash of burnt sienna.
- Set up your palette with a moisture-retaining layer to extend paint life.
- Organize your brushes by size, keeping a water container nearby for immediate cleaning.
How to mix skin tones for portraits
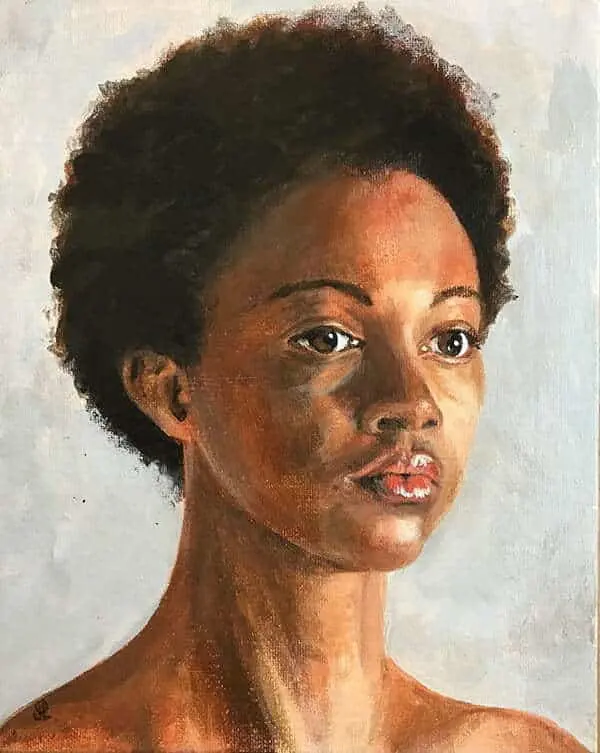
Mixing realistic skin tones is often the most intimidating part of portraiture. Avoid using pure black to darken colors, as it creates a muddy appearance; instead, mix complementary colors like burnt sienna and ultramarine blue to achieve a deep, natural shadow. Start by creating a base mid-tone that matches the subject's general complexion, then adjust it with white or yellow to change the value and temperature.
Remember that skin is translucent and reflects the colors of the surrounding environment. If your subject is standing near a blue wall, incorporate subtle cool tones into the shadows of the face. Use a "limited palette" approach initially, which forces you to focus on value—the lightness or darkness of a color—rather than trying to find the perfect pre-mixed tube color.
- Test your mixtures on a scrap piece of paper before applying them to the canvas.
- Use a palette knife for mixing to keep your brush bristles clean and preserve their shape.
- Keep your mixtures slightly thinner than the consistency of heavy cream for better flow.
How to block in the facial structure
Begin by establishing the darkest shadows first to create a map of the face. This process, known as "blocking in," focuses on large shapes rather than individual features like eyes or lips. By identifying where the light hits the face and where the shadows fall, you create a three-dimensional foundation that guides the rest of your painting.
Work from dark to light, gradually adding mid-tones and highlights as you refine the shape of the head. Acrylics are opaque, meaning you can easily cover up mistakes by letting a layer dry and painting over it. Focus on the "planes" of the face—the forehead, cheekbones, and jawline—rather than drawing outlines. This technique ensures the portrait looks solid and realistic rather than flat or cartoonish.
- Keep your brushwork loose and expressive during the initial blocking phase.
- Compare the size of the nose, mouth, and eyes against the overall head shape frequently.
- Avoid over-blending; let some brushstrokes remain visible to add texture and life to the skin.
How to refine details and highlights
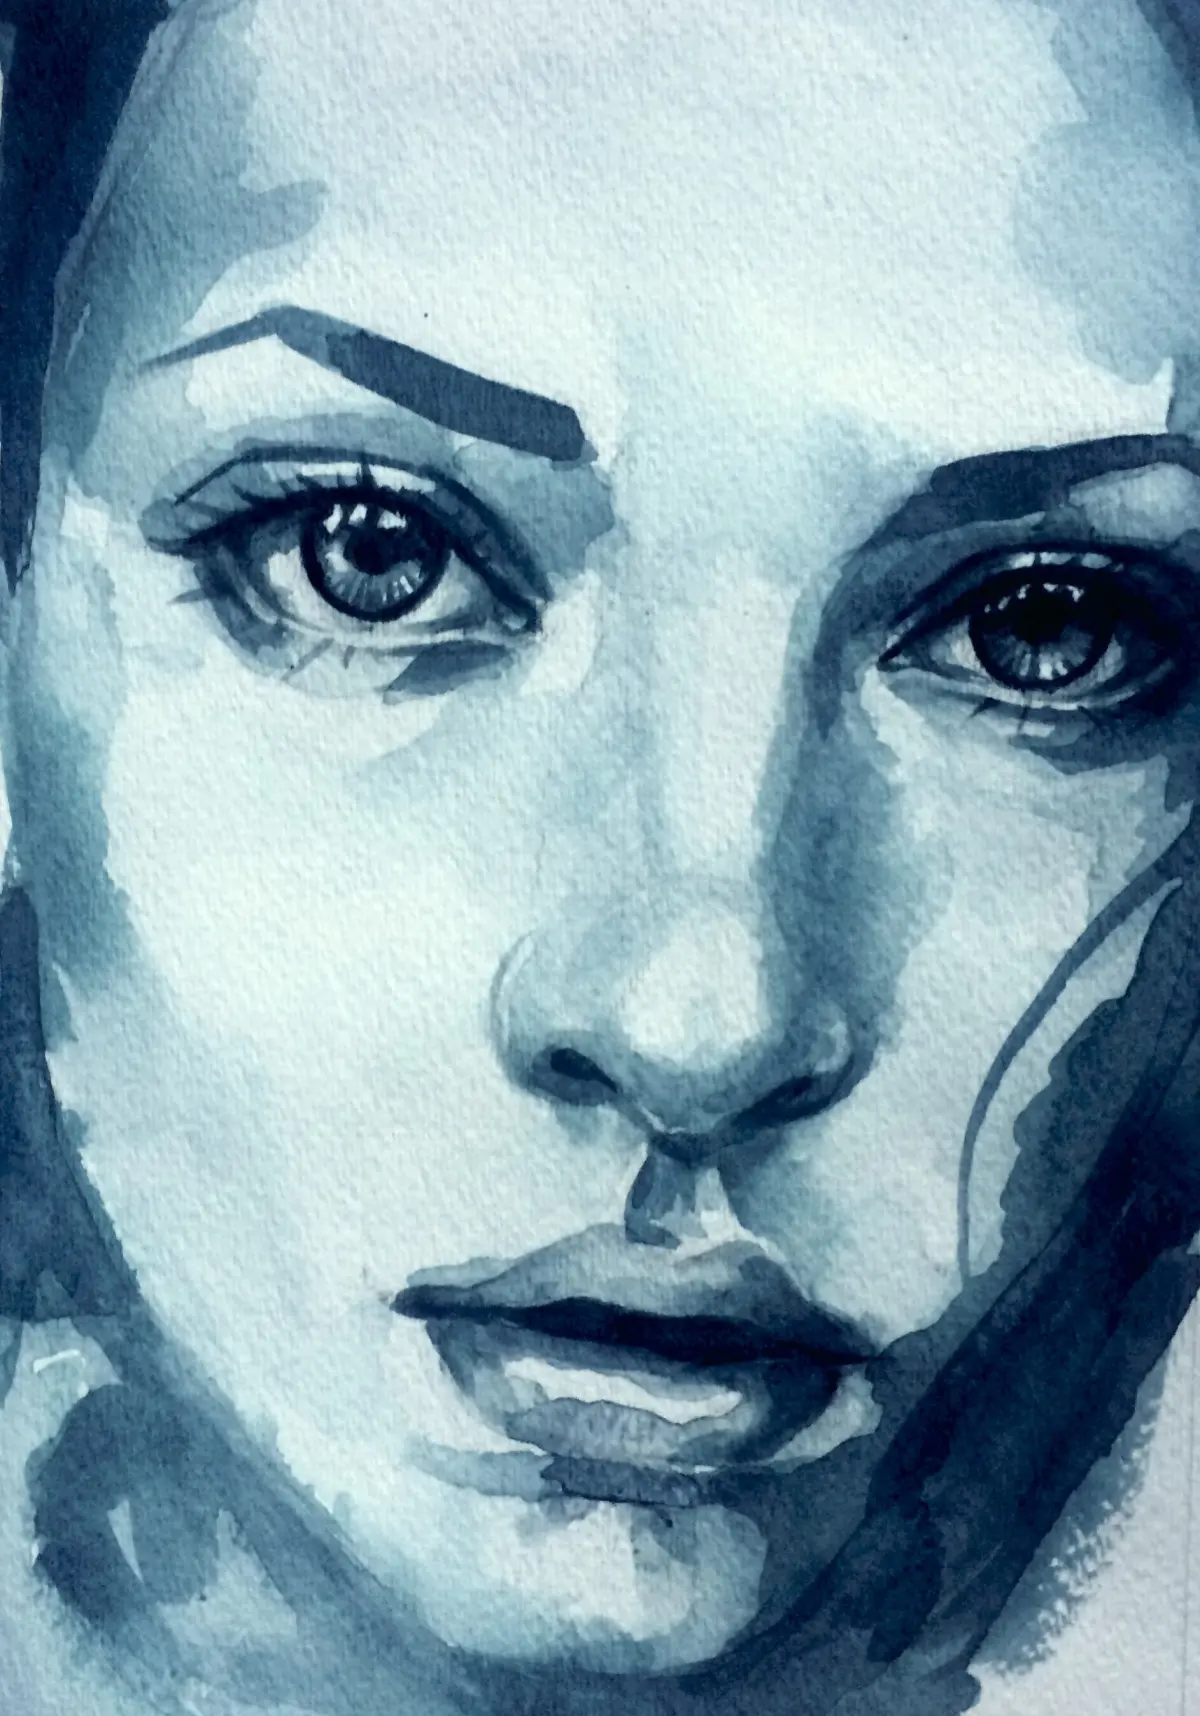
Once the structure is established, move on to the finer details. Use a small round brush to define the eyes, nostrils, and the corners of the mouth. Remember that the eyes are not pure white; they contain subtle grays, blues, and shadows that give them depth. Use your lightest highlights sparingly, placing them on the bridge of the nose, the top of the cheekbones, and the lower lip to simulate the way light hits moist surfaces.
Layering is the secret to a professional look. Apply thin, transparent layers of paint, known as glazes, to adjust the hue or intensity of specific areas. This technique allows you to build up the richness of the skin without losing the underlying structure. If you feel the painting is becoming too dark, use a dry brush with a tiny amount of white to lightly scumble over the surface.
- Use a fine-tipped brush for the iris and pupil, ensuring the highlights in the eyes align.
- Soften the edges of the shadows with a clean, damp brush to create a natural transition.
- Add final highlights last, as these should sit on top of all other layers.
Common mistakes when painting portraits
One frequent error is painting features in isolation rather than as part of the whole face. Beginners often focus too much on the eyes, making them look like stickers on a flat surface. To avoid this, keep your eyes moving across the entire canvas, working on the forehead, chin, and cheeks simultaneously. This keeps the proportions consistent and ensures the lighting remains unified across the entire portrait.
Another common issue is using paint that is too thick or too dry. If your paint is dragging, your brush will leave streaks that are difficult to smooth out. Always keep your brush slightly damp and use a medium if necessary to improve the flow of the paint. Finally, do not fear the "ugly stage" of the painting; most portraits look unfinished and awkward until the final highlights and shadows are placed to tie everything together.
Key facts
- Acrylic paint dries within 10 to 20 minutes, making it ideal for layering but difficult for traditional wet-on-wet blending.
- Use a "retarder" medium if you need to extend the drying time to achieve smooth skin tone transitions.
- Start with a "wash" or thin layer of burnt sienna to establish the underpainting and shadow shapes before adding opaque colors.
- Always use synthetic brushes, as natural hair bristles can be damaged by the alkaline nature of acrylic polymers.
- Work from dark to light, applying deep shadows first and saving the brightest highlights for the final touches.
- Keep a spray bottle of water nearby to mist your palette, preventing the paint from drying out while you work.
The bottom line
Painting a portrait with acrylics requires a balance of speed and careful layering. By establishing your dark values first and using mediums to control drying times, you can build depth and realism effectively. Remember that acrylics dry quickly, so keep your tools clean and your palette moist. With patience and practice, this versatile medium allows for both bold brushwork and delicate, lifelike portrait details.
People also ask
Can I use acrylics on canvas board or stretched canvas?
Both surfaces work well, but you must ensure the canvas is primed with gesso to prevent the paint from soaking into the fibers. Stretched canvas offers a slight bounce, while canvas board provides a rigid, stable surface for detailed work.
How do I clean my brushes after a painting session?
Rinse brushes thoroughly with cool water and mild soap immediately after use. If acrylic paint dries in the bristles, it becomes plastic-like and is nearly impossible to remove without damaging the brush.
Is it possible to paint over a mistake in acrylic?
Yes, acrylic paint is highly opaque and dries quickly, making it very forgiving. Simply wait for the layer to dry completely and paint over the error with a fresh, opaque color.
Do I need to varnish my portrait once it is finished?
Applying a varnish protects the painting from dust, UV light, and moisture. Wait at least 24 to 48 hours for the paint to fully cure before applying a final archival varnish.
How do I mix skin tones accurately?
Start with a base of white, yellow ochre, and a touch of red or blue to neutralize the hue. Test the color on a scrap piece of paper first, as acrylics often dry slightly darker than they appear when wet.
Should I use water to thin my acrylic paint?
You can use water, but adding more than 30% water can break down the paint's binder and lead to peeling. For thin, transparent glazes, use an acrylic glazing medium instead of water to maintain the paint's structural integrity.
This answer was created with the help of AI research tools and reference sources. Spotted an error? Let us know — we correct mistakes quickly. See our editorial policy.