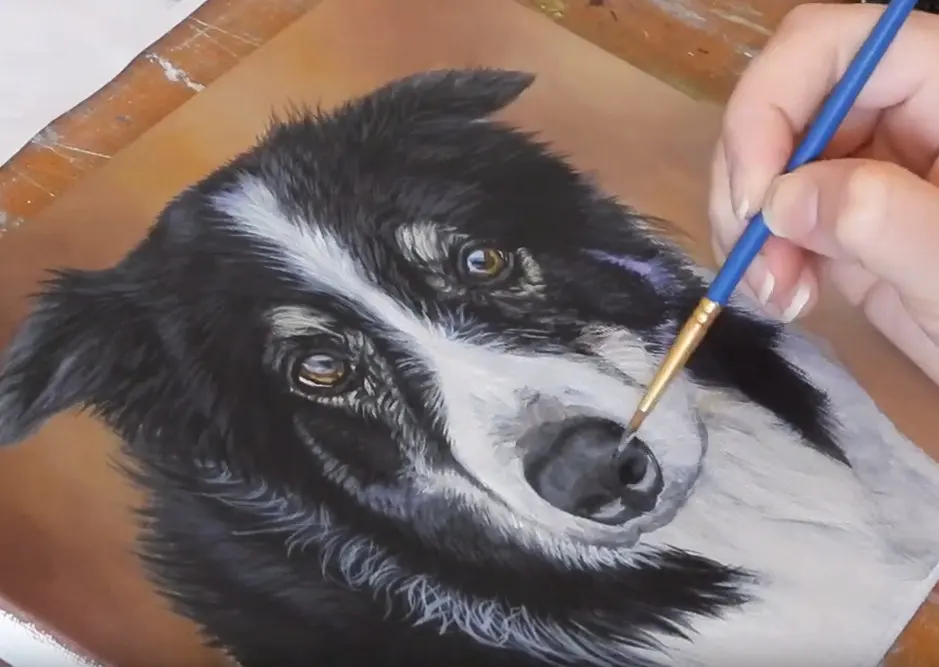
How do you paint a portrait in oil?
Short answer
Painting an oil portrait involves preparing a primed canvas, sketching the subject’s proportions, and layering colors from dark to light. Artists use a fat-over-lean technique, applying thin, turpentine-thinned paint first, followed by thicker, oil-rich layers. Patience is essential, as each layer requires drying time to ensure the final work remains stable and vibrant.
On this page
What supplies are needed for oil portraiture?
To begin painting portraits in oil, you require a specialized set of materials designed for longevity and ease of use. You will need a primed canvas or wood panel, as oil paint can rot raw fabric. For brushes, select a variety of hog bristle brushes for blocking in shapes and soft synthetic or sable brushes for blending skin tones and fine details. A palette, preferably wood or glass, is necessary for mixing colors.
You should also acquire a high-quality set of oil paints, including a warm and cool version of each primary color, plus earth tones like yellow ochre, burnt sienna, and raw umber. For mediums, keep a jar of refined linseed oil and an odorless mineral spirit for cleaning brushes and thinning paint. Avoid using turpentine if you are working in a poorly ventilated space. Investing in a sturdy easel will help you maintain a consistent distance from your canvas, which is vital for accurate observation.
How to prepare the canvas and sketch
Preparation is the foundation of a successful portrait. Start by applying a thin, neutral-toned wash of paint, known as an imprimatura, over your white canvas. This eliminates the harsh glare of the primer and helps you judge color values more accurately as you work. Once dry, use a charcoal pencil or a thin brush dipped in burnt sienna to map out the subject’s features. Focus on the placement of the eyes, nose, and mouth relative to the overall shape of the head.
- Measure the distance between the eyes to ensure symmetry.
- Mark the centerline of the face to establish the tilt of the head.
- Sketch the major shadow shapes before worrying about individual details.
- Keep your initial lines light so they do not bleed into your lighter paint layers.
Avoid the common mistake of focusing on small details, such as eyelashes or skin pores, too early in the process. If the underlying proportions are incorrect, no amount of fine detailing will make the portrait look accurate.
How to layer oil paint correctly
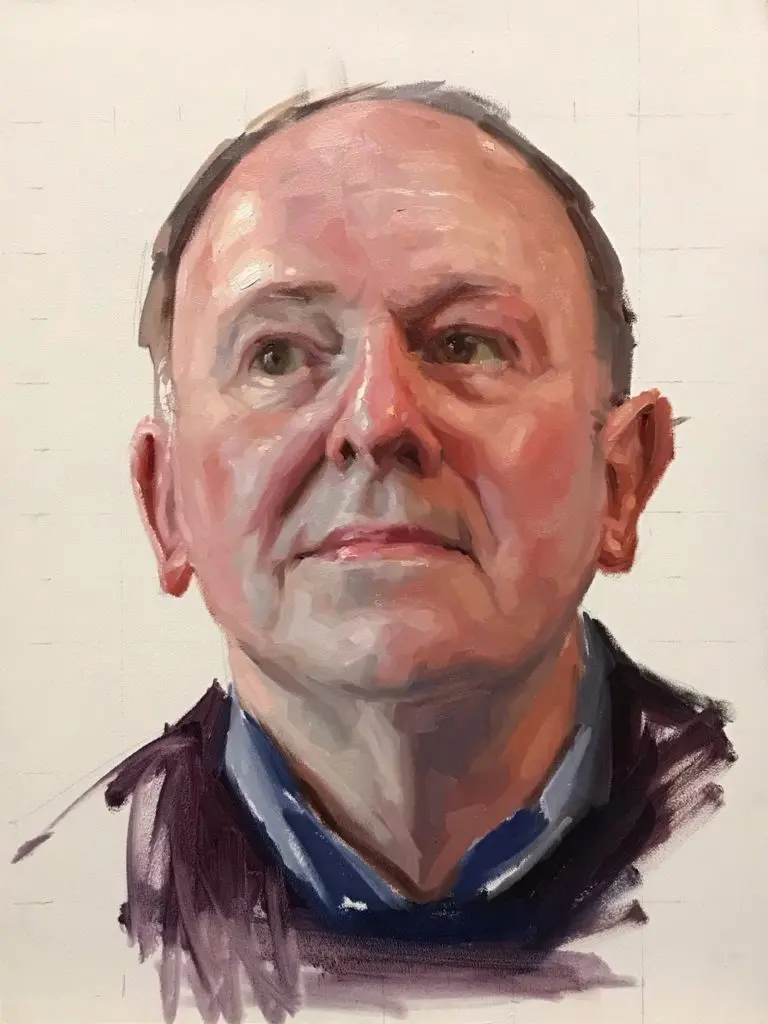
The "fat-over-lean" principle is the most critical rule in oil painting. "Lean" paint, which is thinned with mineral spirits, should be used for the initial underpainting because it dries quickly and adheres well to the canvas. "Fat" paint, which contains more linseed oil, should be used for subsequent layers. Because fat layers dry slower than lean layers, this technique prevents the paint film from cracking as the work cures over time.
Work from dark to light, establishing the deepest shadows first. Use thin glazes for shadows to maintain transparency and depth. As you move toward the highlights, increase the amount of oil in your paint mixture. This creates a physical build-up of texture, often called impasto, which helps the highlights catch the light and appear more three-dimensional. Always allow each layer to become "touch dry" before adding the next, which may take anywhere from a few days to several weeks depending on the thickness of the application.
How to mix natural skin tones
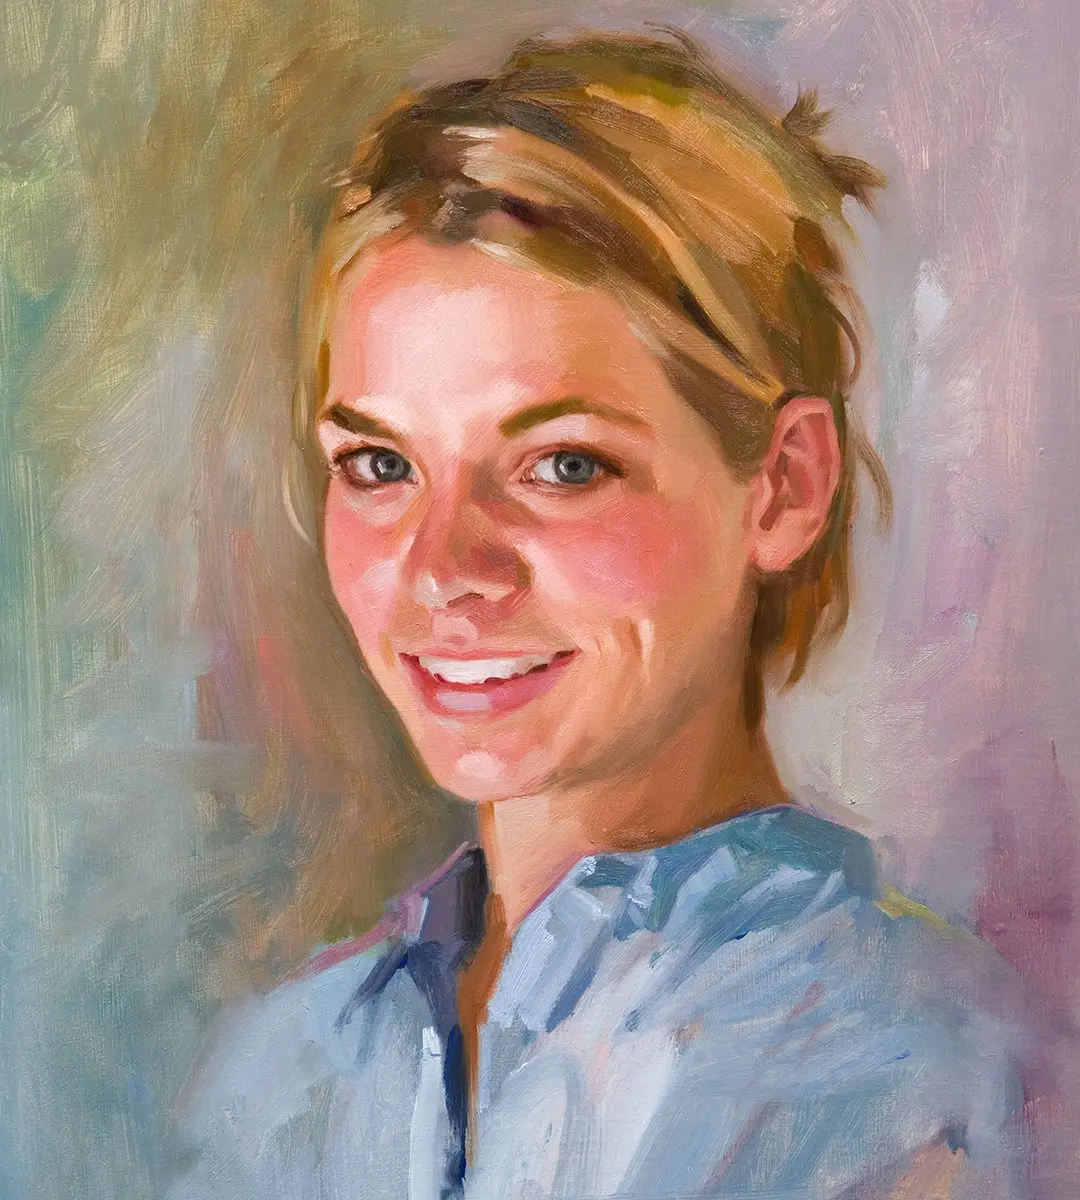
Mixing skin tones is often the most intimidating part of portraiture for beginners. Instead of relying on a single "flesh tint" tube, create your own palette by mixing various combinations of white, yellow ochre, cadmium red, and ultramarine blue. By adjusting the ratios, you can achieve a vast spectrum of skin colors that account for light, shadow, and reflected color. Remember that skin is translucent, so avoid using pure white for highlights, which can make the face look chalky.
- Use a small amount of blue or green to neutralize overly orange or red mixtures.
- Observe the "temperature" of the light; sunlight often creates cool shadows, while artificial light may create warm shadows.
- Test your mixtures on a scrap piece of canvas before applying them to the portrait.
- Keep your palette organized so you can easily replicate a color if you run out while working on a specific area.
If the skin looks muddy, it is usually because you have mixed too many colors together or overworked the paint on the canvas. Clean your brush frequently and use fresh, distinct mixtures for each area of the face.
Common mistakes when painting portraits
One of the most frequent errors is failing to observe the subject’s proportions correctly. Beginners often draw eyes too high on the head or make the nose too long. To avoid this, step back from your easel every twenty minutes to view the portrait from a distance. This "fresh eye" perspective allows you to see anatomical errors that are invisible when you are standing too close. Another common mistake is neglecting the background, which should be treated with the same level of care as the face to create a cohesive image.
Finally, do not be afraid of making mistakes. Oil paint is forgiving because it remains wet for a long time, allowing you to scrape off areas you are unhappy with using a palette knife. If you find yourself struggling with a specific feature, wipe it away and start that section over rather than trying to fix it with more paint. Consistency and observation are the true keys to mastering the craft of oil portraiture. With practice, you will develop the intuitive sense needed to capture a likeness that feels both accurate and alive.
Key facts
- Oil paint dries through oxidation, not evaporation, meaning layers can remain workable for several days.
- The "fat over lean" rule dictates that each subsequent layer must contain more oil than the one beneath it to prevent cracking.
- Use a limited palette, such as the Zorn palette (yellow ochre, cadmium red, ivory black, and titanium white), to ensure color harmony.
- Always prime your canvas with gesso to prevent the acidic oil from rotting the fabric fibers over time.
- Use natural hog-hair brushes for thick applications and synthetic sable brushes for fine details and blending.
- Clean brushes immediately after use with an odorless mineral spirit or a brush soap to maintain the integrity of the bristles.
The bottom line
Painting an oil portrait is a methodical process that rewards patience and careful planning. By mastering the fundamental rules of layering, color mixing, and surface preparation, you can create a professional-grade work of art. Focus on capturing the structure of the face before refining details, and always prioritize the health of your materials. With practice, you will develop the technical confidence to capture a subject's unique character.
People also ask
How long does an oil portrait take to dry?
Depending on the thickness of the paint and the humidity of the room, a portrait can take anywhere from a few days to several weeks to become touch-dry. Full curing, where the oil film is completely stable, can take six months to a year.
What is the best surface for oil painting?
Linen is the professional standard due to its durability and natural texture, though cotton canvas is a popular, affordable alternative. Ensure the surface is properly primed with gesso before you begin to avoid oil absorption.
Should I use turpentine or mineral spirits?
Odorless mineral spirits are generally preferred in modern studios because they are less toxic than traditional turpentine. Always work in a well-ventilated area regardless of the solvent you choose.
How do I mix skin tones?
Start by mixing your primary colors—red, yellow, and blue—and then add white to adjust the value. Use earth tones like burnt sienna or yellow ochre to neutralize the mixture and achieve realistic, flesh-like hues.
Can I paint over a mistake in oil?
Yes, oil paint is highly forgiving; you can scrape off wet paint with a palette knife or let it dry and paint directly over it. Because oil is opaque, you can easily cover previous layers once they are tacky.
Do I need to varnish my portrait?
Varnish protects the painting from dust, UV light, and environmental pollutants. Wait until the painting is fully cured—typically six to twelve months—before applying a final coat of damar or synthetic varnish.
This answer was created with the help of AI research tools and reference sources. Spotted an error? Let us know — we correct mistakes quickly. See our editorial policy.