How do you draw a portrait from life?
Short answer
Drawing a portrait from life requires careful observation of proportions, light, and geometry. By breaking the subject into simple shapes, establishing a reliable foundation, and refining details through iterative layering, you can capture a likeness. Consistency, patience, and frequent measurement are essential tools for translating three-dimensional reality onto a two-dimensional surface.
On this page
How to prepare for a live portrait session
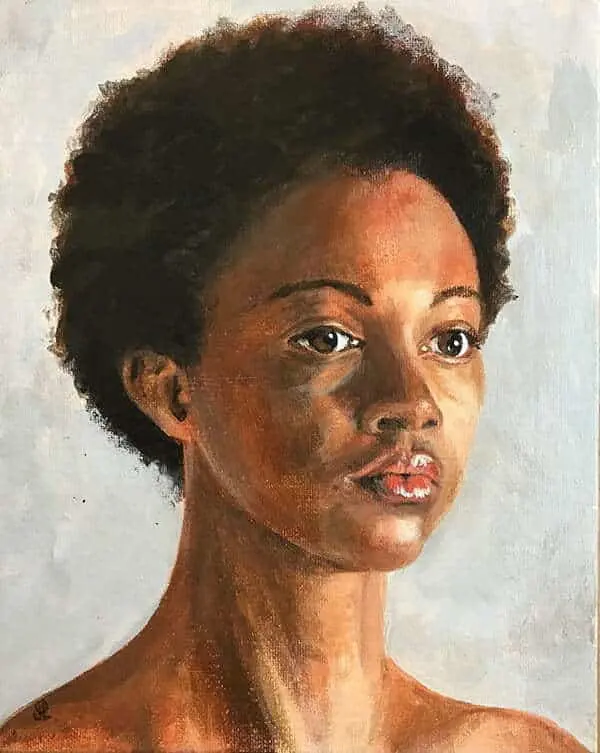
Success begins with setting up your workspace to minimize distractions and ensure consistent lighting. Position your subject in a comfortable chair, ideally at eye level, and ensure a single light source hits them from the side to create clear shadows. This "chiaroscuro" effect helps you define the planes of the face more effectively. Use a viewfinder or a simple piece of cardboard with a rectangular cutout to help frame your composition before you touch pencil to paper.
Gather your materials beforehand so you do not break your focus during the session. A variety of graphite pencils, ranging from hard 2H for initial layouts to soft 6B for dark accents, will provide the necessary tonal range. Keep a kneaded eraser nearby, as it allows you to lift graphite gently without damaging the paper’s surface. Ensure your drawing board is tilted toward you to prevent perspective distortion, which occurs when the paper lies flat on a table.
How to measure facial proportions accurately
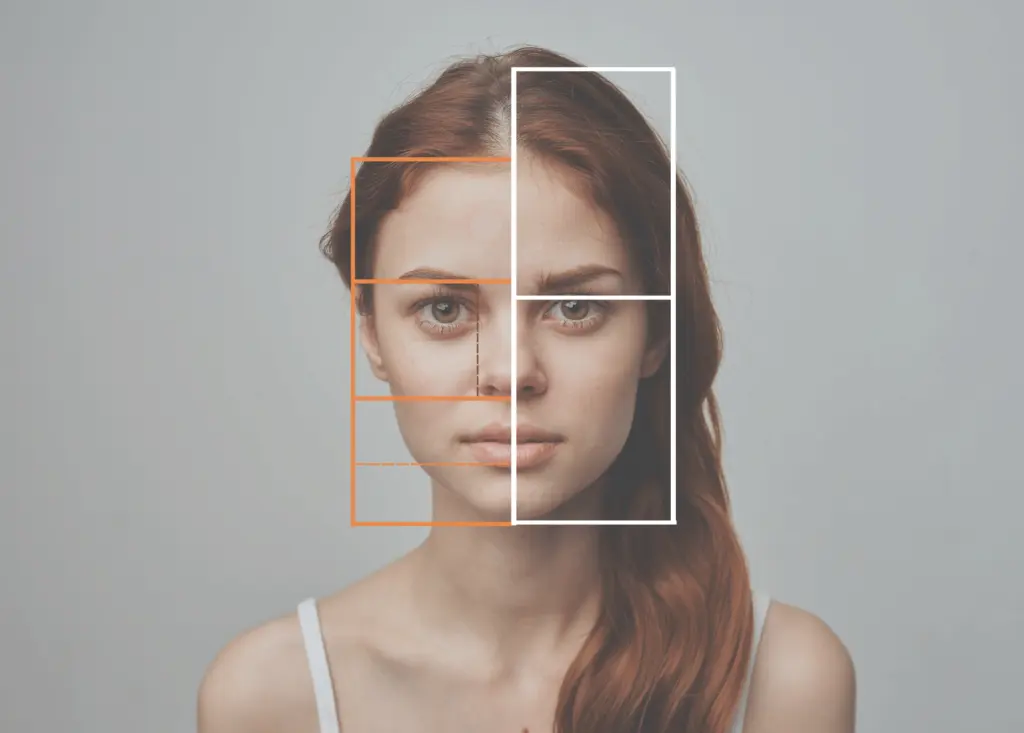
Human faces follow standard anatomical proportions, though every individual possesses unique variations. A common rule is that the eyes are located halfway down the vertical length of the head. The space between the eyes is generally the width of one eye, and the bottom of the nose usually aligns with the bottom of the ears. Use your pencil as a measuring tool by holding it at arm's length to compare the height and width of features against one another.
- Close one eye to eliminate depth perception, which helps you see the subject as a flat image.
- Align the tip of your pencil with the top of the subject's head and your thumb with the chin to establish a baseline.
- Use this unit of measurement to mark the relative positions of the hairline, brow, nose, and mouth on your paper.
- Check these marks repeatedly before committing to permanent lines, as errors in the initial layout are difficult to correct later.
How to build the structure of the head
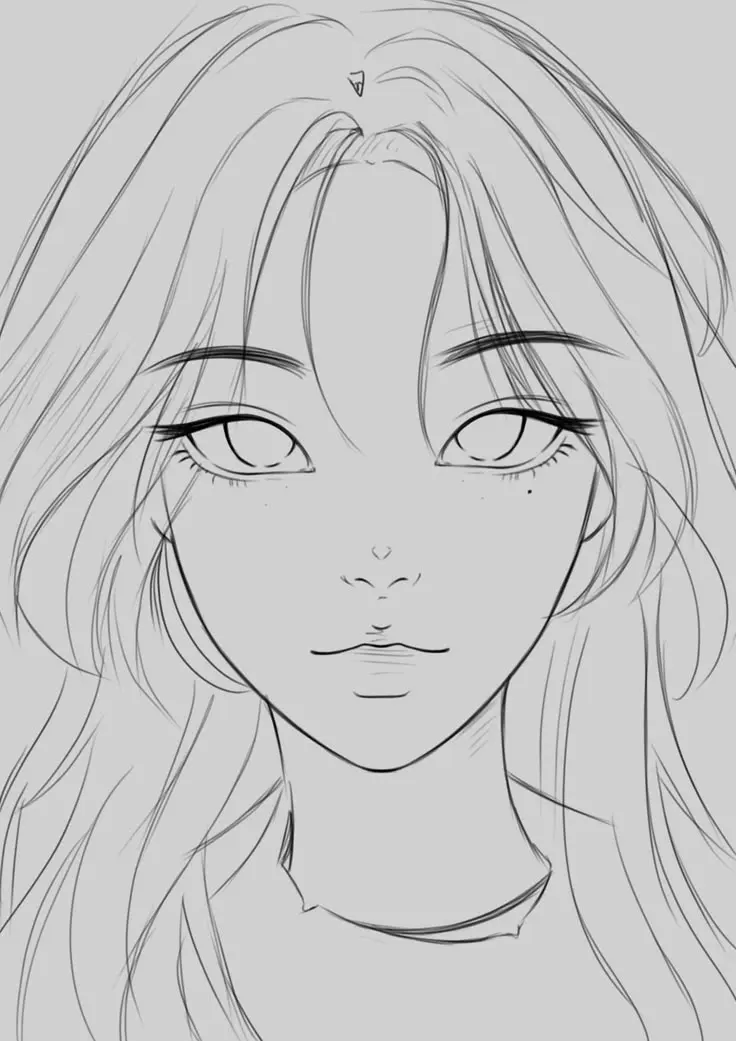
Before sketching individual features, construct the head using basic geometric shapes. Most artists begin by drawing an egg-like oval, then dividing it with a vertical center line to establish symmetry and a horizontal line for the brow. This structural approach ensures that the features remain aligned even if the subject tilts their head. Focus on the "envelope"—the outer silhouette of the head and hair—rather than the eyes or nose initially.
Once the silhouette is established, map out the major planes of the face. Think of the forehead, cheeks, and chin as distinct, flat surfaces that turn away from the light. By identifying where these planes shift, you create a sense of volume that makes the portrait look three-dimensional. Avoid drawing outlines around the eyes or lips; instead, use light shading to suggest the transition between the skin and the shadow cast by the features.
Common mistakes when drawing portraits
One of the most frequent errors is "symbol drawing," where the artist draws what they think an eye or nose looks like rather than what they actually see. This leads to generic, flat results that lack the specific character of the subject. To avoid this, force yourself to look at the subject for longer than you look at your paper. If you find yourself guessing the shape of a feature, stop and re-measure the angles and distances against your established baseline.
Another common mistake is applying dark values too early in the process. Start with light, sketchy marks that can be easily adjusted or erased. If you darken the pupils or nostrils prematurely, you lose the ability to shift the placement of the features if you discover a proportion error later. Build your drawing from the general to the specific, ensuring the overall structure is sound before adding fine details like eyelashes, skin texture, or individual hair strands.
How to refine shadows and details
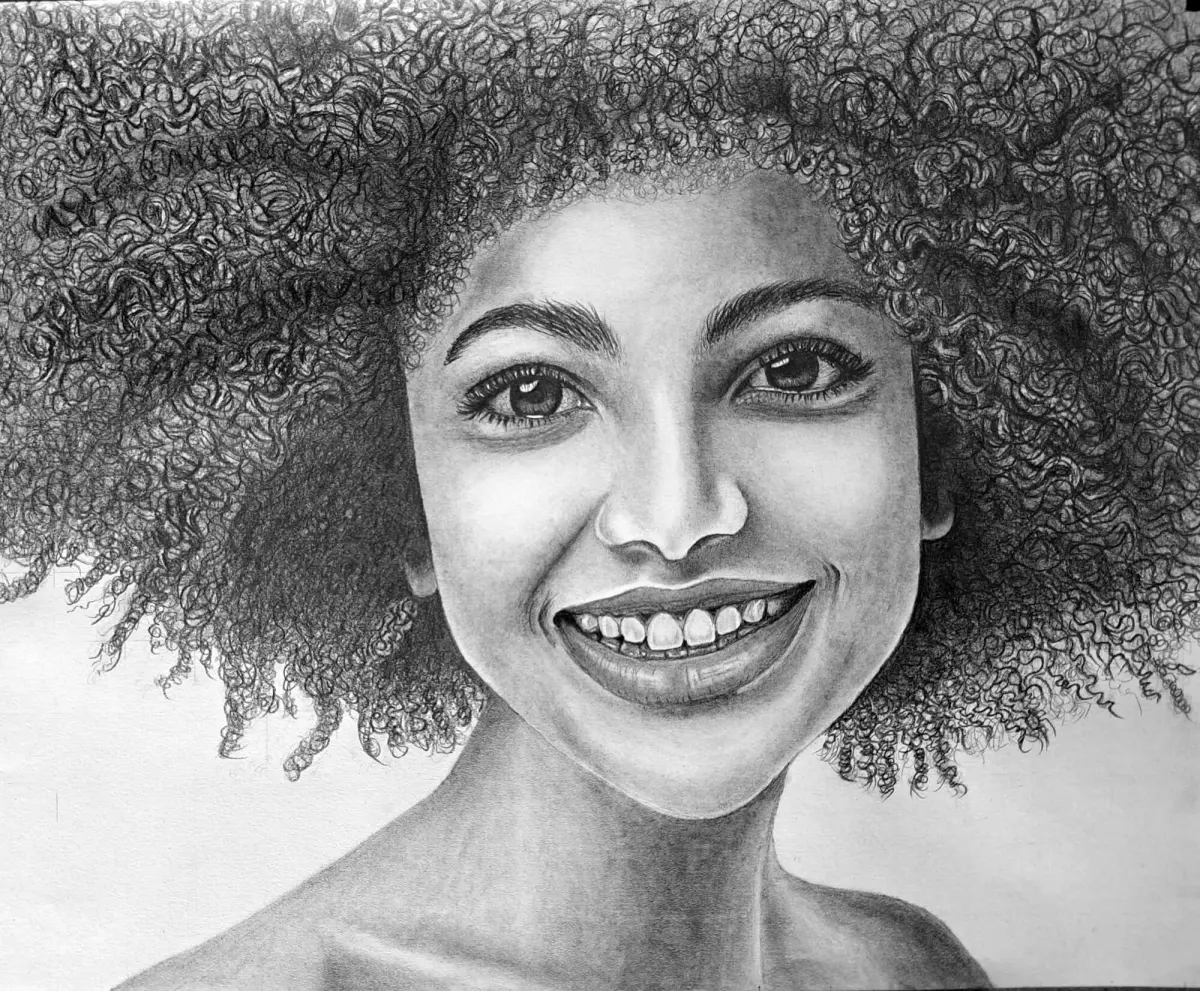
Once the proportions are accurate, begin to develop the full range of values. Identify the darkest shadows on the subject, such as the area under the chin or the deepest part of the eye socket, and establish these as your darkest points. Work outward from these shadows, using lighter strokes to create a gradient that mimics the soft transition of light across skin. This process, known as modeling, gives the portrait its lifelike quality and depth.
- Use cross-hatching or blending stumps to smooth out transitions between light and shadow.
- Leave the brightest highlights, such as the glint in the eye or the bridge of the nose, as the white of the paper.
- Step back from your drawing every twenty minutes to view it from a distance, which often reveals errors in likeness that are invisible up close.
- Finally, add subtle details like skin pores or stray hairs only in the focal areas, such as the eyes, to guide the viewer’s attention toward the most expressive parts of the face.
Key facts
- Focus on the "envelope" or the overall outer shape of the head before adding internal features.
- Position your subject at eye level to prevent distorted perspective and foreshortening issues.
- Use a plumb line—a string with a weight—to align vertical landmarks like the inner corners of the eyes and the chin.
- Measure proportions by comparing the width of the head to its height using your pencil as a tool.
- Keep the light source consistent to ensure shadows remain in the same place throughout the session.
- Avoid drawing individual features in isolation, as this often leads to a disjointed and inaccurate likeness.
The bottom line
Drawing a portrait from life requires shifting your focus from symbolic representations of features to the objective observation of shapes, angles, and light. By establishing accurate proportions first and maintaining a consistent light source, you create a structural foundation for a convincing likeness. Practice patience, prioritize the relationship between forms, and remember that capturing the essence of your subject is more important than achieving photographic perfection.
People also ask
How long should a portrait session last?
Most artists find that 45 to 90 minutes is the ideal window for a single sitting. Beyond this, the subject often becomes fatigued, causing their expression to shift and their posture to slump.
Should I use charcoal or graphite for a portrait?
Graphite is excellent for precise, clean lines and detailed shading, making it ideal for beginners. Charcoal offers a broader range of values and is better suited for expressive, high-contrast work.
Why does my portrait look like a different person?
This usually happens because you are drawing what you think an eye or nose looks like rather than what you actually see. Focus on the specific angles and negative spaces between features to capture true likeness.
How do I capture a person's expression?
Pay close attention to the corners of the mouth and the shape of the eyelids. Small, subtle adjustments in these areas communicate emotion more effectively than heavy shading.
What is the best way to handle skin tones in a drawing?
Use a full range of values, including deep shadows and bright highlights, to suggest volume. Avoid over-blending, which can make skin look flat or muddy rather than three-dimensional.
How do I keep the subject from moving?
Provide a comfortable chair and encourage the subject to find a natural, relaxed position. Taking short, scheduled breaks every 20 minutes helps the subject maintain their pose for longer durations.
This answer was created with the help of AI research tools and reference sources. Spotted an error? Let us know — we correct mistakes quickly. See our editorial policy.