How do you draw a self-portrait step by step?
Short answer
Drawing a self-portrait requires careful observation of your facial proportions and light sources. By mapping the skull's structure, sketching the features, and layering values, you can capture a realistic likeness. Success depends on measuring distances between landmarks like the eyes, nose, and mouth rather than drawing what you think you see.
On this page
How to prepare for a self-portrait
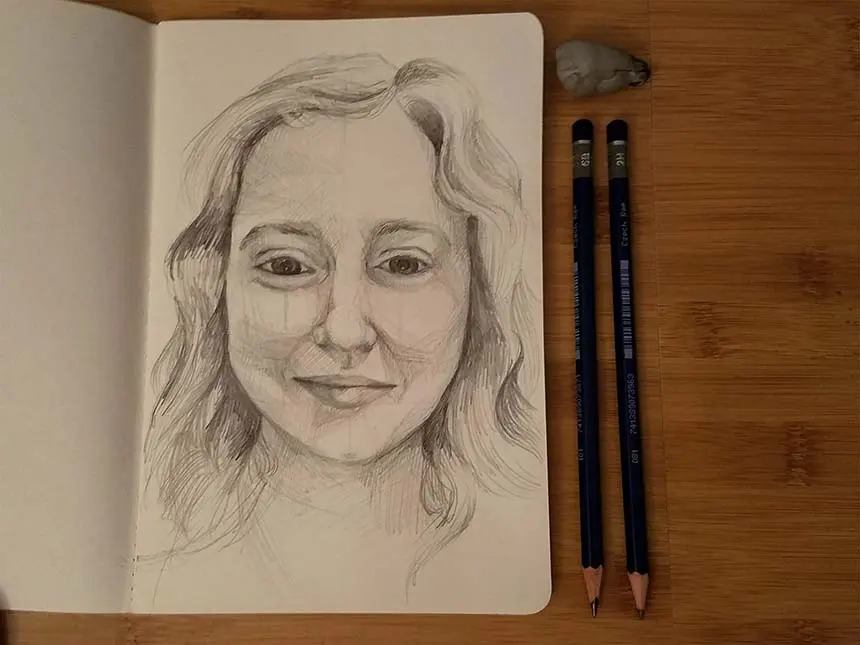
Before beginning, secure a well-lit space where a consistent light source, such as a lamp or window, hits one side of your face. This lighting creates clear highlights and shadows, which are essential for defining three-dimensional form. Use a mirror placed at eye level or a high-quality photograph to ensure you maintain a steady, accurate perspective throughout the process.
Gather your materials, including a range of graphite pencils (HB for sketching, 2B and 4B for shading), a kneaded eraser, and heavy drawing paper. A kneaded eraser is particularly useful because it can be molded into precise shapes to lift highlights or soften harsh lines. Ensure your pencils are sharpened, as crisp lines provide a better foundation for the structural work that follows.
- Position your mirror so you are looking straight ahead without straining your neck.
- Tape your paper to a flat surface to prevent movement while you work.
- Clean your workspace to minimize distractions, allowing for sustained focus on your subject.
How to map facial proportions
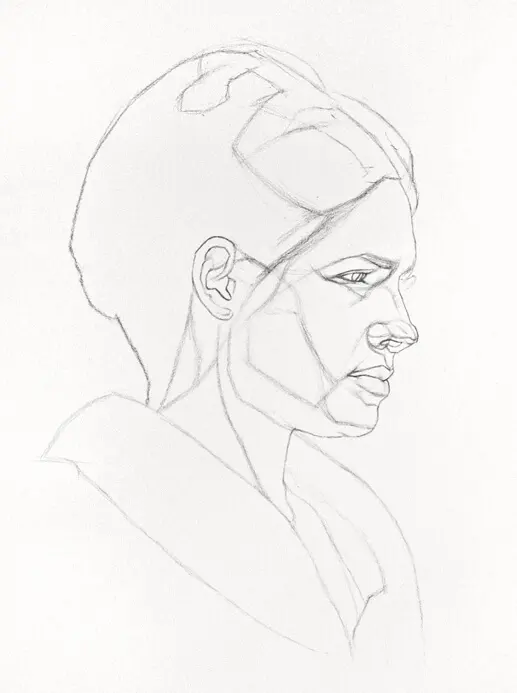
The human face follows specific geometric rules that help maintain symmetry and scale. Start by drawing a light oval to represent the head, then divide it horizontally through the center to locate the eyes. The distance between the eyes is typically the width of one eye, and the bottom of the nose usually sits halfway between the eyes and the chin.
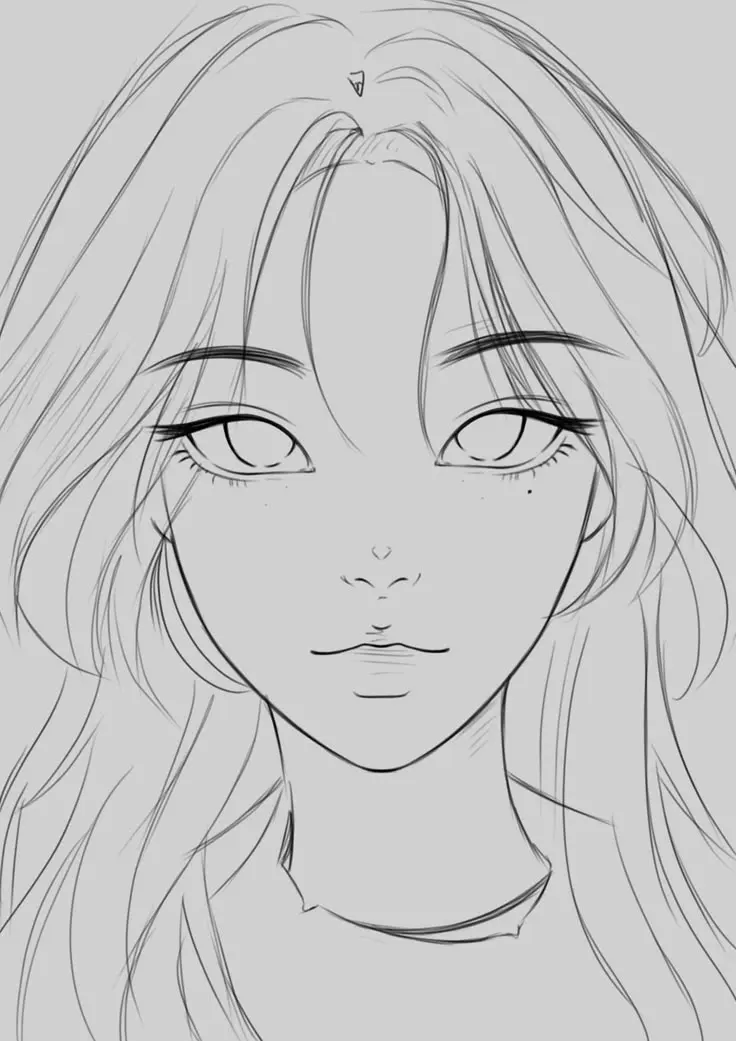
Mapping these landmarks prevents the common error of placing features too high or too low. Use light, gestural lines to mark the placement of the hairline, brow ridge, and jawline. Once the basic framework is established, refine the shapes of the eyes, nose, and lips, ensuring they align with the guidelines you created.
- Draw a vertical line down the center of the oval to ensure bilateral symmetry.
- Mark the bottom of the ears at the same level as the bottom of the nose.
- Check that the corners of the mouth align vertically with the pupils of the eyes.
How to render shading and texture
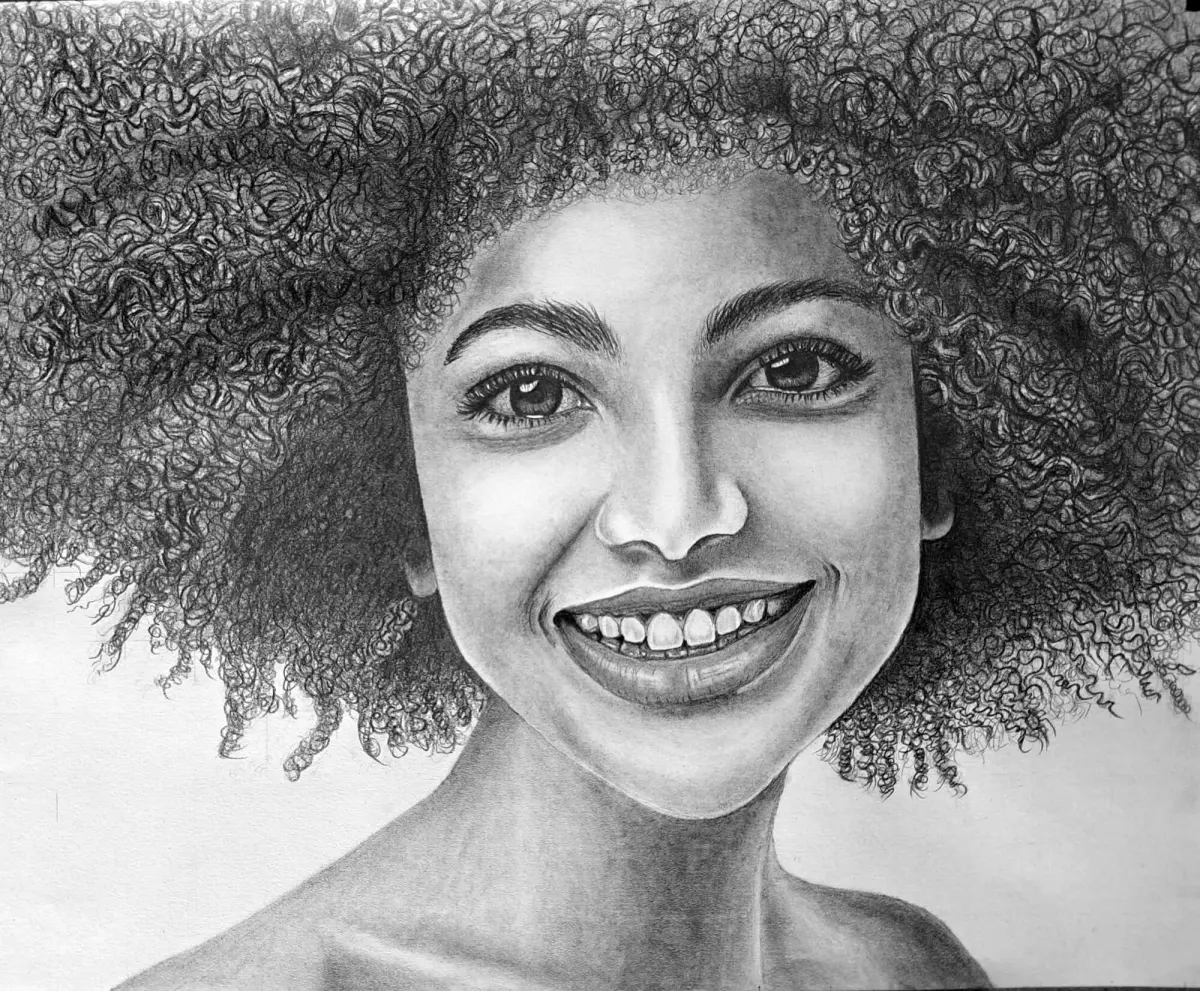
Shading transforms a flat outline into a realistic portrait by suggesting volume and depth. Begin by identifying the darkest areas, such as the pupils, the nostrils, and the shadows cast by the jaw or hair. Use the side of your pencil to apply soft, broad strokes, gradually building up layers of graphite to achieve a smooth transition between light and dark tones.
Pay close attention to the mid-tones, which connect the highlights to the deepest shadows. Avoid using harsh, dark outlines around the edges of the face, as these can make the portrait appear like a cartoon. Instead, use subtle shifts in value to define the edges where the skin turns away from the light, creating a natural, rounded appearance that mimics human anatomy.
Common mistakes when drawing self-portraits
One of the most frequent errors is drawing symbols of features rather than observing the actual shapes present. For example, many beginners draw almond-shaped eyes because that is how they imagine an eye, missing the unique curvature of their own lids. To avoid this, focus on the negative space around the eyes and the specific angles of the eyelashes and tear ducts.
Another common pitfall is neglecting the neck and shoulders, which anchor the head to the body. A head drawn without a neck often appears detached or floating, disrupting the overall composition. Additionally, artists often rush the shading process, leading to muddy or uneven textures. Take your time to blend graphite carefully, ensuring that your transitions remain clean and intentional throughout the entire drawing process.
Best techniques for refining details
Refining is the final phase where you add the specific characteristics that make the portrait look like you. Use a sharp pencil to add fine details like individual hairs in the eyebrows, the texture of the lips, or the subtle reflections in the eyes. These small marks provide the necessary contrast to make the portrait feel alive and authentic to your appearance.
Finally, step back from your drawing periodically to view it from a distance. This perspective shift helps you identify errors in proportion or shading that are not visible when you are working up close. Use your kneaded eraser to pull out bright highlights on the bridge of the nose or the forehead, which adds a final touch of realism. Once you are satisfied with the balance of light and shadow, your self-portrait is complete.
Key facts
- The human face is roughly shaped like an inverted egg, with the chin being the narrowest point.
- Eyes are typically positioned halfway between the top of the head and the bottom of the chin.
- The bottom of the nose usually aligns with the bottom of the ears.
- Measuring proportions using a pencil held at arm's length helps maintain accurate scale.
- Lighting from a single source, such as a lamp to one side, creates clear shadows that define facial structure.
- Beginners often make the mistake of drawing eyes too high, forgetting the space required for the forehead and hair.
The bottom line
Drawing a self-portrait is an exercise in objective observation rather than memory. By mapping the skull's proportions, establishing a consistent light source, and focusing on the specific shapes of your features, you can capture a convincing likeness. Practice patience, prioritize shading over rigid outlines, and refine your work through constant comparison to your reflection. Mastering these foundational techniques will significantly improve your overall artistic accuracy.
People also ask
Should I use a mirror or a photograph for my self-portrait?
Using a mirror provides a live, three-dimensional view that helps you understand depth and changing angles. Photographs are static and can distort facial features depending on the camera lens used.
How do I avoid making my drawing look flat?
Focus on shading and value transitions rather than just outlines. By identifying the darkest shadows and the brightest highlights, you create the illusion of volume on a two-dimensional surface.
What is the best pencil grade for starting a portrait?
Use a hard lead pencil, such as an HB or H, for light construction lines that are easy to erase. Save softer, darker pencils like 4B or 6B for final shading and deep shadows.
Why do my portraits often look like someone else?
This usually happens when you rely on symbols of features—like drawing "almond" eyes—instead of observing your unique anatomy. Focus on the specific shapes and angles of your own features rather than generic representations.
How much detail should I include in the hair?
Treat hair as a single mass or shape rather than drawing individual strands. Define the overall silhouette and add texture only in areas where light hits the curves of the head.
Is it necessary to draw the neck and shoulders?
Including the neck and shoulders provides context and balance to the head. Without them, a portrait can look like a floating object, making it harder to establish a natural posture.
This answer was created with the help of AI research tools and reference sources. Spotted an error? Let us know — we correct mistakes quickly. See our editorial policy.