How do you shade a portrait?
Short answer
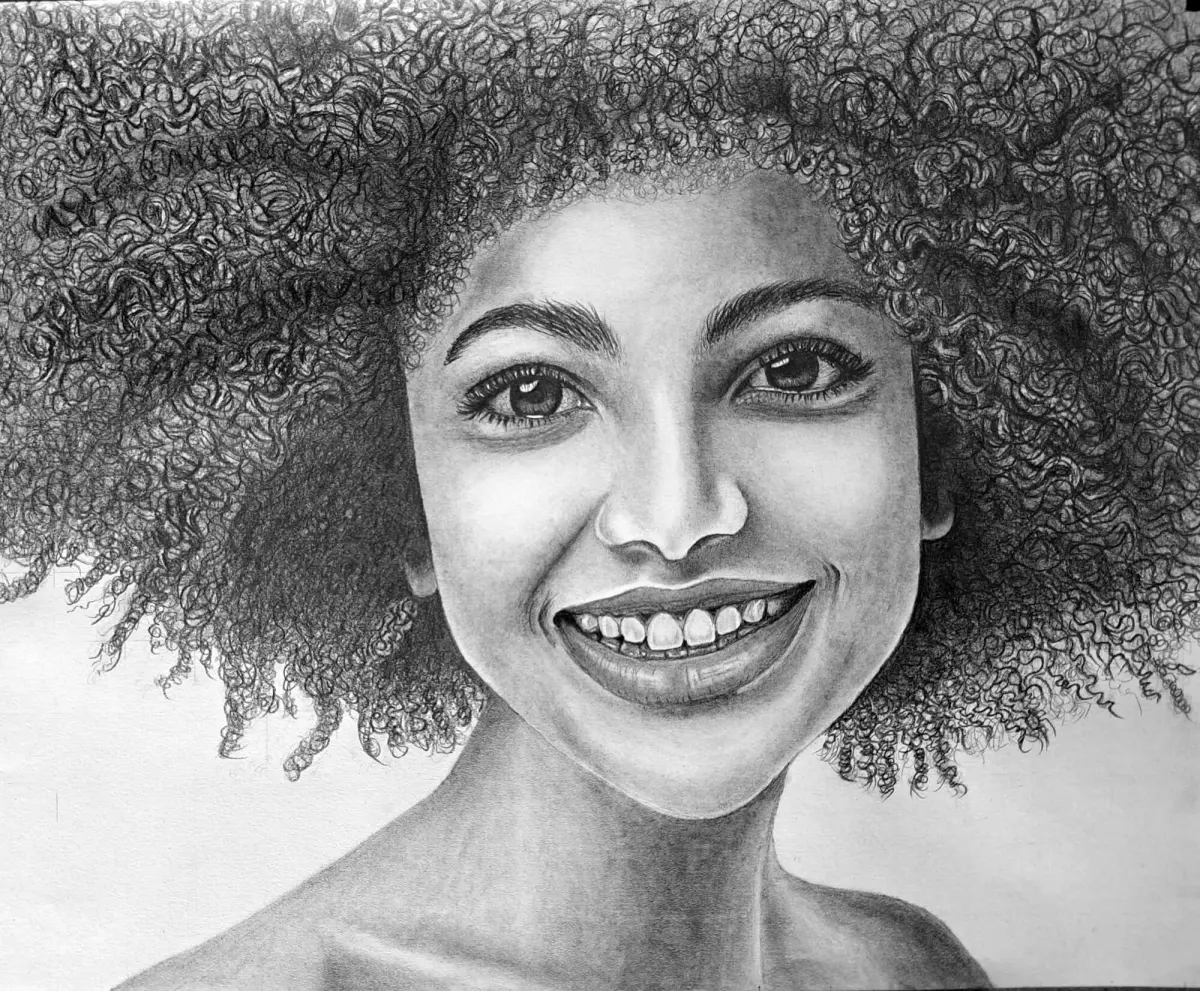
Shading a portrait requires mapping light sources to create three-dimensional form on a two-dimensional surface. By identifying highlights, midtones, and core shadows, you build depth through gradual value transitions. Use varied pencil pressures and blending techniques to mimic the subtle curves of facial anatomy, ensuring the skin appears realistic and voluminous.
On this page
How to identify light sources in portraits
The foundation of realistic shading is determining the direction of your light source. Before applying any graphite, visualize where the light hits the face, as this dictates the placement of highlights and shadows. A common technique is the "three-point lighting" method, which involves a primary light, a fill light to soften shadows, and a rim light to separate the subject from the background.
When you establish a consistent light source, the shadows will naturally fall on the opposite side of the facial features. For example, if the light comes from the upper right, the left side of the nose, the left cheek, and the area beneath the chin will be in shadow. Consistency is vital; if your shadows move around the face without a logical source, the portrait will appear flat or distorted.
- Locate the brightest point, usually on the forehead, nose bridge, or cheekbone.
- Identify the core shadow, which is the darkest area on the object itself.
- Observe the reflected light, which is the soft glow found within the shadowed areas.
- Define the cast shadow, which is the dark shape projected onto surfaces behind the face.
Best shading techniques for beginners
Beginners often struggle with heavy-handed strokes that create harsh, unnatural lines. To achieve smooth skin tones, use the side of your pencil lead rather than the tip to cover larger areas with soft, even layers. This technique, known as hatching or cross-hatching, allows you to build value gradually, which is much easier to control than starting with dark, permanent marks.
Blending is the next essential step in refining your shading. While many beginners rely on their fingers to smear graphite, this often introduces oils that muddy the drawing. Instead, use a paper blending stump or a piece of chamois to soften transitions between light and dark values. This creates a smooth, skin-like texture that mimics the way light wraps around the contours of the human face.
- Use an H-grade pencil for light, preliminary sketching and fine details.
- Use a B-grade pencil for midtones and soft, gradual shadows.
- Use a 4B or 6B pencil for the deepest, most dramatic shadows.
- Keep a kneaded eraser nearby to lift graphite and create subtle highlights.
Why portraits look flat or distorted
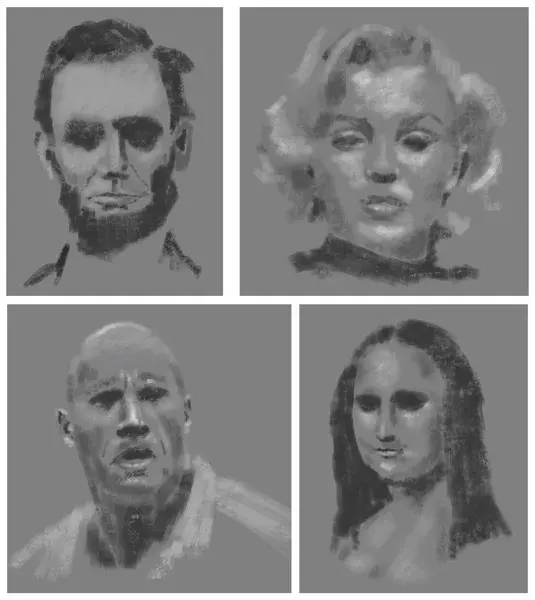
A portrait often looks flat because the artist has neglected the midtones, which are the bridge between highlights and deep shadows. Without a full range of values, the face lacks the necessary contrast to appear three-dimensional. Beginners frequently make the mistake of using only two or three shades, resulting in a stark, cartoonish appearance that fails to capture the complexity of human skin.
Another common cause of distortion is failing to account for the planes of the face. The head is not a flat surface; it is a complex collection of geometric shapes, including spheres, cylinders, and wedges. If you shade a cheek as a flat plane rather than a curved surface, the face will lose its anatomical integrity. Always shade according to the underlying bone structure, such as the curve of the jawline or the socket of the eye.
- Avoid outlining features with heavy, dark lines, as these create artificial boundaries.
- Ensure the shadows under the eyes and nose follow the curvature of the skull.
- Check your work in a mirror or take a photograph to spot value imbalances.
Common mistakes when shading faces
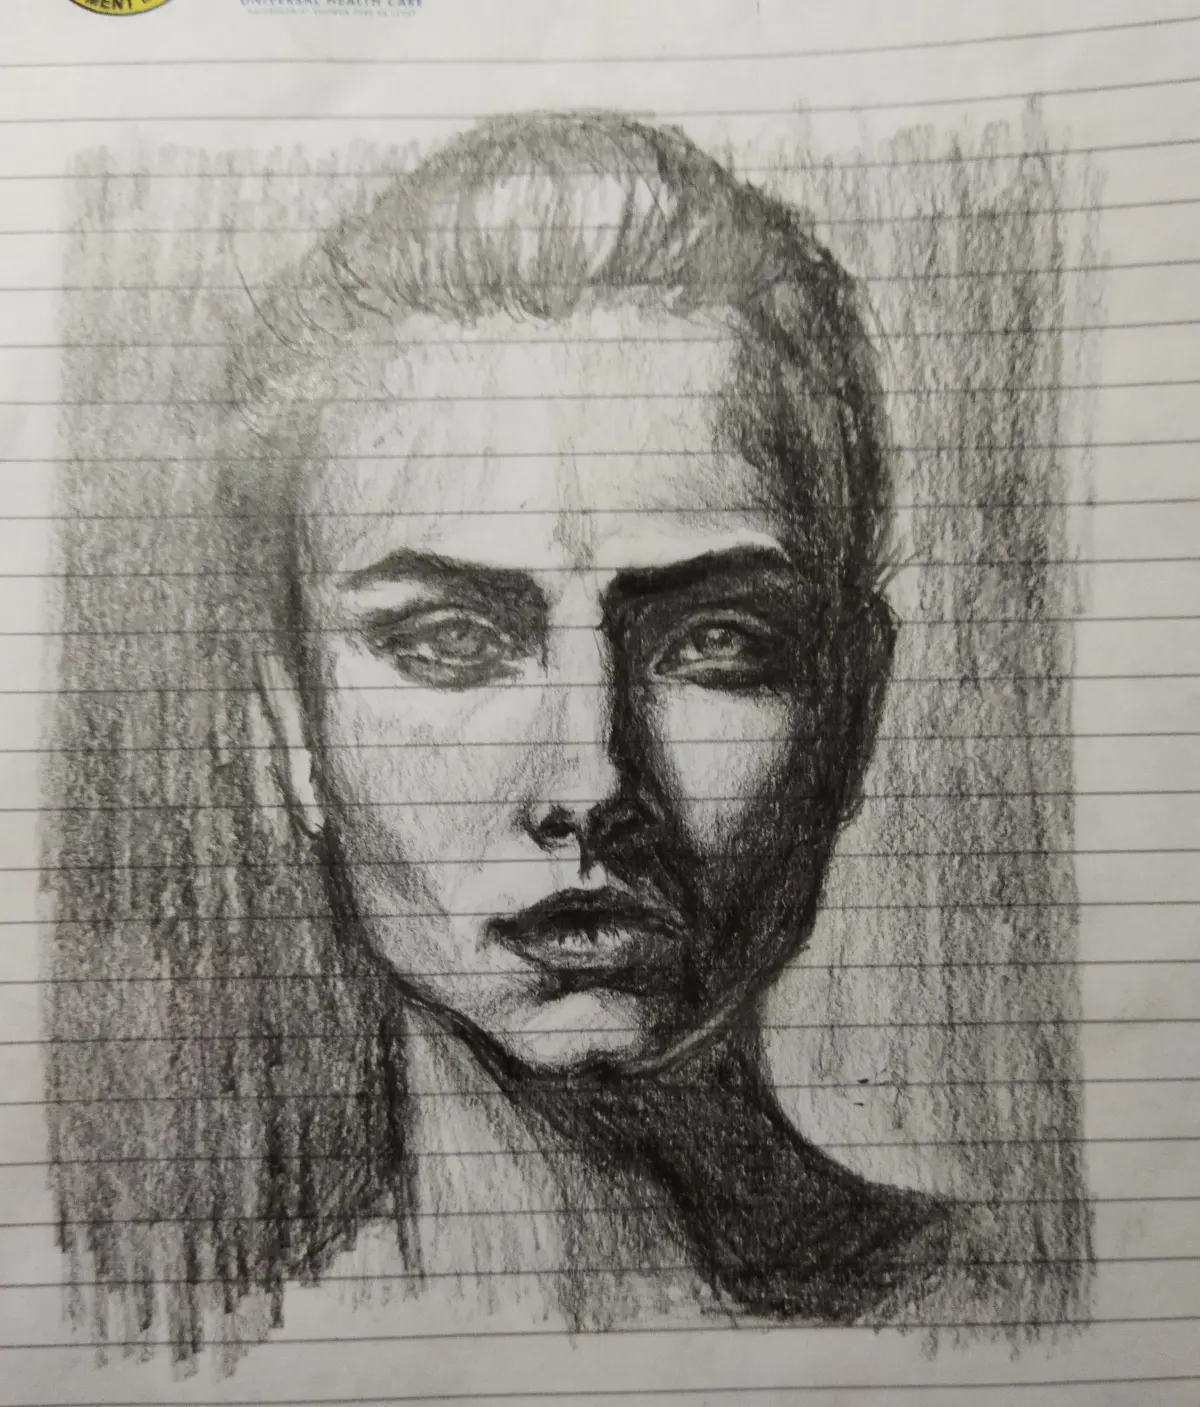
One of the most frequent errors is over-shading the eyes, which can make the subject look like they are wearing heavy makeup or appear sunken. The white of the eye, or sclera, is rarely pure white, but it should remain significantly lighter than the surrounding skin. Focus on shading the eyelids and the tear ducts to give the eye depth without making it look dark or bruised.
Another mistake is neglecting the "terminator," the line where light turns into shadow. If this transition is too sharp, the skin looks like hard plastic; if it is too blurry, the form loses its definition. You must observe the specific texture of the area you are shading. Soft, fleshy areas like cheeks require gentle, diffused transitions, while bony areas like the bridge of the nose may have slightly crisper edges.
- Do not press too hard early in the process, as this crushes the paper fibers.
- Avoid using a single pencil for the entire drawing; rotate between grades.
- Do not ignore the neck, as it provides the essential shadow that anchors the head.
- Remember to leave the brightest highlights completely untouched by graphite.
How to add realistic skin texture
Adding texture is the final stage of portrait shading, transforming a smooth drawing into a lifelike representation. Skin is not perfectly uniform; it contains pores, fine lines, and subtle imperfections. Use a sharp pencil to add tiny, irregular dots or faint, cross-hatched lines in the midtone areas to suggest the presence of pores. This level of detail helps break up large, flat areas of shading.
When refining the skin, consider the contrast between different areas of the face. The skin around the eyes is typically thinner and smoother, while the skin around the nose and mouth may have more texture. By varying your shading technique across these different regions, you create a sense of realism that is impossible to achieve with a uniform, blended finish. Patient observation remains your greatest tool when rendering these final, subtle details.
Key facts
- Use a range of graphite pencils, such as 2H for light initial sketches and 4B or 6B for deep, dark shadows.
- Identify the primary light source early to ensure highlights and shadows remain consistent across the facial features.
- Avoid smudging graphite with your fingers, as natural skin oils can create uneven, muddy patches on the paper.
- Apply shading in the direction of the underlying muscle structure to give the face a natural, three-dimensional volume.
- Keep your pencil strokes light, building up layers gradually rather than pressing hard to achieve dark tones immediately.
- Use a kneaded eraser to lift graphite gently, which allows for precise highlights and corrections without damaging the paper surface.
The bottom line
Shading a portrait is a process of building depth through layered values rather than drawing simple outlines. By identifying your light source and mapping out core shadows, you create the illusion of three-dimensional form. Use varied pencil grades, maintain clean blending techniques, and preserve your brightest highlights to ensure the final result looks realistic, balanced, and lifelike, capturing the unique character of your subject effectively.
People also ask
Should I shade the eyes before the rest of the face?
Many artists prefer starting with the eyes because they serve as the focal point of a portrait. Establishing the depth of the iris and the shadow of the eyelids early helps set the tonal range for the entire drawing.
How do I make skin look smooth instead of grainy?
Use a blending stump or a piece of soft tissue to gently smooth out your graphite layers. Working on high-quality, smooth-finish paper also prevents the texture of the grain from showing through your shading.
What is the best way to handle highlights on the nose and forehead?
Leave the white of the paper untouched for the brightest highlights. If you accidentally shade over them, use a kneaded eraser to pull the light back out, creating a crisp, clean edge.
How do I determine where the darkest shadows go?
Focus on the "core shadows," which are the darkest areas on the form itself, typically found under the chin, beneath the brow bone, and inside the nostrils. These areas provide the contrast needed to make the face appear solid.
Is it better to shade with circular motions or cross-hatching?
Circular motions are excellent for creating soft, realistic skin textures. Cross-hatching is better suited for stylized or illustrative portraits where you want the visible pencil lines to add a sense of energy and structure.
Why does my portrait look flat even after I add shadows?
Flatness usually occurs when the transition between light and shadow is too abrupt or when the mid-tones are missing. Ensure you have a full spectrum of values, ranging from pure white highlights to deep, rich blacks.
This answer was created with the help of AI research tools and reference sources. Spotted an error? Let us know — we correct mistakes quickly. See our editorial policy.