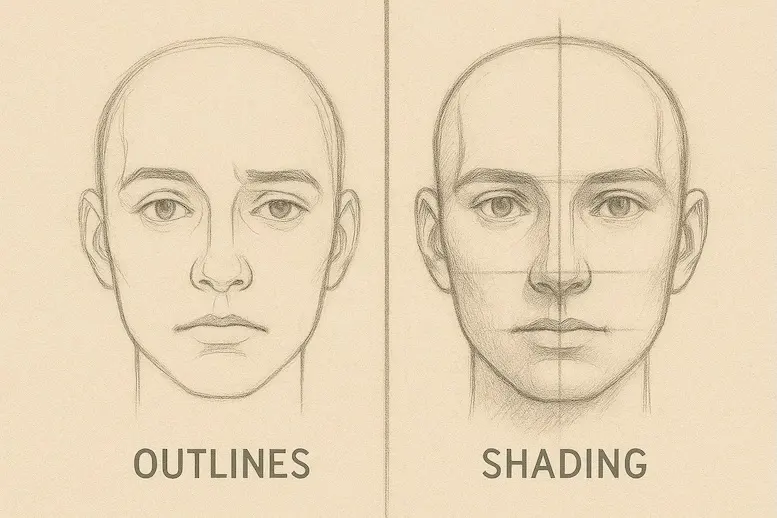
How do you draw a realistic face?
Short answer
Drawing a realistic face requires mastering structural proportions, light, and shadow. Begin by sketching a basic oval and dividing it with guidelines to place facial features accurately. Focus on observing the unique anatomy of the subject rather than relying on symbols. Consistent practice with shading techniques will eventually create depth and lifelike volume.
On this page
How to map facial proportions correctly
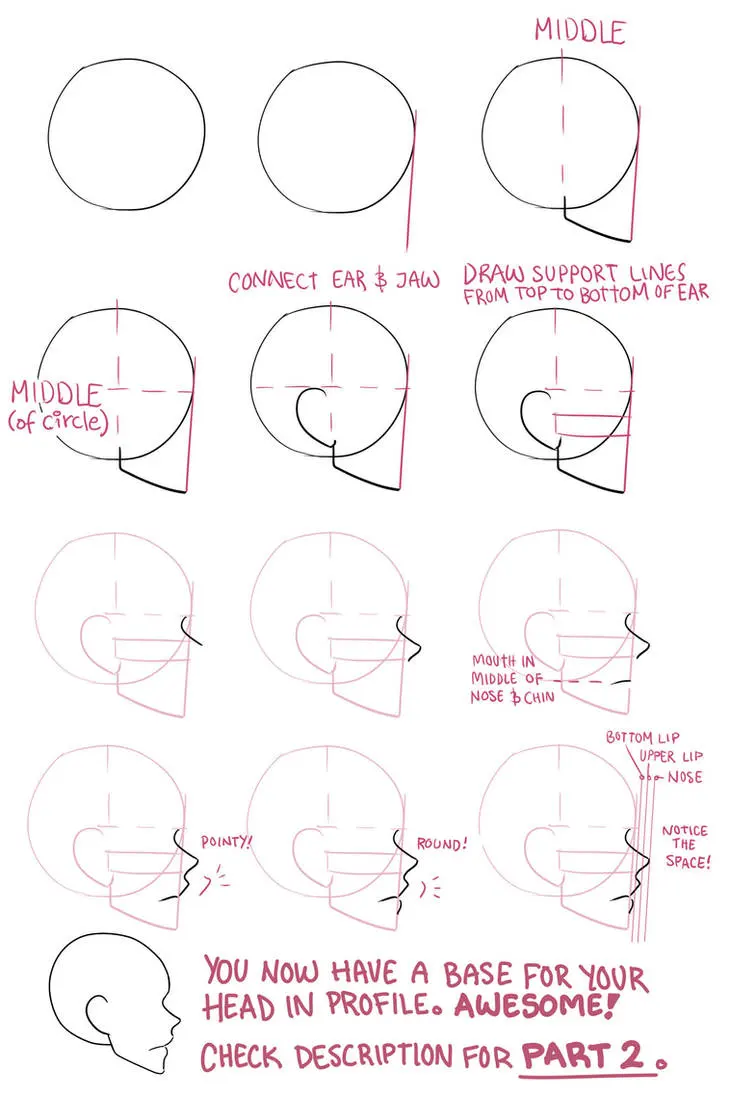
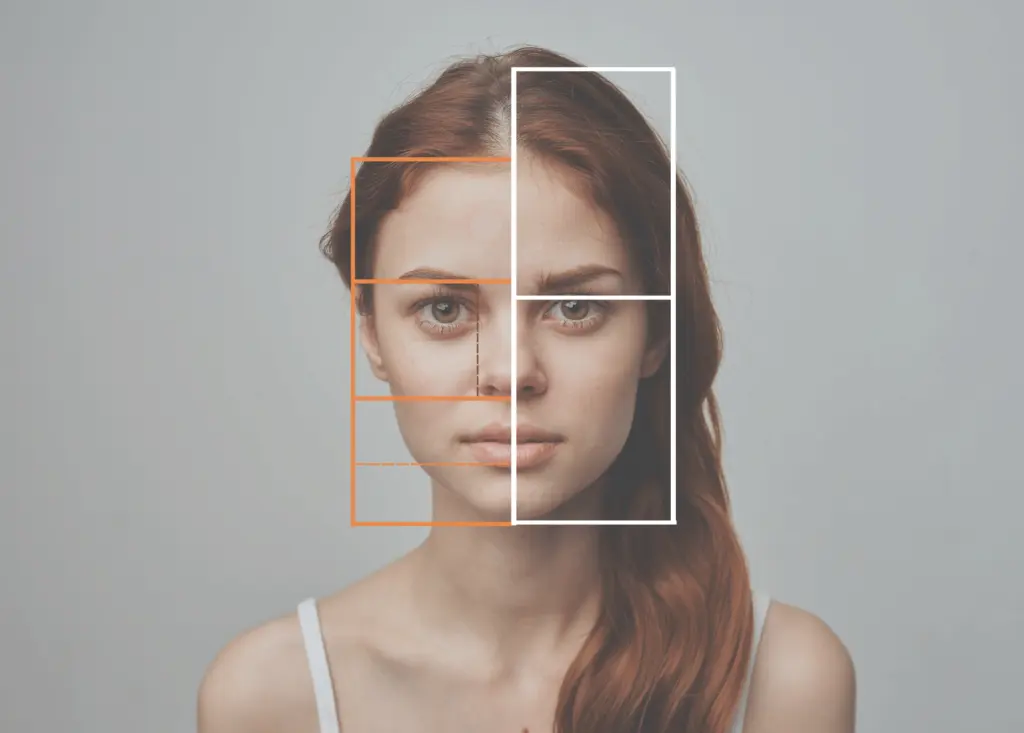
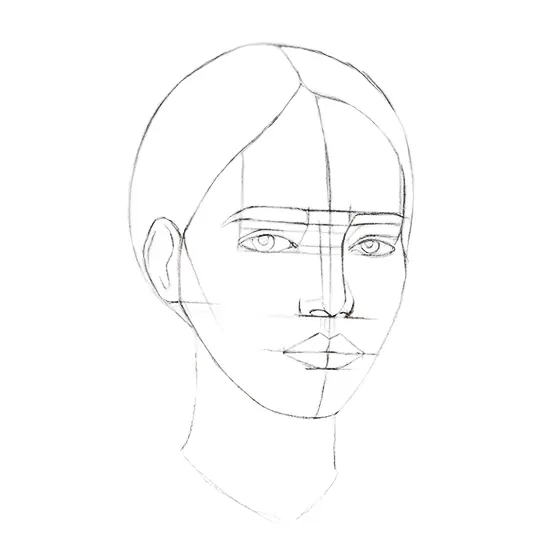
Achieving realism starts with the "Loomis Method," a technique popularized by illustrator Andrew Loomis in his 1943 book Fun with a Pencil. This system uses a circle and a cross to establish the cranium and jawline, ensuring the head is not distorted. By dividing the face into thirds—from the hairline to the brow, the brow to the base of the nose, and the nose to the chin—you create a reliable framework for placement.
Once the framework is established, follow these standard anatomical markers:
- The eyes sit exactly halfway between the top of the head and the chin.
- The width of the nose usually aligns with the inner corners of the eyes.
- The corners of the mouth typically align with the centers of the pupils.
- The ears span the distance between the brow line and the base of the nose.
Best tools for beginner portrait artists
For those starting out, graphite pencils are the most forgiving medium. A standard set includes pencils ranging from 2H (hard and light) to 6B (soft and dark). Use the harder pencils for initial light sketches and the softer, darker pencils to build rich shadows. A kneaded eraser is also essential, as it can be molded into precise shapes to lift graphite and create highlights on skin or hair.
When selecting paper, choose a medium-tooth surface rather than a smooth or rough texture. A medium-tooth paper allows the graphite to grip the surface, enabling you to layer tones without the lead becoming overly shiny or muddy. Avoid using standard printer paper, as its thin fibers cannot withstand the repeated erasing and layering required to achieve a realistic, skin-like texture.
Why shading creates realistic depth
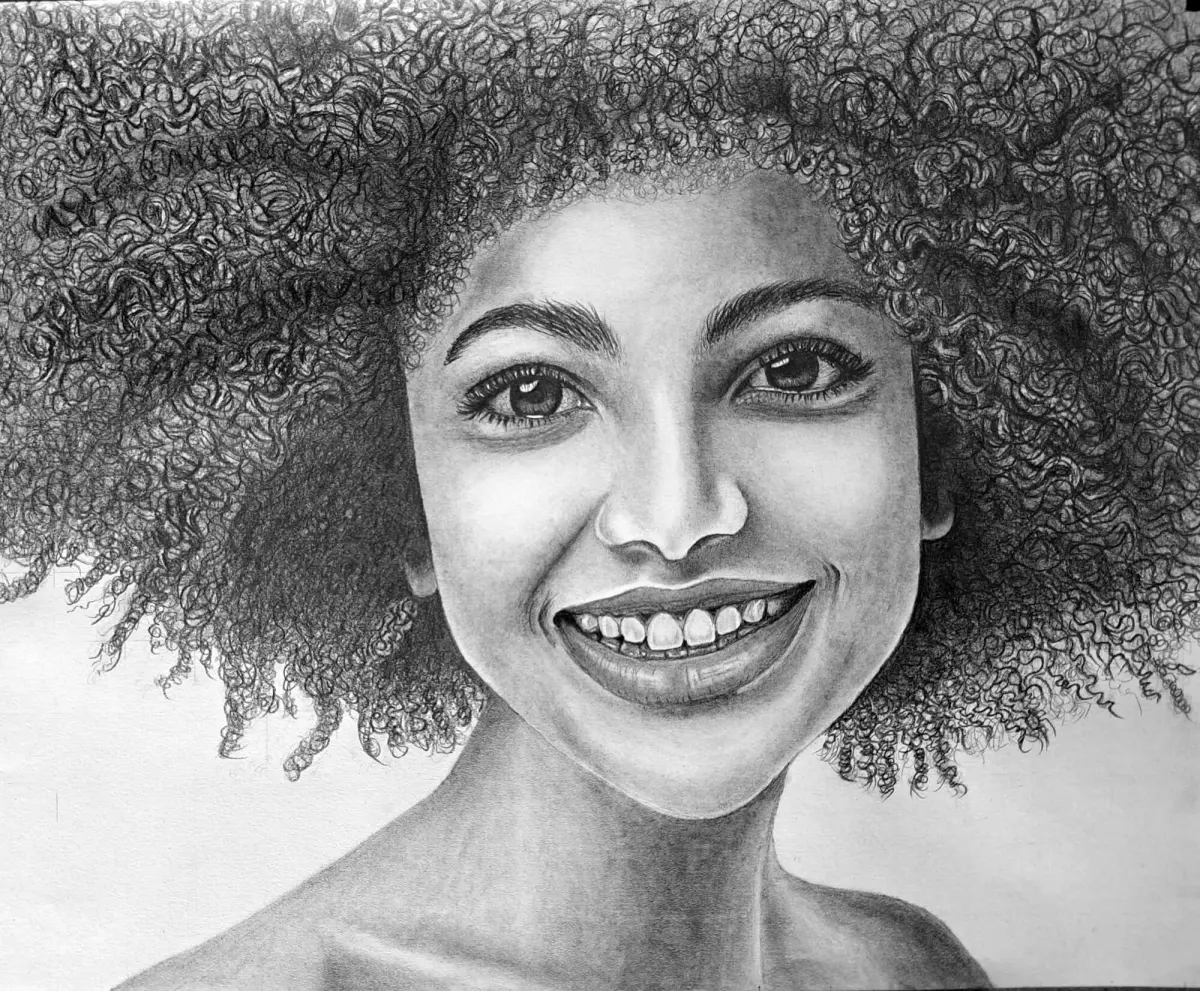
Realism is defined by how light interacts with the volume of the skull. A face is not a flat plane; it is a complex series of rounded surfaces. To render this, you must identify the "terminator line," which is the transition point between light and shadow on a curved surface. By gradually blending your pencil marks, you create a soft gradient that mimics the subtle shifts of human skin.
Follow these steps to build volume through shading:
- Identify the primary light source to determine where highlights and cast shadows will fall.
- Apply a light base tone to the entire shaded side of the face.
- Darken the core shadows, such as those under the brow ridge, nose, and chin.
- Use a blending stump or a soft brush to smooth transitions between tones.
- Add final highlights using a clean kneaded eraser to define the bridge of the nose and the lower lip.
Common mistakes when drawing faces
The most frequent error beginners make is drawing "symbols" instead of observing shapes. For example, many artists draw eyes as almond-shaped outlines with circles inside, ignoring the fact that eyelids are heavy folds of skin that wrap around a spherical eyeball. By focusing on the specific shapes of light and shadow rather than the concept of an eye, you will capture a much more accurate likeness.
Another common mistake is over-outlining facial features. In reality, there are very few hard lines on a human face; most features are defined by changes in tone or color. If you draw a dark, heavy outline around the lips or nose, the drawing will look like a cartoon. Instead, use soft transitions and let the contrast between light and dark define the boundaries of the features.
How to practice drawing faces effectively
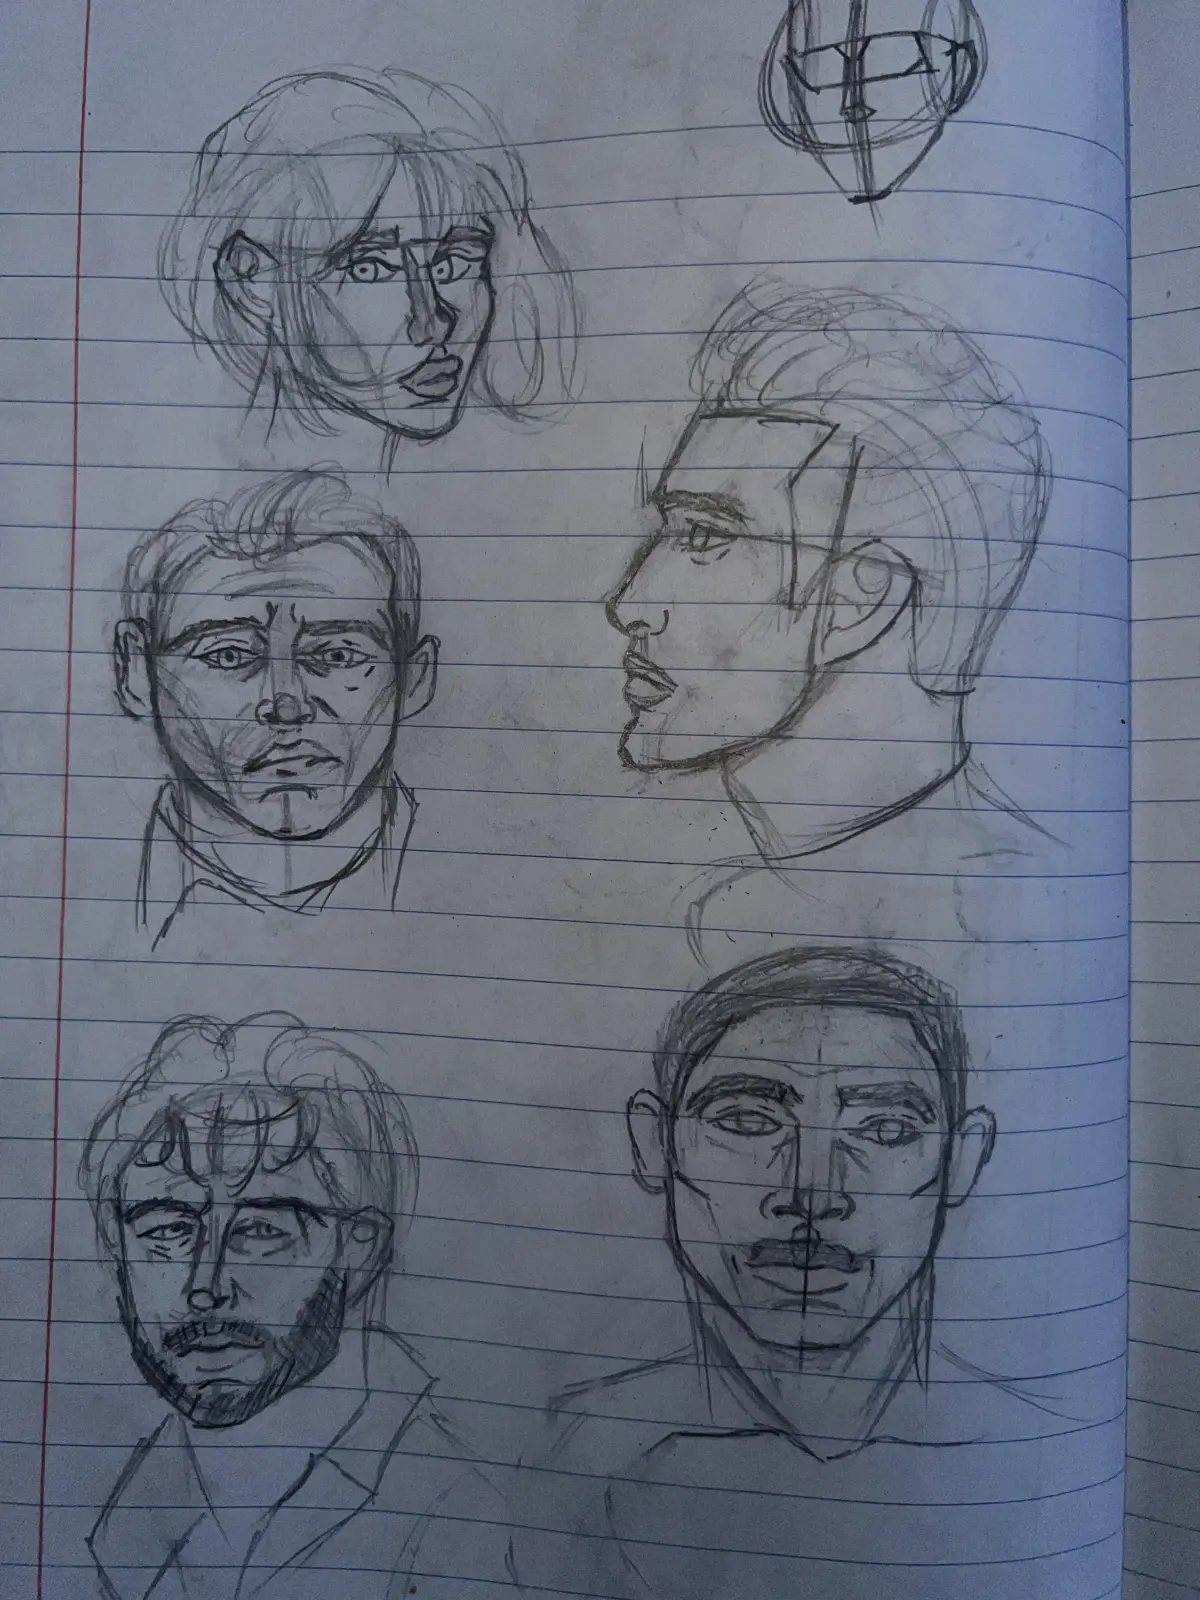
Consistency is more important than the duration of each session. Aim to spend 20 minutes a day sketching from life or high-quality reference photos rather than attempting one long, exhaustive portrait once a month. Focus on specific features during these short sessions, such as drawing ten different noses or eyes in a single page. This targeted practice builds "muscle memory" and improves your observational skills.
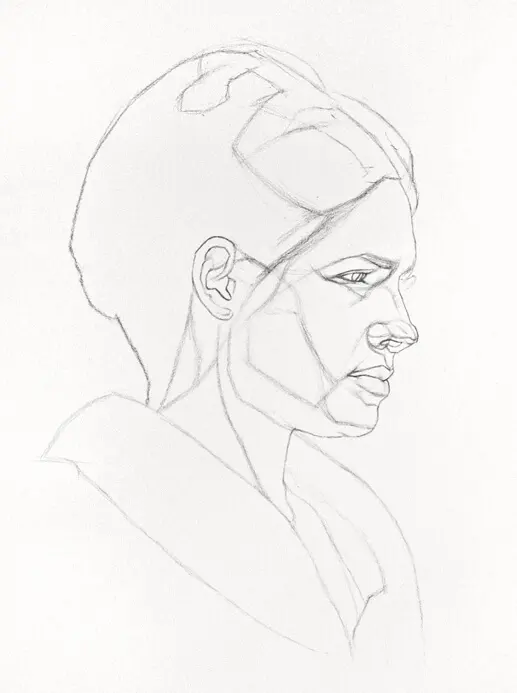
To improve your accuracy, try the "upside-down" drawing technique. By turning your reference image and your paper upside down, you force your brain to stop identifying the subject as a face and instead see it as a collection of abstract shapes and lines. This prevents your brain from relying on preconceived notions of what a face should look like, allowing you to record exactly what you see on the page.
Key facts
- The human head is roughly an oval shape, often described as an inverted egg.
- Eyes are typically positioned exactly halfway between the top of the skull and the chin.
- The bottom of the nose usually aligns with the bottom of the ears.
- The width of the face is generally equal to the width of five eyes laid side-by-side.
- The corners of the mouth typically align vertically with the centers of the pupils.
- Use a light touch with a hard-grade pencil (like an H or HB) to establish structural guidelines before adding shading.
The bottom line
Drawing a realistic face relies on mastering structural proportions rather than focusing on individual details too early. By establishing the central axis and correctly placing features based on geometric landmarks, you create a solid foundation. Practice consistent observation of light and shadow to add volume to your work. With patience and systematic refinement, you can translate the complex anatomy of a human face onto paper effectively.
People also ask
How do I make eyes look realistic instead of cartoonish?
Focus on the curvature of the eyelid over the spherical eyeball and add a small white highlight to indicate light reflection. Avoid drawing a full outline around the iris; instead, use soft shading to define the edges.
Why does my portrait look lopsided?
This often occurs due to neglecting the central axis line. Always draw a vertical line down the center of the face to ensure symmetry when placing features on either side.
How do I shade skin tones effectively?
Build up layers of graphite or charcoal gradually rather than pressing hard immediately. Use a blending stump or a soft cloth to smooth out transitions between light and shadow areas.
What is the best way to draw hair?
Avoid drawing individual strands at first. Treat hair as large, solid masses or shapes that follow the contours of the skull, adding texture and detail only in the final stages.
How can I improve the proportions of the nose?
Think of the nose as a three-dimensional wedge rather than just two nostrils. Focus on the shadows cast by the bridge and the ball of the nose to create depth.
Should I use a reference photo?
Yes, working from a high-quality photograph is essential for beginners. It allows you to study the exact placement of shadows and highlights without the pressure of a moving subject.
This answer was created with the help of AI research tools and reference sources. Spotted an error? Let us know — we correct mistakes quickly. See our editorial policy.