How do you draw a police car?
Short answer
Drawing a police car involves constructing a rectangular base, adding wheels, and defining emergency equipment. Start with a simple boxy silhouette, then refine the proportions to include the windshield, siren light bar, and side doors. Use consistent perspective lines to ensure the vehicle looks grounded and realistic on the paper surface.
On this page
How to sketch the basic structure of a police car
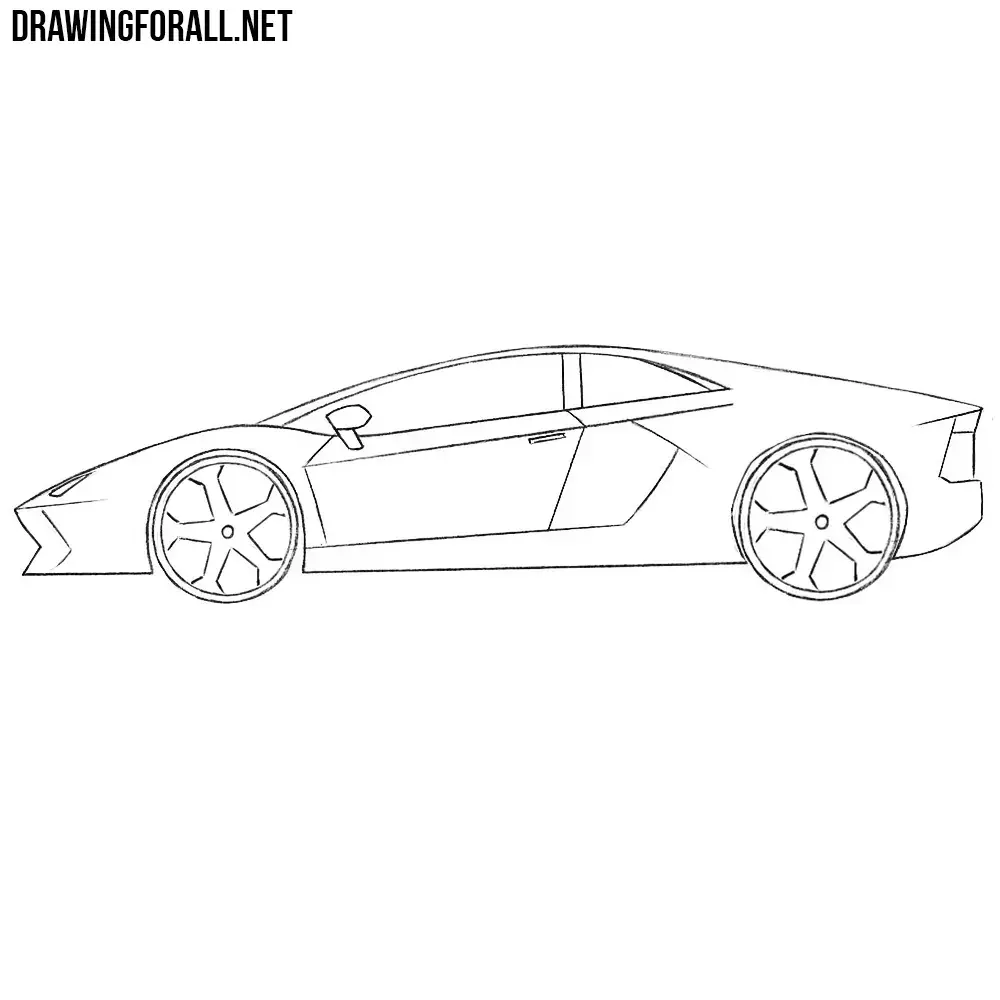
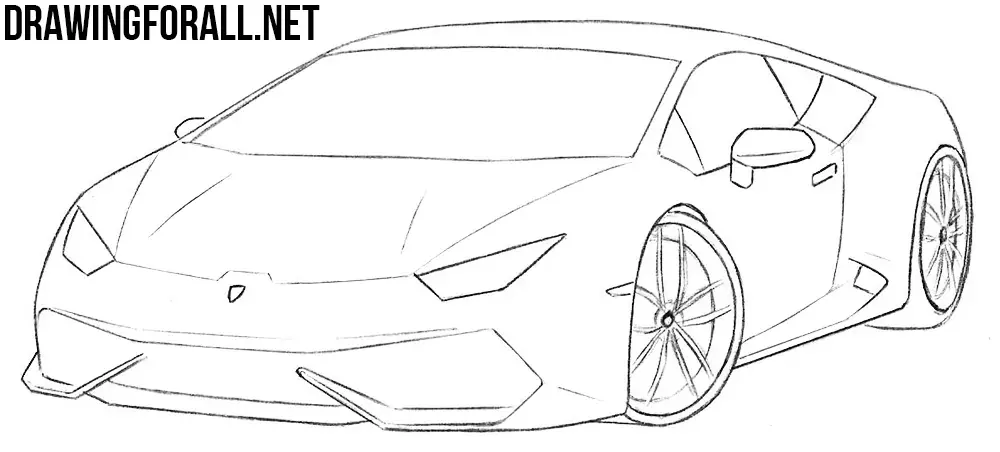
Begin by drawing a long, horizontal rectangle to serve as the main body of the vehicle. Place a smaller, trapezoidal shape on top to represent the cabin and roof area. Keep your pencil strokes light during this phase so you can easily erase guidelines once the primary form is established. Ensure the front of the car is slightly more tapered than the rear to create a sense of aerodynamic motion.
Once the main body is blocked in, add two circles beneath the chassis for the wheels. Position these circles so they align with the front and back sections of the cabin. A common technique is to draw a horizontal line through the center of the car to ensure the wheels sit evenly on the ground. This foundation provides the necessary stability for adding more complex details like emergency lighting and markings later in the process.
How to add realistic police car details
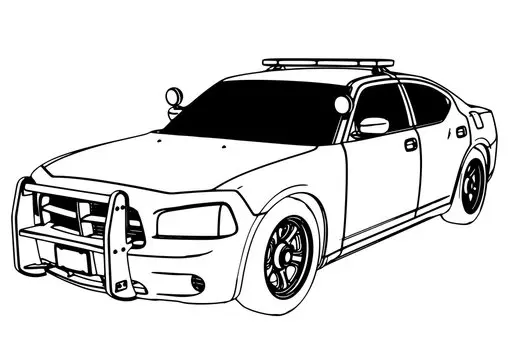
The defining features of a police vehicle include the roof-mounted light bar and specific door markings. Draw a thin, rectangular bar across the center of the roof, adding small cylinders or rounded shapes on top to represent the emergency strobe lights. Use a straightedge to define the windows, ensuring the windshield is angled appropriately to match the slope of the roof.
Next, add the side panels and doors. Most police cars feature a distinct line separating the front and rear doors, often accompanied by a spotlight on the A-pillar near the driver's side mirror. You can add these details by following these steps:
- Draw a vertical line down the center of the cabin to define the door seam.
- Outline the side mirrors as small, rounded triangles attached to the front doors.
- Sketch the door handles as small horizontal rectangles just below the window line.
- Add the front grille and headlights using two small squares or rectangles at the very front of the hood.
Best drawing tools for beginners
Using the right equipment can significantly improve the clarity of your technical drawings. Start with an HB pencil for sketching the initial outlines, as it is easy to erase without damaging the paper. For defining the final contours and adding police decals, a fine-liner or a 2B pencil provides the necessary contrast. High-quality smooth-surface paper is recommended to prevent smudging and allow for precise detail work on the vehicle's trim.
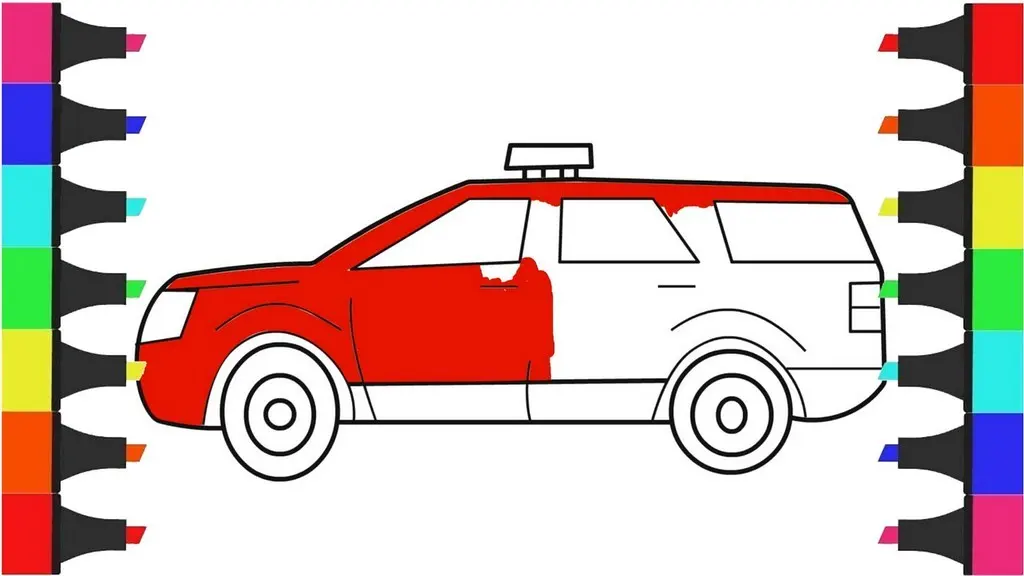
If you are coloring your drawing, alcohol-based markers or colored pencils are excellent choices for achieving a professional look. Use a dark blue or black for the main body panels, leaving white spaces for the doors if you intend to add lettering later. When shading, use a grey marker to fill in the windows and wheels to create depth. Avoid using too many colors, as police vehicles typically feature a limited, high-contrast palette that emphasizes their authority and visibility.
Common mistakes when drawing police cars
A frequent error is failing to maintain consistent perspective, which makes the car appear distorted or tilted. To avoid this, always use a single vanishing point if you are drawing the car from an angle. Another mistake is drawing the wheels too small or too far apart, which ruins the vehicle's proportions. Always ensure the wheels are proportional to the height of the car body; they should typically occupy about one-third of the total height of the vehicle.
Additionally, beginners often neglect the thickness of the tires and the depth of the wheel wells. If the tires look like flat circles, the car will appear two-dimensional and unrealistic. Try to add a slight curve to the wheel wells to suggest the body of the car wrapping around the tires. By paying attention to these three-dimensional cues, you transform a simple line drawing into a convincing representation of a functioning emergency vehicle.
How to finish and refine your drawing
The final stage involves adding the finishing touches that identify the vehicle as a police car. This includes adding specific text, such as "POLICE" or a department name, on the side doors. Use a ruler to ensure the lettering is level and proportional to the door panel. You can also add a thin line running along the side of the car to represent the department’s signature stripe or reflective decal, which adds a professional aesthetic.
To complete the drawing, perform a final check of your lines and shading. Use an eraser to remove any remaining construction lines that are no longer needed. If you want to add a sense of environment, draw a simple horizon line or a paved road texture beneath the tires. This anchors the car in a space, making the final image appear complete and polished. Once you are satisfied with the details, you may choose to outline the entire vehicle in a darker ink to make it stand out against the background.
Key facts
- Start by drawing a long, flat rectangle for the main body of the car to establish the proportions.
- Add two circles at the bottom for wheels, ensuring they are aligned with the front and rear of the chassis.
- Place a smaller rectangle on top of the main body to represent the cabin and windows.
- Draw a horizontal bar across the roof to represent the light bar, which is the most recognizable feature of a police vehicle.
- Use straight, bold lines for the doors and windows to give the car a sturdy, functional appearance.
- Add simple decals like a star or the word "POLICE" on the side door to complete the look.
The bottom line
Drawing a police car is best approached by focusing on the vehicle's iconic silhouette rather than intricate mechanical details. By starting with a basic rectangular frame, adding two balanced wheels, and placing a distinct light bar on the roof, you create an instantly recognizable image. Keep your lines clean and prioritize adding clear, bold markings on the side to emphasize the car’s official purpose and identity.
People also ask
What is the most important feature to include when drawing a police car?
The roof-mounted light bar is the most essential detail. Without this specific element, a drawing of a standard sedan or SUV will not be immediately identifiable as a police vehicle.
Should I draw the police car from a side view or a front view?
A side profile is the easiest way to draw a police car because it allows you to clearly show the length of the vehicle and the side-mounted markings. Front views require more complex perspective work to capture the grille and headlights accurately.
How do I make the wheels look realistic?
Draw the wheels as two concentric circles, with the inner circle representing the hubcap or rim. Adding a small amount of shading inside the wheel well helps create a sense of depth and weight.
What are common mistakes beginners make when drawing vehicles?
A frequent error is making the wheels too small or placing them too far toward the center of the car. Always ensure the wheels are positioned near the front and rear bumpers to maintain proper balance.
Can I use colors to make the drawing more accurate?
Yes, using a high-contrast color scheme like black and white or blue and white is standard for many jurisdictions. Adding a bright red or blue color to the light bar helps it pop against the rest of the car.
Do I need to draw every detail of the car's engine or interior?
No, keep the drawing simple by focusing on the exterior silhouette and recognizable police branding. Adding too many internal details often clutters the image and makes the overall shape harder to distinguish.
This answer was created with the help of AI research tools and reference sources. Spotted an error? Let us know — we correct mistakes quickly. See our editorial policy.