How do you draw a police officer?
Short answer
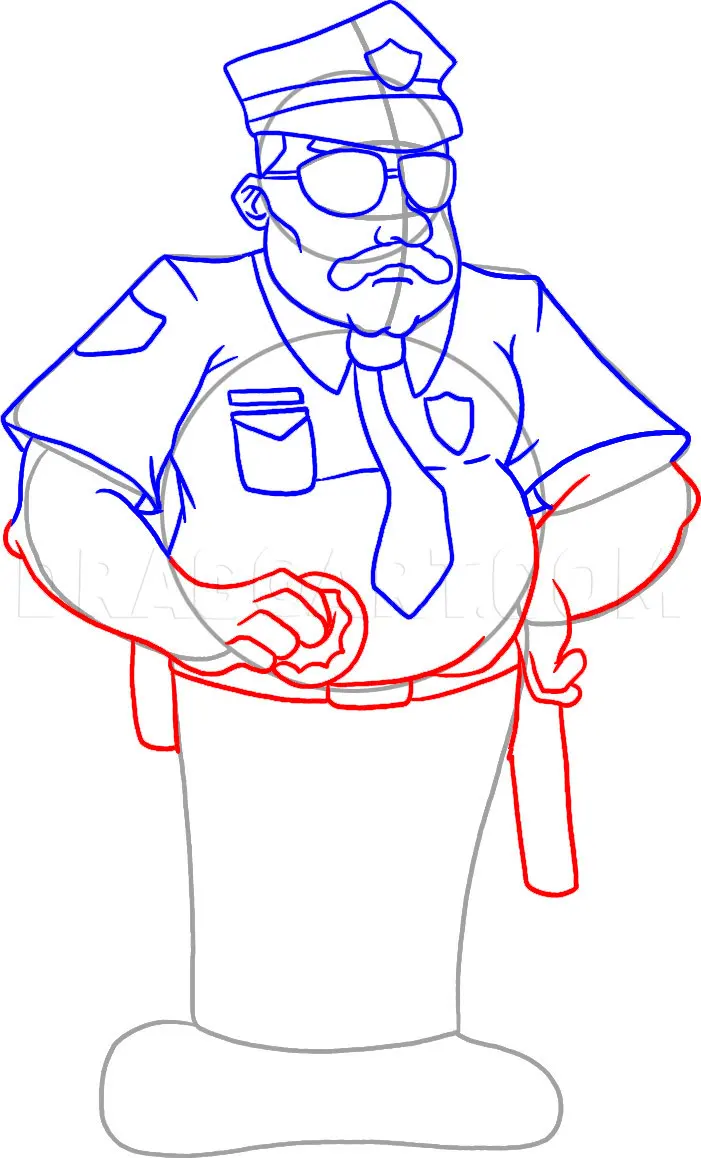
Drawing a police officer requires focusing on the distinctive silhouette created by a uniform, utility belt, and badge. Start by sketching a basic human figure in a standing posture. Add structural details like a collared shirt, trousers, and boots, then refine the accessories that signify law enforcement authority and professional duty.
On this page
How to draw a police officer step by step
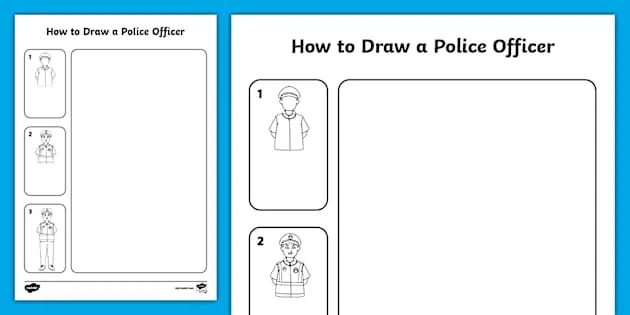
To begin your drawing, establish the proportions of the human figure using a simple stick frame. A police officer is typically depicted in a commanding, upright stance, so ensure the spine is straight and the shoulders are squared. Once the skeleton is set, build the volume of the body using basic geometric shapes like cylinders for limbs and a trapezoid for the torso.
After establishing the form, layer the uniform over the body. Police attire is characterized by crisp lines and functional design. Use these steps to guide your progress:
- Sketch a collared shirt with epaulets on the shoulders.
- Draw straight, pressed trousers that fall over sturdy, polished boots.
- Add a belt around the waist, including small rectangles to represent pouches or a holster.
- Place a badge on the chest pocket and a cap or hat on the head to complete the silhouette.
Best tools for drawing people in uniform
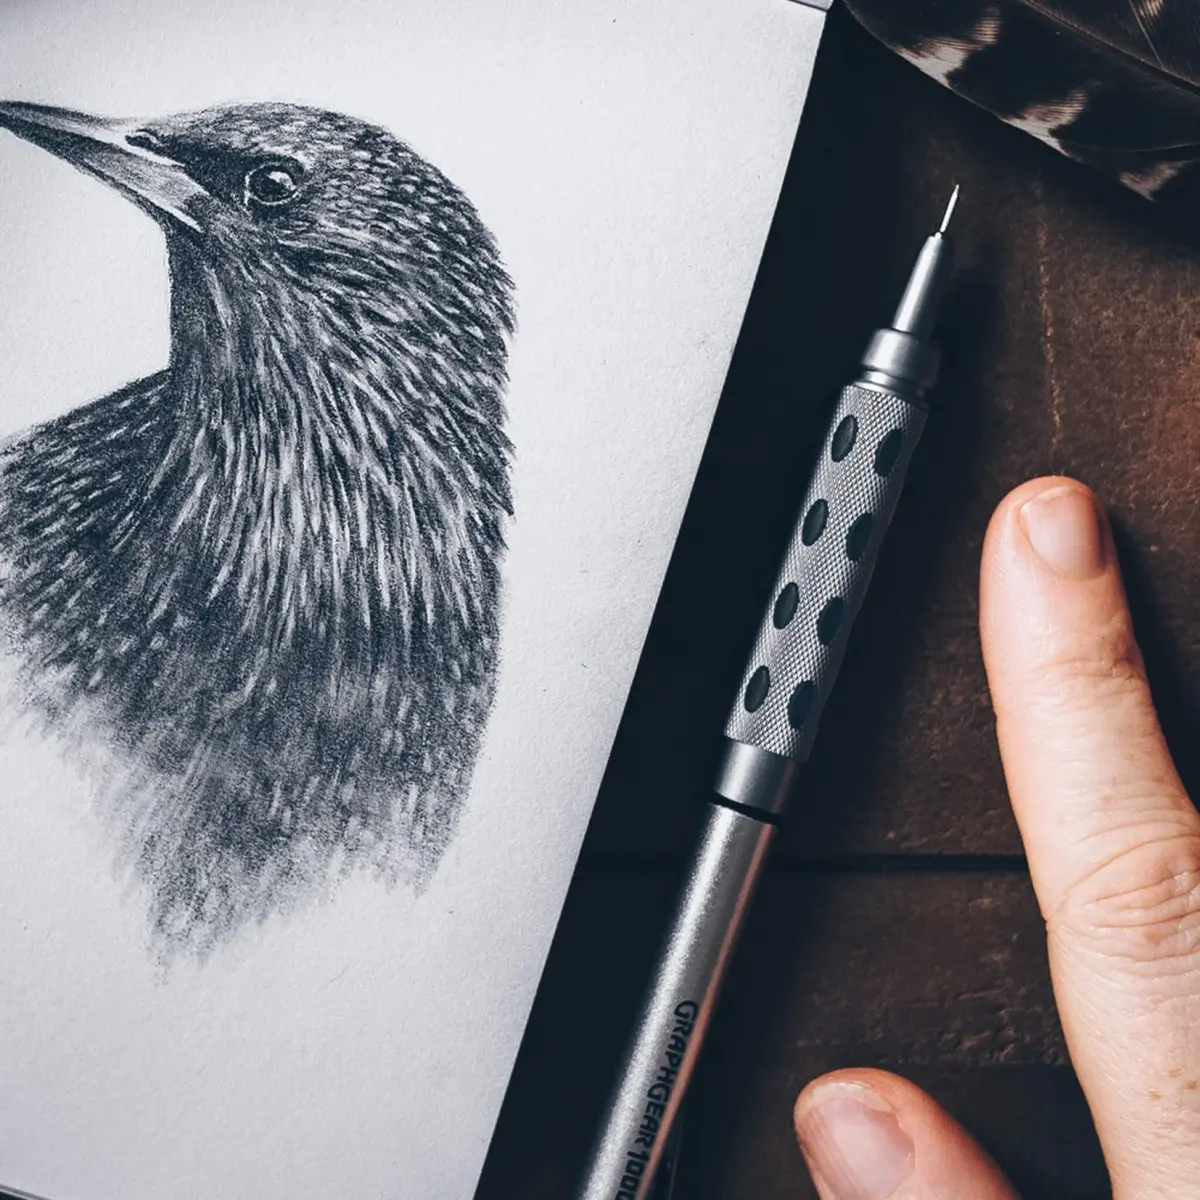
Choosing the right equipment helps capture the sharp, clean aesthetic of a uniform. Graphite pencils ranging from 2H for initial light sketches to 4B for deep shadows are ideal for building contrast. Use a fine-liner or a technical pen with a 0.5mm tip to ink the final outlines, as this mimics the structured, professional appearance of police gear.
For those adding color, alcohol-based markers or colored pencils work best to differentiate between the fabric of the uniform and the metallic sheen of the badge. Dark blues, blacks, and khakis are the standard color palettes for law enforcement. Focus on using a blender tool to smooth out the transitions on the uniform, ensuring the fabric looks crisp and well-maintained rather than soft or rumpled.
Why proportions matter for law enforcement figures
The perceived authority of a police officer in a drawing often relies on accurate anatomical proportions. A common technique is to make the figure eight heads tall, which provides a heroic and grounded look. Ensure the shoulders are slightly wider than the hips to emphasize strength, which is a hallmark of the professional persona associated with public safety roles.
If the proportions are off, the uniform may appear to sag or look ill-fitting, which undermines the intended look of discipline. Pay close attention to the placement of the belt and badge; these items should sit firmly on the torso. If the badge is placed too high or the belt is drawn crookedly, the figure will lose its sense of realism and professional bearing.
Common mistakes when drawing police officers
A frequent error is neglecting the weight and texture of the equipment. Beginners often draw the utility belt as a thin, flimsy line, whereas a real police belt is thick, rigid, and loaded with heavy gear like handcuffs, radios, and flashlights. Adding these specific items provides necessary context and helps the viewer immediately identify the character’s profession.
Another mistake involves the rendering of the fabric. Uniforms are typically made from heavy-duty, synthetic materials that do not bunch or fold like cotton or silk. Avoid drawing too many small, soft wrinkles. Instead, use long, straight, or angular lines to suggest the stiffness of the material. This keeps the figure looking sharp and maintains the clean, authoritative aesthetic that defines the role of a police officer.
How to add detail to a police uniform
Details are what elevate a basic sketch into a recognizable character. Focus on the accessories that signify rank and department, such as patches on the sleeves or a nameplate above the badge. These small elements add a layer of authenticity that makes the drawing feel grounded in reality. You might also consider adding a radio microphone clipped to the shoulder strap.
When finalizing your work, consider the lighting and how it interacts with the metallic elements. Use these tips to enhance your final details:
- Leave small white gaps on the badge and buttons to represent light reflections.
- Use cross-hatching under the belt and collar to create depth and shadow.
- Ensure the cap is drawn at a slight angle to give the officer a more dynamic and alert appearance.
- Keep the face neutral or firm to match the serious nature of the profession.
Key facts
- Start by drawing a basic mannequin structure using simple geometric shapes like ovals for the head and rectangles for the torso.
- Focus on the uniform's distinct features, such as the badge on the chest, the utility belt, and the structured collar.
- Keep proportions realistic by remembering that an average adult figure is roughly seven to eight heads tall.
- Use parallel lines to indicate the crease of trousers and the stiff fabric of a standard-issue police shirt.
- Add accessories like a radio, handcuffs, or a flashlight to the utility belt to provide immediate visual context.
- Avoid drawing overly bulky or cartoonish limbs unless you are intentionally creating a stylized caricature.
The bottom line
Drawing a police officer effectively requires balancing anatomical accuracy with the iconic details of a uniform. By establishing a solid structural foundation and focusing on key identifiers like the badge, utility belt, and structured clothing, you can create a recognizable figure. Practice observing real-life proportions and uniform variations to refine your technique, ensuring that your final drawing conveys both the authority and the professional nature of the role.
People also ask
What is the most important part of a police uniform to include?
The badge is the most recognizable symbol of authority and should be placed clearly on the left side of the chest. Including a belt with visible equipment pouches also helps the viewer instantly identify the figure as a law enforcement officer.
Should I draw the officer in a static or active pose?
A static pose is better for beginners to practice anatomy and uniform details. Once you are comfortable, an active pose—such as directing traffic or walking—adds a sense of purpose and professionalism to the drawing.
How do I make the uniform look realistic?
Focus on the fabric's weight by using straight, crisp lines for the shirt and trousers. Adding subtle shading under the collar and near the belt line creates depth and makes the uniform look three-dimensional rather than flat.
What common mistakes should I avoid when drawing the face?
Avoid making the eyes too large or the chin too pointed, as this can make the officer look like a cartoon character. Stick to neutral, firm facial expressions to convey the seriousness typically associated with the profession.
How do I draw the hat correctly?
Most police hats, such as the peaked cap or the campaign hat, have a distinct brim that casts a shadow over the upper face. Draw the hat as a separate shape sitting on top of the head to ensure it looks like an accessory rather than part of the hair.
Is it necessary to draw a weapon on the utility belt?
Whether or not to include a sidearm is a creative choice that depends on the tone of your drawing. If you choose to include one, ensure it is drawn in a holster to maintain a professional and realistic appearance.
This answer was created with the help of AI research tools and reference sources. Spotted an error? Let us know — we correct mistakes quickly. See our editorial policy.