How do you draw a lantern step by step?
Short answer
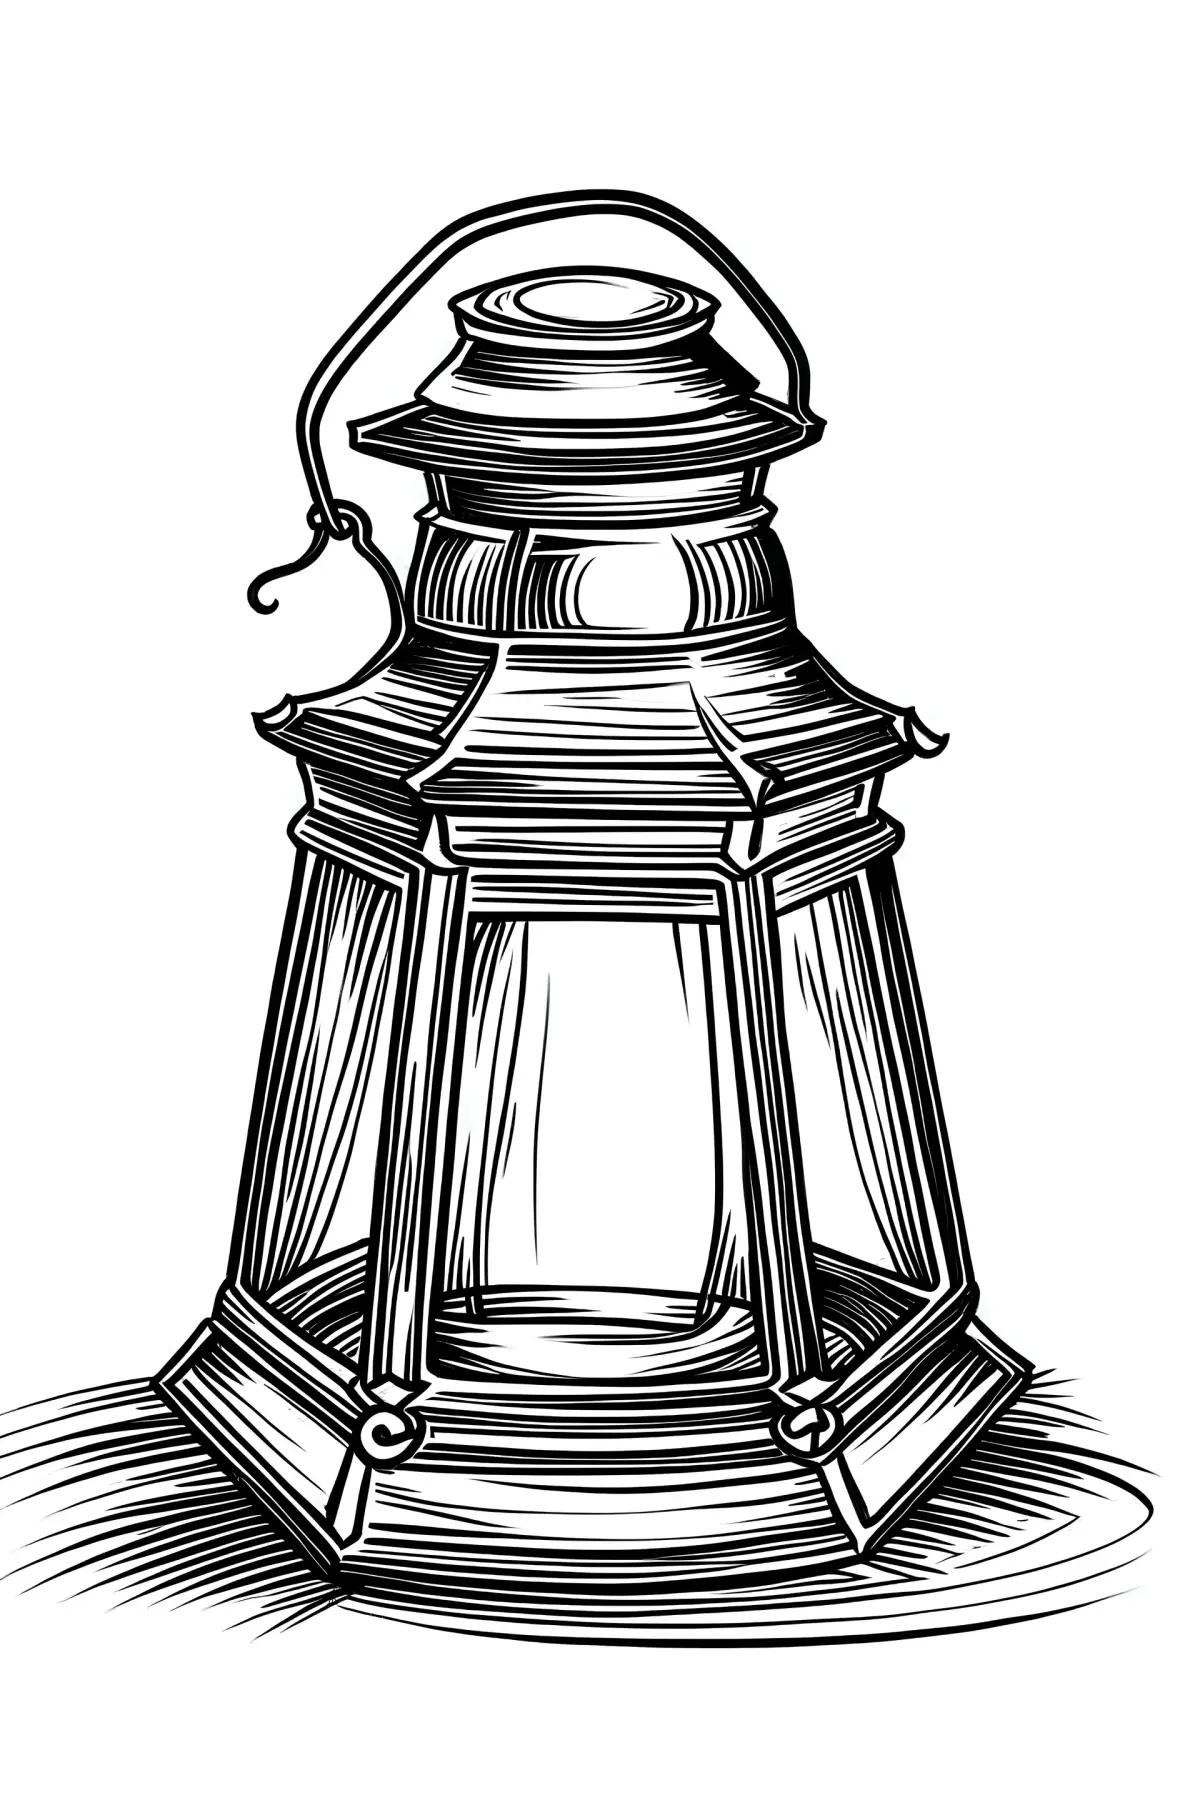
To draw a classic lantern, begin by sketching a central rectangle for the glass pane, then add a top cap and a bottom base using trapezoids. Connect these shapes with vertical support bars. Finish by adding a handle, a small flame inside, and shading to create the illusion of three-dimensional depth.
On this page
How to draw a lantern step by step
Drawing a lantern is an exercise in geometric construction and perspective. By breaking the object down into basic shapes, you can create a realistic representation regardless of your artistic experience. Start by drawing a light vertical rectangle to serve as the main body where the light will sit. You will then build the frame around this central structure to ensure symmetry.
Follow these steps to construct your lantern:
- Draw a tall rectangle for the glass housing.
- Add a smaller trapezoid on top for the roof and a matching one on the bottom for the base.
- Draw vertical lines at the corners of the rectangle to represent the metal frame.
- Sketch a small loop at the very top to serve as the handle.
- Add a small, flickering teardrop shape inside the center to represent the flame.
Best tools for drawing lanterns
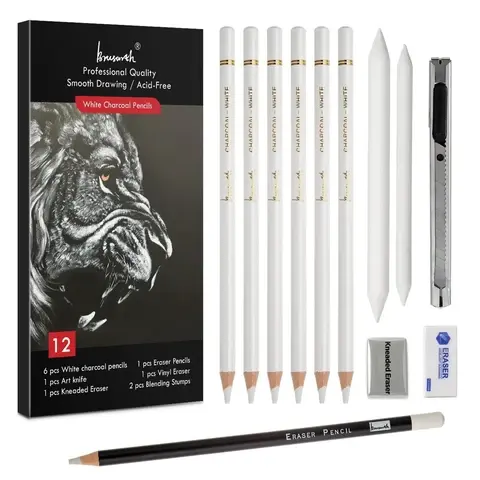
For beginners, using a graphite pencil with an HB lead is ideal because it allows for easy erasing during the initial layout phase. Once the structure is set, you can transition to a 2B or 4B pencil to add darker values and contrast. Using a fine-tip ink pen is also an excellent way to finalize the outlines, as it provides the crisp, clean edges often associated with metal lanterns.
If you are aiming for a more artistic or vintage aesthetic, consider using charcoal or a soft blending stump. These tools help create the soft, glowing effect of light emanating from behind the glass panes. Always keep a kneaded eraser nearby, as it is the most effective tool for lifting graphite to create highlights on the glass surfaces where the light hits most intensely.
How to add depth and lighting effects
The key to making a lantern look three-dimensional is understanding how light interacts with its materials. Because the lantern contains a light source, the inner edges of the frame should be brighter than the outer edges. Use your pencil to create a gradient, starting with a light touch near the flame and gradually increasing pressure as you move toward the corners of the frame.
To enhance the realism, consider these shading techniques:
- Use cross-hatching on the metal frame to suggest texture and weight.
- Leave small white spaces on the glass panes to mimic reflections.
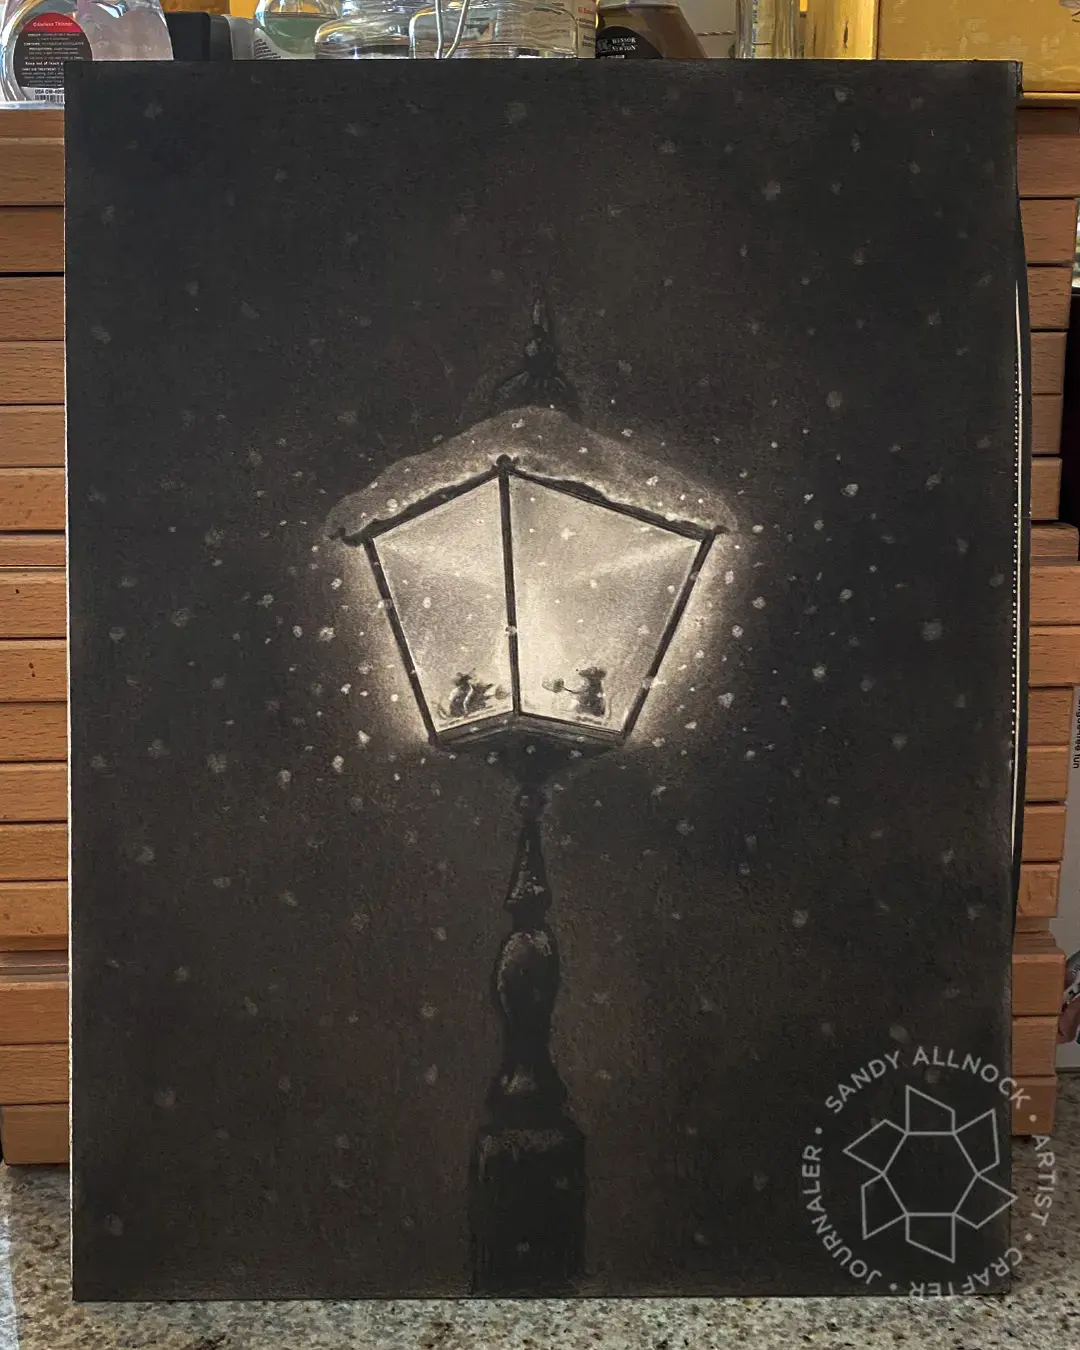
- Darken the area immediately surrounding the lantern to make the internal light appear brighter.
- Apply a soft shadow directly beneath the base to ground the object in space.
Common mistakes when drawing lanterns
One of the most frequent errors is failing to maintain consistent perspective. If the top cap is drawn from a top-down view while the base is drawn from a flat, eye-level view, the lantern will appear distorted or "broken." Always ensure that the ellipses or angles used for the top and bottom parts of the lantern align with the same vanishing point.
Another common issue is drawing the frame lines too thick. If the metal support bars are too heavy, they will obscure the glass and make the lantern look like a solid block rather than a hollow container. Keep your structural lines light and thin until you are satisfied with the proportions. Additionally, avoid drawing the flame as a perfect circle; a flame is organic and should have a slightly irregular, teardrop shape to look natural.
Why lanterns look different in drawings
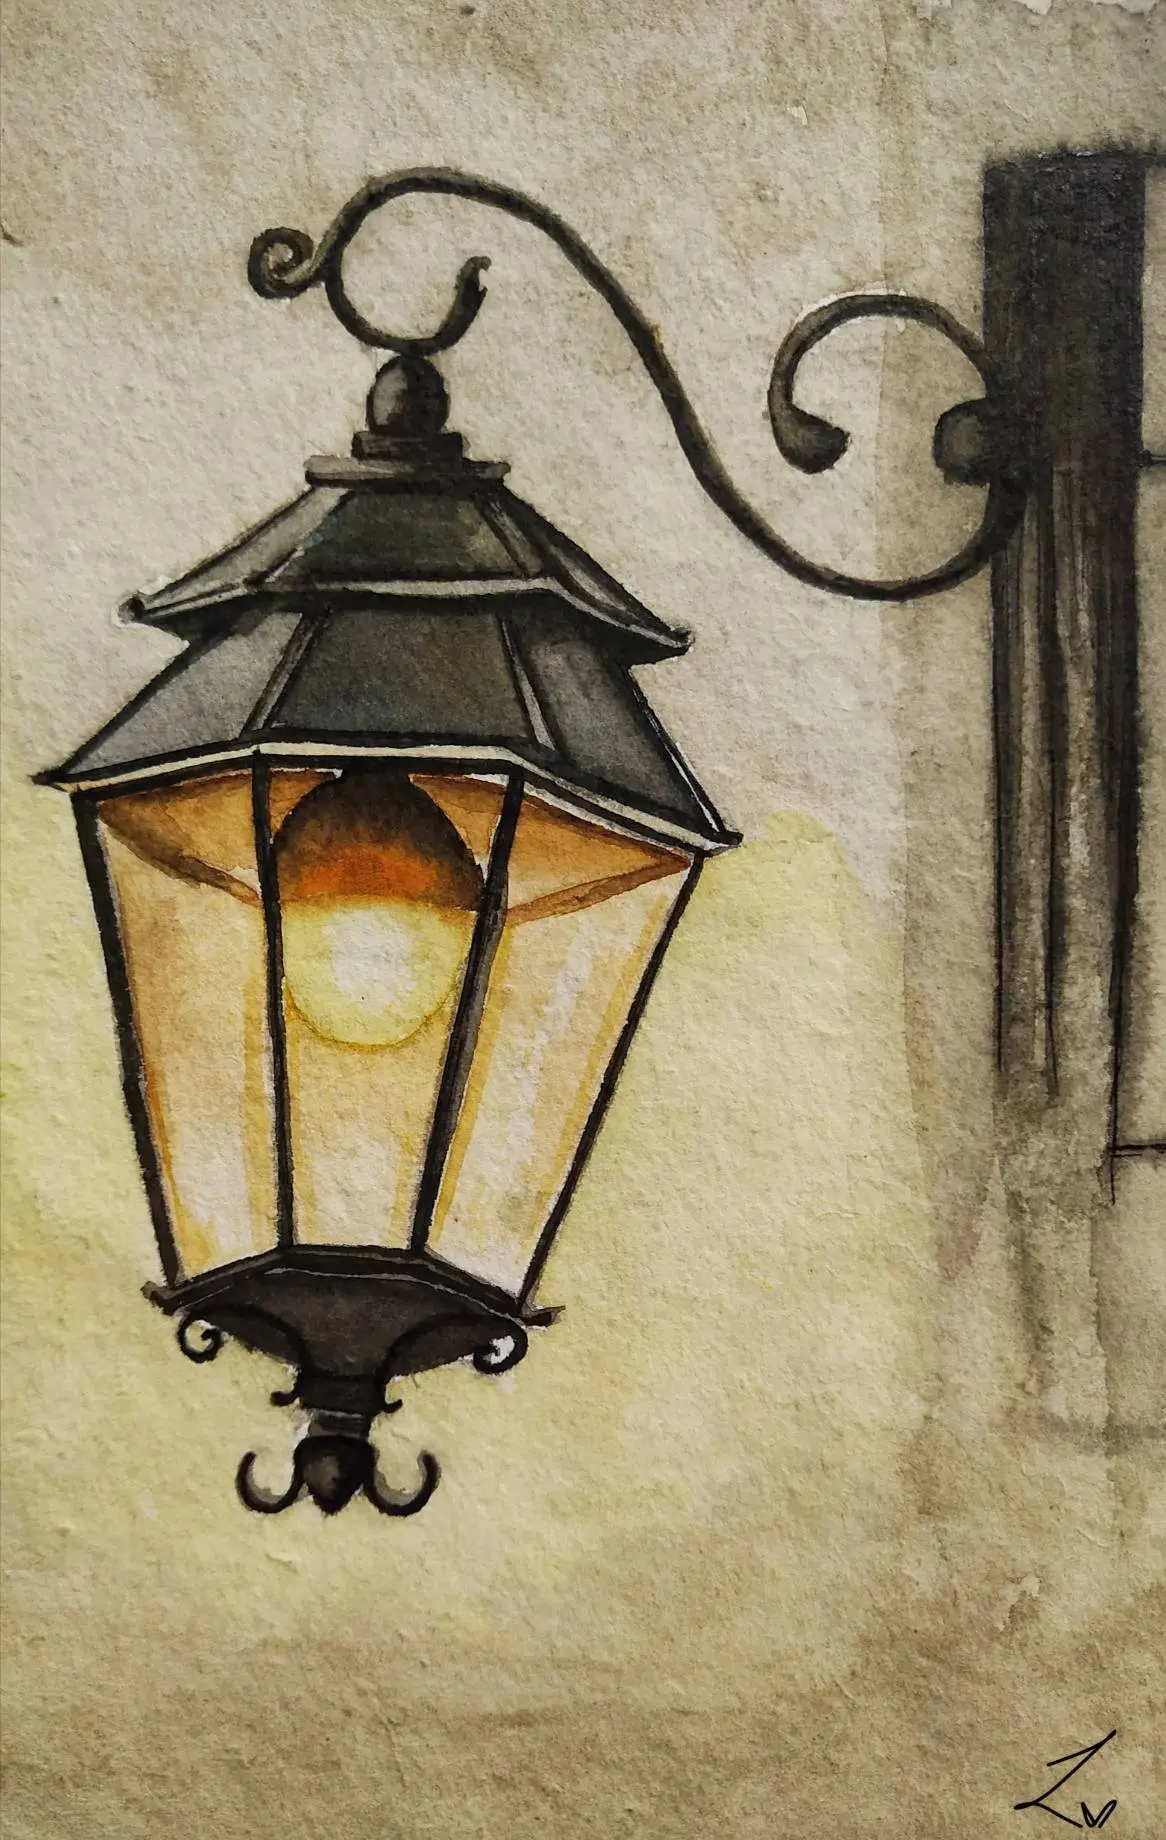
The appearance of a lantern changes significantly depending on the style you choose to emulate, such as a rustic iron lantern or a modern glass fixture. A rustic lantern often features more prominent, jagged lines and visible rust or wear, which can be achieved through textured shading. In contrast, a modern lantern usually relies on clean, geometric precision and smooth, even shading across its surfaces.
The environment in which you place the lantern also dictates its final look. If you draw the lantern in a dark setting, the contrast between the light source and the background will be much higher, requiring deeper, darker shadows. If the lantern is in a well-lit room, the light it emits will be more subtle, requiring lighter shading and more focus on the physical details of the metal frame. By adjusting your technique based on the intended setting, you can convey a specific mood and narrative through your drawing.
Key facts
- Start by drawing a simple vertical rectangle to serve as the main body of the lantern.
- Use parallel curved lines at the top and bottom to create the appearance of a cylindrical shape.
- Add a small loop or handle at the top to give the lantern a functional look.
- Draw thin vertical lines inside the rectangle to represent the metal frame or glass panels.
- Place a small, teardrop-shaped flame or a circle in the center to indicate a light source.
- Avoid drawing perfectly straight lines, as slight curves add depth and three-dimensional realism to the object.
The bottom line
Drawing a lantern effectively relies on mastering basic geometric shapes and understanding how light interacts with a frame. By starting with a cylindrical foundation and adding consistent details like handles and internal light sources, you create a convincing image. Focus on maintaining symmetry and using shading to suggest depth. With practice, these simple techniques allow you to render various lantern styles, from rustic metal to elegant paper designs.
People also ask
What is the best pencil grade for sketching lanterns?
An HB pencil is ideal for initial light outlines because it is easy to erase. You can transition to a 2B or 4B pencil later to darken the frame and add shading.
How do I make the lantern look like it is glowing?
Leave the center of the lantern white or use a very light yellow. Gradually darken the surrounding areas with orange or gold to simulate the diffusion of light.
Should I use a ruler for the straight edges?
Using a ruler can make the lantern look too mechanical or artificial. Freehand lines often provide a more organic and charming aesthetic for traditional lanterns.
How do I draw the metal texture of a lantern?
Use cross-hatching or small dots to add texture to the frame. Adding thin, white highlights along the edges suggests a reflective, metallic surface.
Can I draw a lantern from a side perspective?
Yes, draw the top and bottom as ellipses rather than straight lines. This creates a foreshortened view that makes the object appear to have volume.
What is the most common mistake when drawing lanterns?
Beginners often forget to align the top and bottom curves. Ensure the top ellipse and bottom ellipse share the same center axis to keep the lantern balanced.
This answer was created with the help of AI research tools and reference sources. Spotted an error? Let us know — we correct mistakes quickly. See our editorial policy.