How do you draw a jack-o'-lantern?
Short answer
Drawing a jack-o'-lantern involves sketching a rounded, slightly flattened oval shape to represent the pumpkin, followed by adding a stem and distinct geometric facial features. By layering simple shapes like triangles for eyes and a jagged mouth, you create the classic, expressive look associated with traditional Halloween carvings and illustrations.
On this page
How to sketch the basic pumpkin shape
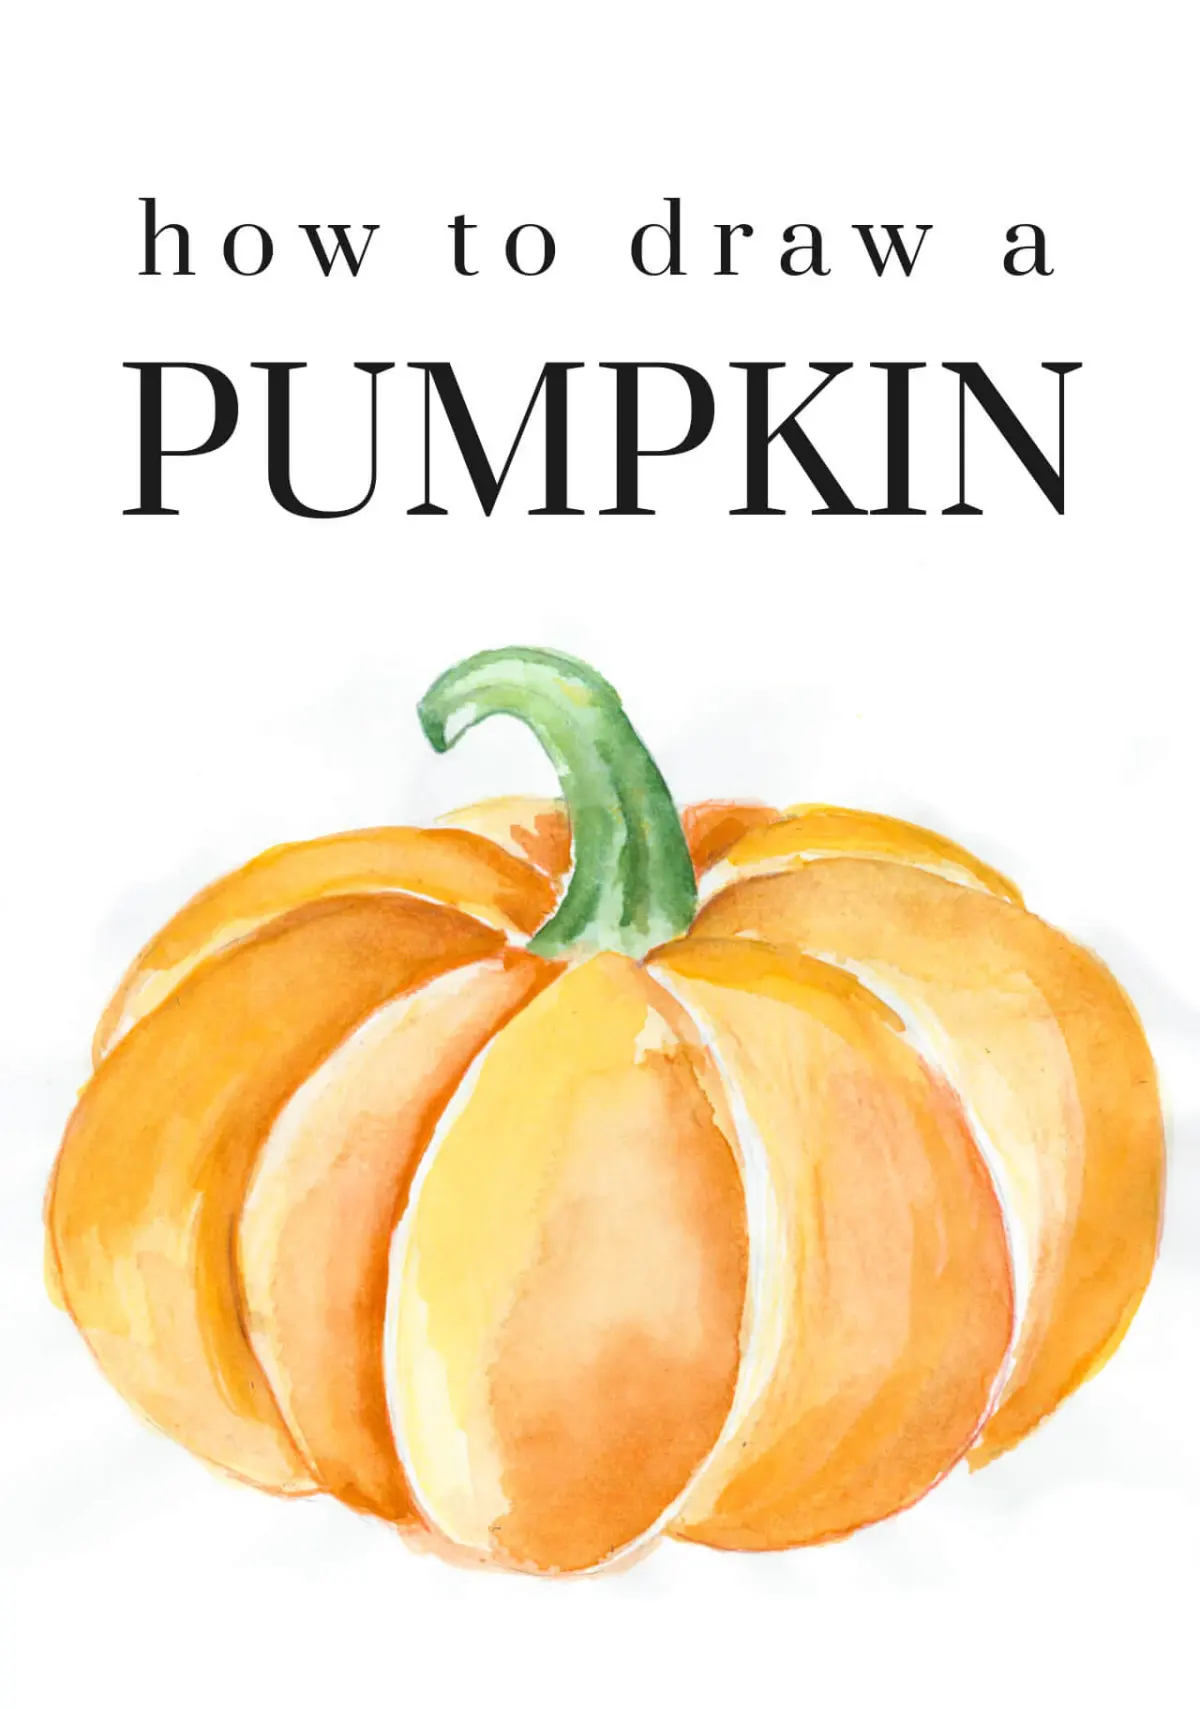
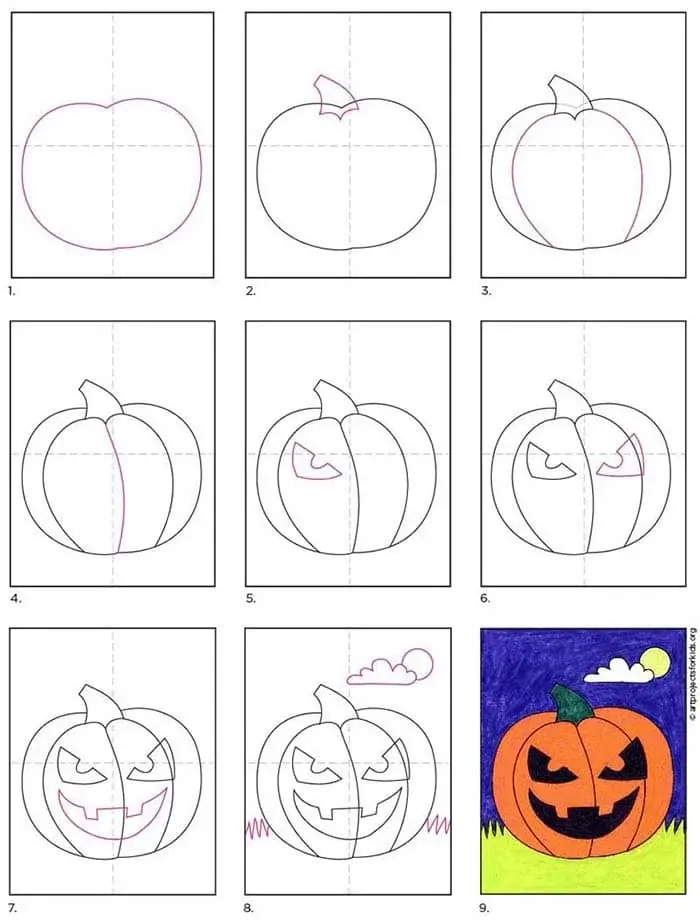
Begin by drawing a wide, slightly flattened oval in the center of your paper. Avoid making it a perfect circle, as pumpkins are naturally irregular and organic in their growth. Lightly sketch vertical, curved lines running from the top to the bottom of the oval to represent the natural ridges or ribs of the vegetable. These lines should bow outward to give the pumpkin a three-dimensional, rounded appearance.
Once the main body is established, add a small, thick cylinder or a slightly curved rectangle at the top center for the stem. You can add a small leaf or a curling vine extending from the base of the stem to enhance the realistic look. Keep your initial lines very light so you can easily erase or adjust them once you begin detailing the facial features.
How to draw jack-o'-lantern faces
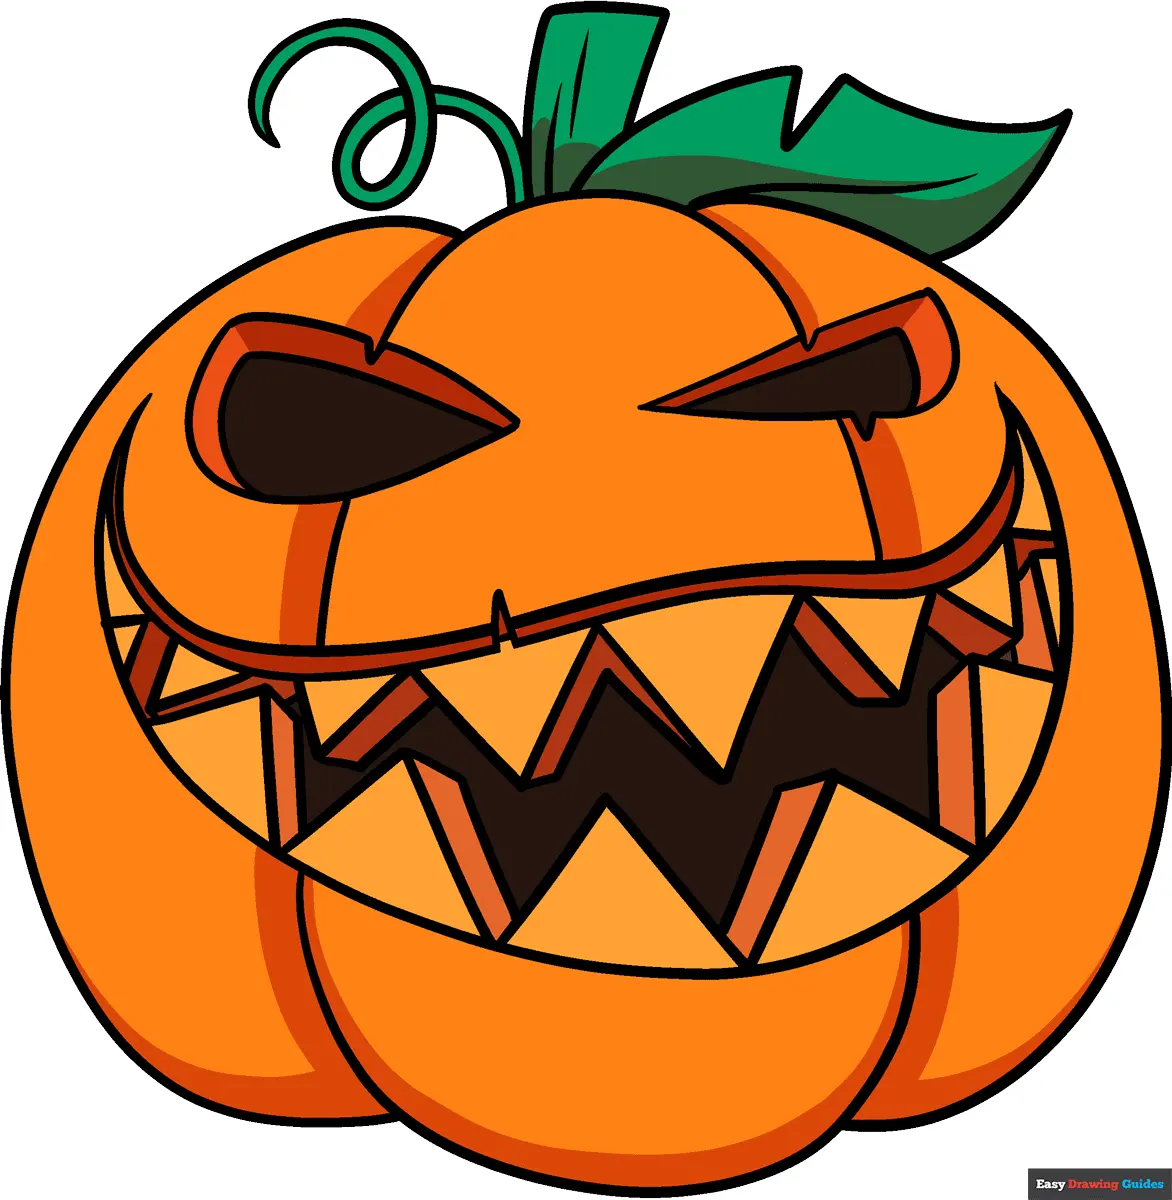
The defining feature of a jack-o'-lantern is its expressive, often spooky face. Most traditional designs use simple geometric shapes, which makes them easier to draw consistently. Start by placing two triangles near the top of the pumpkin for eyes. You can point them upward for a friendly look or downward for a more menacing, aggressive expression.
For the nose, draw a small triangle or an inverted heart shape in the center of the face. The mouth is the most expressive part, so take your time with the shape. A classic design features a wide, jagged grin with one or two square teeth poking out from the top or bottom. Follow these steps to refine the facial structure:
- Lightly outline the eye sockets and mouth area before committing to dark lines.
- Ensure the facial features are centered within the pumpkin's vertical ribs.
- Use a thick marker or pencil to darken the shapes, creating the illusion of hollowed-out spaces.
Best drawing techniques for beginners
If you are new to drawing, focus on symmetry and proportion before attempting complex expressions. Start by drawing a light vertical line down the center of your pumpkin to act as a guide. This helps ensure that your eyes and mouth are balanced on both sides, preventing the face from looking lopsided. Practice drawing several small thumbnails on a separate sheet of paper to test different mouth shapes before starting your final piece.
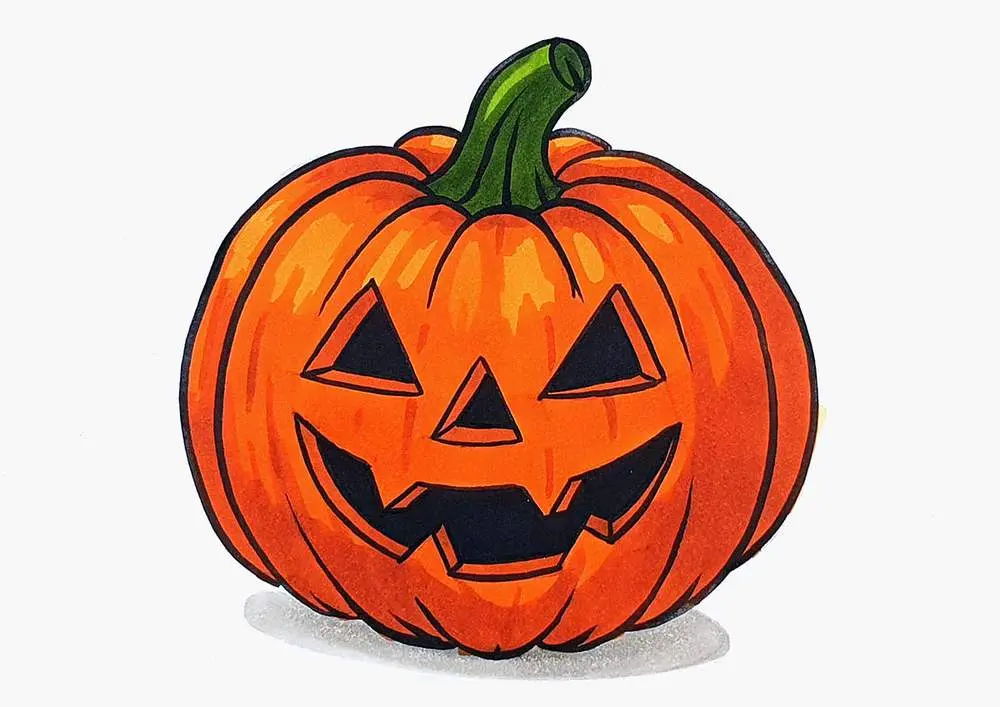
Another helpful tip is to use shading to add depth. Since a jack-o'-lantern is a hollow object, the interior should appear dark. Use a soft lead pencil or a black marker to fill in the eyes, nose, and mouth completely. You can also add subtle shading along the edges of the pumpkin's ribs to emphasize its roundness. This contrast between the dark, hollow features and the lighter skin of the pumpkin creates a professional, polished finish.
Common mistakes when drawing jack-o'-lanterns
One frequent error is drawing the facial features too small or too close together. If the features are cramped in the center, the pumpkin loses its character and looks cluttered. Aim to occupy about one-third of the pumpkin's surface area with the face. Another mistake is ignoring the perspective of the pumpkin's curve. When drawing eyes on a round surface, the outer edges should slightly follow the contour of the pumpkin's side rather than sitting perfectly flat.
Avoid making the pumpkin look like a perfect ball, as this makes the drawing appear artificial. Real pumpkins have bumps, flat spots, and varying heights. If your drawing feels too static, add a few small, irregular indentations along the outer edge to give it a more natural, harvested appearance. Finally, do not forget to add a shadow underneath the pumpkin to ground it on the page, preventing it from appearing as though it is floating in space.
How to add artistic details and texture
To elevate your drawing, focus on the texture of the pumpkin's skin and the lighting effects. Use short, flicking pencil strokes to suggest the fibrous texture of the stem. You can also add small, random dots or light scratches across the surface of the pumpkin to mimic the natural skin of the vegetable. If you want to show that the jack-o'-lantern is lit from within, use a yellow or orange colored pencil to create a soft glow around the edges of the eyes and mouth.
Experimenting with different lighting effects can drastically change the mood of your drawing. Consider these artistic additions to complete your work:
- Add a soft, glowing halo around the facial features to represent inner light.
- Draw a few fallen leaves or a wooden fence in the background to provide context.
- Use a white gel pen to add small highlights on the pumpkin's ribs to show where light hits the surface.
- Vary the thickness of your outline to create a sense of weight and volume.
By combining these techniques, you can create a vibrant, professional-looking illustration that captures the festive spirit of the season.
Key facts
- Start by drawing a wide, slightly flattened oval to serve as the pumpkin's base.
- Add vertical, curved lines along the body to create the characteristic ribbed texture of a pumpkin.
- Sketch a small, rectangular stem on top, slightly off-center to give it a natural, organic look.
- Use triangles for the eyes and nose, as these sharp geometric shapes are easiest to carve and draw.
- Draw a jagged, crescent-shaped mouth with a few square teeth to define the classic "scary" expression.
- Avoid making the facial features too large, as this can make the pumpkin look distorted or collapse the structure.
The bottom line
Drawing a jack-o'-lantern is an exercise in balancing simple geometric shapes with organic, rounded forms. By focusing on the pumpkin's ribbed structure and using sharp, angular lines for the facial features, you can create a classic look. Remember to keep your lines loose and avoid perfect symmetry, as the natural imperfections of a pumpkin are exactly what make the final drawing appear realistic and festive.
People also ask
Why do jack-o'-lanterns traditionally have triangular eyes?
Triangles are structurally sound and simple to cut into thick pumpkin flesh. Historically, these shapes were chosen because they were easy to replicate with basic hand tools.
What is the best way to make a pumpkin look three-dimensional?
Add shading to one side of the pumpkin and the edges of the facial features. Using a darker pencil or marker for the side opposite your light source creates depth.
How do I draw a realistic stem?
Draw the stem with a slight twist or curve rather than a straight line. Adding a few small, horizontal lines on the stem surface mimics the texture of woody bark.
Can I draw a jack-o'-lantern without a face?
Yes, you can draw a decorative pumpkin by focusing on the ribs and stem. Many people prefer drawing patterns, swirls, or leaves on the pumpkin skin instead of a face.
What is the most common mistake when drawing a pumpkin?
The most frequent error is drawing the pumpkin as a perfect circle. Pumpkins are naturally irregular and slightly squashed, so varying the curves makes the drawing look more authentic.
Should I use a thick or thin outline for the final drawing?
Use a thin line for the initial sketch and a thicker, darker marker for the final contour. This contrast helps the pumpkin stand out against the background.
This answer was created with the help of AI research tools and reference sources. Spotted an error? Let us know — we correct mistakes quickly. See our editorial policy.