How can I draw a lion face easily?
Short answer
Drawing a lion face is best approached by breaking the complex shape into simple geometric forms like circles and triangles. Start with a central circle for the muzzle, add eyes positioned above the midline, and layer the mane around the head. Focus on symmetry and bold, expressive features to capture the lion's essence.
On this page
How to draw a lion face step by step
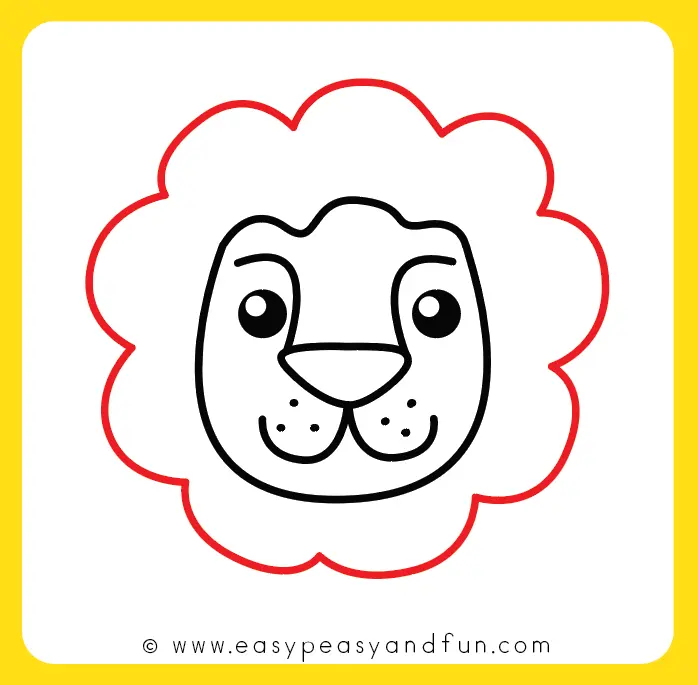
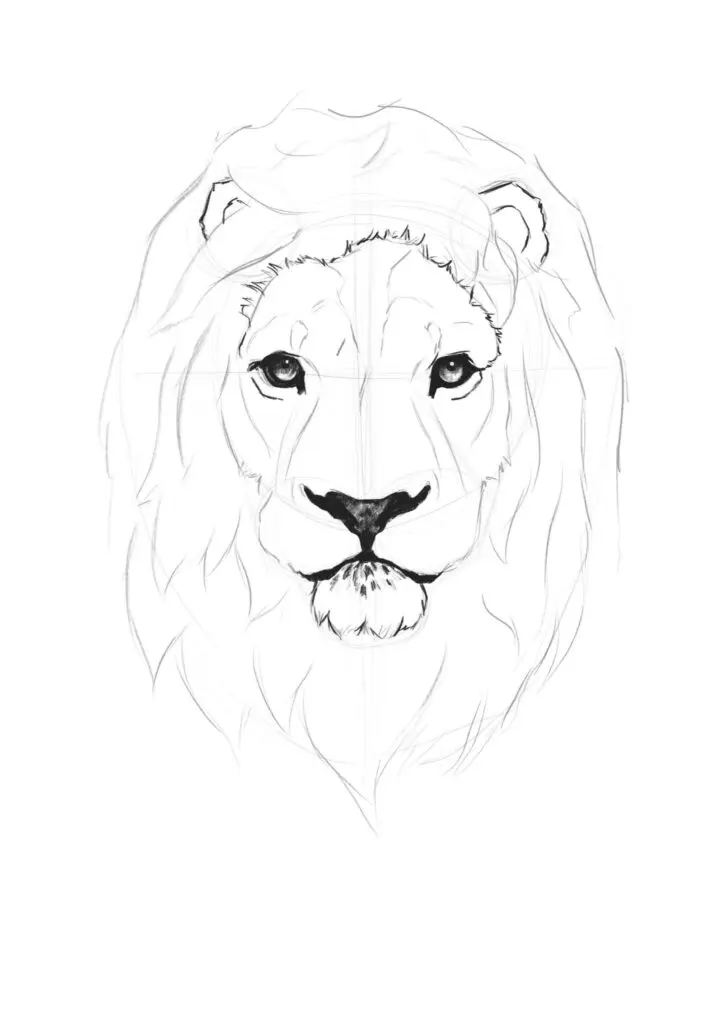
Begin by sketching a large circle to represent the cranium and a smaller, slightly overlapping circle at the bottom for the muzzle. Draw a vertical line down the center to ensure facial symmetry, then add a horizontal line across the middle to place the eyes. The eyes should be almond-shaped and positioned slightly above the horizontal guideline, spaced about one eye-width apart.
Once the basic structure is established, follow these steps to refine the facial features:
- Draw an inverted triangle for the nose, placing it at the top of the muzzle circle.
- Add a "W" shape beneath the nose to form the mouth, extending the lines downward.
- Sketch rounded, triangular ears on the upper sides of the main circle.
- Add whiskers by drawing small dots on the muzzle and extending thin, flowing lines outward.
- Outline the mane by drawing jagged, irregular shapes around the entire head to create volume.
Best tools for lion drawing beginners
For those starting out, a standard HB graphite pencil is the most versatile tool. It allows for light initial sketches that are easily erased if you need to adjust your proportions. Using a kneaded eraser is particularly helpful, as it can be molded into precise shapes to lift graphite without damaging the paper surface. This combination provides the control necessary to build confidence.
When you are ready to add detail, consider using a 2B or 4B pencil for darker lines. These softer leads make it easier to create the deep shadows found in the lion's mane and around the eyes, which adds depth to your drawing. If you prefer working with ink, a fine-liner pen with a 0.5mm tip is excellent for defining the final contours. Always keep a sharpener nearby to maintain the precision of your lines, as dull points can lead to messy, imprecise details.
How to capture the lion's expression
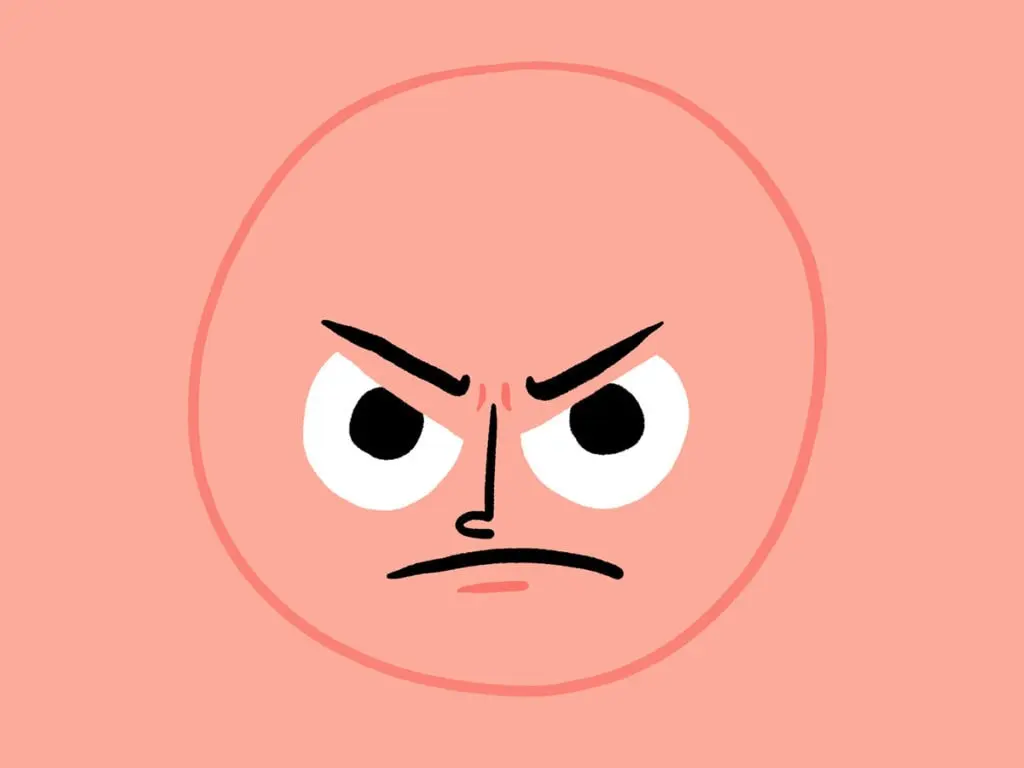
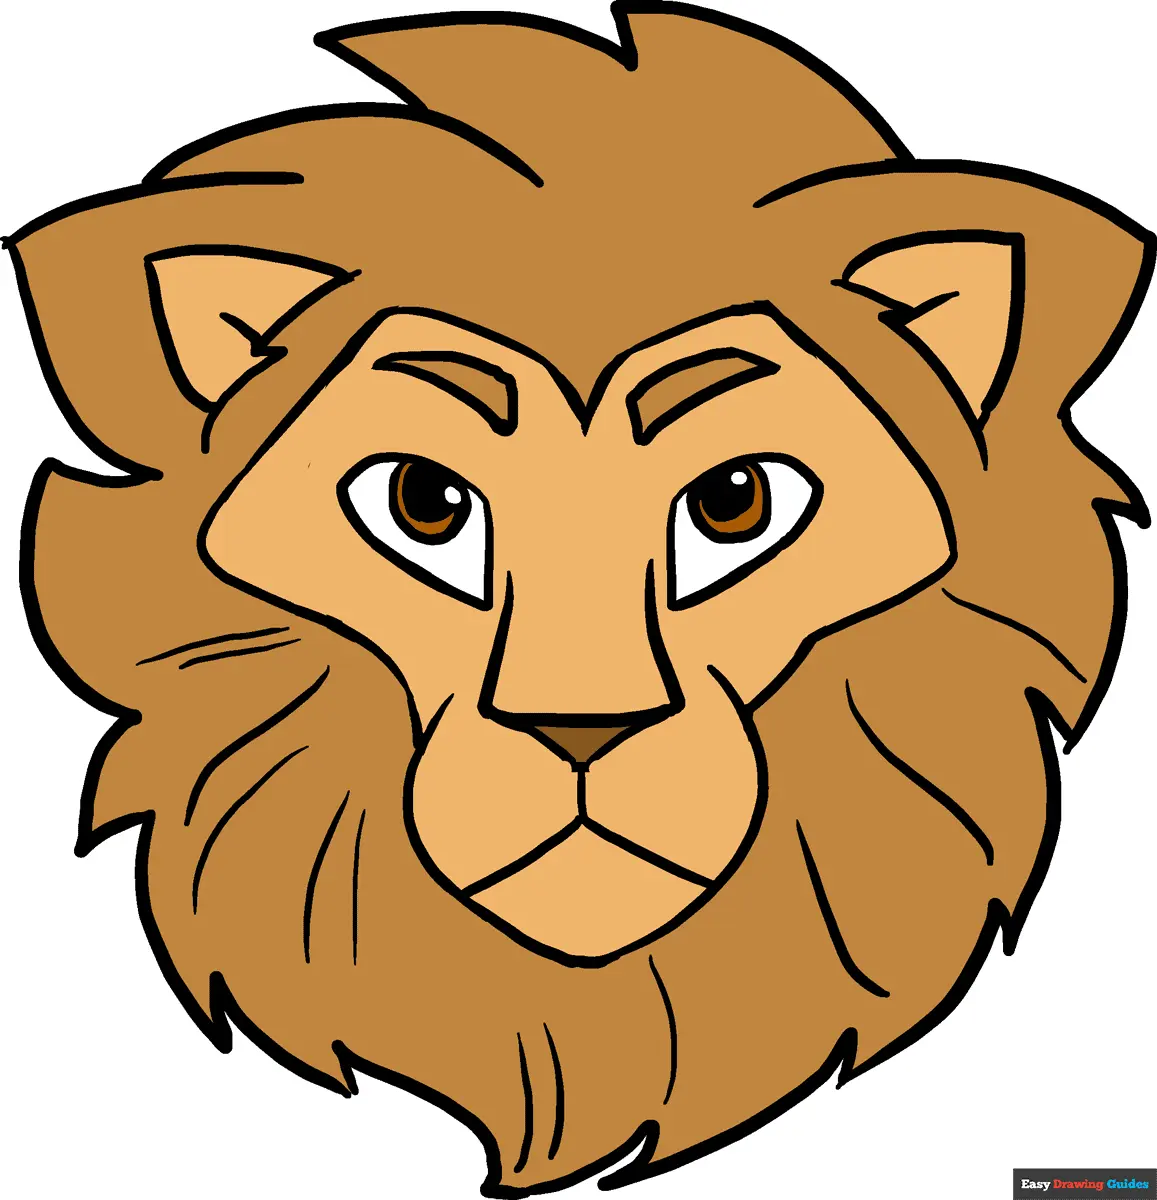
A lion’s expression is defined primarily by its eyes and the positioning of its brow. To make the lion look fierce, draw the eyebrows angled downward toward the bridge of the nose. Conversely, a relaxed or neutral expression is achieved by keeping the eyebrows relatively flat or slightly arched. The pupils should be round, but adding a small white highlight inside the pupil creates a lifelike "spark" that makes the animal appear alert.
The muzzle also plays a significant role in the overall mood of the drawing. A slightly open mouth showing a hint of teeth suggests aggression or a roar, whereas a closed mouth conveys a calm, majestic presence. Pay close attention to the transition between the fur of the face and the thick mane. By varying the length and direction of your pencil strokes, you can simulate the texture of fur, which adds a professional, realistic quality to your artwork.
Common mistakes when drawing lions
One of the most frequent errors is placing the eyes too high on the head. In lions, the forehead is relatively short, so the eyes should sit closer to the middle of the head than you might expect. Another common issue is making the muzzle too small or too narrow. The muzzle is a prominent feature that houses the powerful jaw, so it should occupy a substantial portion of the lower half of the face.
Avoid these common pitfalls to improve your results:
- Drawing perfectly symmetrical, uniform mane hair, which makes the lion look like it is wearing a wig.
- Forgetting to include the bridge of the nose, which connects the eyes to the snout.
- Using overly dark outlines for the entire face, which flattens the image and removes the sense of three-dimensional volume.
- Failing to vary the thickness of your lines, which makes the drawing look static rather than organic.
Why proportions matter in animal drawing
Understanding the underlying anatomy of a lion is essential for creating a convincing portrait. While you do not need to be a biologist, knowing that a lion’s skull is elongated helps you avoid drawing a face that looks too human or too feline-like in a cartoonish way. By maintaining the correct ratio between the width of the face and the length of the muzzle, you ensure the drawing remains grounded in reality.
Practice by observing photographs of lions from different angles. Notice how the perspective changes the shape of the mane and the visibility of the ears. When you understand the basic geometry, you can begin to experiment with different styles, such as more stylized or abstract interpretations. Consistent practice with these foundational proportions will eventually allow you to draw a lion face from memory with ease and confidence. Remember that every master artist started with simple shapes, and your progress depends on patience and observation.
Key facts
- Start with a basic circle for the head and a smaller oval in the center to serve as the muzzle.
- A lion's eyes are positioned horizontally across the middle of the head, not at the top.
- The nose should be shaped like an inverted triangle with rounded corners.
- Draw the mane as a series of jagged, overlapping shapes rather than individual hairs to maintain a clean look.
- Use a "W" shape for the upper lip, connecting it directly to the bottom of the nose.
- Keep the ears small and rounded, placing them on the upper sides of the head circle.
The bottom line
Drawing a lion’s face is best approached by breaking the head into simple geometric shapes before adding details. By focusing on the placement of the eyes, the triangular nose, and the layered texture of the mane, you can create a recognizable portrait. Practice consistent proportions and avoid over-detailing the fur early on, as building up layers gradually will result in a much more professional, lifelike final illustration.
People also ask
How do you make a lion look fierce instead of friendly?
To create a fierce expression, angle the eyebrows downward toward the nose to create a scowl. Narrow the eyes slightly and show more of the upper teeth to suggest a snarl.
Should I use charcoal or graphite for drawing fur?
Graphite is better for precise, fine details like whiskers and eye texture. Charcoal is superior for creating the soft, voluminous look of a thick lion's mane.
What is the most common mistake when drawing a lion's face?
The most frequent error is placing the eyes too high on the skull. Lions have a large muzzle area, so the eyes must sit lower than you might expect.
How can I make the mane look realistic?
Avoid drawing single, uniform lines for the hair. Instead, group hairs into clumps of varying lengths and thicknesses to create depth and shadow.
Where should the whiskers be placed?
Whiskers grow from the muzzle area, specifically on the sides of the upper lip. Keep them sparse and long to maintain a natural appearance.
Is it better to draw the lion from the front or the side?
A profile view is often easier for beginners because it simplifies the complex structure of the muzzle and jaw. Frontal views require more symmetry and careful placement of the eyes.
This answer was created with the help of AI research tools and reference sources. Spotted an error? Let us know — we correct mistakes quickly. See our editorial policy.