How do you draw a realistic lion?
Short answer
Drawing a realistic lion requires focusing on the animal’s muscular anatomy, the specific proportions of the skull, and the texture of the mane. By breaking the lion down into basic geometric shapes, such as spheres for the head and chest, you can build a lifelike structure before adding fine fur details.
On this page
How to structure the lion's anatomy
The foundation of a realistic lion is its skeletal structure, which is significantly more robust in the front than the back. A lion’s body is characterized by a deep chest, powerful shoulders, and a relatively slender hindquarter. When starting your drawing, use light pencil strokes to map out a large circle for the chest and a slightly smaller, oval shape for the rear. Connect these with a curved line representing the spine, ensuring the shoulder area sits higher than the hips.
To achieve accurate proportions, remember that the lion's head is roughly one-fourth of its total body length. The muzzle is broad and boxy, distinct from the sleek, triangular faces of domestic cats. Always sketch the joints as small circles to maintain correct limb placement. Pay close attention to the following anatomical landmarks:
- The scapula (shoulder blade) which protrudes slightly when the lion is walking.
- The heavy, muscular neck that supports the weight of the massive head.
- The large, padded paws which are essential for stability and stealth.
How to draw the lion's head and face
The lion’s face is defined by its strong jawline and deep-set, forward-facing eyes. Begin by drawing a cross-section on a sphere to determine the angle of the head. The nose should be positioned at the intersection of these lines, appearing as an inverted triangle with two large nostrils. The eyes are almond-shaped and sit roughly halfway down the skull, positioned slightly above the horizontal center line.
When detailing the features, focus on the transition between the muzzle and the cheeks. The whiskers grow from a series of dark spots on the muzzle, known as whisker pads. Avoid drawing the eyes too large or too human-like, as this will immediately ruin the realistic effect. Follow these steps to refine the facial features:
- Establish the brow ridge, which gives the lion its intense, predatory expression.
- Define the ears, which are rounded and located on the sides of the head, not the top.
- Add depth to the mouth by shading the interior of the lips and the lower jaw.
Best shading techniques for fur and mane
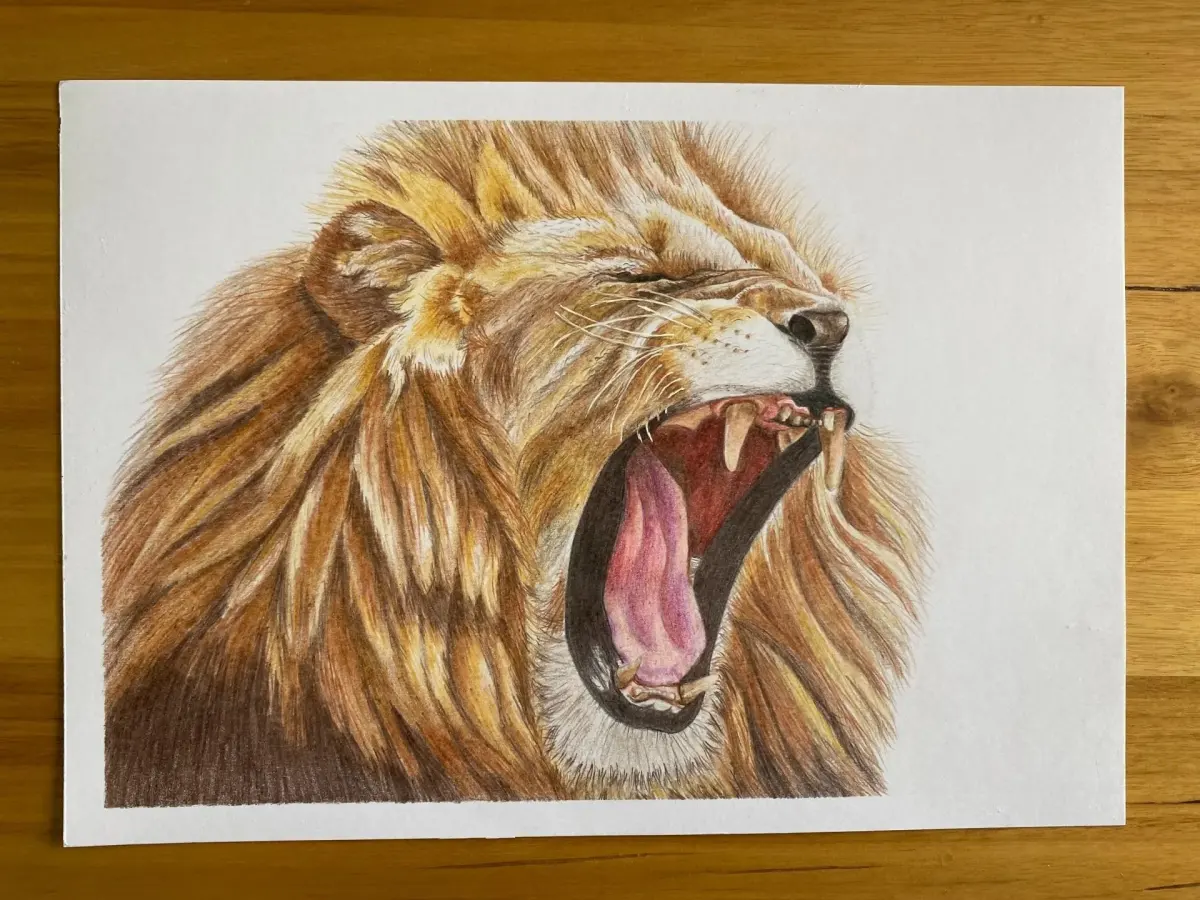
Texture is the primary element that differentiates a cartoon lion from a realistic one. The mane is not a solid block of hair; it consists of individual clumps that follow the direction of gravity and the lion's movement. Use a sharp pencil to draw long, flowing strokes that overlap, varying the pressure to create highlights and shadows. Start with the darkest areas, such as the base of the neck and the underside of the mane, then work toward the lighter tips.
For the short fur on the body, use very light, directional hatching rather than individual hairs. Focus on the highlights along the back and the top of the head where light naturally hits the coat. To create a realistic sheen, leave small areas of the paper white to represent reflected light. Remember that fur changes direction around the joints and the face, so adjust your stroke pattern accordingly to mimic the underlying muscle structure.
Common mistakes when drawing lions
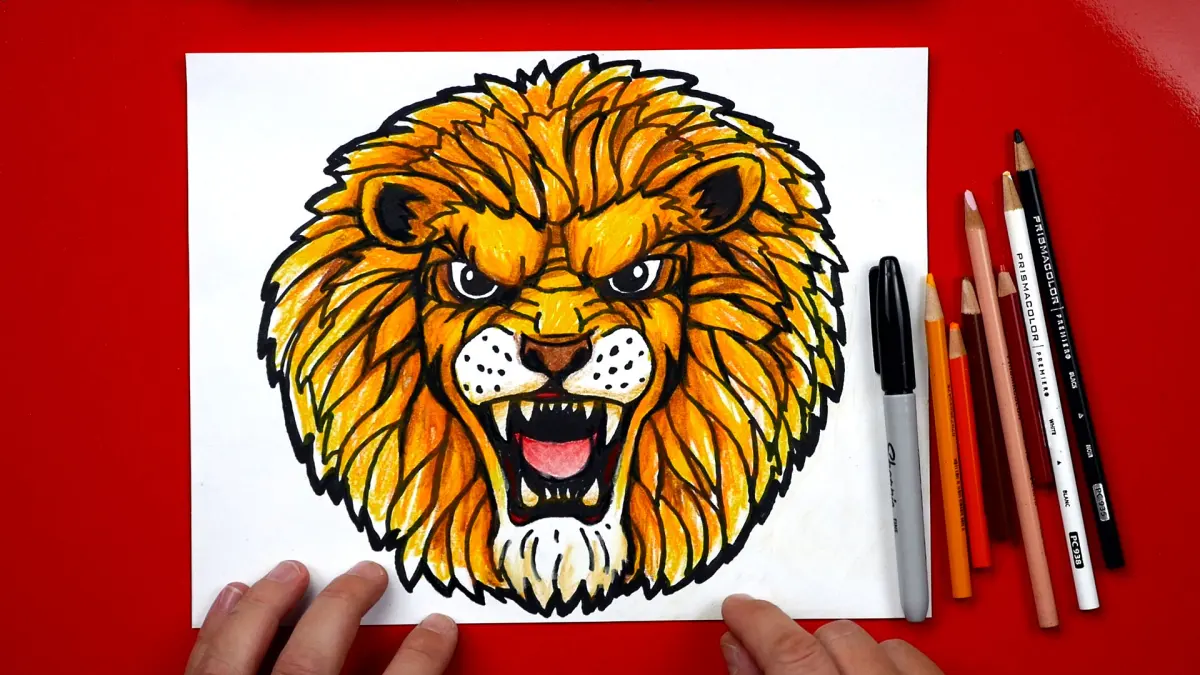
One of the most frequent errors is giving the lion a face that is too flat or feline in a generic sense. Beginners often draw the eyes too far apart or make the muzzle too narrow, which makes the lion look like a house cat rather than a powerful apex predator. Another common mistake is ignoring the weight of the mane, which should look heavy and thick, not like a light, wispy halo around the head.
Proportional errors in the limbs are also common, specifically making the legs too thin or failing to account for the lion's massive paws. Always ensure the front legs are positioned directly beneath the shoulder mass. If the legs look like sticks, the entire drawing will lose its sense of groundedness. To avoid these issues, constantly compare your drawing to high-quality reference photographs, paying attention to:
- The negative space between the legs.
- The specific angle of the hock joint on the hind legs.
- The way the mane tapers off toward the shoulder blades.
How to add final realistic details
The final stage of your drawing involves adding the finishing touches that bring the lion to life. This includes adding the dark tuft at the end of the tail and ensuring the claws are subtly suggested rather than overly prominent. Use a kneaded eraser to lift small amounts of graphite to create the texture of individual whiskers or fine hairs catching the light. This contrast between dark, dense fur and fine, light hairs adds significant depth.
Check your values one last time to ensure the darkest shadows are truly deep, which helps the lion pop against the background. If the drawing feels flat, increase the contrast in the shadow areas under the belly and behind the mane. A realistic lion should look as though it has mass and weight, occupying a three-dimensional space. By refining these final details and ensuring the shadows follow the curves of the muscles, you complete a professional-looking study of the king of beasts.
Key facts
- Lions have a distinct skeletal structure where the shoulder blades sit higher than the spine, creating a prominent hump.
- The muzzle of a lion is boxy and rectangular, unlike the rounded or triangular faces of domestic cats.
- A lion’s eye placement is set deep within the skull, often shaded by a heavy brow ridge.
- Focus on the "mane flow" by following the direction of hair growth from the ears down to the chest.
- Use a 2:1 ratio for the length of the body compared to the height at the shoulder.
- Always sketch the tail with a heavy tuft at the end, which acts as a counterbalance during movement.
The bottom line
Drawing a realistic lion requires a focus on structural anatomy rather than surface details. By prioritizing the heavy, boxy muzzle and the powerful, humped shoulder line, you establish a believable foundation. Avoid the common mistake of treating fur as a uniform texture; instead, group the mane into distinct, flowing locks. With careful attention to shadow depth and skeletal proportions, you can capture the majestic intensity of the species.
People also ask
Why does my lion drawing look like a domestic cat?
This usually happens because the muzzle is drawn too small or the eyes are positioned too far forward. Lions have elongated, heavy muzzles and smaller, more widely spaced eyes relative to their total head size.
How do I make the mane look realistic instead of like a solid block?
Avoid drawing individual hairs at first; instead, group the mane into large, overlapping clumps or "locks." Use varying line weights to show depth, keeping the shadows darker near the neck and lighter toward the tips.
What is the most important part of the lion's anatomy to get right?
The shoulder assembly is critical because it defines the lion's powerful silhouette. Ensure the front legs look muscular and thick, as they support the weight of the animal's massive head and chest.
Should I use graphite or charcoal for a realistic lion portrait?
Charcoal is generally superior for lions because it allows for deep, rich blacks necessary for the mane and shadows. Graphite can become shiny and reflective, which often obscures the fine texture of fur.
How do I draw the lion’s ears correctly?
Lion ears are rounded and sit relatively low on the sides of the head. They are often partially obscured by the mane, so draw them as simple semi-circles tucked into the fur rather than pointed upright.
How do I capture the texture of the lion's nose?
A lion's nose is leathery and covered in tiny, irregular bumps. Use a stippling technique—small dots—to mimic this texture rather than shading it as a smooth, flat surface.
This answer was created with the help of AI research tools and reference sources. Spotted an error? Let us know — we correct mistakes quickly. See our editorial policy.