How do you draw a realistic horse?
Short answer
Drawing a realistic horse requires mastering basic geometric construction before adding anatomical details. By breaking the complex form into three primary circles representing the head, chest, and hindquarters, you establish correct proportions. Focus on the skeletal structure, muscle groups, and the natural flow of the mane to achieve a lifelike appearance.
On this page
How to construct a horse’s basic proportions
The foundation of a realistic horse drawing relies on the "three-circle method." Begin by sketching one circle for the head, a larger circle for the shoulder/chest area, and a final, equally large circle for the hindquarters. Connect these shapes with lines representing the spine and the belly to create a cohesive frame. This structural approach ensures that the horse does not appear distorted or disproportionate before you begin adding muscles.
Once the circles are placed, determine the length of the legs by measuring the distance from the bottom of the chest to the ground. A horse’s leg length is roughly equal to the depth of its body. Use simple lines to mark the joints—the shoulder, elbow, knee, and hock—keeping in mind that the horse’s "knee" on the front leg is actually the equivalent of a human wrist.
- Draw the three primary circles to define the torso and head.
- Connect the circles with a curved line to establish the spine.
- Map out the legs using straight lines to find the correct angles.
- Add the neck by drawing two lines connecting the head circle to the chest circle.
How to draw realistic horse anatomy
After establishing the frame, you must layer the musculature over the skeletal structure. Horses possess powerful muscles in the chest and hindquarters, which should be represented as rounded, overlapping shapes rather than flat lines. Focus on the "gaskin" area on the hind leg and the prominent shoulder blade, as these features define the horse's athletic silhouette. Avoid drawing stiff, straight lines; instead, use soft, sweeping curves to mimic the elasticity of equine muscle.
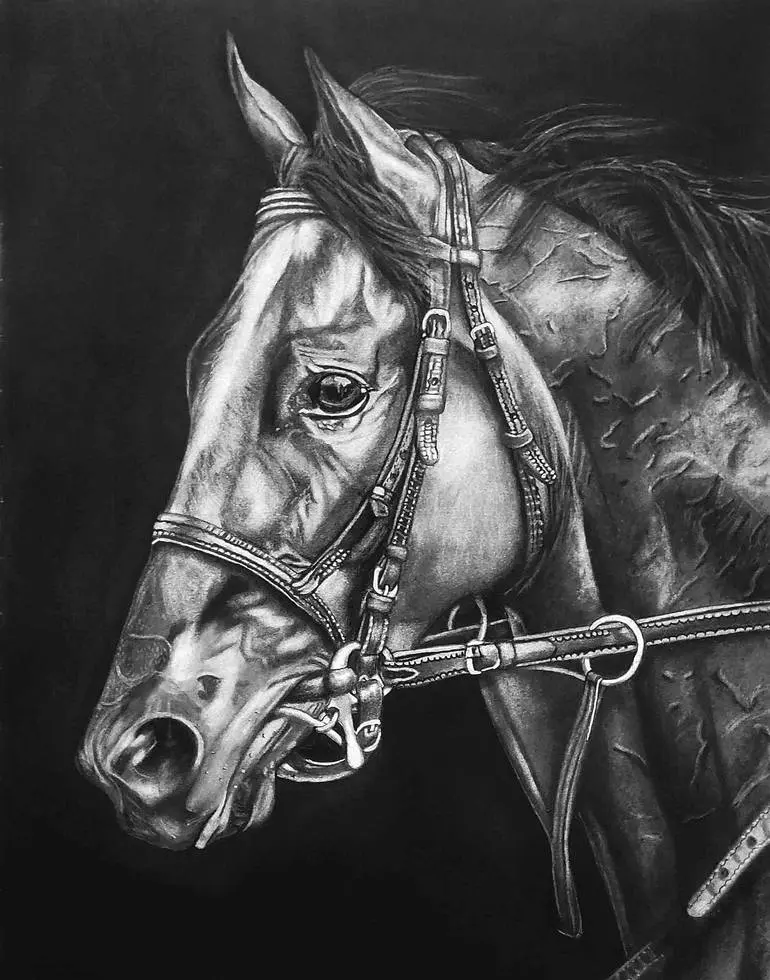
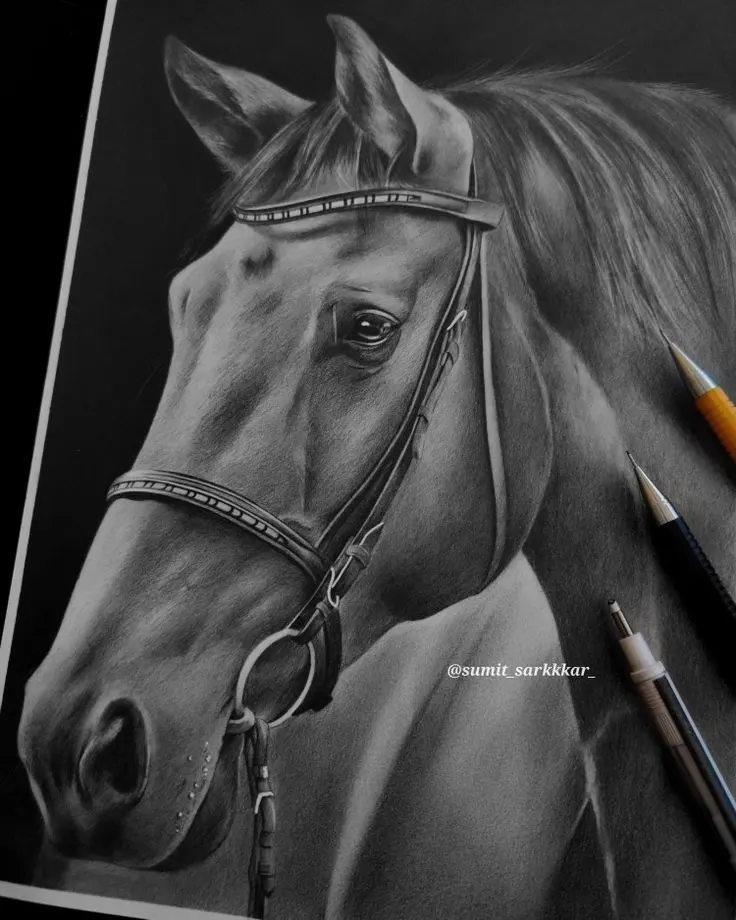
The head requires careful attention to detail, specifically the placement of the eye and the curve of the jaw. The eye is positioned roughly halfway between the top of the ear and the nostril. Use a slight indentation for the cheekbone and ensure the nostril is shaped like a comma. When shading, observe how light hits the rounded surfaces of the face, using highlights on the bridge of the nose and the brow to create depth.
- Use oval shapes to define the large muscle groups of the thigh.
- Keep the jawline distinct but rounded to avoid a boxy appearance.
- Ensure the neck tapers slightly toward the head to maintain elegance.
- Add small, triangular shapes for the ears, which are highly expressive.
How to capture the mane and tail
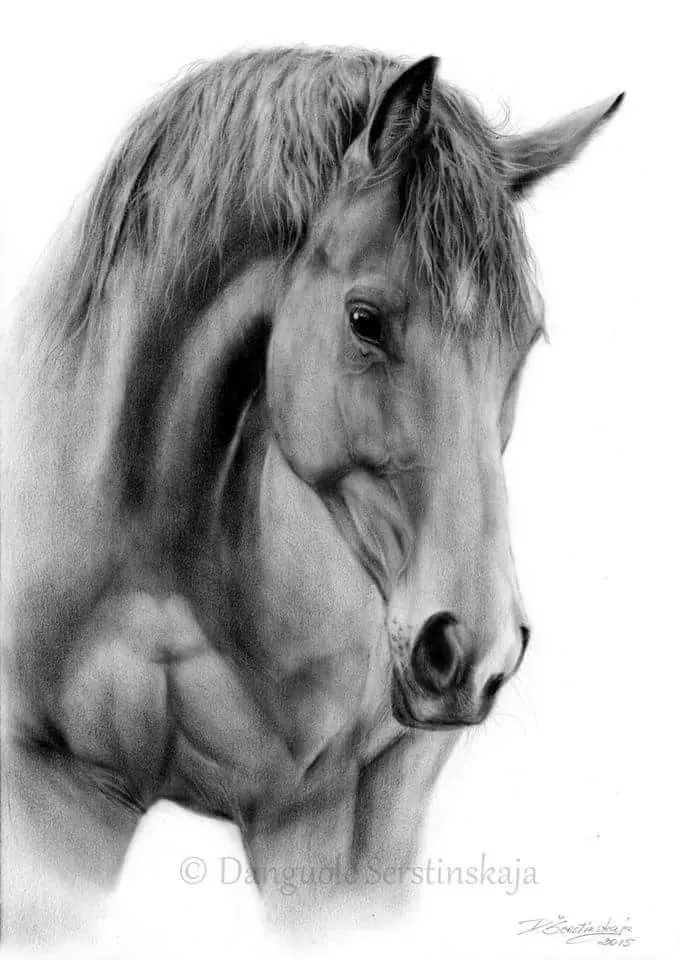
The mane and tail are essential for conveying movement and personality. Instead of drawing individual strands, treat the hair as large, flowing ribbons or masses. Start by sketching the general shape and volume of the hair, then add finer lines to suggest texture and direction. Remember that gravity and the horse’s movement dictate how the hair falls; a galloping horse will have a mane that appears to be streaming backward.
When rendering the tail, note that it attaches at the dock, which is the muscular base of the tail. The hair should flow naturally from this point, following the curve of the hindquarters before cascading downward. Avoid making the hair look like static, parallel lines. By varying the thickness of your strokes and adding subtle shadows within the hair masses, you create the illusion of weight and softness that characterizes real horse hair.
Common mistakes when drawing horses
One of the most frequent errors is making the legs too thin or too long. Beginners often overlook the thickness of the cannon bone, which should be substantial enough to support the animal's weight. Additionally, failing to account for the joints—specifically the hock on the hind leg—results in a "stilt-like" appearance. Always cross-reference your drawing with anatomy charts to ensure the joints are positioned at the correct angles relative to the body.
Another common mistake is placing the eyes too far forward or too high on the head. A horse’s eyes are located on the sides of the skull, providing a wide field of vision. When drawing the head in profile, the eye should be placed well back from the bridge of the nose. Furthermore, avoid drawing the mouth as a simple straight line; it should follow the curve of the jaw and feature a slight downward hook at the corner.
- Over-straightening the spine, which makes the horse look unnatural.
- Drawing the hooves as simple circles instead of trapezoidal shapes.
- Neglecting the thickness of the neck where it meets the chest.
- Using uniform line weight, which makes the drawing look flat.
Best tools for drawing horses
For beginners, graphite pencils ranging from 2H to 6B are ideal for building value and texture. Use a hard 2H pencil for the initial light construction lines, as these are easily erased or covered by darker layers. A 4B or 6B pencil is perfect for adding the deep shadows in the mane, tail, and the underside of the belly, which adds necessary contrast. A kneaded eraser is also essential, as it allows you to lift graphite to create highlights on the horse’s coat.
Choosing the right paper is equally important; a medium-tooth drawing paper provides enough texture to hold the graphite without being too rough. If you want to add color, consider using charcoal or pastels, which allow for blending the smooth muscle transitions. Regardless of the medium, keep your strokes loose and confident. By practicing these techniques consistently, you will develop the muscle memory required to sketch horses with accuracy and artistic flair, eventually moving toward more dynamic, action-oriented poses.
Key facts
- A horse’s head is roughly one-third the length of its entire body.
- The shoulder joint is the highest point of the torso, situated at the base of the neck.
- Horse eyes are positioned on the sides of the head, providing a nearly 360-degree field of vision.
- The hock, located on the hind leg, acts as the equivalent of a human heel.
- Always sketch the skeletal structure using simple circles and lines before adding muscle mass.
- Use a reference photo to map the "topline," which runs from the ears to the tail.
The bottom line
Drawing a realistic horse requires a disciplined focus on skeletal structure and anatomical proportions. By breaking the animal down into simple geometric shapes—circles for the chest and hindquarters, and lines for the limbs—you create a solid foundation. Prioritize the graceful curve of the topline and the complex articulation of the joints. With consistent practice and careful observation of reference images, you will master equine anatomy.
People also ask
What is the most common mistake when drawing horse legs?
Beginners often make the legs too thin or attach them to the body at the wrong angle. Ensure the legs align with the center of gravity and taper naturally toward the hooves.
How do I make a horse look like it is in motion?
Focus on the angle of the back and the position of the joints. A horse in a gallop will have a curved spine and limbs that extend fully, creating a dynamic diagonal line.
Should I draw the mane and tail with individual hairs?
Avoid drawing every single strand, as this creates a cluttered look. Instead, block out the mane and tail as solid shapes first, then add loose, flowing lines to suggest texture.
How do I get the proportions of the face correct?
The horse's face is long and tapers toward the muzzle. Place the eye slightly above the halfway point between the ear and the nostril.
Why does my horse drawing look like a cartoon?
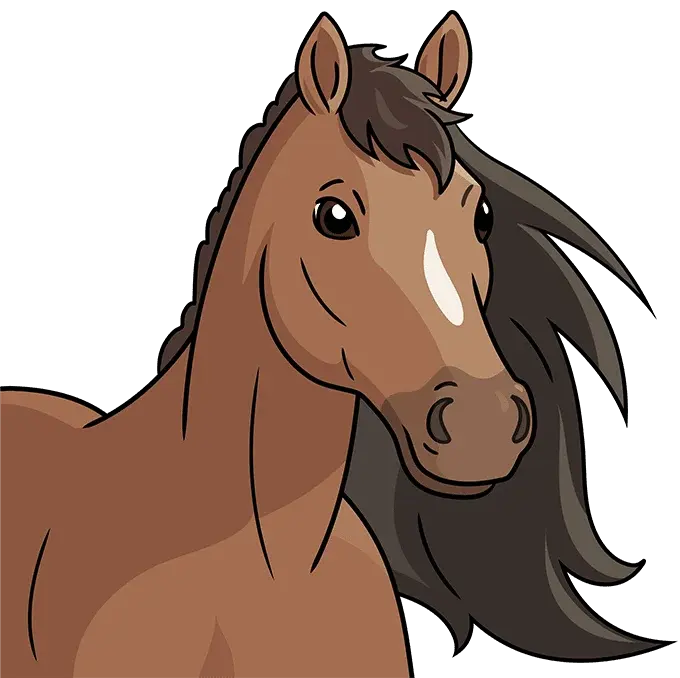
This usually happens when features like the eyes or nose are exaggerated. Use subtle shading to define the contours of the cheek and jaw rather than harsh, thick outlines.
What is the best pencil grade for shading a horse?
Use a 2B or 4B pencil for shading the muscular areas and a harder HB pencil for the initial structural framework. This allows you to build depth without smudging your guidelines.
This answer was created with the help of AI research tools and reference sources. Spotted an error? Let us know — we correct mistakes quickly. See our editorial policy.